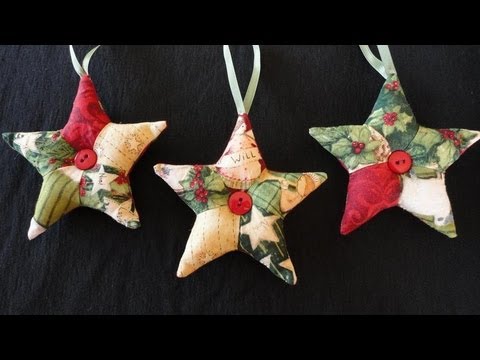
This fun sewing project by Crouton Crackerjacks on YouTube is sure to tickle your creative mind and will teach you how to make an inexpensive ornament for your Christmas tree! What makes this even better is that you can make this using fabric scraps from your previous sewing projects, it is super quick and easy to put together, and you can make a lot of this in just a few minutes.
Materials:
- Fabric scraps
- Cardstock, for your template
- Ribbon
- Button
- Needle and thread
- Fabric pins
- Stuffing
- Marking pen
- Iron, for pressing
- Sewing machine
Directions:
Step 1
The first thing that you have to do is to create your template on a cardstock similar to what is shown in the video tutorial, then cut it out, and trace it onto the fabric before cutting the pieces out. After tracing and cutting the small diamond pieces, assemble 5 pieces of diamond into a star mixing and matching the fabric, then stack 2 pieces with their right sides together and edges matching, and then sew them together on one side using a ¼-inch seam allowance as shown in the video. Open the fabric up, then add another diamond piece, and sew. Keep on adding another piece until you’ve sewn 5 pieces together into a star, then press the seams flatly going in a clockwise direction, and repeat with the remaining pieces.

[social_warfare]
Step 2
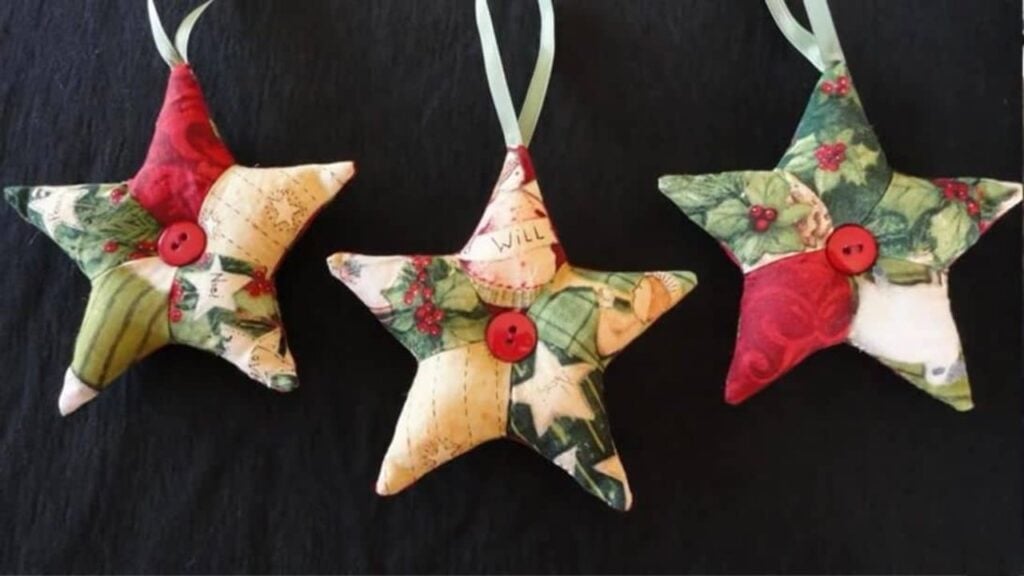
Lay another piece of star patchwork on top with their right sides together and edges matching, then fold a piece of ribbon in half, choose a point in the star to be the top, and sandwich the ribbon between the 2 stars patchwork with the edges facing outward and the loop inward. Pin them together, then start sewing around the star, and make sure to leave a gap. Snip off and straighten the points of the star right up to the seam allowance, then notch the corners of the points, and turn it right side out. Poke the corners nicely, then start stuffing it, and sew the opening close making sure to tuck the seams nicely. Sew a button at the center and you’re done!

*All image credit belongs to Crouton Crackerjacks via YouTube. Follow and subscribe to his channel for more!
Scrappy Patchwork Star Ornaments Sewing Tutorial For beginners