My handyman is not going to love this post, and neither is yours. Easy home repair hacks are the whole difference between living with a problem for two years and fixing it on a Saturday, and once you have done a few of them the house stops feeling like somebody else’s job. I fixed the rotten edging around my bathroom mirror myself, and I patched the holes my boys managed to put in the playroom wall, and I was embarrassingly proud of both. The fixes below cover the things that actually break in a real house: ceiling drywall, leaky faucets, wood rot, cracked concrete, torn window screens, chipped bathtubs, mini blinds the kids have destroyed. Most of them need one product under twenty dollars and one free afternoon. A few need nothing you do not already own. Pick whichever one has been annoying you longest and start there.
1. DIY Bathtub Repair
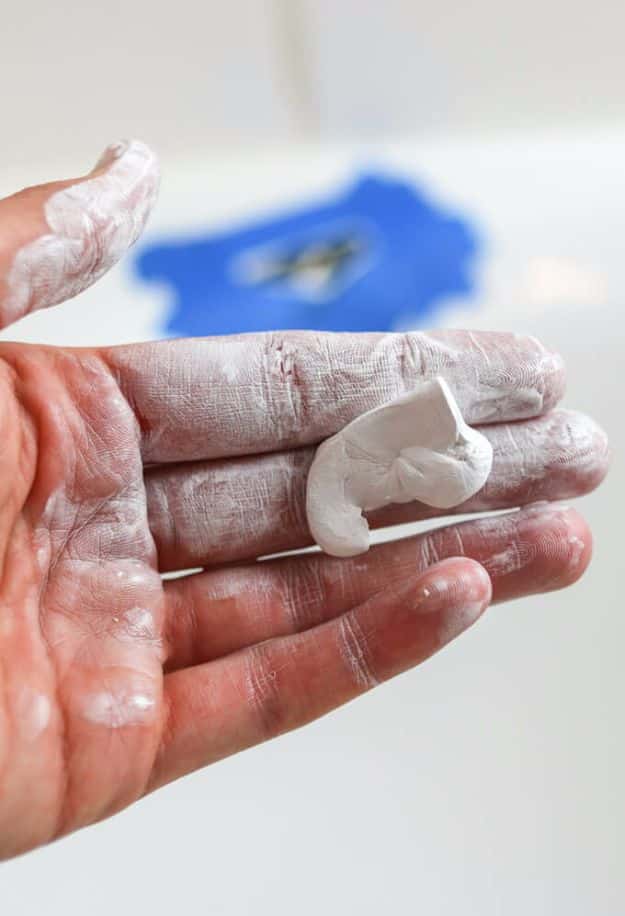
A chip in a bathtub looks like a renovation problem and is really an overnight one. The tub gets cleaned until it is genuinely spotless, the chip is taped off, and white superfine two-part Milliput putty goes in and gets shaped with a razor blade or a small putty knife. Then comes wet sanding from 600 grit up through 1500, and finally porcelain touch-up paint left to dry overnight before one last pass with the finest paper. The cleaning step is the one nobody wants to do properly, and it is the one that decides whether the patch disappears.
Get the full tutorial at Someday I'll Learn.
2. Fix Small Areas of Wood Rot
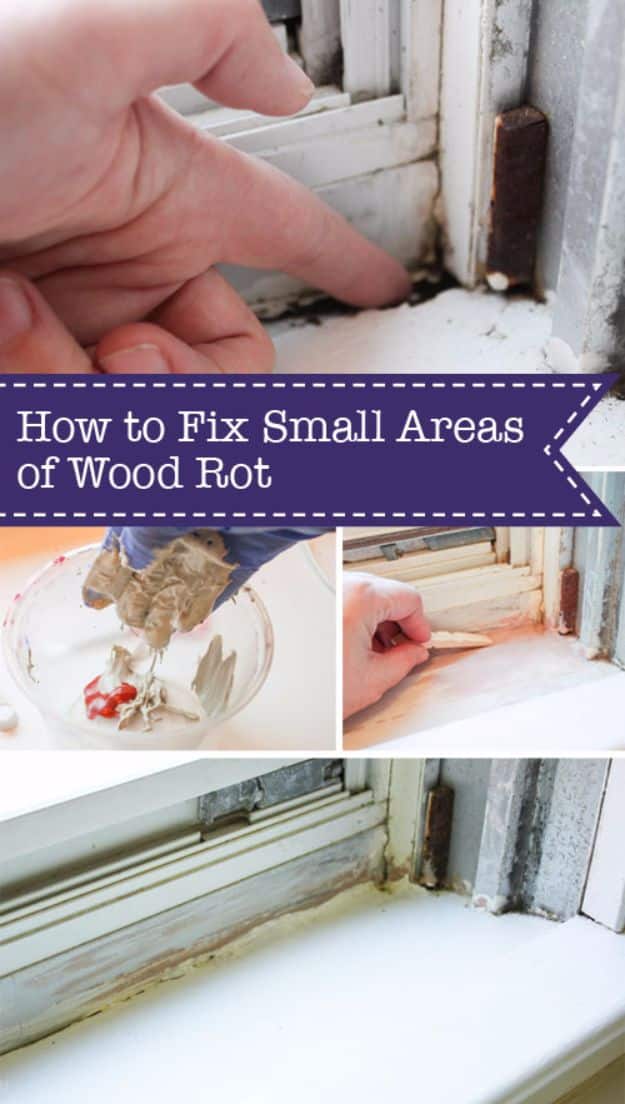
Small patches of rot on a window sill or a door frame do not need a new board, they need Bondo. Dig out every bit of soft, punky wood until only solid wood is left, sand the edges of the void, then vacuum out the dust. Scoop out about a golf ball of Bondo, squeeze in an inch of cream hardener, mix until the color is completely even, and press it into the hole with a paint stirrer. Let it harden fully, sand smooth, and paint. Larger rotted areas still need the wood replaced, so catch these early.
Get the full tutorial at Pretty Handy Girl.
3. How to Fix Paint Chips on Your Wall
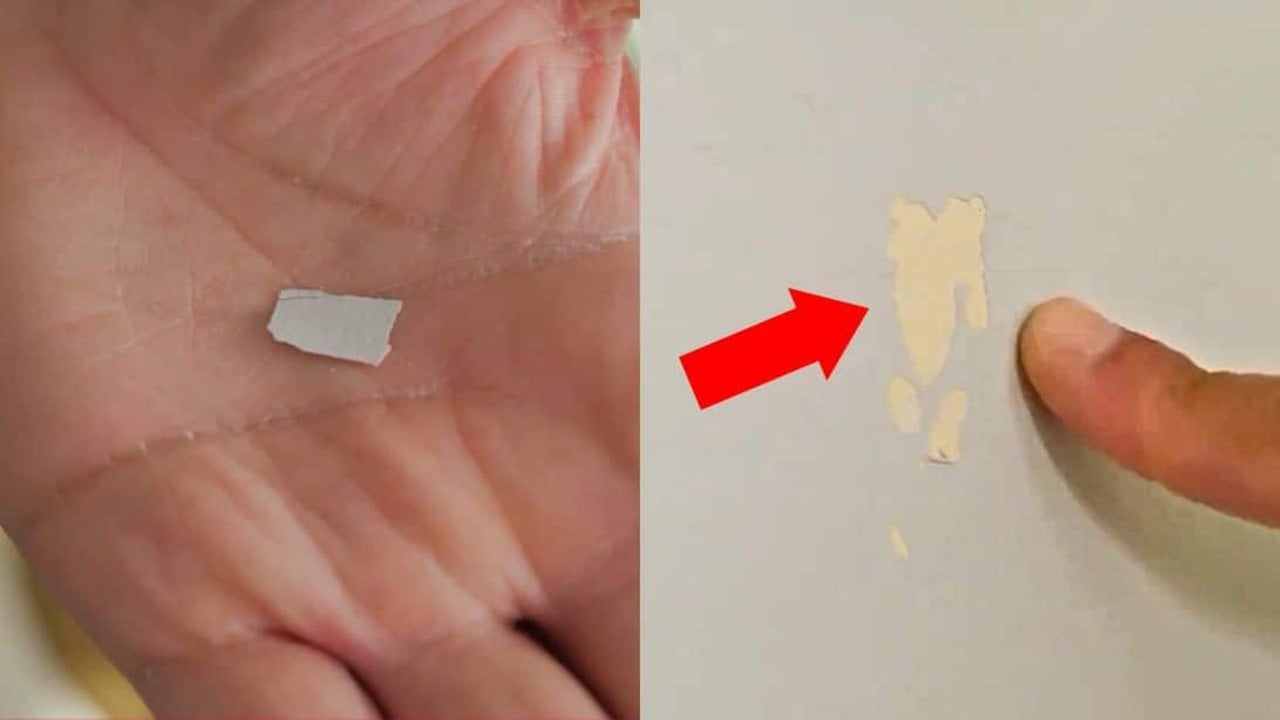
Paint chips off a wall for a handful of reasons, moisture, the wrong paint for the surface, something corrosive splashed on it, or, most often, a wall that was never cleaned properly before it was painted. The good news is that a chip almost never means repainting the room. You need a pint of paint, ideally a paint and primer in one to save a step, a wall repair patch kit for anything up to a couple of inches, a drop cloth and a cloth. If you have lost the color, a hardware store can analyze a chip and match it.
Get the full tutorial at DIY Joy.
4. Repair a Leaky Shower or Tub Faucet
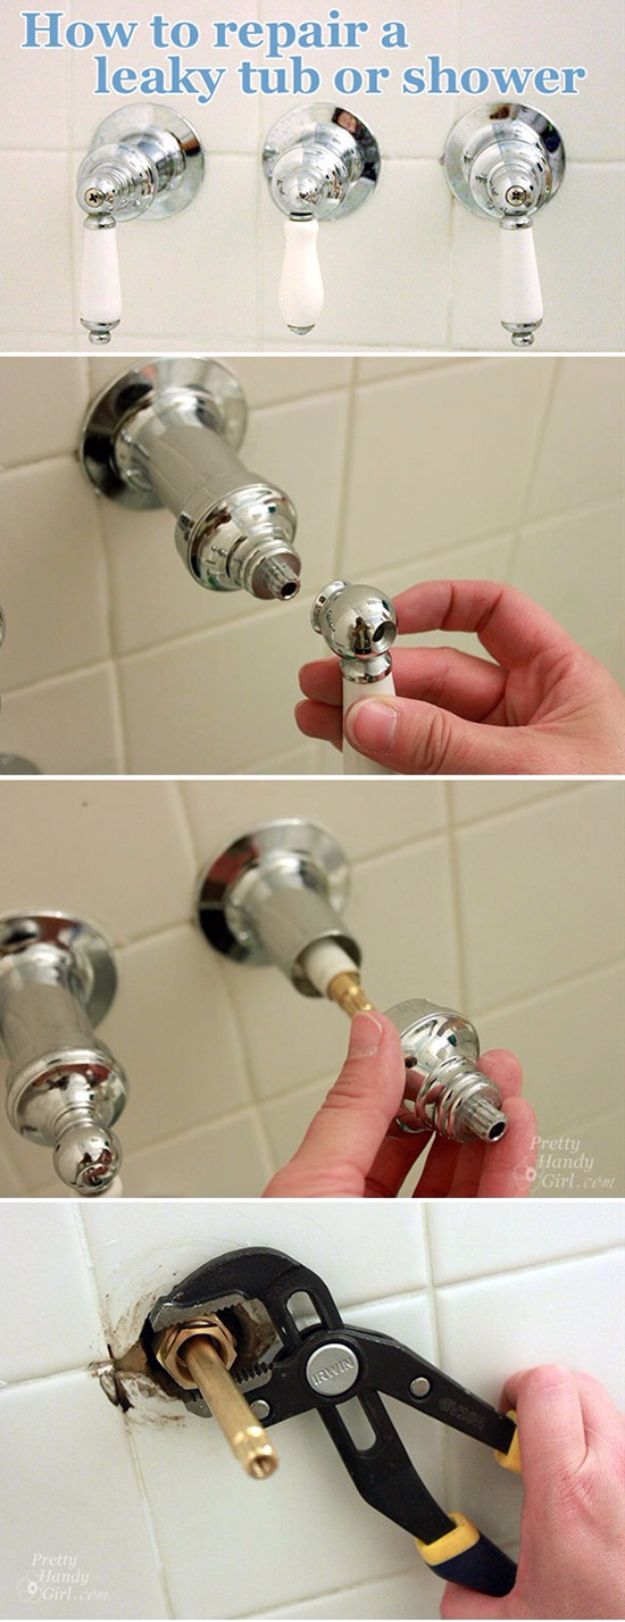
Before anything else, find the water shut off and turn the water off to the house, then open the tub tap to drain whatever is left in the pipes. From there it is small screws: pop the cover off the handle with a fingernail or a flat head, take out the screw, pull the handle, then unscrew the escutcheon, using a jar gripper and pliers if it is stuck fast. The worn washer or cartridge underneath is a few dollars. Every step is photographed, which is exactly what you want when you are putting it back together.
Get the full tutorial at Pretty Handy Girl.
5. Repair Cracked Concrete
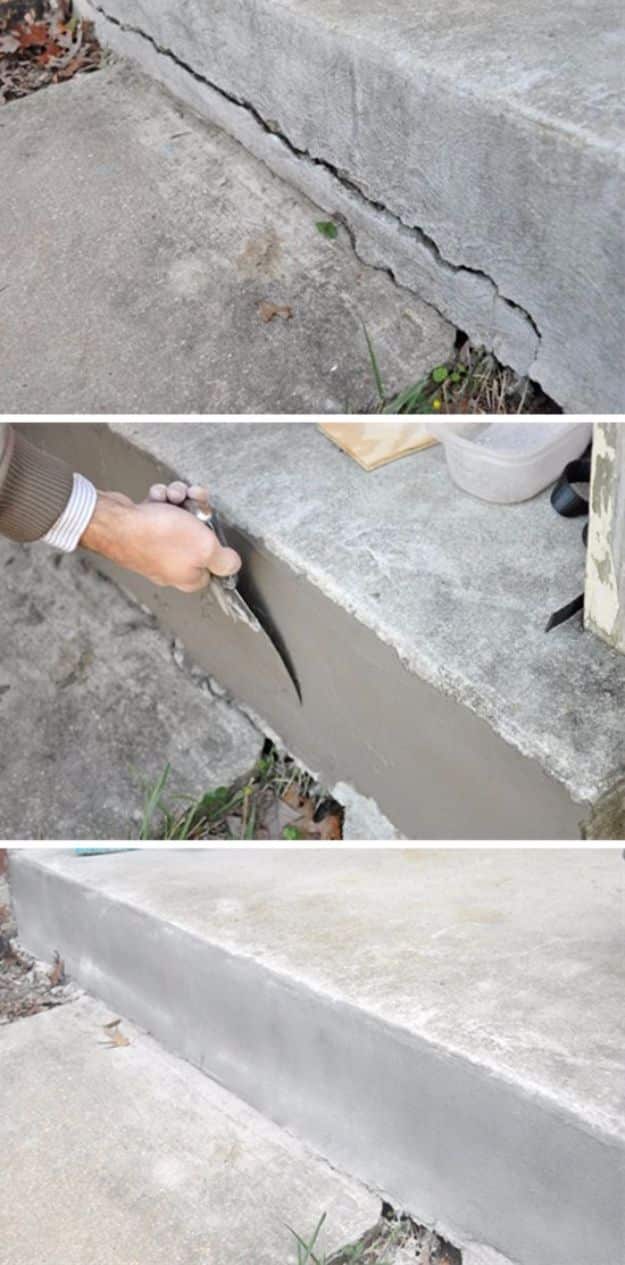
The product here is not crack filler in a tube, it is FastSet Repair Mortar, a polymer modified rapid-setting mortar with a low-sag formula that will hold on a vertical face. That matters, because the usual flexible patch and sealant route leaves a structurally fine repair that looks terrible, and this one is meant to be seen from the front door. One caveat straight from the source: this only suits a crack that has not moved in years. A crack that is still opening needs a flexible polyurethane sealant instead, and nothing sets properly below freezing.
Get the full tutorial at One Project Closer.
6. Easily Paint Over Wood Paneling
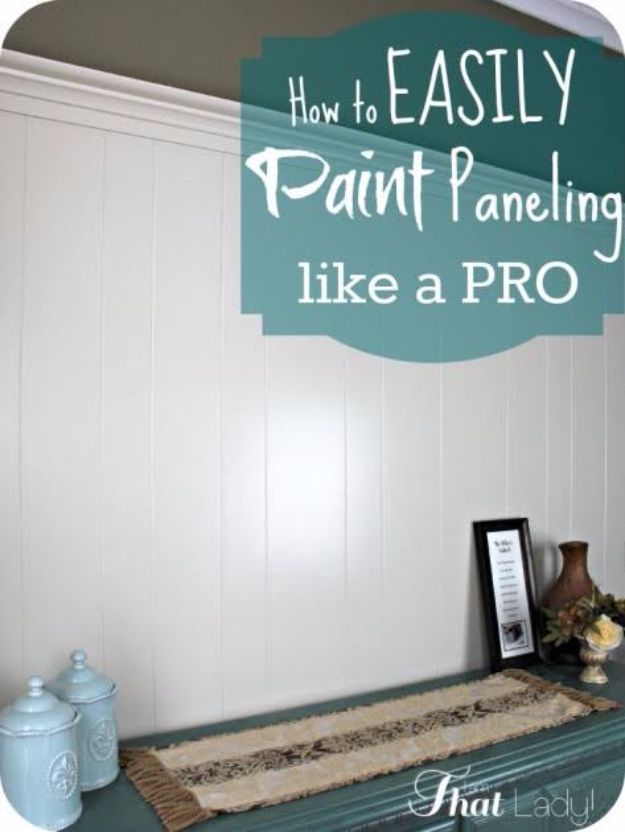
Dated paneling does not need demolition, it needs the right primer. Clean the panels of dust and any oily residue with mild detergent and warm water and let them dry completely, sand lightly to give the surface some tooth, then prime with a high-quality oil-based primer such as KILZ Interior Oil Primer. Oil is the specification that matters here, because it grips and blocks stains in a way water-based primers on glossy paneling do not. Then one coat of good latex on top. Tinting the primer toward your finish color can genuinely save you a second coat.
Get the full tutorial at The Savvy Mama.
7. Repair A Hole In Your Ceiling Drywall
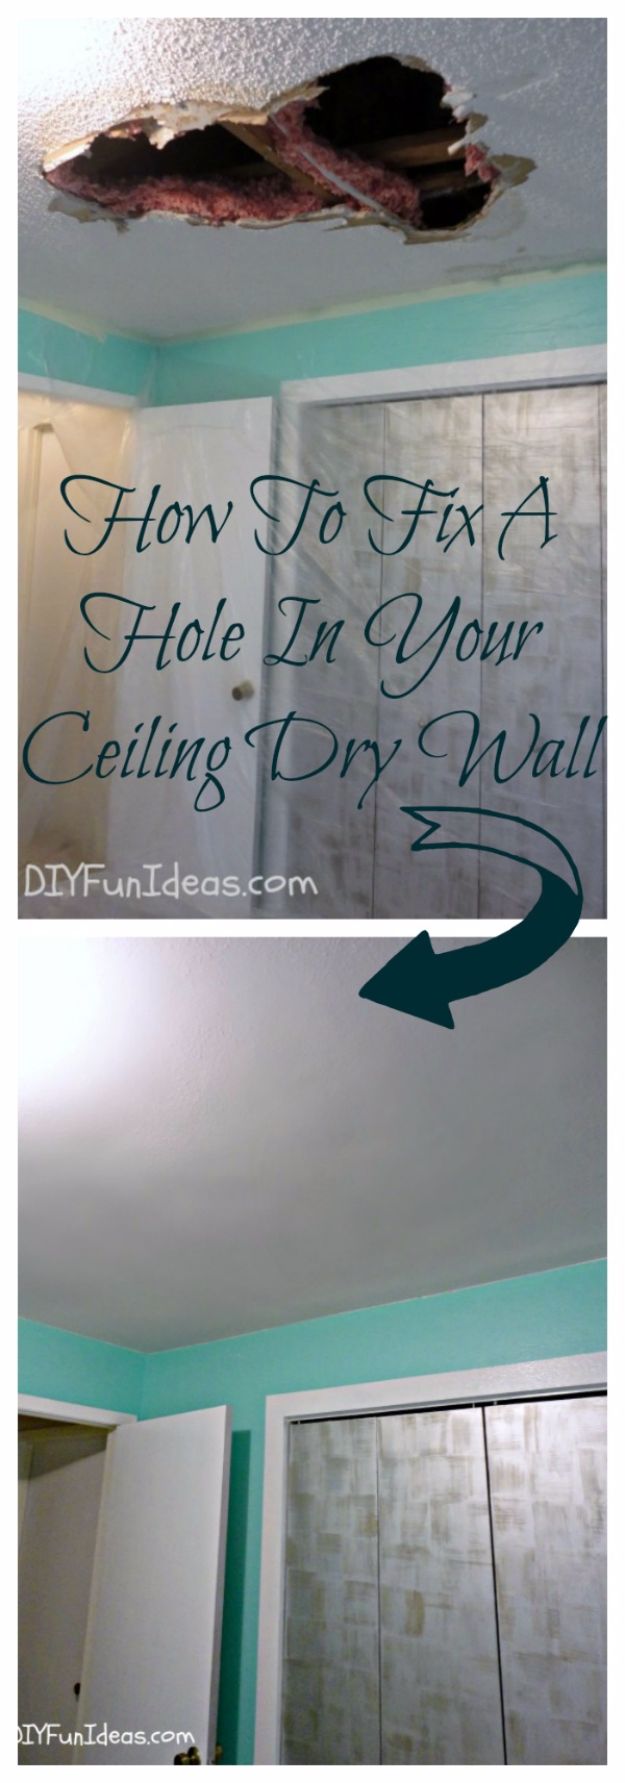
Worth knowing before you start: the author did not do this one herself, she photographed the repair crew who came out under an extended warranty after a blocked central AC drain line soaked the ceiling. The write-up is honest about that and still useful, because the steps are the same ones you would follow on a wall with more neck flexibility required. Her own experience is real too, since she has patched wall holes and hung new drywall in a laundry room. If yours started with drips, rule out the AC drain before you blame the roof.
Get the full tutorial at DIY Fun Ideas.
8. Fix Broken Mini Blinds
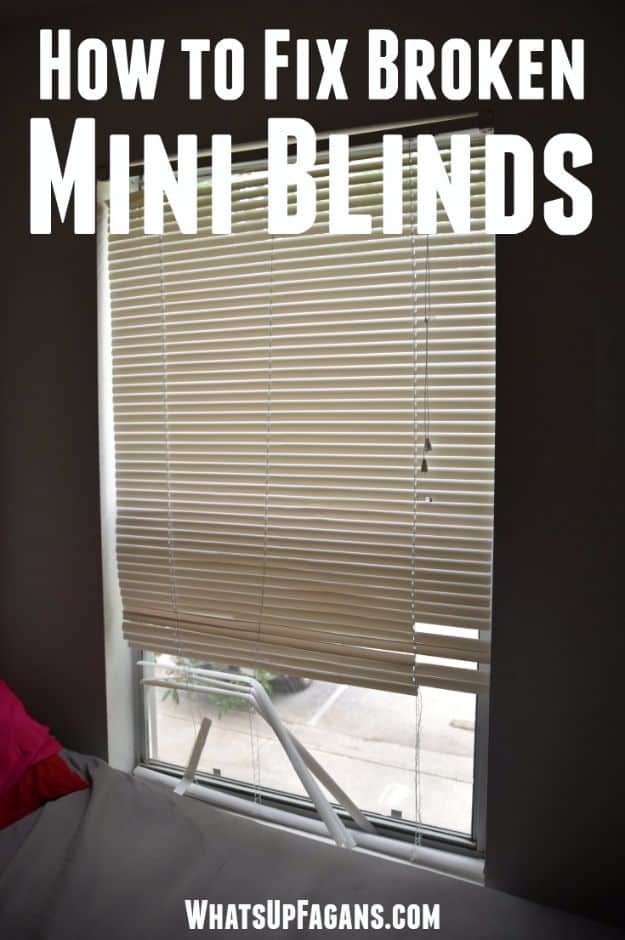
The economics here are the argument. An apartment complex will charge fifty dollars to replace a single mini blind, a job that takes them about a minute, and the blind itself costs three to six dollars. Blinds break in two predictable ways, bent slats and snapped lift cords, and both are fixable at home. Bent slats come out and get swapped for a donor slat taken from the very bottom of the stack, where nobody looks. Cords rethread with a fresh length and some patience. Renters in particular should learn this one.
Get the full tutorial at Home Cleaning Family.
9. DIY Oil and Vinegar Furniture Scratch Removal Trick
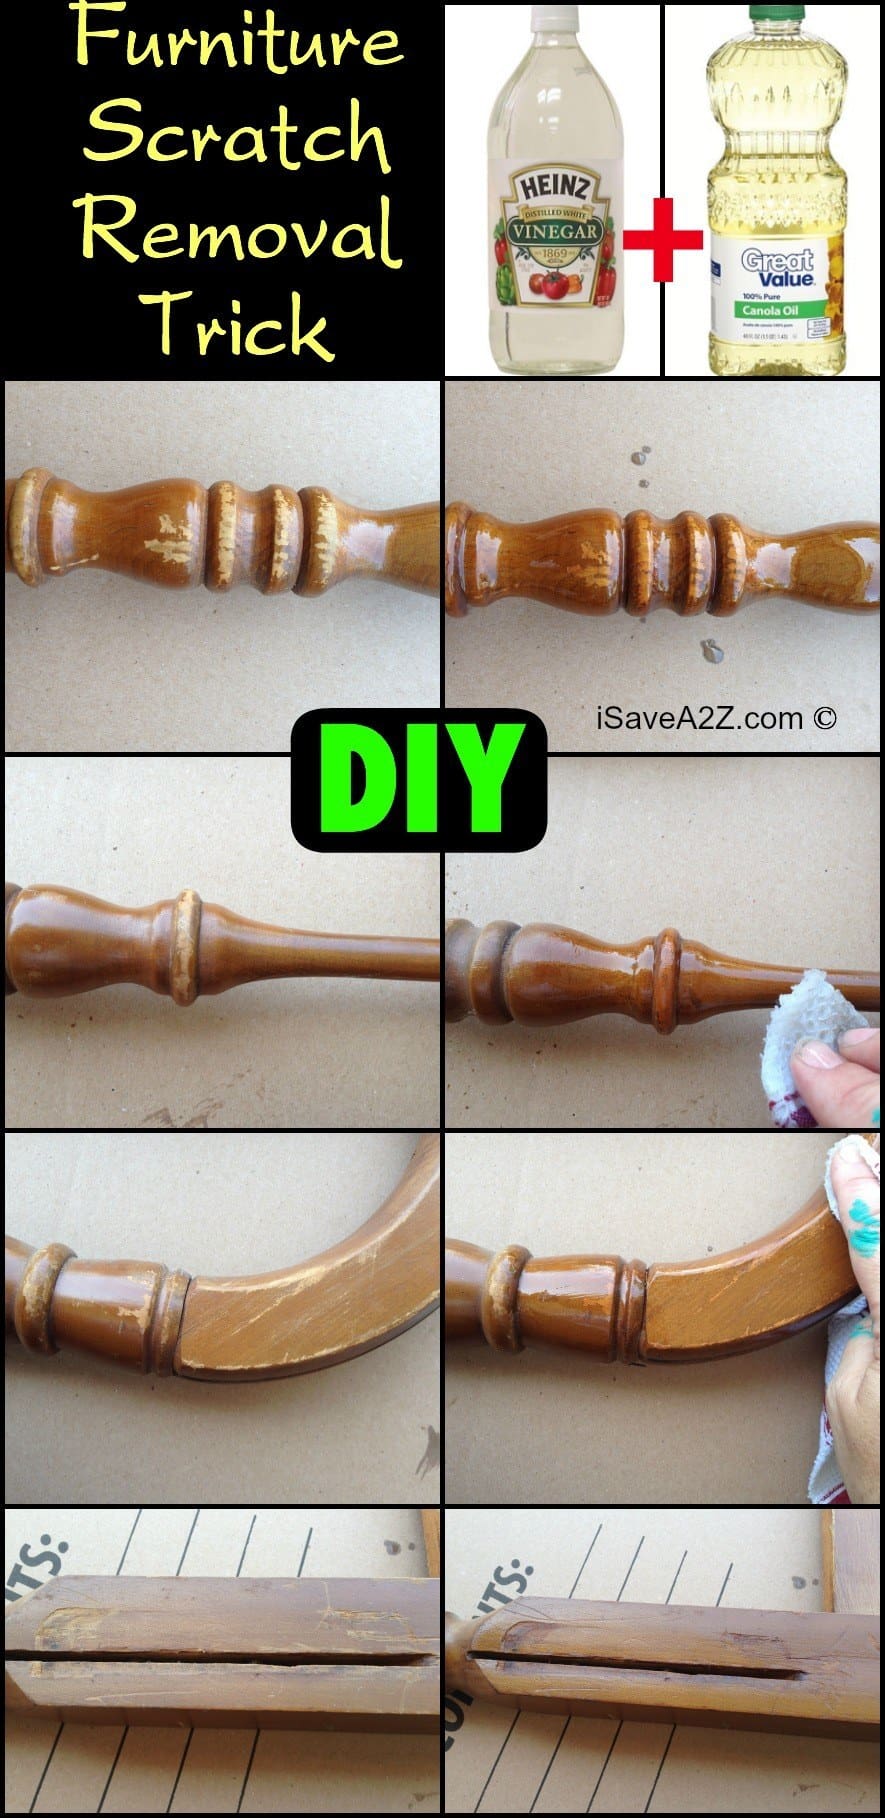
This is an old homemade furniture polish and the ratio is one part distilled white vinegar to two parts canola oil. Apple cider vinegar works identically if that is what is in the cupboard, and olive oil substitutes fine for the canola. Mix it, dip a polishing rag, and rub it over real wood furniture until the scratches fill in, then wipe off the excess with a clean towel. For a deep scratch, color it in first with a permanent marker in a matching shade, a brown Sharpie being the usual pick. She is clear it is for real wood, and says she has never tried it on cheap flat-pack furniture.
Get the full tutorial at iSaveA2Z.
10. Repair A Hole In Vinyl Siding

The product is vinyl adhesive caulk, and it comes in a handful of standard shades. If you know who made your siding you can sometimes buy an exact color match direct from them, but most of us inherit our siding with the house. Failing that, pick by depth rather than hue, so dark green siding takes a deep tone such as grey. Squirt it into each hole, work it in with a plastic putty knife, and tune the color afterward with exterior craft paints. This came out of patching twelve screw holes left behind by removed shutters.
Get the full tutorial at Craftivity Designs.
11. Fill Nail Holes
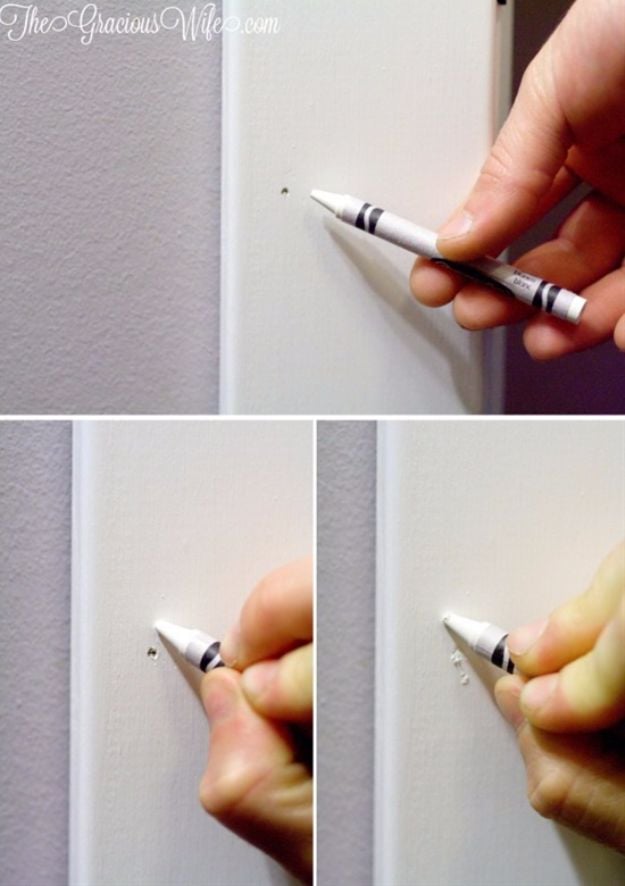
The trick here is a crayon, and it is better than it sounds. Wax filler sticks from the hardware store cost real money for what is essentially a stick of wax, and if there are children in the house you already own a box of ninety-six shades. Pick the crayon that matches your trim or stain, press firmly and color straight over the nail hole until it is filled. Any crayon that smears onto the surrounding trim wipes straight off with a dry rag. It was used on every nail hole in a full bathroom trim install, crown included.
Get the full tutorial at The Gracious Wife.
12. Paint A Bathtub
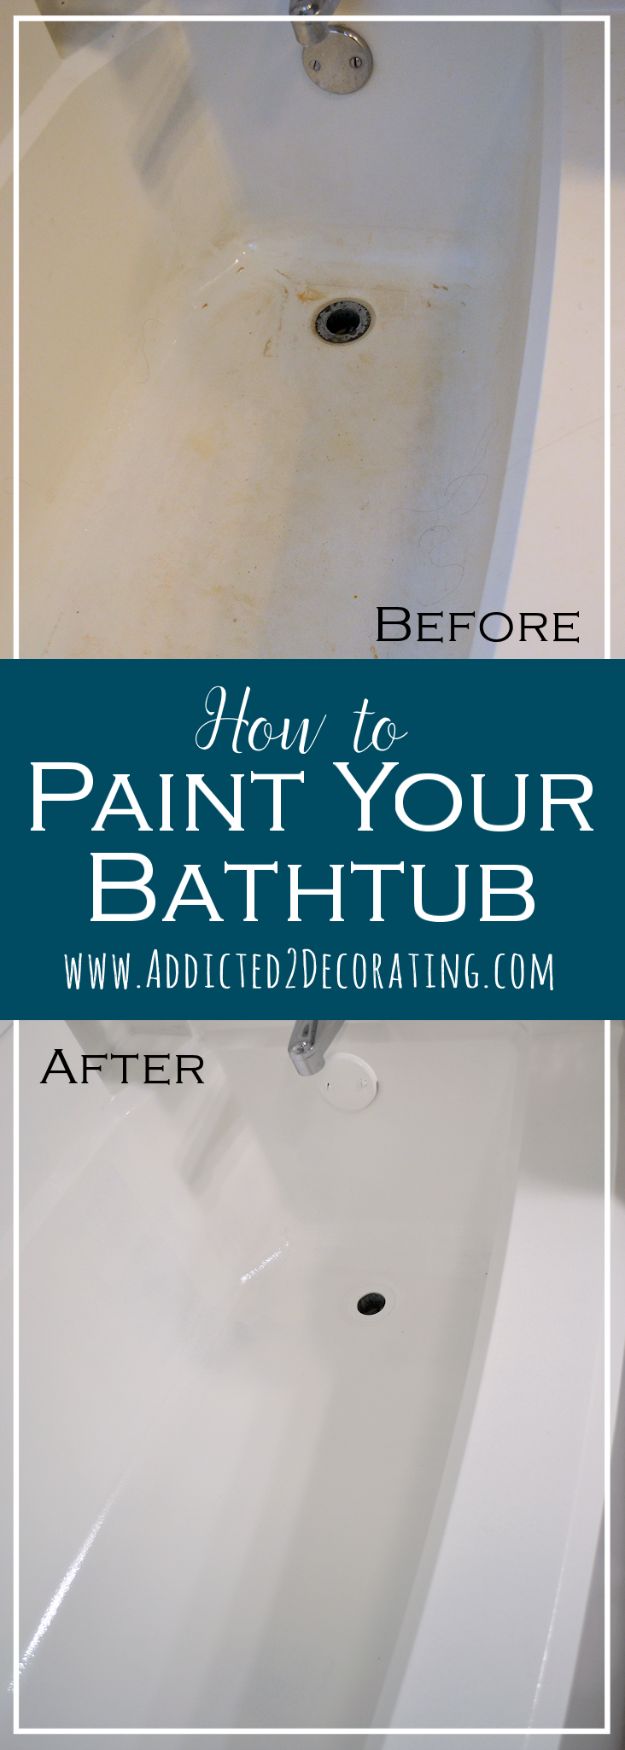
The product is Rust-Oleum’s Tub and Tile Refinishing Kit, a two-part epoxy you mix in the Part B container, rated for porcelain, ceramic and fiberglass. It goes on like wall paint: a two inch sash brush to cut in around the areas a roller cannot reach, then a regular 3/8 inch nap roller, not foam, for everything else. Working time was just over four hours and start to finish was roughly eight including drying, with about an hour and a quarter of that spent on prep. The writer’s own tub still showed no chips or peeling eight months later.
Get the full tutorial at Addicted 2 Decorating.
13. Plug or Fill Pocket Holes
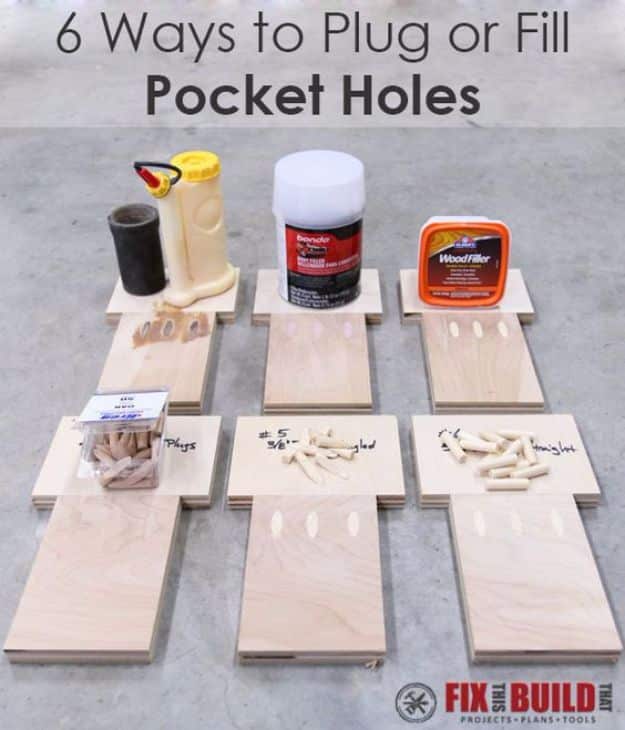
Six methods, three fillers and three plugs, laid out side by side with the pros and cons of each: wood filler, sawdust mixed with glue, Bondo, Kreg’s manufactured plugs, 3/8 inch dowels and cut-off plugs. The tools are a flush cut saw, a four-way rasp, a cordless sander, a Kreg mini jig and F-clamps. Everything was sanded back at 150 grit at the end. Match the method to the finish, because stained wood exposes what paint forgives, and there is a jig at the end of the post for making the author’s favorite method quicker.
Get the full tutorial at Fix This Build That.
14. Repair A Damaged Hollow Core Door
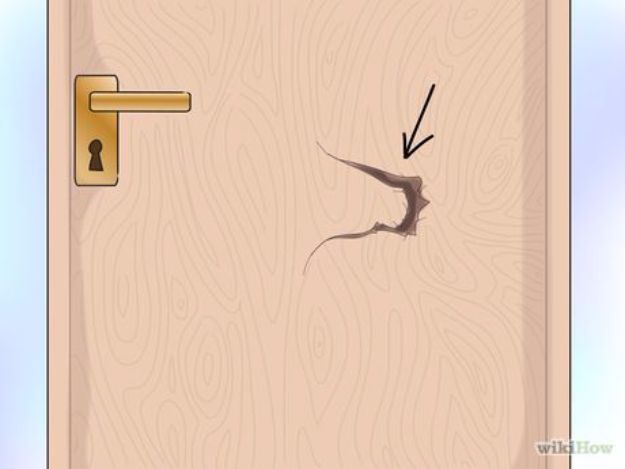
A hollow core door is mostly air, which is precisely why a punched-through panel repairs so well. The wikiHow guide is co-authored with a professional handyman and splits into two parts, patching holes and cracks first, then refinishing the door afterward, with a video and a tools list. Trim the ragged edges of the damage back before anything else so the filler has a clean perimeter to sit against, then fill the cavity, carve the cured filler flush, and take it through filler and paint. A new slab door costs real money and rarely matches the others in the house anyway.
Get the full tutorial at wikiHow.
15. Repaint your Trim like a Pro
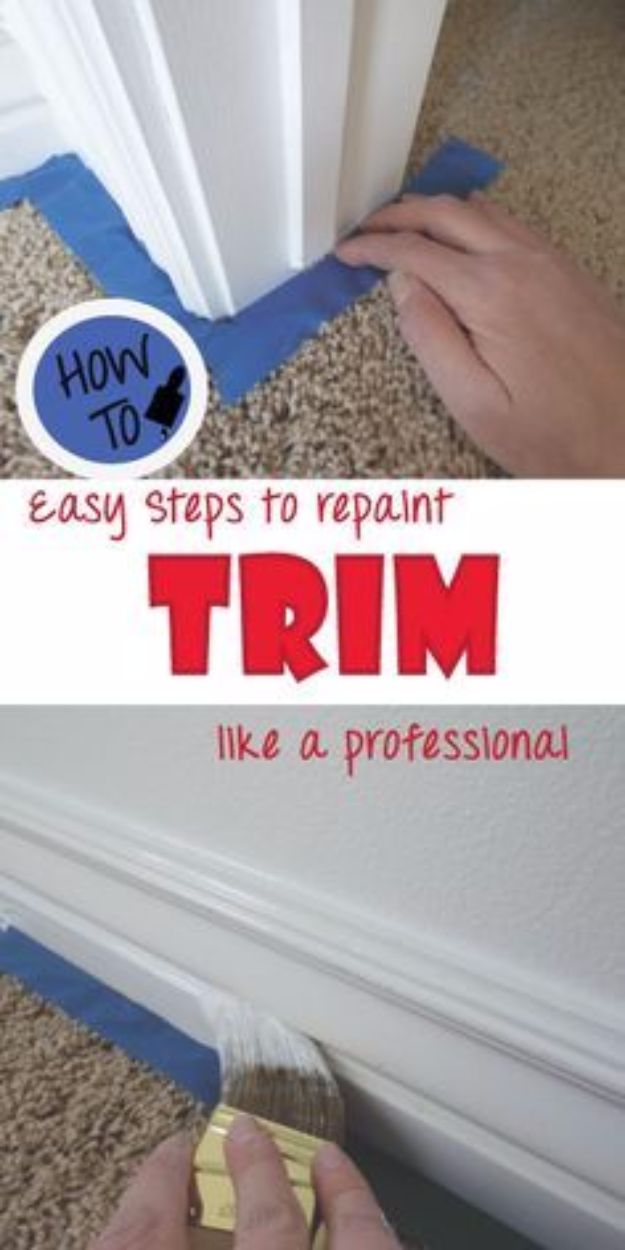
Four steps and one product you have probably never bought. Tape along the bottom edge and, if your hand is unsteady, the top too, getting the blue tape right up under the baseboard. Wipe the trim down quickly, because painting over dirt traps it and leaves a bumpy finish. Then stir Floetrol into the paint, a conditioner that lets the brush marks level themselves out. Cut in the crevices and the detailed woodwork with the edge of the brush first, then pull the brush slowly toward you along the top and finish the face in long horizontal strokes.
Get the full tutorial at Painted Furniture Ideas.
16. Unclog a Drain
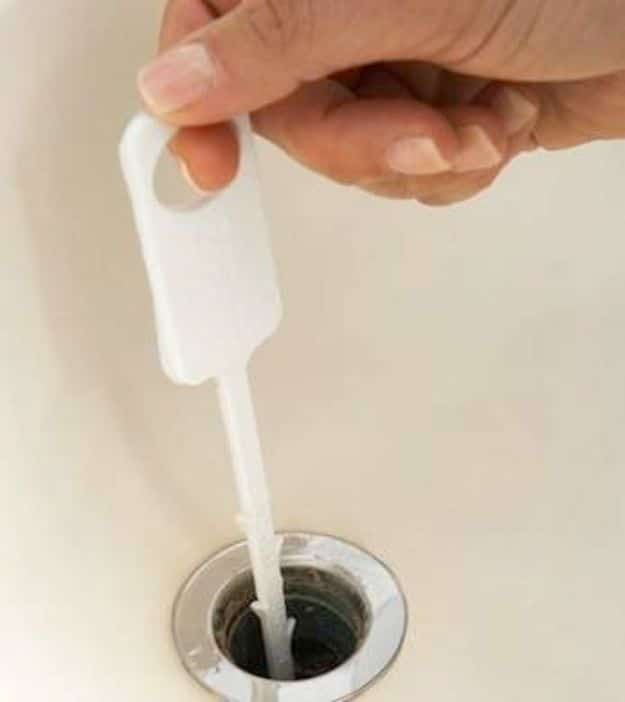
Five methods in order, thirty to forty five minutes, and a cost of nothing up to about fifty dollars. The plunger goes first, because pressure clears the most common clogs without introducing anything into the pipes. One genuinely important caveat: if your drain pipes are PVC, use hot water but not boiling water, since boiling water can damage them. Gloves and eye protection go on before hot water or any drain cleaner comes out. Work out which method you are using before you go to the store, because the supply list differs a lot between them.
Get the full tutorial at Bob Vila.
17. DIY Window Screen Repair, Easy and Inexpensive
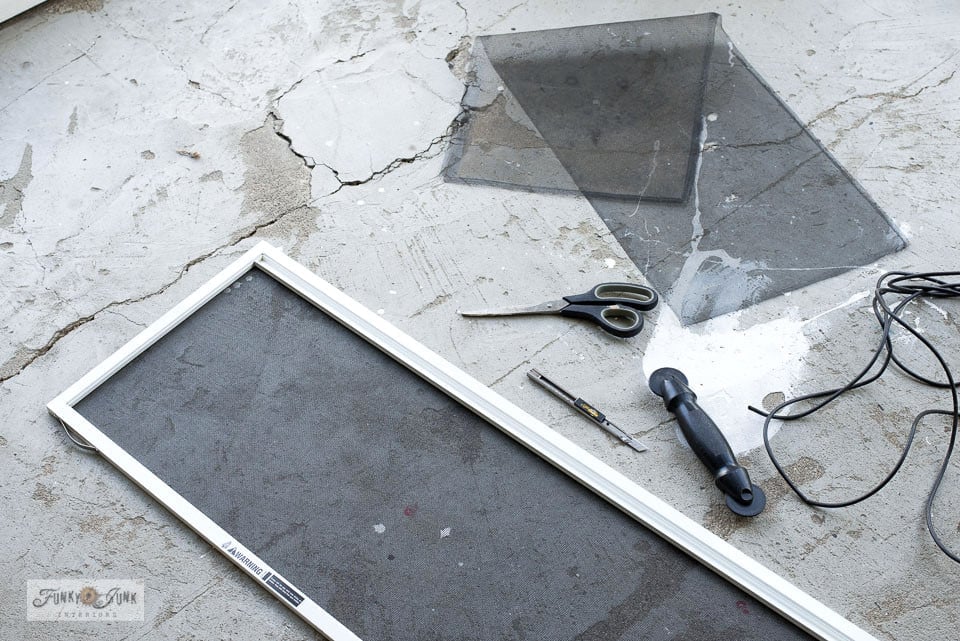
Screens go when the sun weathers them, a pet puts a claw through, or a tear turns into a pull that draws your eye every time you look out. The repair is genuinely simple once you have seen it: the old spline gets pulled out of the channel, the tired mesh comes off, fresh screen material is cut to size, and a spline roller presses new spline in around the frame so the mesh sits taut and wrinkle free. No tool beyond the spline roller is needed, and the author admits to living with torn screens for years before discovering it took one afternoon.
Get the full tutorial at Funky Junk Interiors.