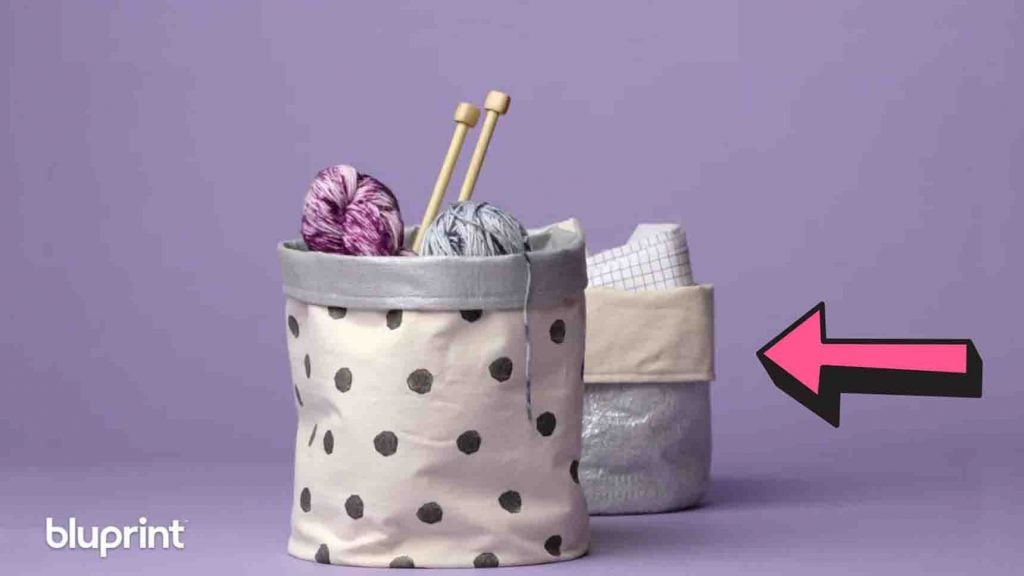
If you’re looking for an easy sewing project for the weekend, try making this fabric basket from Craftsy on Youtube. This is a no-pattern project, and you can stitch it up in less than an hour. This sewing idea is also perfect for organizing your stuff in your craft/sewing room. Watch the video tutorial below to learn the step-by-step instructions.
Materials:
- disappearing ink
- 12″ plate
- choice of fabric
- scissors
- tape measure
- liner fabric
- stabilizer fabric (optional)
- pins
Directions:
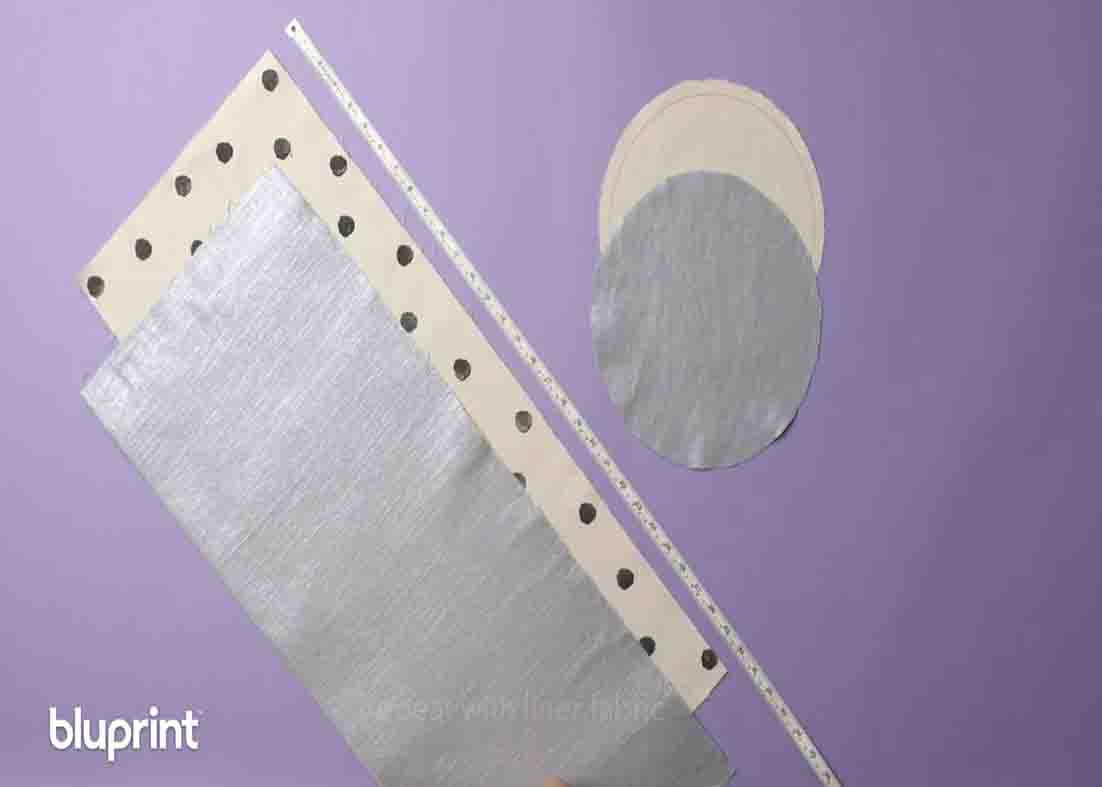
Step 1
Grab your base and trace a 12″ plate over it with a disappearing ink ballpen, then cut it with a 1″ seam allowance. Next, using your tape measure, measure the plate and add 1″. Cut your fabric using this measurement. (The final size of the fabric would be 30″ length x 12″ width). Repeat this with the liner fabric. Get your main fabric and fold it with the wrong side facing outside. Put some pins on the opening to secure it, then sew it. Mark both sides of one of the longer edges, open up the fabric, and line up your marks. Mark both sides again, then fold the round base and mark the four sides.
[social_warfare]
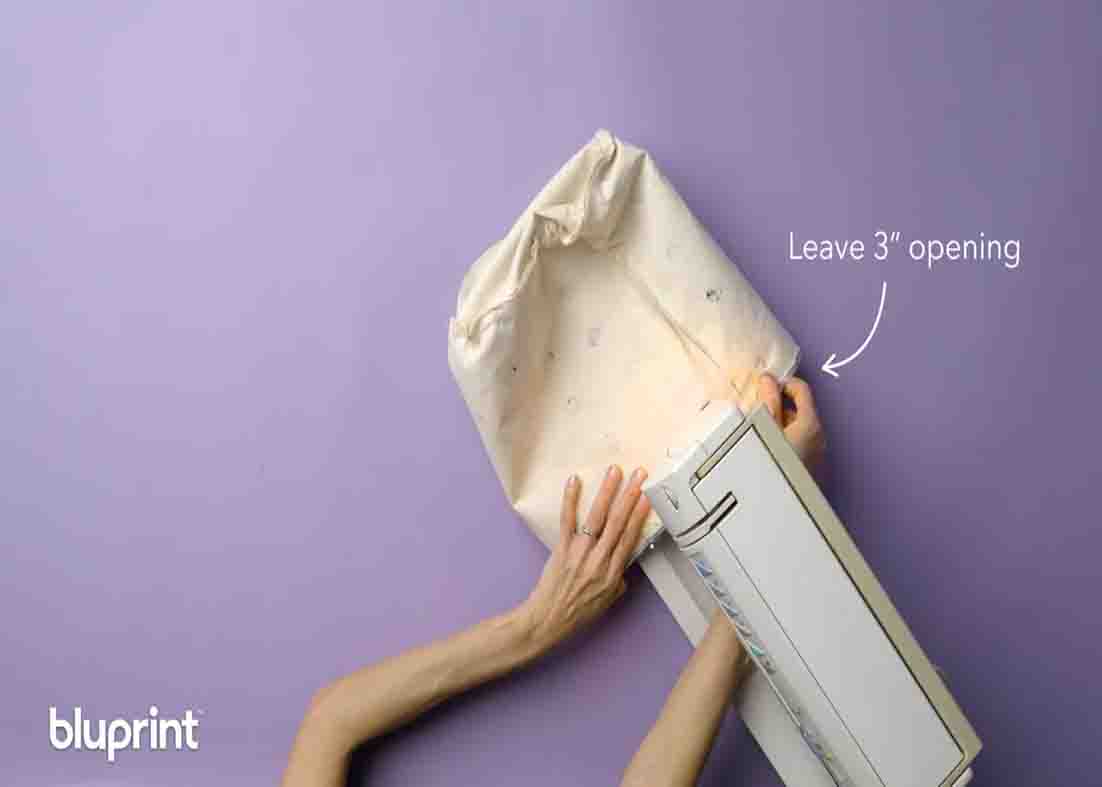
Step 2
Align all four marks together and secure with pins, then sew. Repeat this process with your liner fabric as well, then flip the main fabric on the wrong side while the liner fabric on the right side. Next, put the liner inside the main fabric, secure the edges with pins, then sew. (Leave a small gap). After sewing, flip the fabric inside out from the gap. After flipping, sew the gap to close it.
Easy 1-Hour Fabric Basket Tutorial


