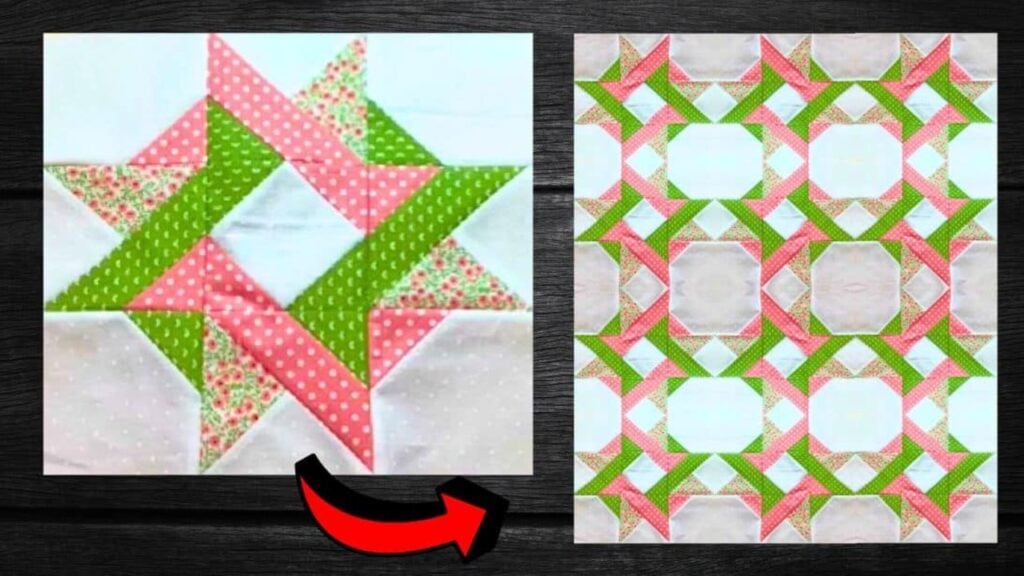
I’ve been very busy sewing for a couple of days now and I finally get to rest and watch videos online, which might be a mistake because I suddenly found myself looking at quilt tutorials! When I saw this beautiful entwined star quilt block by Poppy Patchwork on YouTube I knew that I’d be back quilting sooner than I had planned.
RELATED: How to Make a Criss-Cross Star Quilt Block
She used very beautiful fabrics and the result looked so lovely, it was also easier to piece than I initially thought, and I think this would be a good practice for beginners to advance their quilting skills. Learn the steps to making this pretty quilt block now by watching the video tutorial below.
Materials for Entwined Star Quilt Block:
- Background fabric
- Fabric A
- Fabric B
- Fabric C
- Marking pen, pencil, or chalk
- Ruler
- Scissors or rotary cutter and a cutting mat
- Needle and thread
- Iron, for pressing
- Sewing machine
How to Make Entwined Star Quilt Block:
Step 1: Corner Square Unit, Variation A
- Get one 4.5-inch background square and two 2.5-inch squares of fabric B and C, then draw a diagonal line on the wrong side of the 2.5-inch squares from corner to corner.
- Place 2 small squares on the opposite corners of the large square with their right sides facing as shown in the video, then stitch along the drawn lines and trim ¼ inch away from the stitching.
- Press the seams toward the triangles, then repeat the same steps for the remaining corners using the leftover contrasting squares, and set the block unit aside.
Step 2: Corner Square Unit, Variation B & C
- Use four 4.5-inch background squares and two of the 2.5-inch squares of fabric B and C, then draw a diagonal line on the wrong side of the 2.5 squares.
- Place a small square on one corner of each large square with their right sides facing, then pin them in place, and stitch them along the line.
- Trim away ¼ inch from the stitching, then press the seams towards the triangles, and repeat the same steps for the rest to make a total of 4 units. Set them aside.
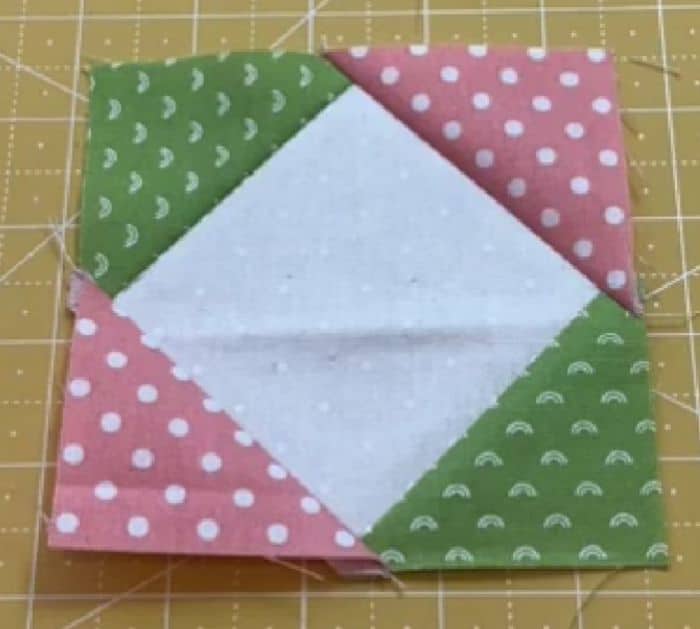
Step 3: Identical Split Square Unit
- Use 5¾ inch squares in the background and fabric A, then mark 4 diagonal lines on the wrong side of the background fabric going from both directions as shown in the video, they should form a cross.
- Lay the squares together with their right sides facing, then pin them in place, and sew them according to the marking line shown in the video. Cut across both directions diagonally, then press the seams toward the darker fabric, and set them aside.
- Use 5¾-inch squares in fabric B and C, then cut them in half diagonally, and piece each half to the previous triangle units you’ve made to complete the block. Stitch them with ¼ inch seam allowance, then trim them into squares at 4½ inches, and press nicely.
Step 4: Corner Square Unit, Variation D
- Use the split square units and four of the 2.5-inch squares in fabric B and C, then draw a diagonal line on the wrong side of the small squares.
- Pin a square in the corner of the larger triangle of the split square unit with their right sides facing, and make sure that they’re in opposite corners as shown in the video.
- Stitch along the line, then trim away ¼ from the stitching and press the seams toward the small triangle.
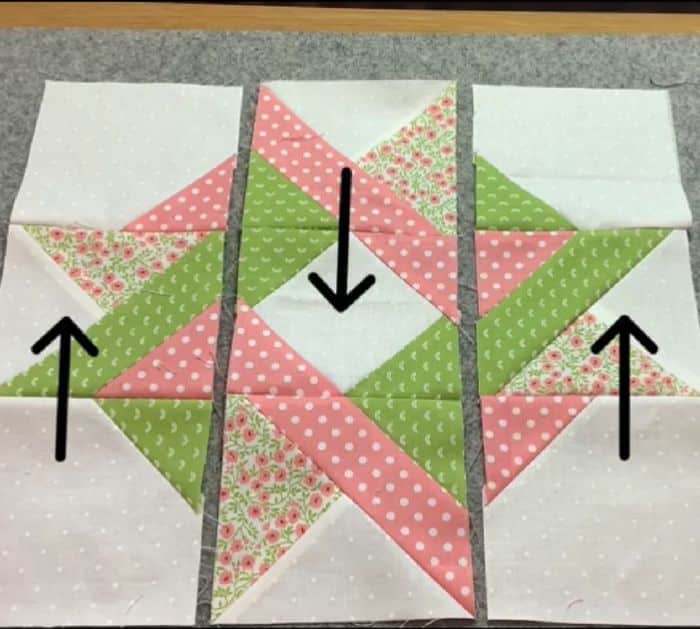
Step 5: Assemble the Block Units
- Do the same steps above to the remaining pieces, then give all of the block units a nice press, and lay them out as shown in the video.
- Pin the bottom rows together in columns matching their points, then stitch them with ¼ inch seam, and return them to the block layout.
- Stitch the top columns to the bottom, then press the seams in opposite directions, and pin the side column to the center matching the seams and points.
- Stitch them together, then return to the block layout, pin the other column to the center, stitch, and press nicely.
*All image credit belongs to Poppy Patchwork via YouTube. Follow and subscribe to her channel for more!
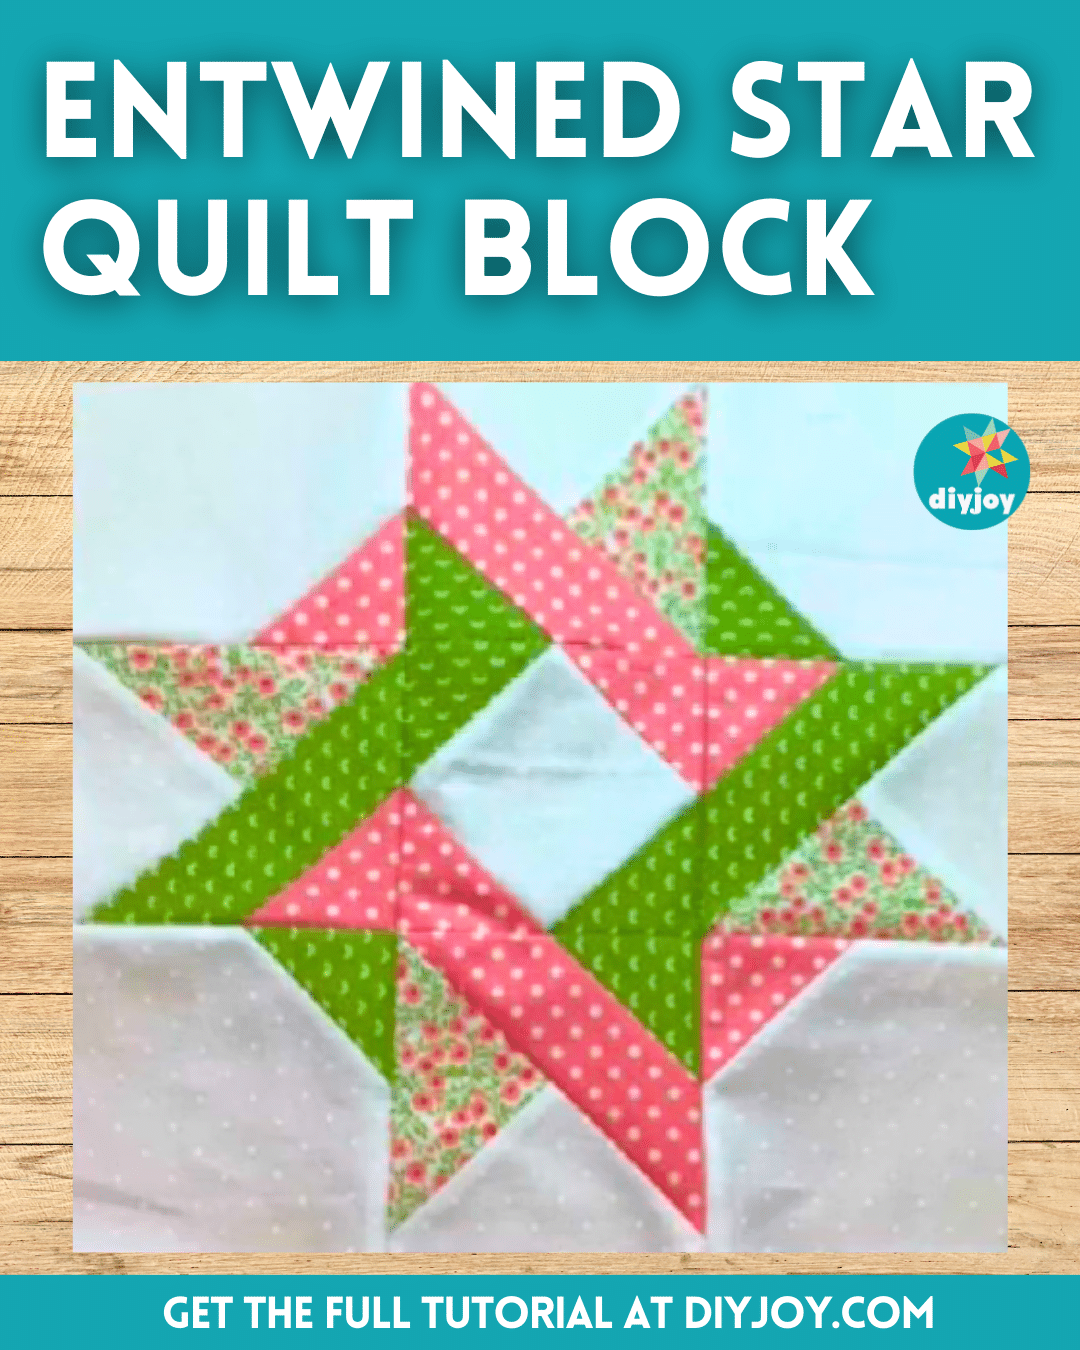
How to Make an Entwined Star Quilt Block


