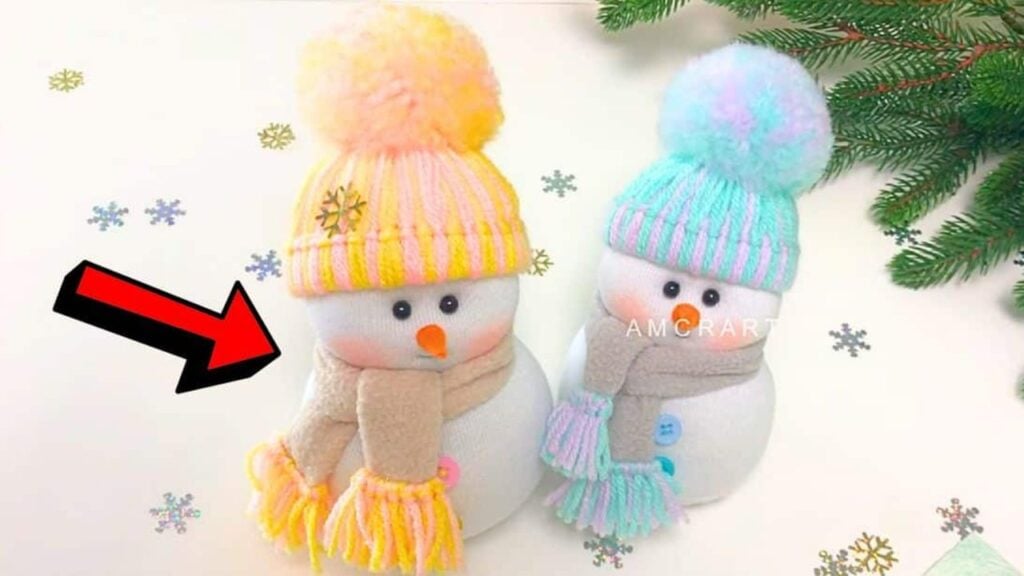
There are a lot of fun decor project ideas that you can find online and most of them are truly interesting and creative, but one of my most recent favorites is this DIY snowman by AMCRAFT on YouTube. This wonderful handmade snowman is made out of a sock and yarn, the result looks so fluffy and adorable, and I just can’t get over how cute it is.
RELATED: Easy DIY Snowman Treat Container Tutorial
This would make good decor or ornament for your tree, you can also gift this as a gift, or include this in your gift bag as a filler. You can also personalize the color of the hat and scarf to your preference and add more details, too. Check out this video tutorial to see for yourself and try making one today!
Materials for DIY Sock Snowman:
- White sock
- Scissors
- Ruler
- Cardboard
- Yarn, any color
- Poly-fil fiberfill
- Beads
- A small piece of orange felt
- Needle and thread, regular and embroidery
- Fleece fabric
- Hot glue gun and glue sticks
How to Make a DIY Sock Snowman:
Step 1
Cut off the sock straight under the heel part, then cut round cardboard with a 2.5-inch diameter, and insert it into the sock pushing it down the toe part. Stuff it with poly-fil until it’s about wider than the original size, then decide where the body and head would be, and on that partition sew a running stitch. Pull the thread tightly, then knot it securely, cut off the excess, and stuff more poly-fil on the head as needed.
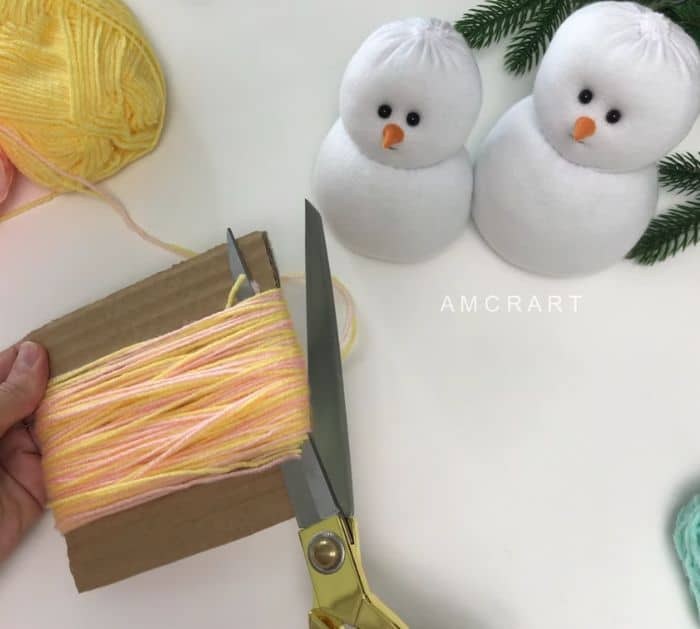
Step 2
Sew the edges of the opening closed and knot securely, then sew the beads for the eyes, make a nose using a piece of felt, and hot glue it to the eyes. Embroider the mouth, then cut a strip of cardboard, and connect the ends with hot glue making sure that the size fits the head nicely. Wrap 2 yarns around cardboard that’s 5.5 inches long, then do it 60 times, cut the excess, and cut the one end of the loop.
[social_warfare]
Step 3
Take 3 threads and fold them in half, then loop them around the cardboard ring as shown in the video, and repeat all the way around. Set the hat piece aside, then measure the scarf length of the snowman, and cut out the fleece fabric. Fold the fleece in half lengthwise right sides facing, then sew along the long sides with a running stitch, and push it inside out. Wrap 2 yarns around 3 fingers 15 times, then cut through one side of the loop, and loop it around a folded yarn as demonstrated in the video. Attach the yarn piece to each end of the scarf, then trim the edges straight, and set it aside.
Step 4
Now back to the hat, wear it to the heat of the snowman, then open the strands up to reveal the top of the head, and dab hot glue around the inner edges. Gather the ends of the hat to the top of the head, then wrap a yarn around it close to the heat, and knot tightly. Wrap the yarn a few more times around it, then knot securely, and trim off the excess. Shape the excess yarn and fluff the strands as demonstrated in the video.

*All these images are credited to AMCRAFT via YouTube. Give her channel a visit and subscribe for more!
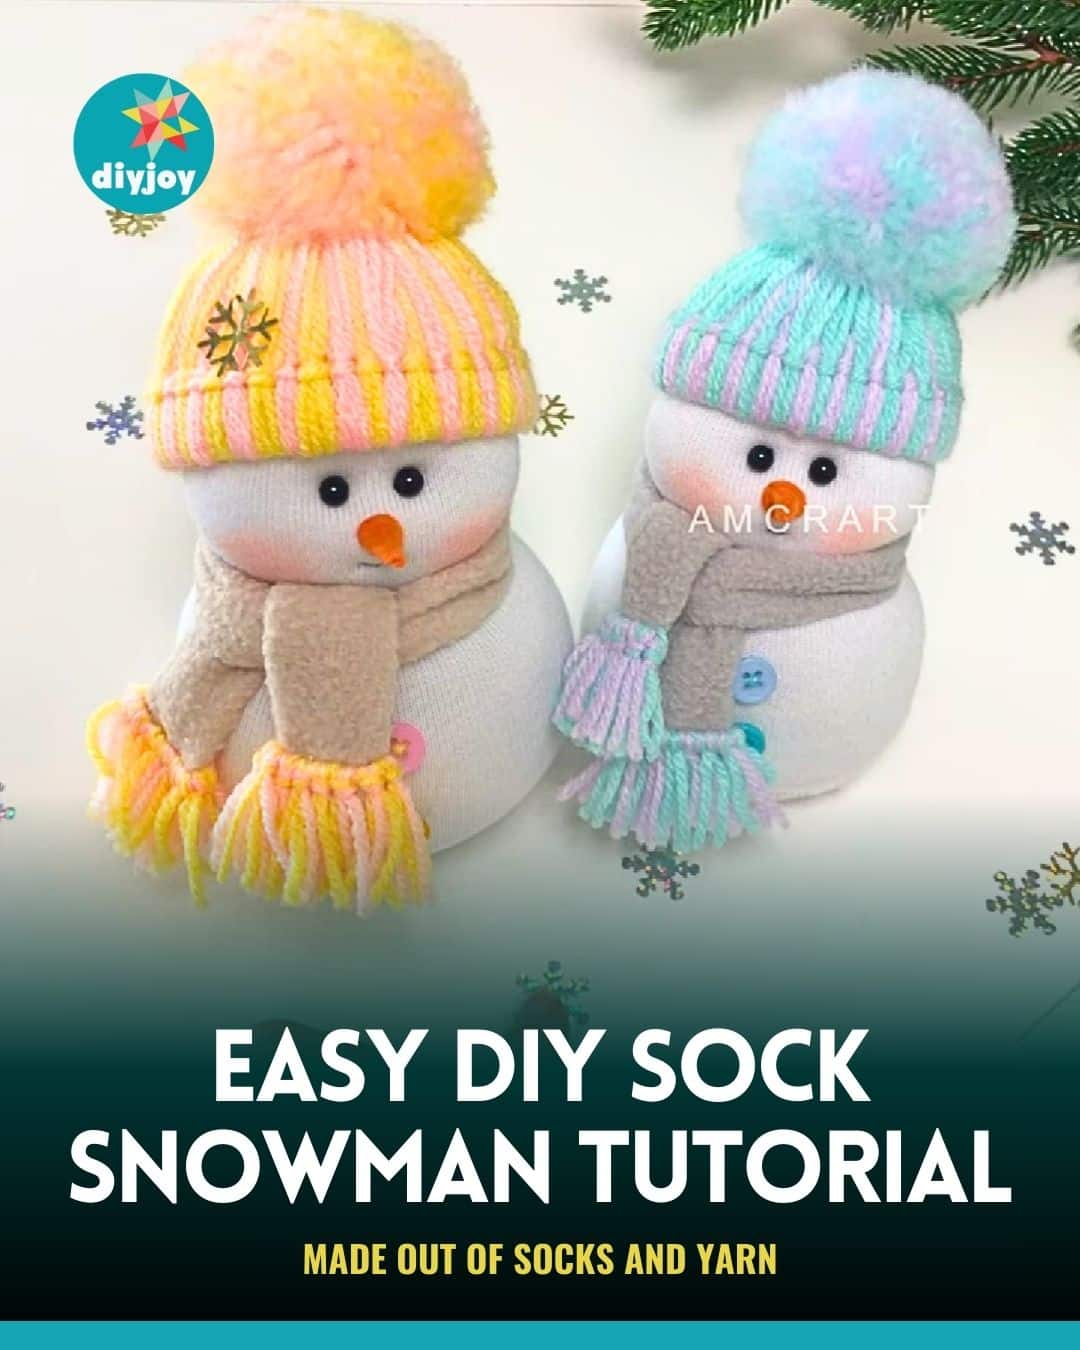
Easy DIY Sock Snowman Tutorial


