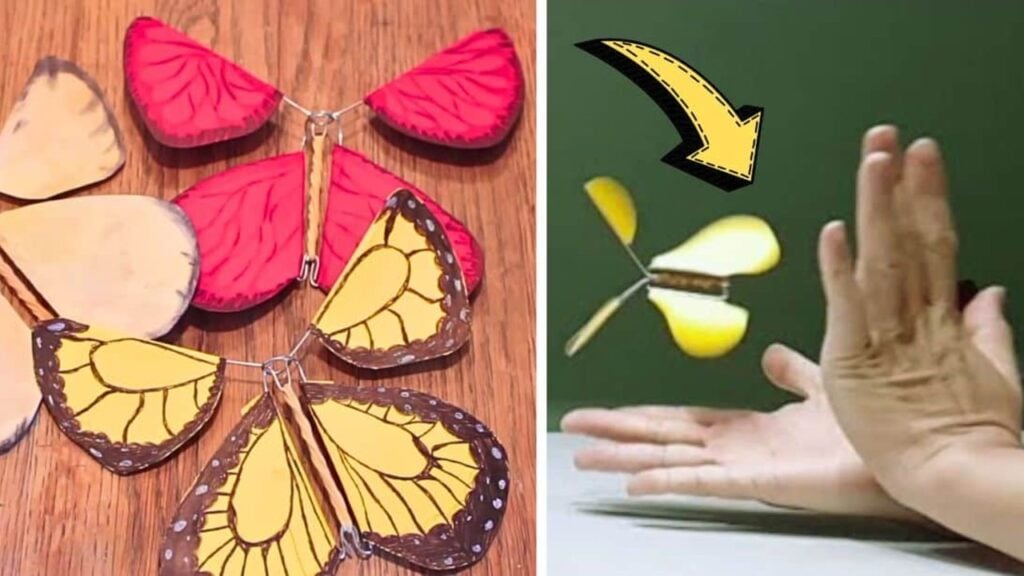
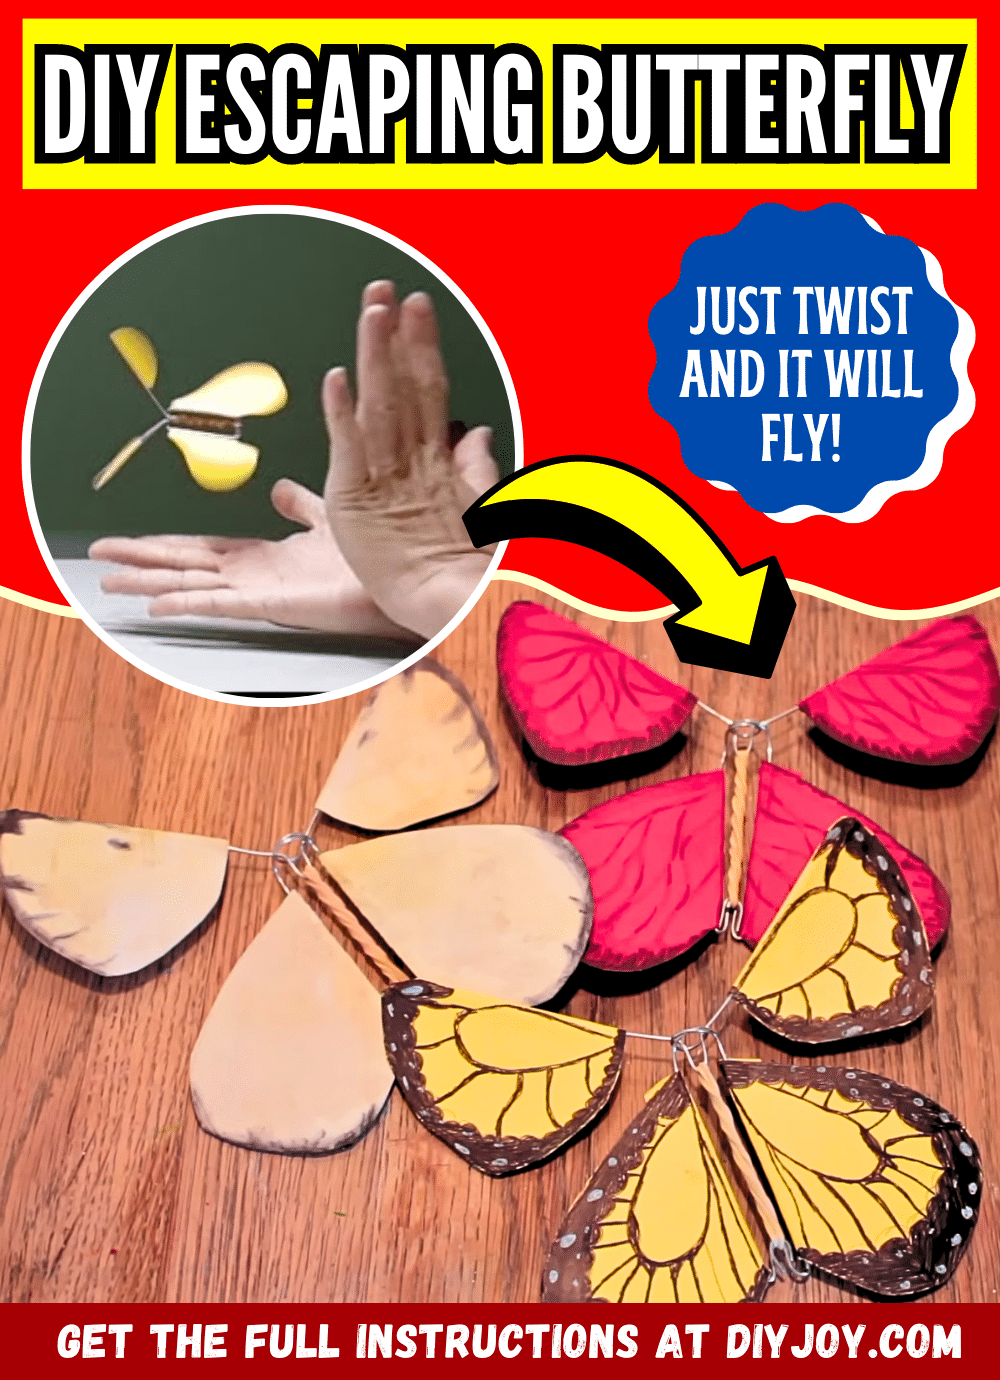
Make your greeting cards more fun and exciting by adding a few of these lovely DIY escaping butterflies inside for a pleasant surprise! I’m sure your loved one will smile once they receive your card. Learn how now with this video tutorial by Natalia’s Toolbox on YouTube, it’s super easy to make, and the instructions are very simple to follow. You can also make these butterflies in different sizes if you want and use different colors of paper. I hope you love this DIY project as much as I did. Enjoy!
Materials:
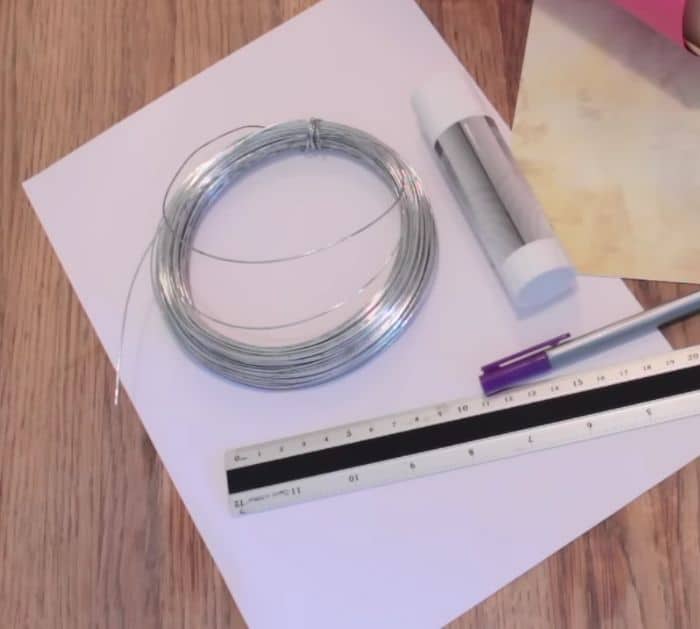
- Regular paper
- Rubber band
- 0.7mm wire
- Colored construction paper
- Marker
- Pen
- Glue
- Ruler
- Pliers
- Scissors
- Flying butterfly template (Click here to see the template)
Directions:
[social_warfare]
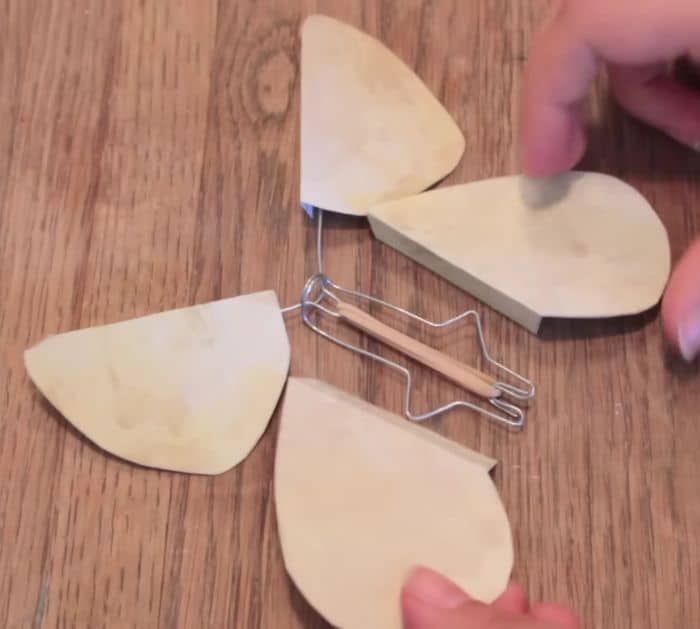
Print out or trace the template on a paper, then cut the wings out, and trace them on your colored paper. Using a ruler, fold the straight edge of the wings, then fold it back, and squeeze the edges nicely. Set them aside, then cut a piece of wire 6.5 inches long, and fold it in half squeezing the end with pliers. Shape the wire using the stencil guide, then cut another piece of wire 9.8 inches long, and shape the body of the butterfly according to the stencil. Insert the rubber band and assemble the body of the butterfly as demonstrated in the video, then glue the wings to the wire, and add some more details or design to the wings using your marker. Twist the butterfly before inserting it into your card or letter!
*Thanks to Natalia’s Toolbox via YouTube for all the images used here. If you love this DIY project, then you’ll surely love her other video tutorials too, so give her amazing channel a visit and subscribe!
How to Make DIY Escaping Butterfly


