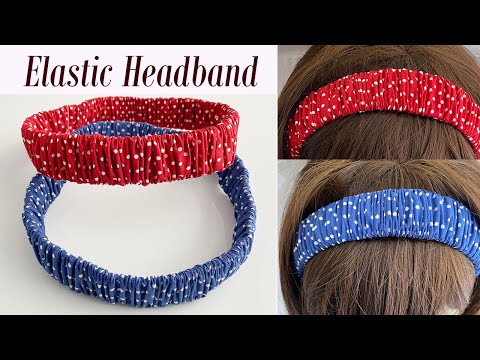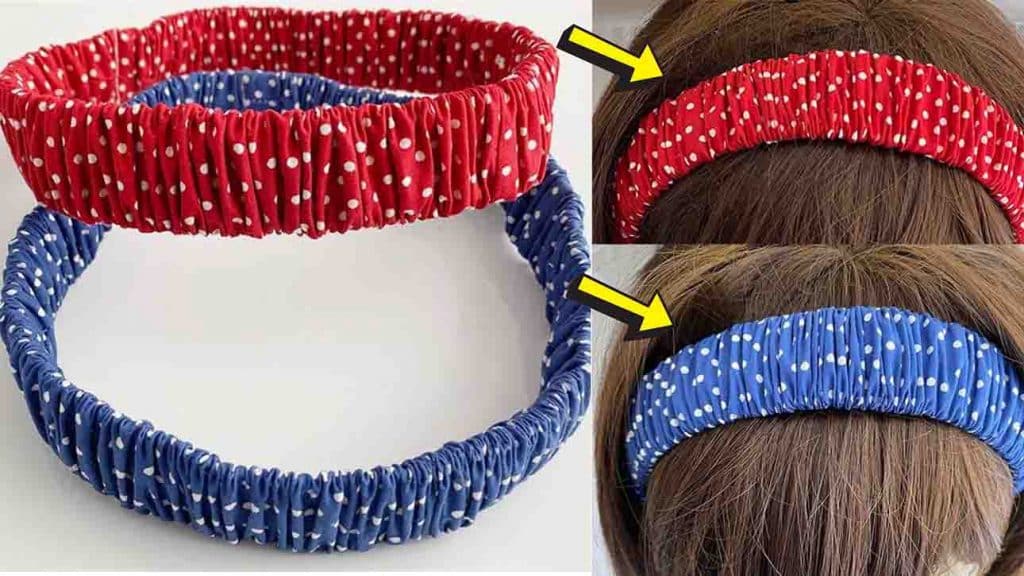
The satisfaction of making things we can wear is pretty great, and although you’re not a master seamstress, you can start by making small accessories, like this DIY elastic headband from Red Blossom Designs on Youtube. It’s a beginner-friendly sewing project you can make during the weekend. It’s also super cute that I bet you will always wear this! Learn how to make this by watching the video tutorial below.
Materials:
- 3cm wide x 53cm long elastic band
- 8cm wide x 140cm long cotton fabric
- scissors
- pins
Directions:
Step 1
Cut the fabric in the measurement mentioned above. (If you don’t have a strip of fabric long enough, you can always join two or three fabrics together.) Fold the end from the wrong side, then fold it vertically in half, with the wrong side facing outside. Secure with pins. Sew it with a 7mm seam allowance. After sewing, turn the fabric inside out. Next, place the elastic band inside the fabric. (Carry the elastic band through the fabric hole with the help of a safety pin attached to its end.)

[social_warfare]
Step 2
Join both ends of the elastic by sewing them together. Next, secure the fabric by sewing them together also. Fix the fabric nicely to the elastic. You now have an elastic headband.

Easy DIY Elastic Headband Tutorial