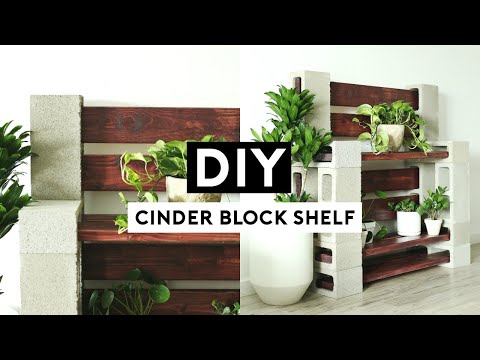
Are you searching for a quick and fun project to do? This super easy DIY cinder block shelf from Nastazsa on Youtube will surely make you fall in love! You can arrange a little greenery display on this shelf or even books or picture frames – it’s absolutely up to you. It’s also inexpensive and will definitely brighten up your space. Learn this by watching the video tutorial below.
Materials:
- 12 pieces of cinder blocks
- 10 pieces of 4×4 wood
- Purdy brushes
- purdy xl sprig 2″ flat for water-based pre-stain wood conditioner and water-based color stains
- purdy syntox 2″ flat (for clear protective finish application)
- sandpaper
- Minwax water-based pre-stain
- Minwax wood finish water-based semi-transparent color stain (rustic cherry color)
- Minwax polycrylic (matte finish)
Directions:
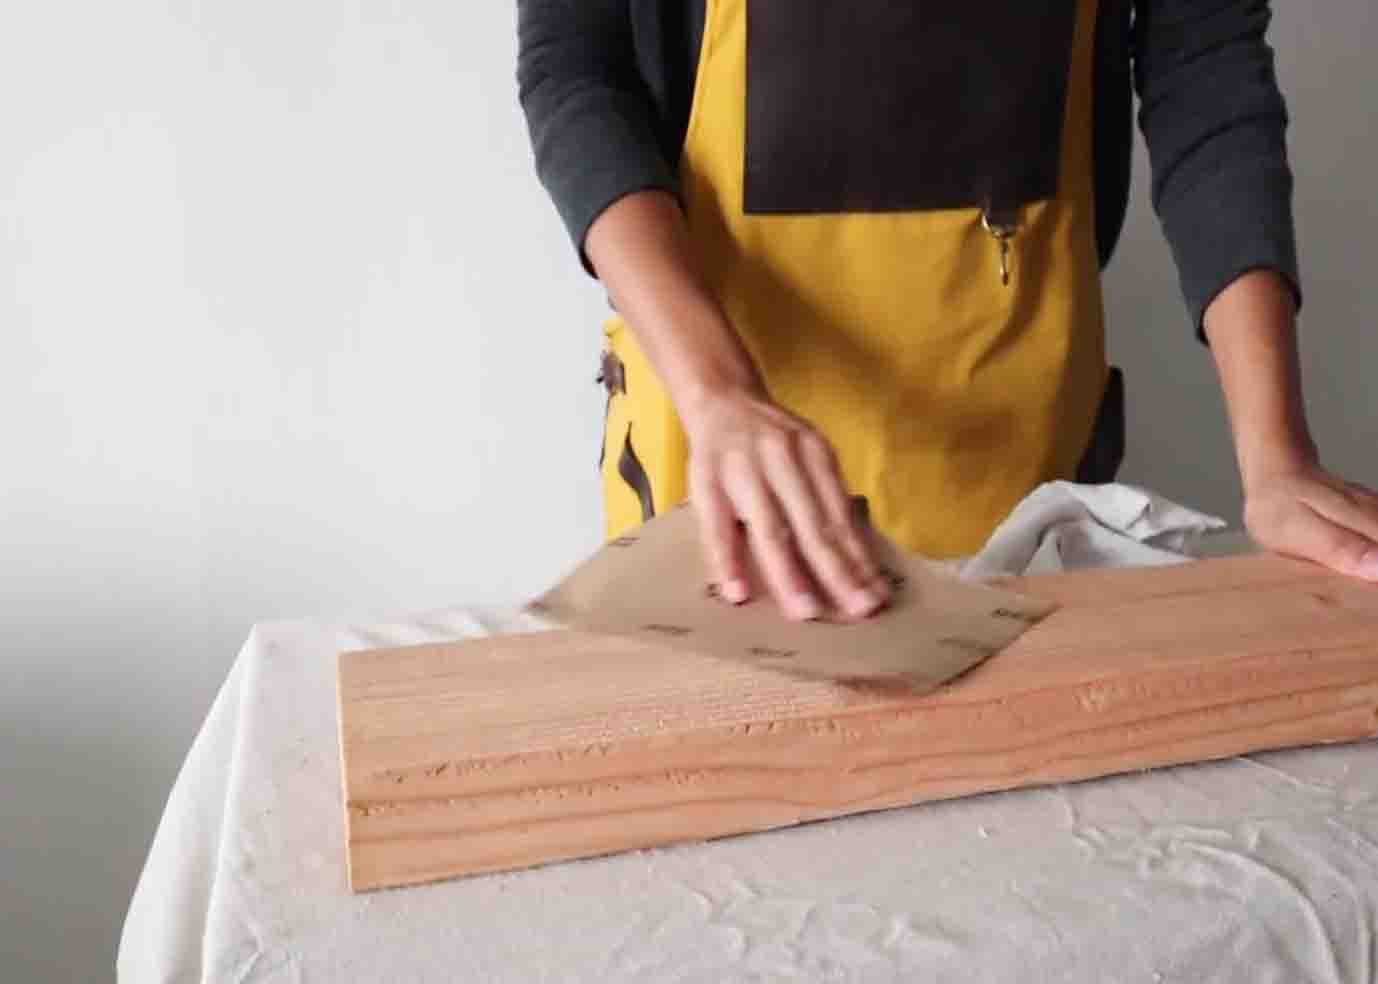
Step 1
Prep the wood by sanding it down in the direction of the wood grain. Clean up all the sanding dust using an old cloth or anything you can use to wipe the dust off of the wood. Next, condition the wood by using Minwax water-based pre-stain conditioner. Let the conditioner penetrate the wood for about five minutes, then wipe off the excess with a lint-free rag. Allow it to dry for about 15 – 30 minutes, then lightly sand it down to smooth any raised grain. After this, start staining the wood by going with the grain using a brush. Let it dry for an hour. Next, protect the wood by applying a thin coat of the polycrylic top coat. Let it dry for two hours, then sand it lightly. After this, add another thin coat of the top coat. Repeat the process until you have ten pieces of wood stained.
[social_warfare]
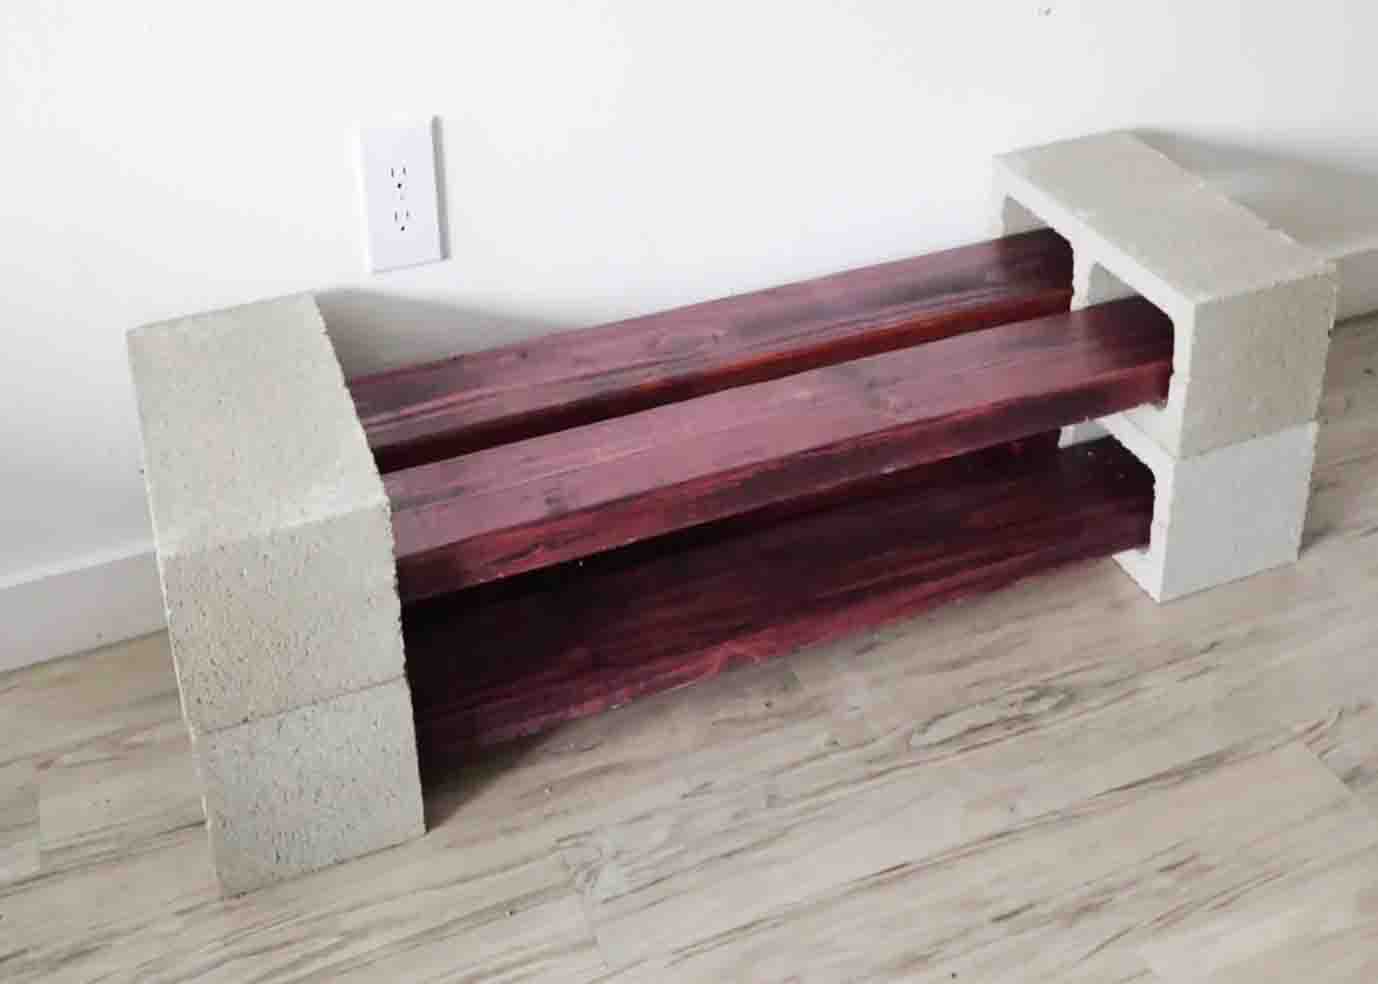
Step 2
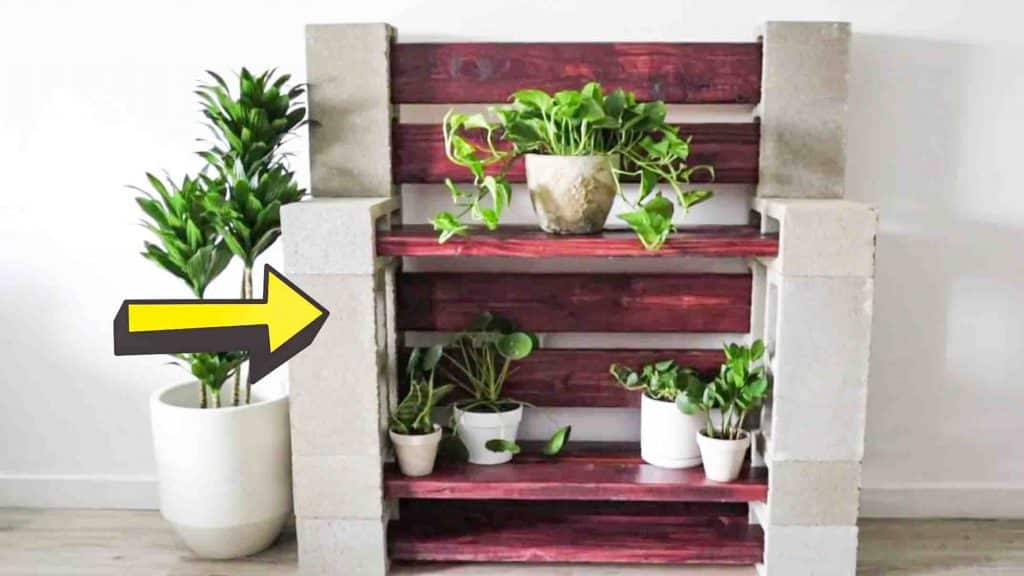
Take two cinder blocks and lie them flat on the floor, then slide in two wood planks. After this, stacked the second layer of cinder blocks on both sides and just repeat the same process. For the third layer, add two cinder blocks on each side, positioning them vertically, then add another layer of cinder blocks on top of each side. Put the planks through the cinder block holes. For the last layer, add two cinder blocks against the wall in a vertical position and add in the last two pieces of wood planks.
Easy DIY Cinder Block Shelf Tutorial