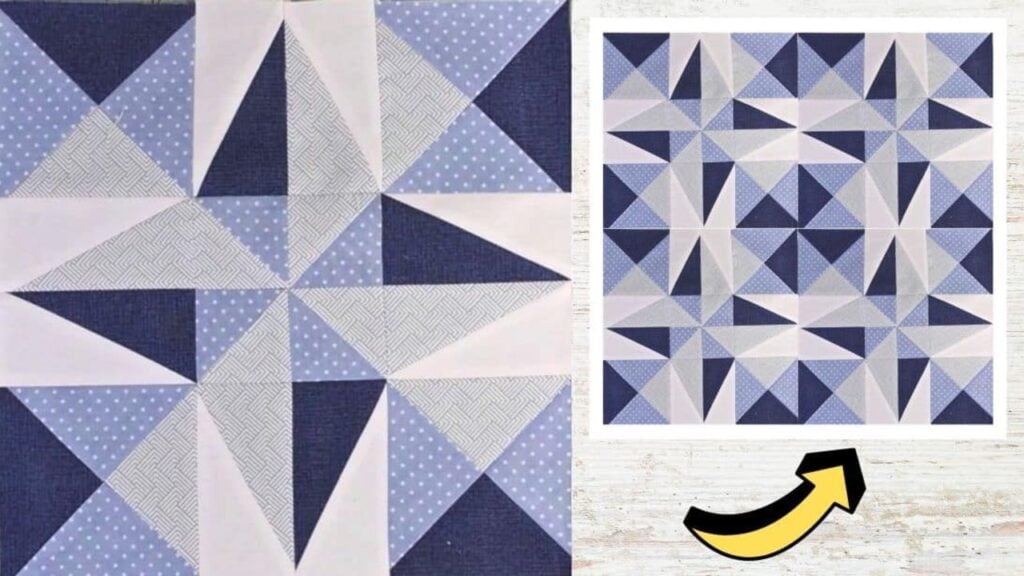
Optical illusion quilts are one of my favorite types of quilts because they are so fun to look at and very exciting to put together. At first, you’d probably think that this project is challenging and complicated, but you’ll be surprised to know that it’s actually very easy to piece together as long as you follow the step-by-step instructions demonstrated in this video tutorial by Carol Thelen on YouTube.
Materials:
- Background fabric
- Accent fabric
- Light print fabric
- Dark print fabric
- Marking pen, pencil, or chalk
- Ruler
- Fabric pins or clips
- Needle and thread
- Iron, for pressing
- Sewing machine
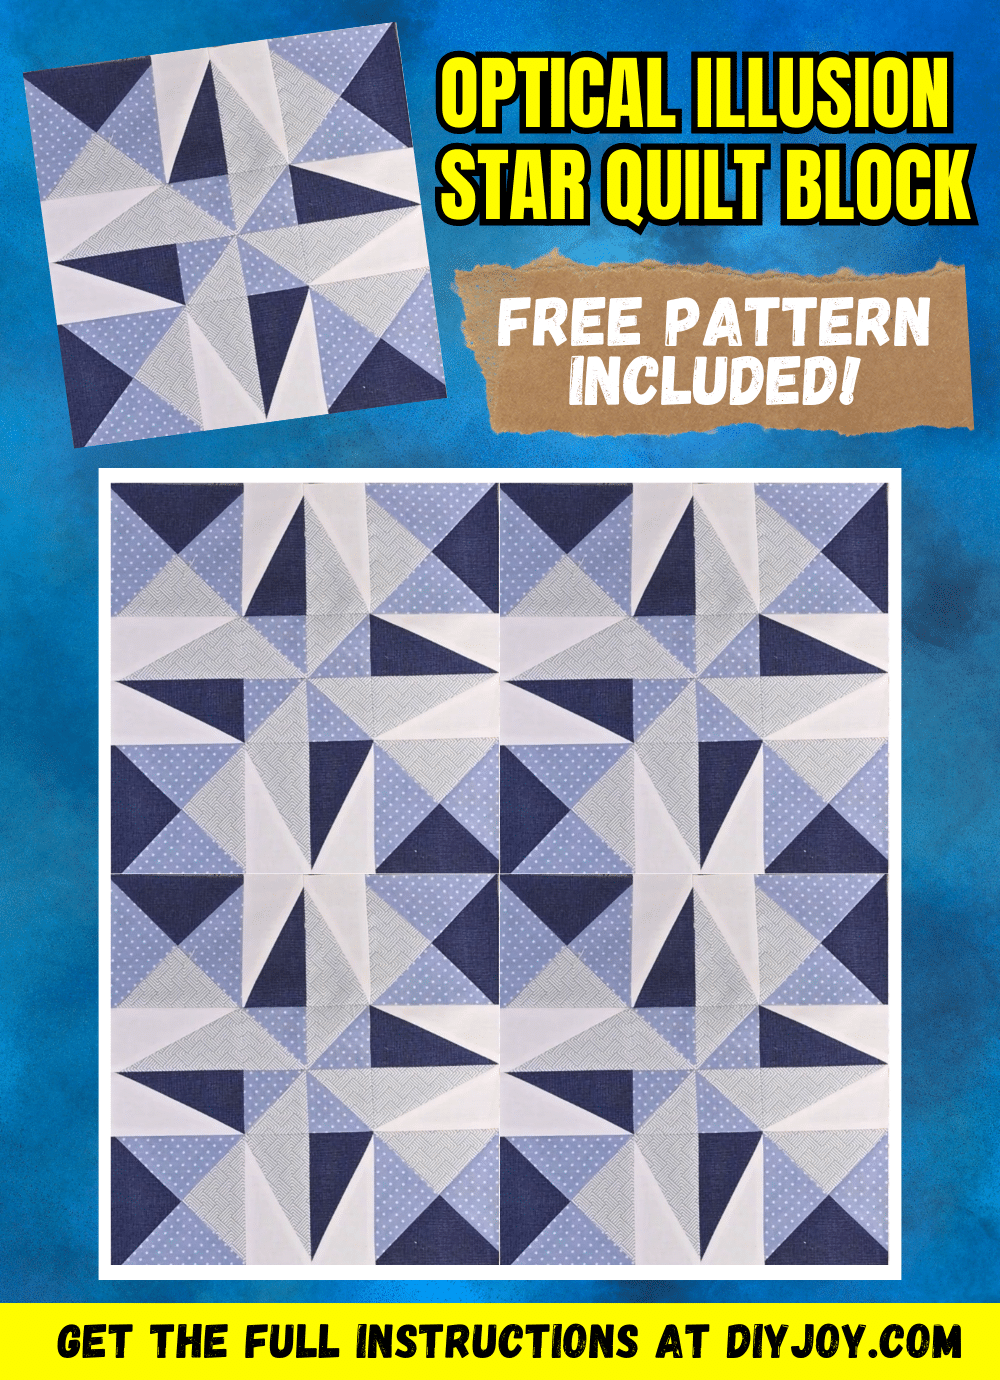
- Pattern (Click here to download the pattern for free)
Directions:
Step 1
Cut the fabric to size and group them into patches A for the quarter square triangles, patches B and C for the half-rectangle triangles, and patches D for the half-square triangles. Get the patch A unit, then pair them, and lay together each pair with their right sides together. Mark the back side diagonally from corner to corner, then stitch them ¼ inch on both sides and cut along the drawn line, and press their seams toward the duplicate fabric.
Step 2
Repeat with the rest of the pieces, then lay different half-square triangle units together with their right sides together and seams lined up, and draw a diagonal line at the back side opposite the seams. Pin them in place, then sew on both sides with a ¼ inch allowance, and cut them apart along the drawn line. Press them open, then repeat the same steps with the rest of the units, and cut off all the nubs.
[social_warfare]
Step 3
Now, for patches B and C, stack the 2 light print rectangles together, then place 2 background rectangles on top, and line them up nicely with their right sides facing up. Do the same for the remaining dark print and background rectangles, then cut 1 stack from the upper left corner to the lower right corner diagonally, and cut the other stack from the upper right corner to the lower left corner diagonally.
Step 4
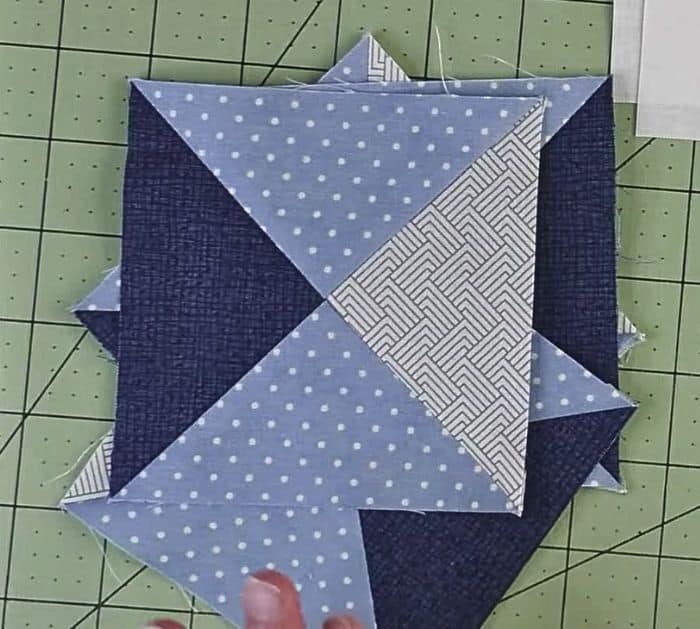
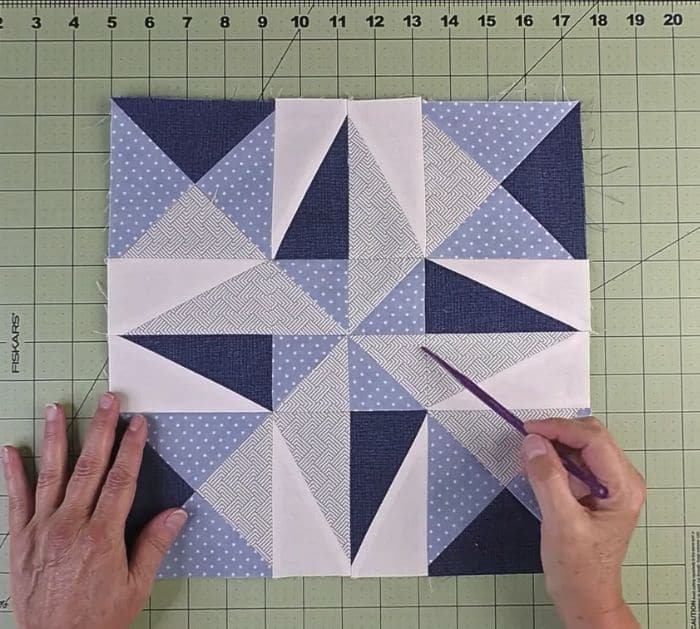
Open the stacks of fabric, then pair a print triangle with a background triangle as shown in the video, and sew them together into half-rectangle triangles. Cut them down to the right size, then repeat the same steps with the rest, and proceed to stitch together a light half-rectangle triangle with a dark half-rectangle triangle. Press them open and trim off the excess, then lay them out and assemble all the block units to form a larger block as demonstrated in the video and diagram. Start stitching them per row, then sew the rows to each other, and press as you go.
*All image credit belongs to Carol Thelen via YouTube. Follow and subscribe to her channel for more!
Easy Optical Illusion Star Quilt Block Tutorial (Free Pattern Included)


