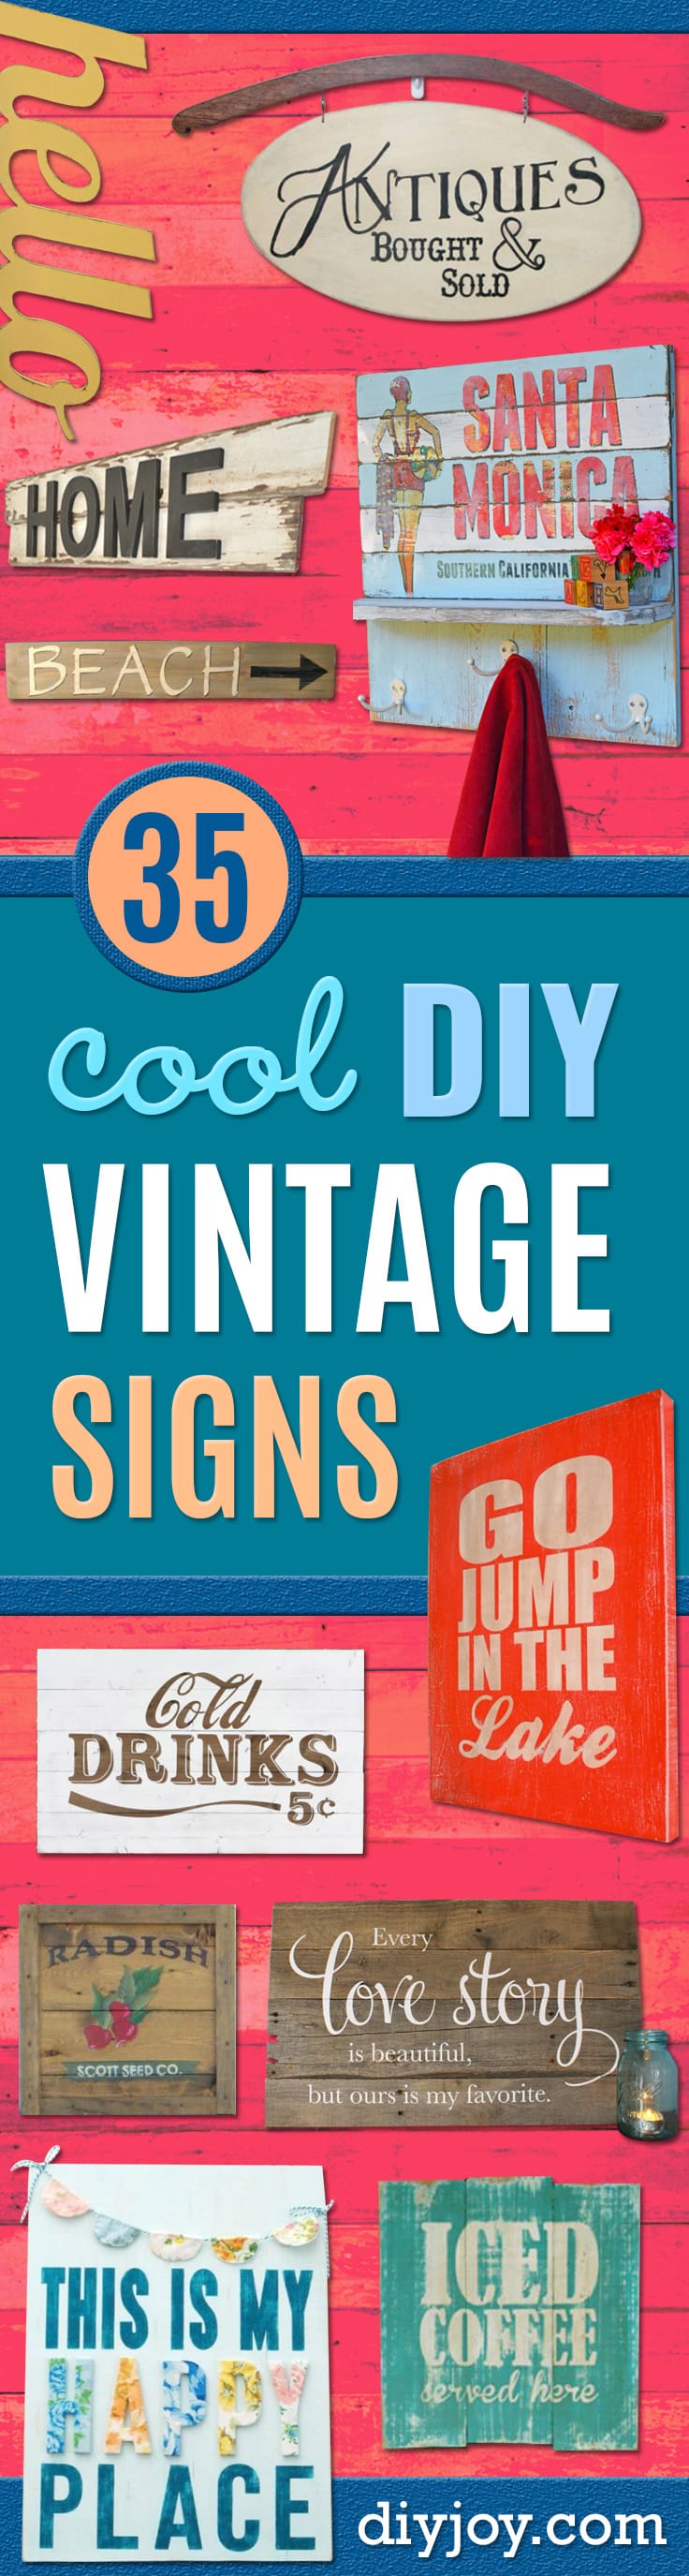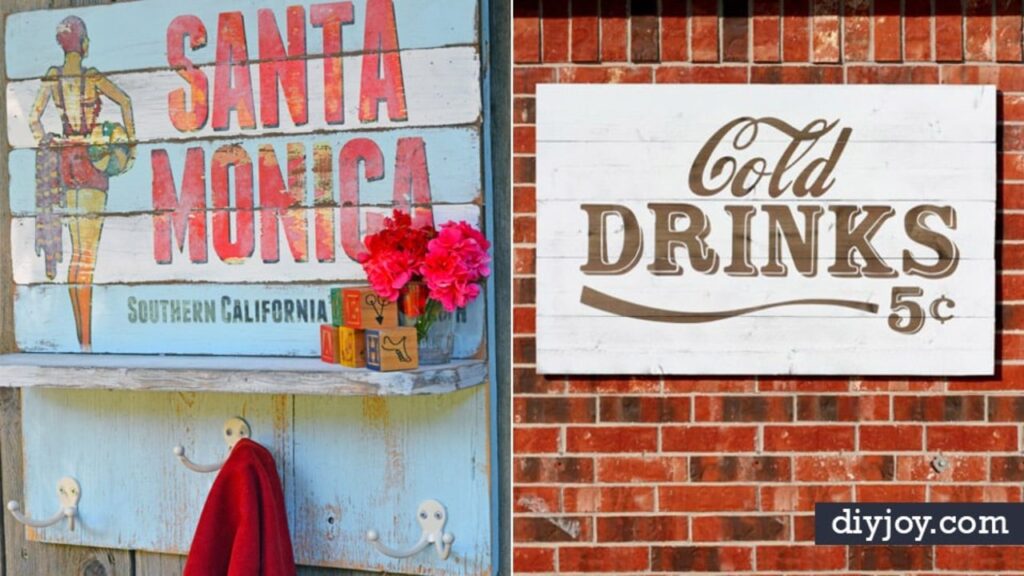
Ever priced an old general store sign at the antique mall? You can fake decades of wear in a single afternoon! These 17 DIY vintage signs are all about two things: old-fashioned lettering and finishes that look like they’ve hung in a barn since 1950. You’ll find retro gas station art painted on canvas, a dairy sign rubbed with dark wax, a farm fresh eggs sign, foam board signs dusted with aging powder and a beach sign with its graphic heat-transferred right onto the boards. The lettering methods range from adhesive letters and vinyl to graphite transfer and freehand brushwork, so there’s an easy starting point whatever your skill level. Here’s the trick that ties them all together: build your finish in layers, a dark coat under a light one, so a quick sanding reveals the history. Looking for chunkier reclaimed wood looks? See these pallet sign ideas.
1. DIY Vintage Style Happy Place Sign

Here’s a happy place sign that mixes two vintage loves: old lettering and old bedsheets. Start with a wood rectangle about 12 by 17 inches and give it several coats of your base color. Paint wooden letters white, then wrap each one in a different floral sheet scrap, clipping curves so the fabric lies flat. Stencil the remaining words on with vinyl, paint them in and sand the whole sign lightly. Finish with a tiny sewn bunting strung on twine across the top. Perfect for a summer mantel!
Get the full tutorial at Flamingo Toes.
2. A Vintage Sign Using Canvas

Ever wanted a retro gas station sign without hauling around heavy metal? This one is painted on a 24 by 36 inch canvas, so it’s light and easy to hang. Decoupage thin newsprint or phone book pages all over the canvas with matte medium, then coat it with gesso and white spray paint. Enlarge your graphic at a copy shop, stick it to contact paper and cut out a stencil. Spray each color separately, then sand everything with a detail sander so the paper peeks through like peeling paint. A thin brown glaze finishes the aged look.
Get the full tutorial at Lil Blue Boo.
3. DIY Vintage Signs Made From Foam Board

These DIY vintage signs start with a sheet of dollar store foam board, which makes them about as budget friendly as it gets. Measure and cut the board with a utility knife and straight edge, then line up black adhesive letters with a ruler and tack them down with a glue stick. Brush clear wax over the whole thing, letters too, and don’t skimp, because that’s what the aging dust clings to. Dust it on heavier around the edges and work inward. A couple of removable strips hang them without a single nail hole.
Get the full tutorial at Little House of Four.
4. Making An Antique Sign
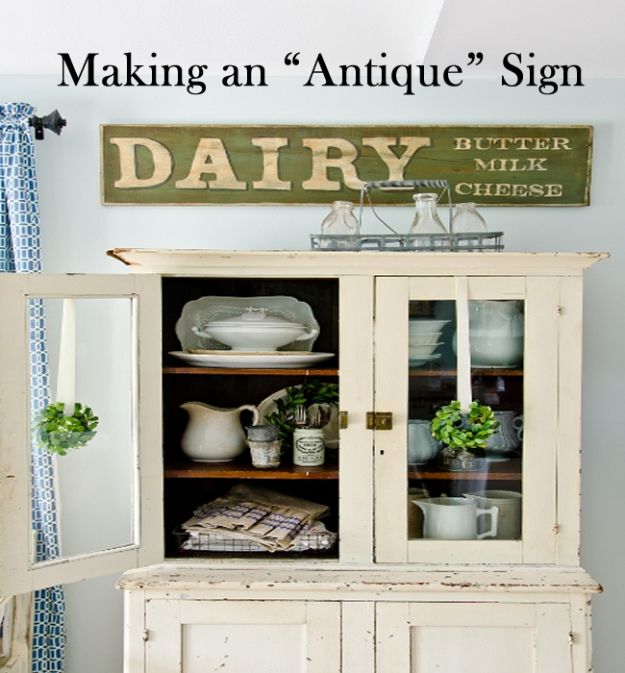
Want a sign that looks pulled from an old general store? Start with a 12 inch wide pine board, and if it’s new, rough it up with a hammer and a few nails. Paint it in a flat color, then print your words from the computer, testing a letter or two until the size is right. Trace them on with graphite transfer paper, paint them in and add a darker outline for depth. Sand with 80 grit until wood shows through, then rub on dark brown furniture wax and buff. D-ring hangers on the back and it’s ready.
Get the full tutorial at Miss Mustard Seed.
5. How To Create Distressed Signs

The trick to a convincing distressed sign is painting in two layers. Have the hardware store cut a board to size, around 30 by 7 inches for over a doorway, and sand the edges smooth. Stain it a dark walnut first, sand lightly, then paint a creamy white on top. Cut a stencil for a short phrase like Good Eats, paint the letters and let it dry. Now sand the edges and a few random spots until the dark stain peeks through. That dark under light contrast is what makes it look decades old.
Get the full tutorial at Love Grows Wild.
6. Driftwood Sign

Live nowhere near the ocean? This faux driftwood beach sign fakes years of sun and salt on a scrap board. Water down chalk paint in a warm brown, white and charcoal into a thin wash and brush it on so the grain still shows. Dry brush a little white over the top. Print your lettering to size, trace it on with a ballpoint pen and fill it in by hand, then add a shadow to each letter. Sand lightly to distress, seal with wax or poly and you’ve got a coastal sign from leftover wood.
Get the full tutorial at Artsy Chicks Rule.
7. Wooden Farmhouse Sign

A big framed farmhouse sign can cost a fortune in a home store, but this one is plywood and a few studs. Sand a sheet of plywood and cover it well with white chalk paint, which takes the transfer nicely. Stain primed wood studs gray with an old t-shirt, layering until you like the color. Glue them around the edges with wood glue and weigh them down overnight. Then print your favorite verse or phrase and transfer it with Mod Podge, so you don’t have to freehand a single letter.
Get the full tutorial at Moms Without Answers.
8. Pallet Farmhouse Sign

A pallet farmhouse sign is one of the easiest ways to add rustic charm for next to nothing, around two dollars in supplies. Pull a few boards from a pallet, line them up and brace them together across the back with a short scrap so they act as one panel. Sand off splinters, then paint or stain and add your lettering. Don’t worry if the boards don’t match or the letters aren’t perfect, because the uneven grain and old nail holes are what make it look vintage.
Get the full tutorial at DIY JOY.
9. Image Transfer Vintage Sign

This vintage beach sign gets its retro graphic from a heat transfer, not a paintbrush. Stain the edges of MDF strips, rub a candle stub along them, then paint them flat white or blue and sand, so the paint lifts wherever the wax went. Glue the strips to a plywood backer. Print a mirror image graphic and heat it onto the boards with a transfer tool, letting the paper cool before rubbing it off with a damp cloth for richer color. Seal it, add a little shelf and coat hooks, and it hangs your towels too.
Get the full tutorial at Cheltenham Road.
10. Vintage Crate Seed Packet Signs

Vintage seed packet art is so cheerful, and these signs borrow it to look like the ends of old produce crates. Stain pine 1×6 and 1×4 boards dark walnut before cutting, then cut them to about 18 inches and stack them into a square. Frame the front with 1×2 furring strips, glued and screwed down with black screws so they blend with the dark wood. Measure each strip to fit snugly. Then paint a big radish or carrot label in the center, add a faux seed company name and you’ve got garden art.
Get the full tutorial at Pamela Groppe Creative.
11. DIY Vintage Word Art Sign

Not every vintage sign needs a board behind it! This big hello is cut from scrap MDF in a retro script font. Weld the letters together in cutting software or freehand them, then make a full size cardstock template, about 28 by 11 inches, and trace it onto the MDF. Drill starter holes inside the closed letters, clamp it down and cut slowly with a jigsaw. Sand the edges, paint it a warm yellow and dab a dark metallic glaze along the edges with a nearly dry brush for an instantly aged finish.
Get the full tutorial at No. 2 Pencil.
12. DIY Vintage Quote Sign

Layered paint is what makes this quote sign look like it’s been hanging around for decades. Squirt several shades of turquoise and aqua on a plain board from the hardware store and blend them with a brush. Once dry, cover it with two coats of white. Design your quote at full size, print it in tiles, scribble pencil on the back and trace the letters onto the board with a ballpoint pen. Paint them in carefully, then sand. It feels scary, but that’s when the aqua peeks through and it all comes together.
Get the full tutorial at Pitter and Glink.
13. DIY Vintage Farm Sign

Farm fresh eggs, 25 cents a dozen: that’s the kind of sign that belongs in a farmhouse kitchen. Cut plywood or a reclaimed board to around 24 by 36 inches, sand it and wipe it with a tack cloth. Lay out your design in a free photo editor, then enlarge it and print it across several pages with a free poster tool. Tape the pages together on the board, transfer the design and paint it in. Try it on white painted wood for a chippy look, or on bare stained wood for something warmer.
Get the full tutorial at The Well Fed Farmstead.
14. Easy Rustic Home Sign

Simple, affordable and full of vintage charm, this home sign is just salvaged boards and four wooden letters. Spray the letters flat black and sand their edges a little for character. Two pieces of chippy white painted wood, left at different lengths, are joined from behind with a thin strip of underlayment. Spray them with clear shellac so the old paint stops flaking. Nail the letters on, leaving the heads slightly raised, then tap them flush with a nail punch and hide each head with a black marker.
Get the full tutorial at Sarah Joy.
15. Wood Pallet Sign Tutorial

Free pallets stacked by a lumber yard dumpster can become a lovely quote sign. Pick sturdy oak boards about 26 inches long, cut them free and screw them to cross braces from behind, then add a wire hanger and screw it into a stud, because it’s heavy. For the words, vinyl letters are the shortcut. Cut the quote into sections, lift each one with masking tape, peel off the backing and lay it down top to bottom, pressing with a credit card. Press the vinyl right down into the gaps between boards for extra texture.
Get the full tutorial at The Thinking Closet.
16. DIY Vintage Painted Sign

An old wood shelf from the garage makes a perfect apothecary style sign. Pencil in two guidelines, sketch your first and last letters, then fill in the rest by eye. Paint around the letters with sample pots and work a second color, like teal, into the background while it’s wet for faded patches. Paint the letters, add thin shadows on one side and puff paint highlights on the other. Once it’s slightly tacky, rub on antique glaze with a paper towel, let it sit, then sand by hand, harder around the edges.
Get the full tutorial at Home Heart Craft.
17. How To Make A Vintage Kitchen Sign

Inspired by those giant supermarket signs? This coffee and tea sign is just four V-groove panel boards and craft store letters. Run wood glue into the grooves, push the planks together and let them dry, no nails needed. Whitewash them with watered down chalk paint so the grain still shows. Spray 9.5 inch letters flat black, which looks less shiny and new, then glue them on with a T-square to keep them straight. Glue small wood blocks to the back corners so the D-ring hangers have something to grip.
Get the full tutorial at Home Stories A to Z.