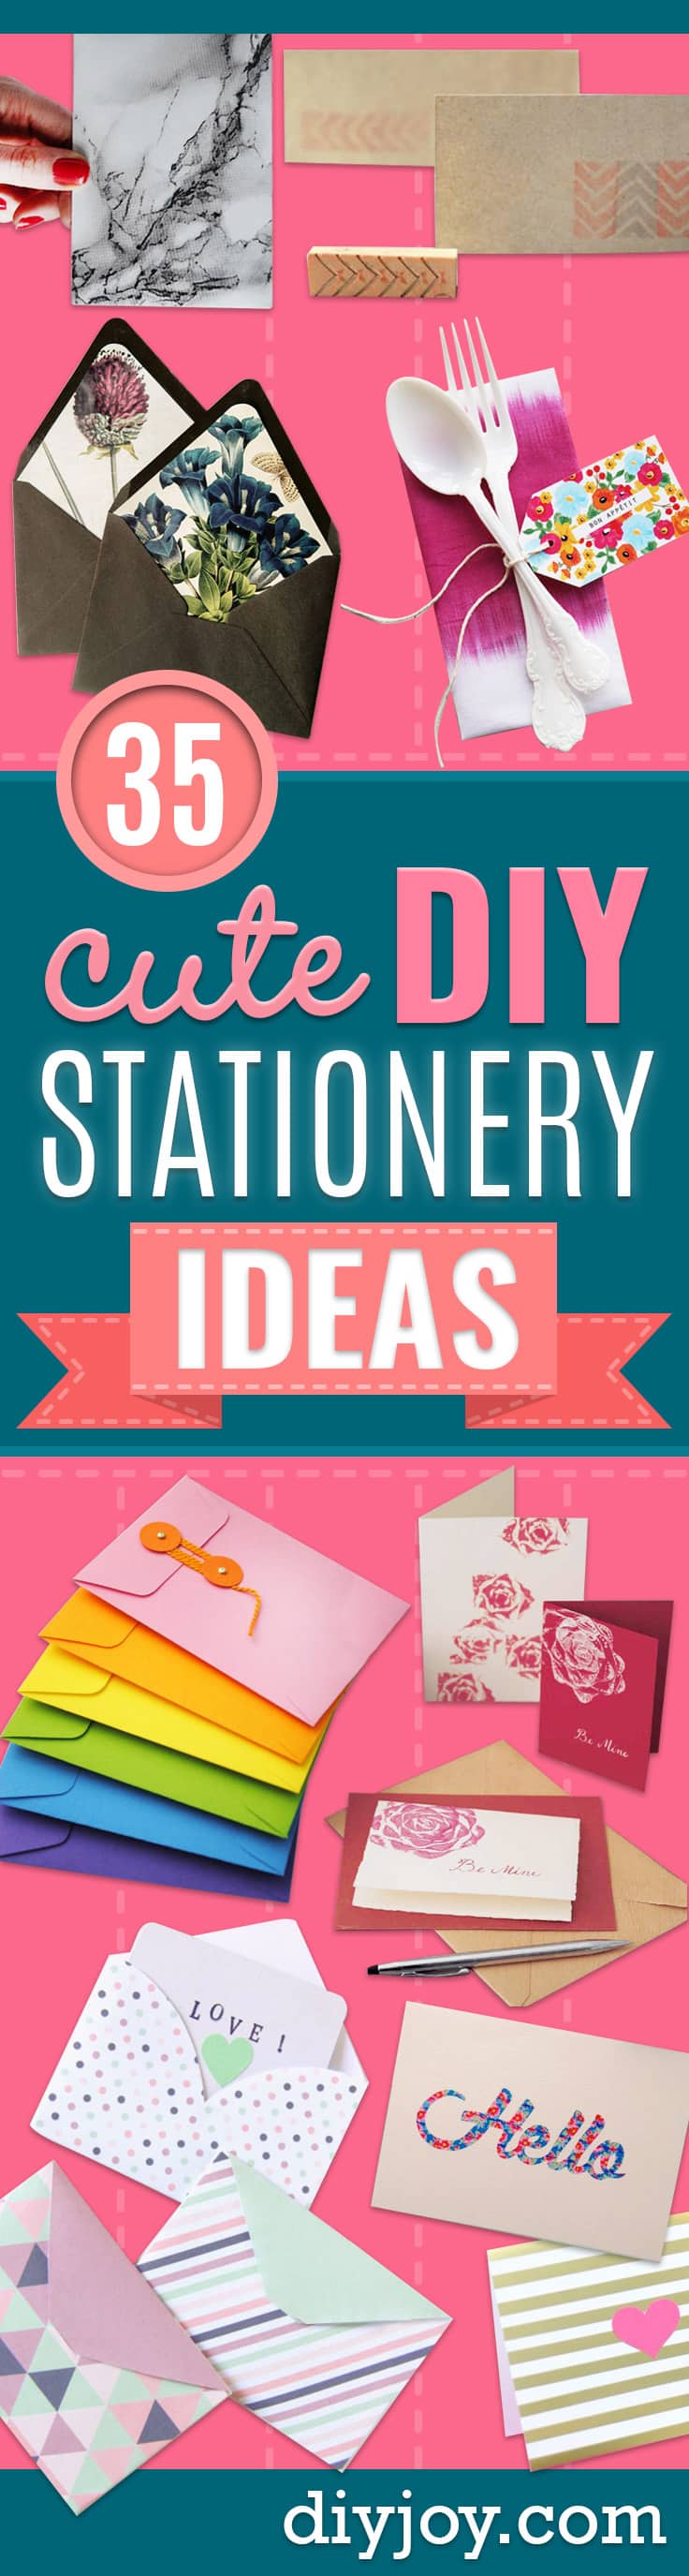
Handwritten notes feel extra special when the paper is made by hand too, and these 17 cute DIY stationery ideas cover cards, envelopes, liners and stamps. Dip plain note cards in liquid Kool-Aid for soft ombre stripes, mask a hello with liquid frisket under a watercolor wash or cut a script word from washi tape. Envelopes get their turn with marbled contact paper, string ties and cutout windows that show off a bright liner. Stamping fans will find a carved chevron stamp, a pencil eraser polka dot liner and painter’s tape stencils, and splatter paint makes every card one of a kind. Start small with the DIY JOY 5 minute mini notebook, folded from one sheet of scrap paper.
1. Kool-Aid Dipped Stationery
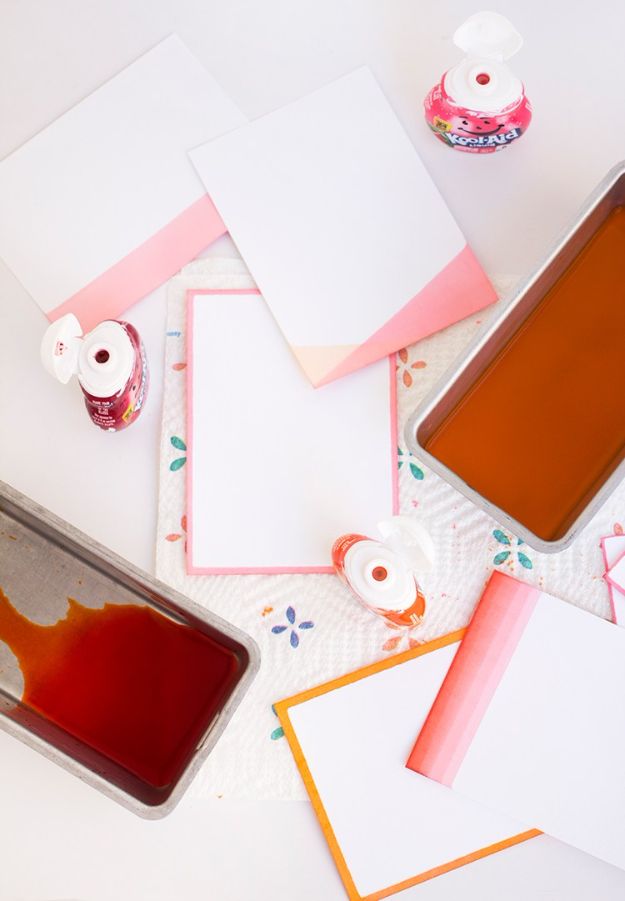
Kool-Aid dipped stationery uses a grocery store drink as dye. Liquid Kool-Aid is easier to control than the powder and comes in more colors, like orange, watermelon and cherry. Squeeze some into a shallow pan, dip the edge of a 100 percent cotton note card or envelope in quickly and blot it on a paper towel. Dilute the liquid by half with water and dip again a little higher for a lighter band, repeating as many times as you like for an ombre fade. Dry everything on a cooling rack. A single band or a thin edge of color looks sweet too.
Get the full tutorial at Freutcake.
2. Liquid Frisket Stationery

Liquid frisket is a masking fluid that lets you write in white right through a watercolor wash. Use the fine tip applicator bottle to write a word, like hello or thanks, on watercolor paper and let it dry completely. Once dry, it turns transparent. Paint a loose watercolor wash right over the lettering and let the paint dry. Then pull upward to peel the frisket away and reveal crisp white letters underneath. The result looks organic and hand painted, and it leaves plenty of room to add painted flowers, stickers or a matching envelope.
Get the full tutorial at Damask Love.
3. Foil Striped Stationery

Foil striped stationery is all about clean, simple execution. Gather adhesive gold foil sheets, cardstock in bold colors, a large heart punch and a good paper trimmer that can slice thin slivers. Trim the foil into narrow strips and lay them across a card in even stripes, then punch a heart from bright cardstock and set it in the center. The adhesive foil is thin enough that the stripes look like one smooth layer on the card. Silver foil works the same way, and a perfectly straight cut is what makes the cards look store bought.
Get the full tutorial at Damask Love.
4. DIY Polka Dot Envelope Liner

A polka dot envelope liner takes minutes and needs only three things: a stamp pad, a brand new pencil with an eraser and your envelopes. Open an envelope flat, ink the eraser end of the pencil and stamp rows of dots inside the flap. Chalk ink pads give a soft, matte finish that suits pastel envelopes. Let the ink dry completely before tucking in a card, so nothing smudges. It is an easy way to dress up wedding invitations, thank you notes or party invites to match your colors.
Get the full tutorial at Ruffled.
5. Geometric Heart Envelopes

These printable envelopes come in three geometric patterns, stripes, polka dots and triangles, each with a little heart on the flap. Download the free templates, print them on A4 paper and cut them out with scissors, then fold them into shape. A printer and a pair of scissors are all you need. Personalize each envelope with masking tape, stickers or rubber stamps, and tuck in a small love note. They were made for Mother’s Day, but they work for birthdays, Valentine’s Day or a lunchbox surprise.
Get the full tutorial at zü.
6. DIY Washi Tape Script Stationery

Washi tape script cards turn a single word into a floral appliqué. Pick a chunky script font with a few loops, size the word to your card and print it as a mirror image. Tape it face down on parchment or waxed paper, trace the outline on the back with a fine marker and remove the printout. Cover the traced side with overlapping strips of washi tape, matching the pattern where you can. Cut around the letters with scissors and use a craft knife for the inside spaces, then peel the word off the backing and press it onto a blank card.
Get the full tutorial at Omiyage Blogs.
7. Marbled Contact Paper Envelopes

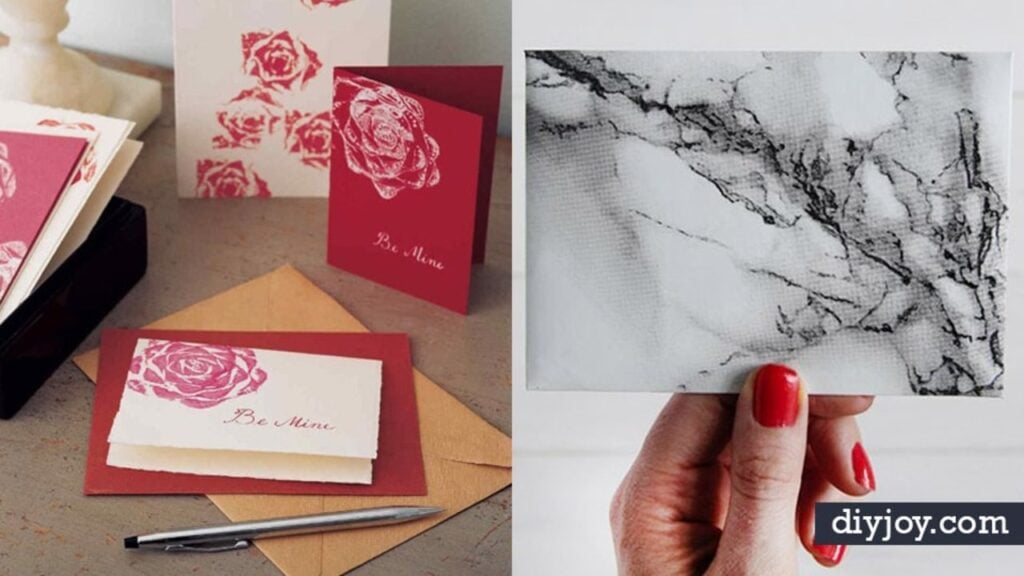
Marbled contact paper turns a plain envelope into something special with no paint and no mess. Open out a ready made envelope and lay it on the back of the contact paper. Trace around it a few millimeters outside the edge, then cut out the shape. Trim a small section from the side arms of the paper envelope, peel the backing from the contact paper and stick the opened envelope onto it, pressing out any air bubbles. Trim the excess, then fold the bottom, sides and top back into shape. The adhesive even helps seal it shut.
Get the full tutorial at Fall For DIY.
8. 5-Minute Mini Notebook
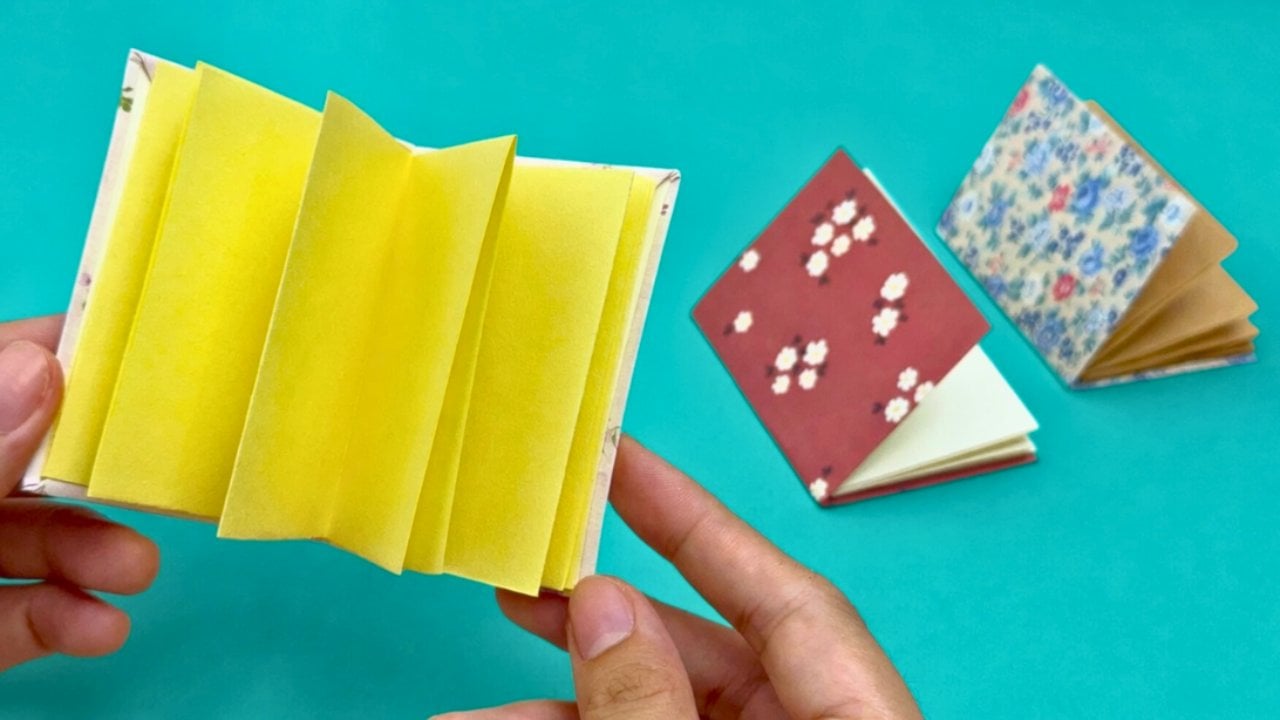
This 5 minute mini notebook turns a single sheet of scrap paper into a pocket sized notebook you can actually write in. Fold the paper in half lengthwise and in half again, then unfold and fold it in half crosswise twice, creasing firmly each time. Cut along the creases, alternating direction from row to row and leaving the final panel attached. Accordion fold the strip back and forth, then glue the end panels to secure the pages. Measure the notebook, cut cardstock to fit, cover it with printed paper and glue the first and last pages inside.
Get the full tutorial at DIY JOY.
9. DIY String Tie Envelopes

String tie envelopes are surprisingly easy to make at home. Print the free template onto paper, with a tiny version sized for A5 and a C7 version for A4, then cut, score and fold. Cut two small disks from card, which wears better than paper. Pierce two holes in the envelope and one in each disk with a needle, then attach the disks with tiny brads, or stitch them on if you have none. Fold the three edges and glue them, tie string to the top disk and wrap it around both to close. Use them for invitations, gift cards, seeds or paper ephemera.
Get the full tutorial at Mini-eco.
10. Create Your Own Envelope Cutouts

Envelope cutouts add a window of bright color to a plain kraft envelope. Download the free envelope shapes, available as a Silhouette Studio file plus an envelope PDF and a liner PDF. Cut the envelope from kraft cardstock using the cardstock setting on a cutting machine, then cut the liner from brightly colored paper. Score, fold and glue the envelope with the liner tucked inside so the color shows through the cutout. Write the recipient’s name in the colored window, seal and send. No cutting machine? The PDFs can be cut by hand.
Get the full tutorial at Maritza Lisa.
11. Embossed Stripes

Embossed stripes use painter’s tape as a mask, so the cards come out with shiny raised bands of color. Lay pieces of patterning tape across flat cards, then rub a clear watermark stamp pad only over the areas you want colored. Sprinkle metallic embossing powder over the inked paper, tap off the excess and melt it with a heat gun. Stop heating once the powder on the paper has melted, since the powder on the tape melts faster. Peel off the tape and you are done. A slightly rough edge just adds handmade charm, and a bookmark works the same way.
Get the full tutorial at A Little Hut.
12. DIY Colorful Envelope Address

Colorful envelope addresses start with a bold watercolor background. Paint horizontal strokes across a white cotton envelope, starting just below where the stamp will go and working down the front. Once the paint is fully dry, write the address in opaque pastel or white gel pen. The ink goes on dark and lightens as it dries, so it takes a few tries to get used to. Mix script, serif and all caps lettering and add little dots or swirls. For a softer look, try translucent glossy pens on dip dyed envelopes in matching shades. Cotton or bamboo envelopes absorb the color best.
Get the full tutorial at Oh So Beautiful Paper.
13. DIY Pretty Envelopes

Pretty envelopes are the finishing touch for a handmade card, and these start with a free printable template. Print the template onto paper in your favorite colors and patterns, cut out the shape and fold it along the lines to form the envelope. Floral scrapbook paper, wrapping paper and patterned printer paper all work, and mixing prints makes a set look curated rather than matched. Tuck a handmade greeting card, a gift card or a photo inside. A little stack of these is handy to keep for birthdays, thank yous and holiday greetings.
Get the full tutorial at i Creative Ideas.
14. DIY Splatter Paint Notecards

Splatter paint notecards are messy in the best way, and no two come out alike. Use watercolor paper or blank card sets in white or kraft. Watercolor paper is best because the heavier weight handles more paint without warping. Start with a very watered down wash for background texture, then flick acrylic paint across the paper with assorted brushes. Short bristles and a little water make small, tight splatters, while long hairs and more water make bigger ones. Spread the papers on a table covered with plastic drop cloths, let them dry for an hour or two, then trim to size.
Get the full tutorial at Elizabeth Anne Designs.
15. Rubber Stamped Kids Animal Stationery

Rubber stamped animal stationery makes a playful set for kids to use for thank you notes and birthday wishes. Stamp a monogram on the front of a plain A2 card, then flip it over onto scrap paper and randomly stamp animal shapes, like elephants, giraffes and lions, across the back in one color. Add a single animal in a second, contrasting color for a fun pop. Stamp a line of animals across a colored envelope to match, and emboss a train style tag for gift wrapping. Coral and teal ink look bright and cheerful together.
Get the full tutorial at Oh So Beautiful Paper.
16. Tape Stencil Stationery

Tape stencil stationery turns a roll of painter’s tape into a reusable pattern maker. Cut a small triangle template from cardstock and trace triangles along the bottom edge of the tape roll, spacing them evenly, then trace another row along the top edge, staggered between the first. Cut along the pencil lines with a craft knife, going over them a few times to slice through several layers of tape. Stick the stencil tape on cards, postcards or gift tags, then turn small ink pads upside down and pat color onto the open spaces. Peel the tape away to reveal crisp geometric shapes.
Get the full tutorial at Merry Brides.
17. Chevron Stamped Stationery

Chevron stamped stationery starts with a handmade stamp, and chevrons are one of the easiest shapes to carve. A beginner carving set with knives, linoleum and a carving block is all you need. Carve a short strip of diagonal lines, then stamp it once for a simple accent or several times side by side in different colors for a multicolored zigzag. Mask part of the card with masking tape to stamp a neat rectangle. Simple shapes like rectangles, triangles and stars, plus lined journaling and tag stamps, work the same way for cards, notepads and gift wrap.
Get the full tutorial at SAS does.