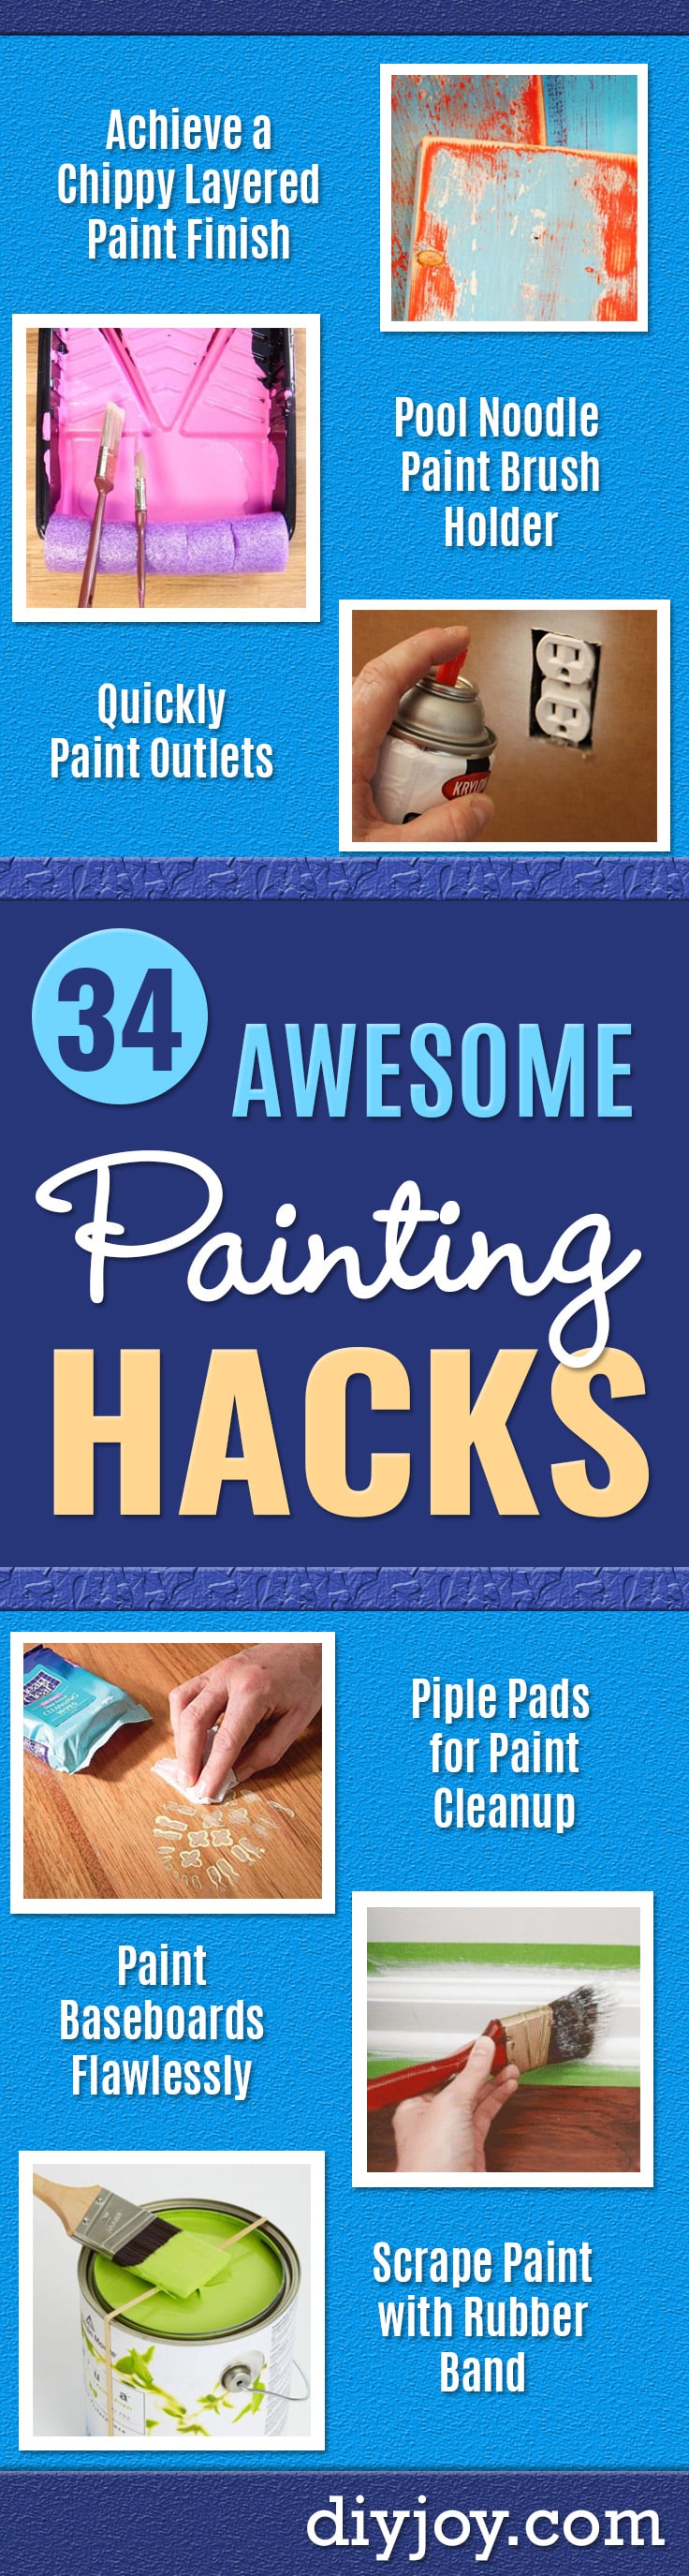
Nobody quits a paint job halfway through because the painting was hard. They quit because the tape pulled the finish off, or the laminate cabinet doors went bubbly overnight, or three hours vanished into taping around eight door hinges. Every one of those has a fix, and the fixes are what these 20 painting hacks are actually about. You will find out why laminate absolutely has to be primed and why sanding it is the wrong move, how to tape a hinge and cut the tape with a craft knife so the door never comes down, and how a quarter cup of hot vinegar brings a brush back that you had already written off. There is a brick fireplace, an ombre wall, a set of cement front steps and a closet full of gold hangers. Each one links out to the tutorial that shows the steps.
1. Paint Baseboards Flawlessly
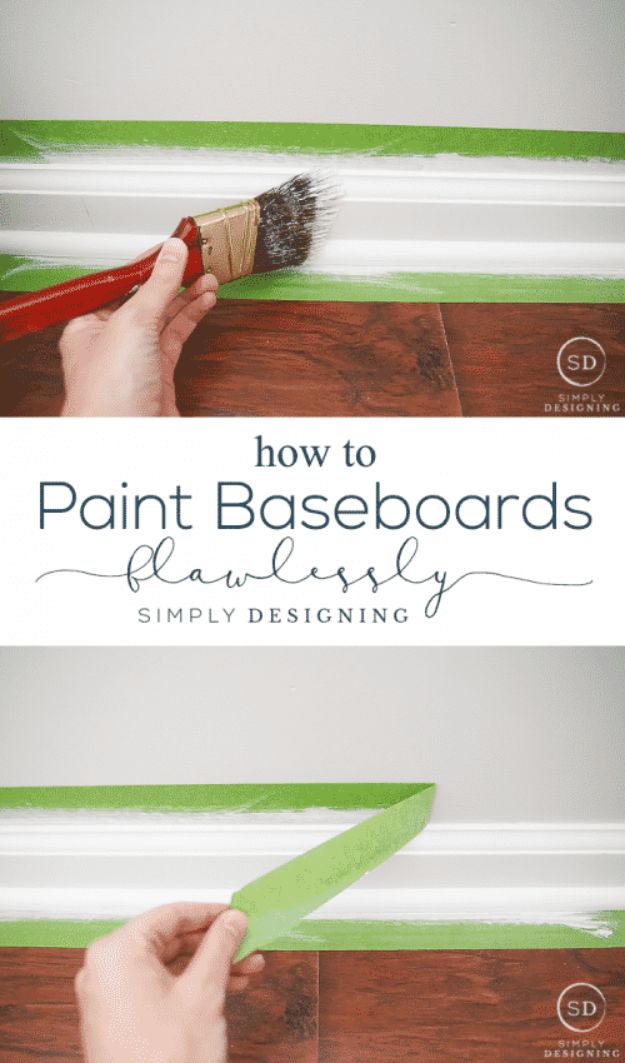
Baseboards are the one bit of trim everybody sees and nobody touches, and the whole result is decided before any paint goes on. Dust them, and wash them with dish soap and water or a baby wipe if they sit near a door or a kitchen, then wait until they are bone dry. Tape both the wall above and the floor below, pressing the edge down hard along its whole length. She uses FrogTape, whose coating reacts with the water in latex paint and seals the edge so nothing bleeds under it. Paint with a two inch angled bristle brush, a small craft brush for the inside corners, then a second coat once the first is dry.
Get the full tutorial at Simply Designing.
2. Paint Cabinets Without Fancy Equipment

Golden oak bathroom cabinets turned a soft gray with a brush, a foam roller and no sprayer anywhere in the process. Clean off the grease, pull the doors and drawers and label every one, sand lightly with 120 then 220 grit and hand-sand the crevices, then wipe the dust. One coat of Zinsser Cover Stain, then three coats of a cabinet, door and trim paint, hers in Clark and Kensington’s Ominous Cloud. The reason this works without spray gear is that the paint self-levels, so brush marks flatten out on their own while it dries. Give it 24 hours between coats and 48 before you call it dry.
Get the full tutorial at The Turquoise Home.
3. Quickly Paint Outlets

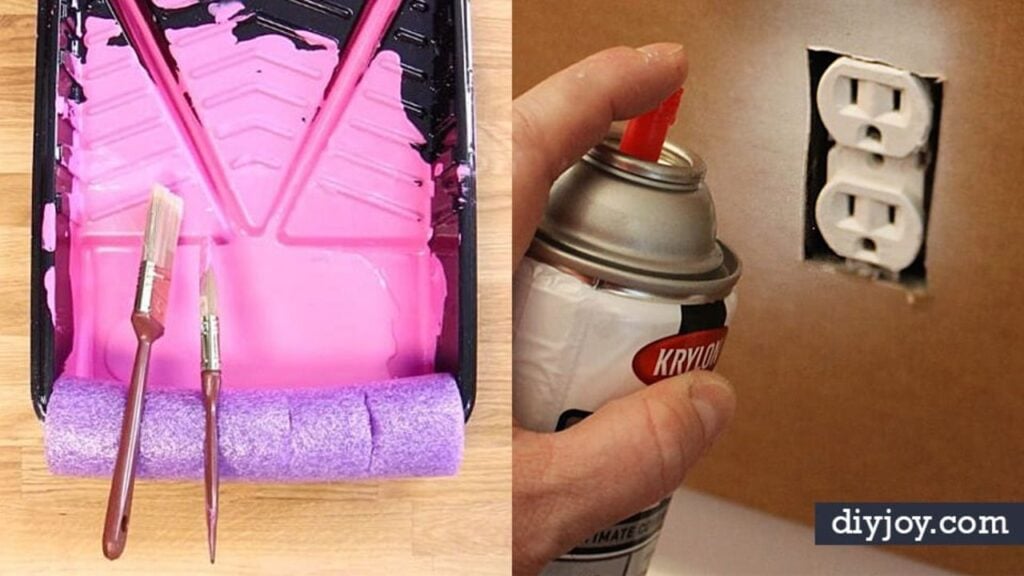
Spray paint on an outlet, shot through a cardboard shield so the wall behind it stays clean. Cut a 14 inch square of cardboard, trace the cover plate in the middle, then cut half an inch inside your traced line so the opening is slightly small. Kill the breaker first, tuck a folded paper towel or bit of cardboard into the slots, take the cover plate off, and lay the shield over the opening. Two or three very light coats, drying between. The maker’s own warning matters here: never paint over an outlet that has already been painted once, just buy new ones.
Get the full tutorial at Craft Your Happiness.
4. Paint Trim Like A Boss
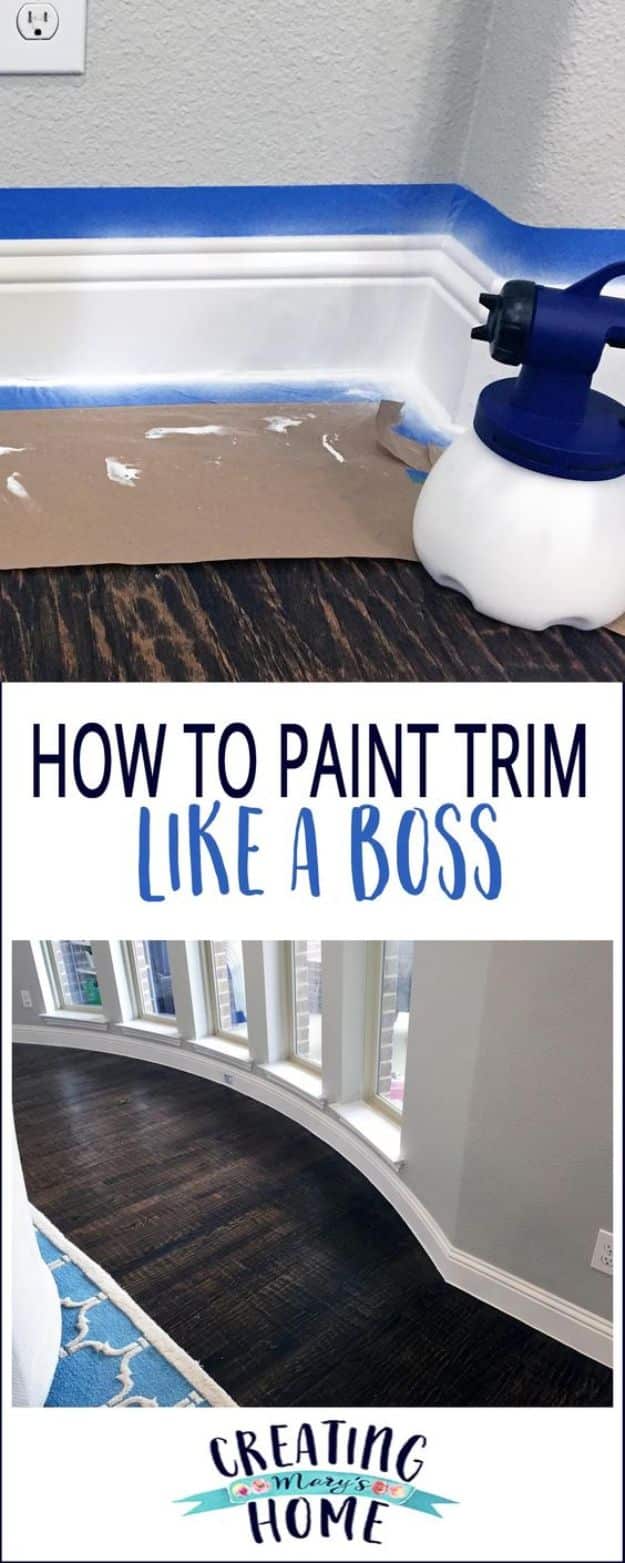
Trim sprayed rather than brushed, using a HomeRight Finish Max HVLP sprayer and Sherwin Williams Extra White in gloss, which wipes clean later. Thin the paint slightly, roughly two cups to half a cup of water, so it flows through the gun. Mask with brown contractor paper taped to the wall and the floor rather than tape alone, and set the sprayer to a lower power setting to cut overspray. Test on a piece of cardboard before you point it at anything in the house. Two coats, about fifteen minutes apart, and pull the tape within a day of the paint drying.
Get the full tutorial at Creating Mary's Home.
5. Paint A Door Without Taking It Off The Hinges

The door stays hung and the hinges stay on, which saves the whole business of hauling it out to sawhorses and rehanging it later. Cover each hinge with a strip of painter’s tape, then run your finger along the edge to find the recessed line where the hinge meets the door. That line is your cutting guide: run a craft knife along it and peel off the outer half of the tape, leaving the metal covered and the wood bare. Paint right over it, and pull the tape while the paint is still wet so it does not lift a dried edge with it.
Get the full tutorial at Ugly Duckling House.
6. Paint Furniture Easily

A forty dollar solid wood desk out of a Habitat for Humanity ReStore, emerald green by the end, and the reason it is titled even if you hate painting is the paint. Chalk paint skips the stripping, sanding and priming that makes furniture painting miserable, so you clean the surface with a damp cloth, let it dry and go straight on with a Valspar Chalky Finish in any color your store will tint. Sand only if the piece is beaten up, and wipe it with a tack cloth afterward rather than a dusting cloth. Pull the drawers and paint them separately. Seal it with a clear chalk wax using a round brush.
Get the full tutorial at The No Pressure Life.
7. DIY Distressed Chair With Elmer's

Elmer’s school glue standing in for crackle medium, which is the part nobody believes until they see it. Paint your base color first and let it dry, because the base is what shows through the cracks; in the video that base is red. Brush the glue on over it, then paint your top color while the glue is still wet. That is the whole catch: the working time is short, so load the brush and commit rather than fussing over coverage. It works on anything porous that takes glue and acrylic, so wood, cardboard, canvas, muslin, candlesticks, even cabinet doors.
Get the full tutorial at DIY Joy.
8. Paint Brick
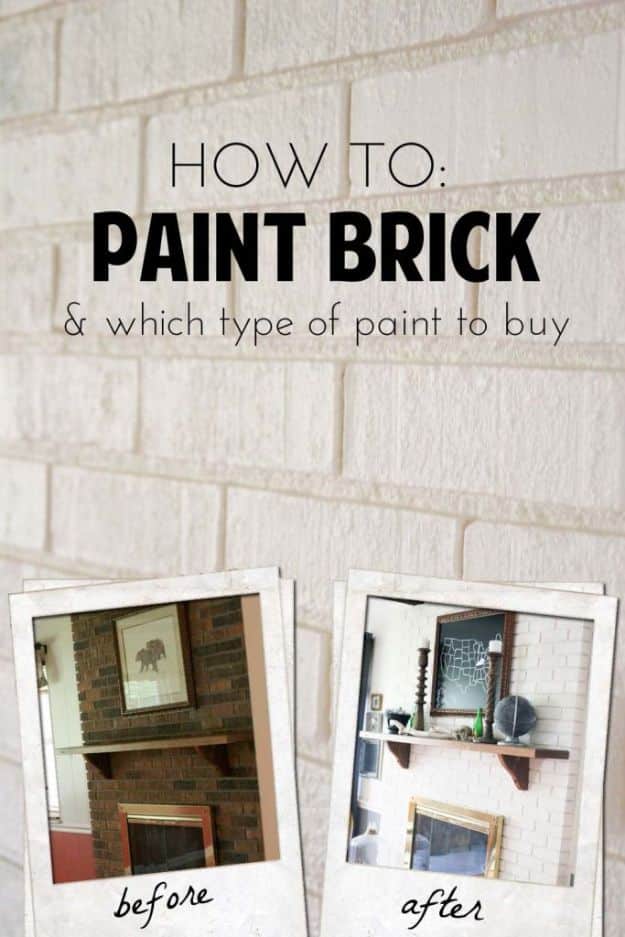
A dark red brick fireplace painted soft white, and the product decision does more than the brushwork. Vacuum and dust the brick first to get the cobwebs and grit out; washing is overkill unless there is heavy soot. Then use a primer tinted to match your final color, so any thin spots read as intentional rather than pink. Brush the mortar lines and roll the brick faces with a high nap roller made for rough surfaces. Two coats of tinted primer plus one of interior latex semi-gloss usually covers. Never use this combination inside a working firebox.
Get the full tutorial at Craftivity Designs.
9. Painting Laminate Cabinets
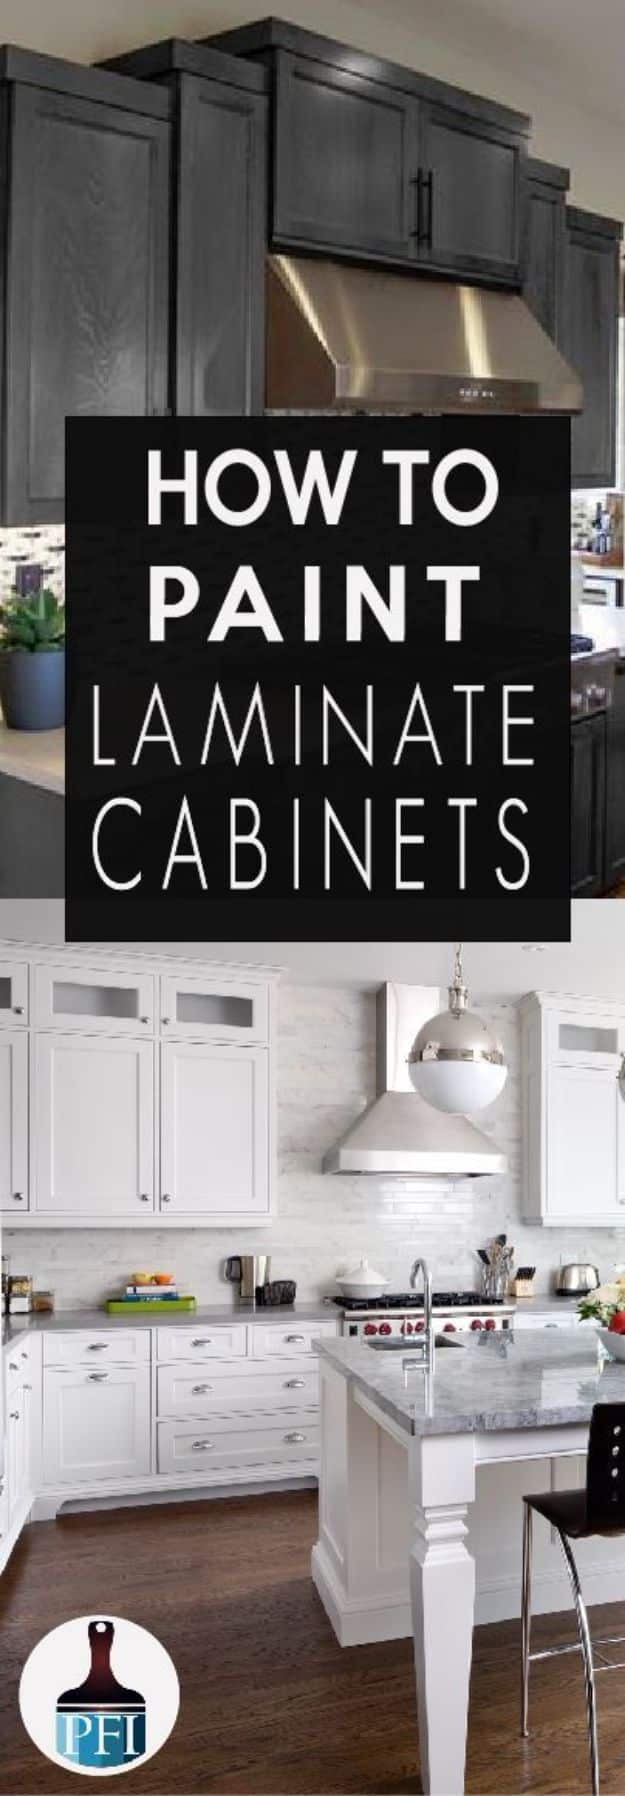
Laminate is slick, non-porous and completely uninterested in holding paint, which is why this one is all about the primer. Do not sand it, because sanding only scuffs the surface and gets you nothing. Clean thoroughly with Windex to pull off grease and dust, repair any peeling laminate, then prime with Rust-Oleum Zinsser spray primer for full even coverage. Skip that and the paint bubbles. After that almost anything works, chalk, latex, milk paint, in three or four thin coats, because thin coats chip far less than thick ones. Finish with two thin coats of water-based polyurethane.
Get the full tutorial at Painted Furniture Ideas.
10. Trick to Painting Ikea Furniture

The wrong-and-right photo at the top of this one is the whole argument: on the left, paint beading and sliding off bare laminate, on the right, paint sitting flat and even. The difference is a shellac-based primer, Zinsser B.I.N. specifically. Regular water-based and oil-based primers do not grip IKEA’s laminate-over-particleboard, and neither does wall latex straight out of the can. Degrease first, prime, then two coats of a good furniture paint and 24 hours before you put anything on it. Sanding is optional and mostly pointless. A bookcase done this way lasts through years and a couple of color changes.
Get the full tutorial at Kaleidoscope Living.
11. Painted Cement Steps

Gray cement front steps painted white, and the honest part of this tutorial is the follow-up. The first version chipped within a year from snow shoveling and ice melt, and the fix the paint desk recommended was primer. So clean the steps thoroughly, let them dry completely, prime with a cement primer, then roll on cement paint with a textured synthetic roller. Mix a non-skid floor additive into the paint unless you want a skating rink the first time it rains. Less than a gallon covers a set of steps, which makes the whole thing a cheap experiment.
Get the full tutorial at Nesting With Grace.
12. Achieve the Weathered Paint Look

Pallet boards painted and then sanded back until they look like they have been on a barn for thirty years. Do not sand the wood before you paint, because the rough surface is the point, and she took a reciprocating saw to the pallets rather than buying anything. Sample size pots of BEHR Marquee and a one dollar chip brush are the whole supply list, and the paint goes on fast without chasing every nook and cranny. Once it dries you can lay a second color over half a board for variation. Then take a power sander to it, knowing this going in: the more paint you put on, the more you have to sand off.
Get the full tutorial at Down Home Inspiration.
13. Chalk Paint With Confidence
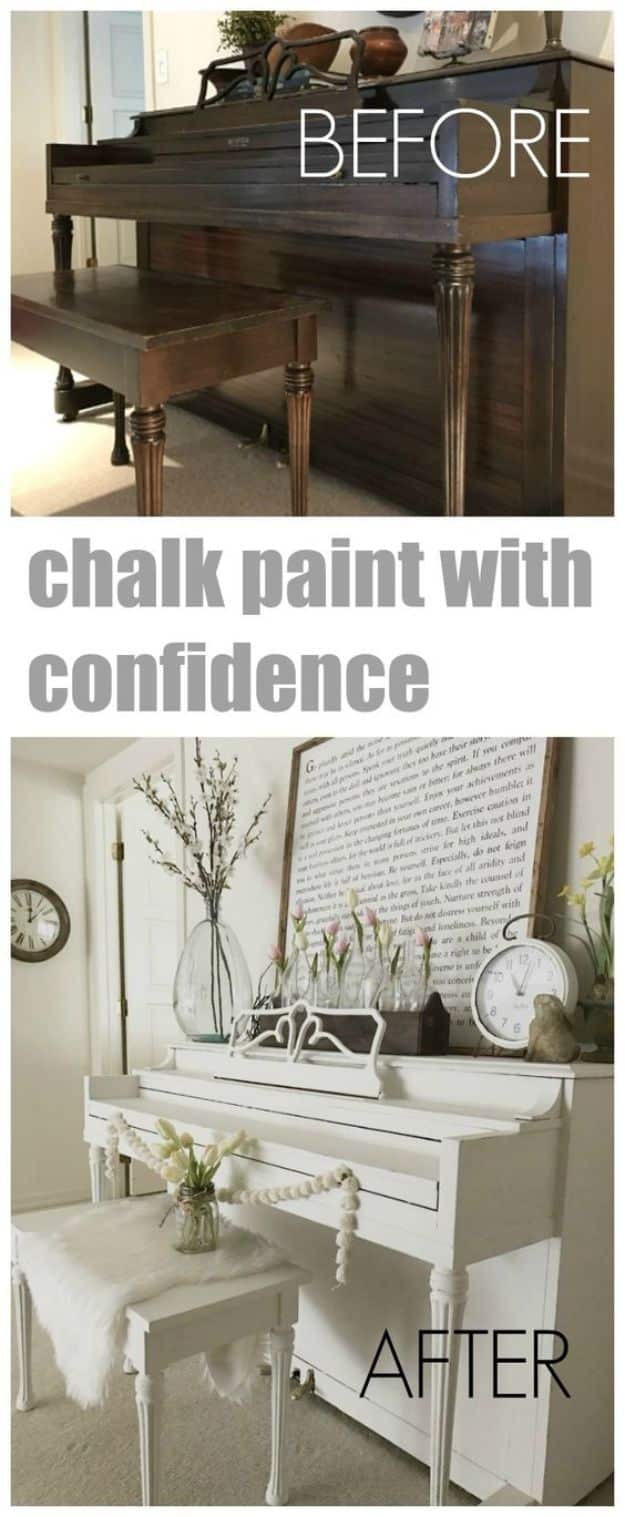
A dark spinet piano gone creamy white, which is funny given that this tutorial’s first rule is do not start with a piano. Start on something small, then something you already dislike. Brand barely matters; pick on color and what your store stocks. Regular brushes are fine, the expensive ones are not required. Two coats usually does it, three on something dark. The technique that matters is quick back and forth strokes and never going back over an area you just painted, because chalk paint dries fast and dragging through it leaves marks. Anything over forty years old needs primer or tannins bleed through.
Get the full tutorial at The Design Twins.
14. Paint Wood Furniture

A carved wooden headboard in soft seaside blue, done in two steps with no sanding and no primer at all. Wash the piece with warm soapy water and let it dry completely, then brush on DecoArt Americana Decor Satin Enamel and add a second coat if the color needs it. Satin enamel is the choice here because it is durable enough for a kitchen or a bathroom without a topcoat over it. The part that catches people is curing: it is dry to the touch in a couple of hours but takes several days to actually harden, so do not lean anything against it that week.
Get the full tutorial at Sustain My Craft Habit.
15. Clean Dried-Up Paint Brushes

Good brushes crusted solid with acrylic, brought back with a quarter cup of distilled white vinegar. Microwave it about a minute and a half so it is genuinely hot, stand the brushes in it, and leave them an hour, swishing them around every fifteen minutes to work the paint loose. Then comb the softened paint out with a wire brush, a pet brush or an old hair comb. Match the solvent to the paint though: vinegar handles water-based acrylic and latex, oil-based needs mineral spirits, and shellac needs denatured alcohol. A saved Purdy pays for a lot of vinegar.
Get the full tutorial at Artzy Fartzy Creations.
16. Paint A Dresser The Correct Way
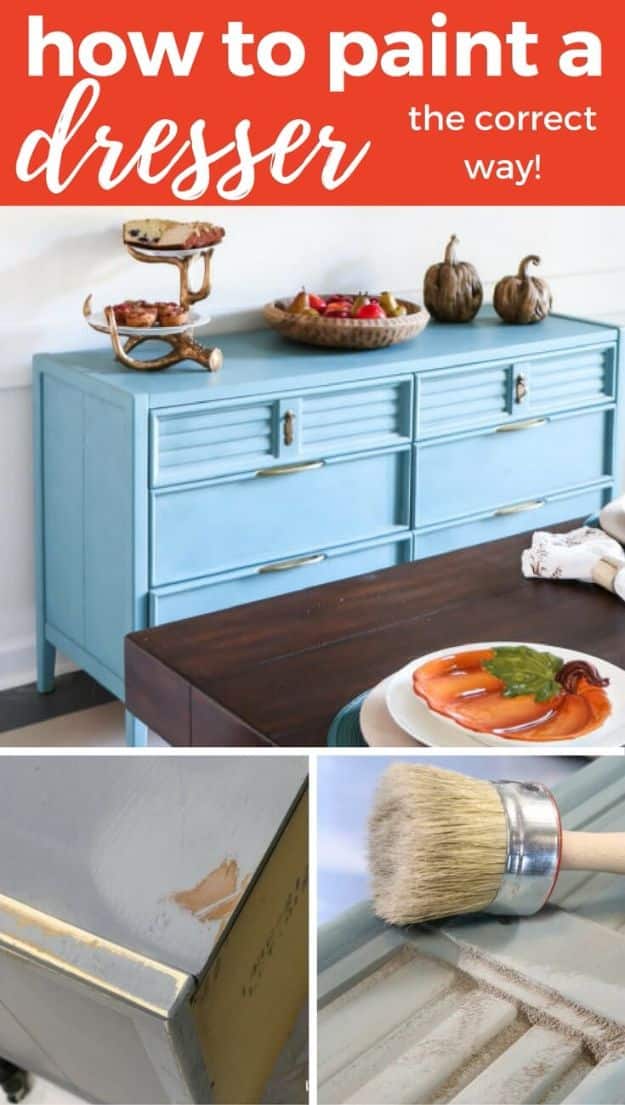
A mid-century dresser in soft blue that still looked perfect seven years after it was painted, which is the only durability test that counts. The product is the whole decision. Do not use wall latex and do not use spray paint, because both peel off furniture and show every brush mark; use chalk-based paint, a mineral paint like Fusion, or a high quality acrylic. Prep is almost nothing: spot-sand the rough or peeling bits, scuff the piece if it is very shiny, degrease, rinse and dry. Pull the hardware and the drawers, then two coats with a foam roller and a brush for the details.
Get the full tutorial at Kaleidoscope Living.
17. Paint Laminate Countertops

Plain brown laminate counters turned into speckled granite with a Giani kit, about seventy dollars for enough to cover thirty five square feet. It is three products in sequence: a black primer coat that needs eight hours to dry, then the mineral colors, then a topcoat after a light sanding, four hours each. The colors go on with a sponge, dabbed rather than dragged, because a brush leaves stripes and stripes do not read as stone. Practice the dabbing on paper first. The real commitment is the cure, roughly two weeks of keeping the counters dry before normal life resumes.
Get the full tutorial at How To Build It.
18. Paint An Ombre Wall

An ombre wall is one color and its lighter mixes rather than several unrelated paints, which is why the gradient stays believable instead of reading as three stripes. Paint your darkest band at the top and your lightest at the bottom, leaving a gap between them, then blend the seam with a dry brush or a damp sponge while both bands are still wet. The whole thing hangs on speed, so work in a strip at a time and keep the wet edge going. The tutorial itself is a video, so watch it through once before you open a can.
Get the full tutorial at DIY Projects for Teens.
19. DIY Gold Plastic Hangers

White plastic hangers from the discount aisle, sprayed gold, which turns an open closet from a jumble into something that looks deliberate. Rust-Oleum double cover at under four dollars a can, no primer needed on plastic, and two or three very light coats rather than one heavy one. Start with white hangers, and this is the maker’s own hard-won point: she tried pink ones first and they needed nearly twice the paint to cover. Buy one of those four dollar spray grip triggers too, because a closet’s worth of hangers is a lot of finger on a nozzle.
Get the full tutorial at Unlikely Martha.
20. Repaint Your Trim Like a Pro

Trim repainted with a brush over carpet, which is the situation everyone actually has. Lay blue painter’s tape along the top of the baseboard right against the wall, and tuck tape down into the carpet at the bottom. Wipe the trim first, because baseboards never get cleaned and dirt under paint leaves a bumpy finish you cannot sand out later. Then the actual secret: mix Floetrol into the paint per the bottle and the brush strokes level out. Use semi-gloss or gloss, cut the detailed areas with the edge of the brush, and leave the tape on at least three hours.
Get the full tutorial at Painted Furniture Ideas.