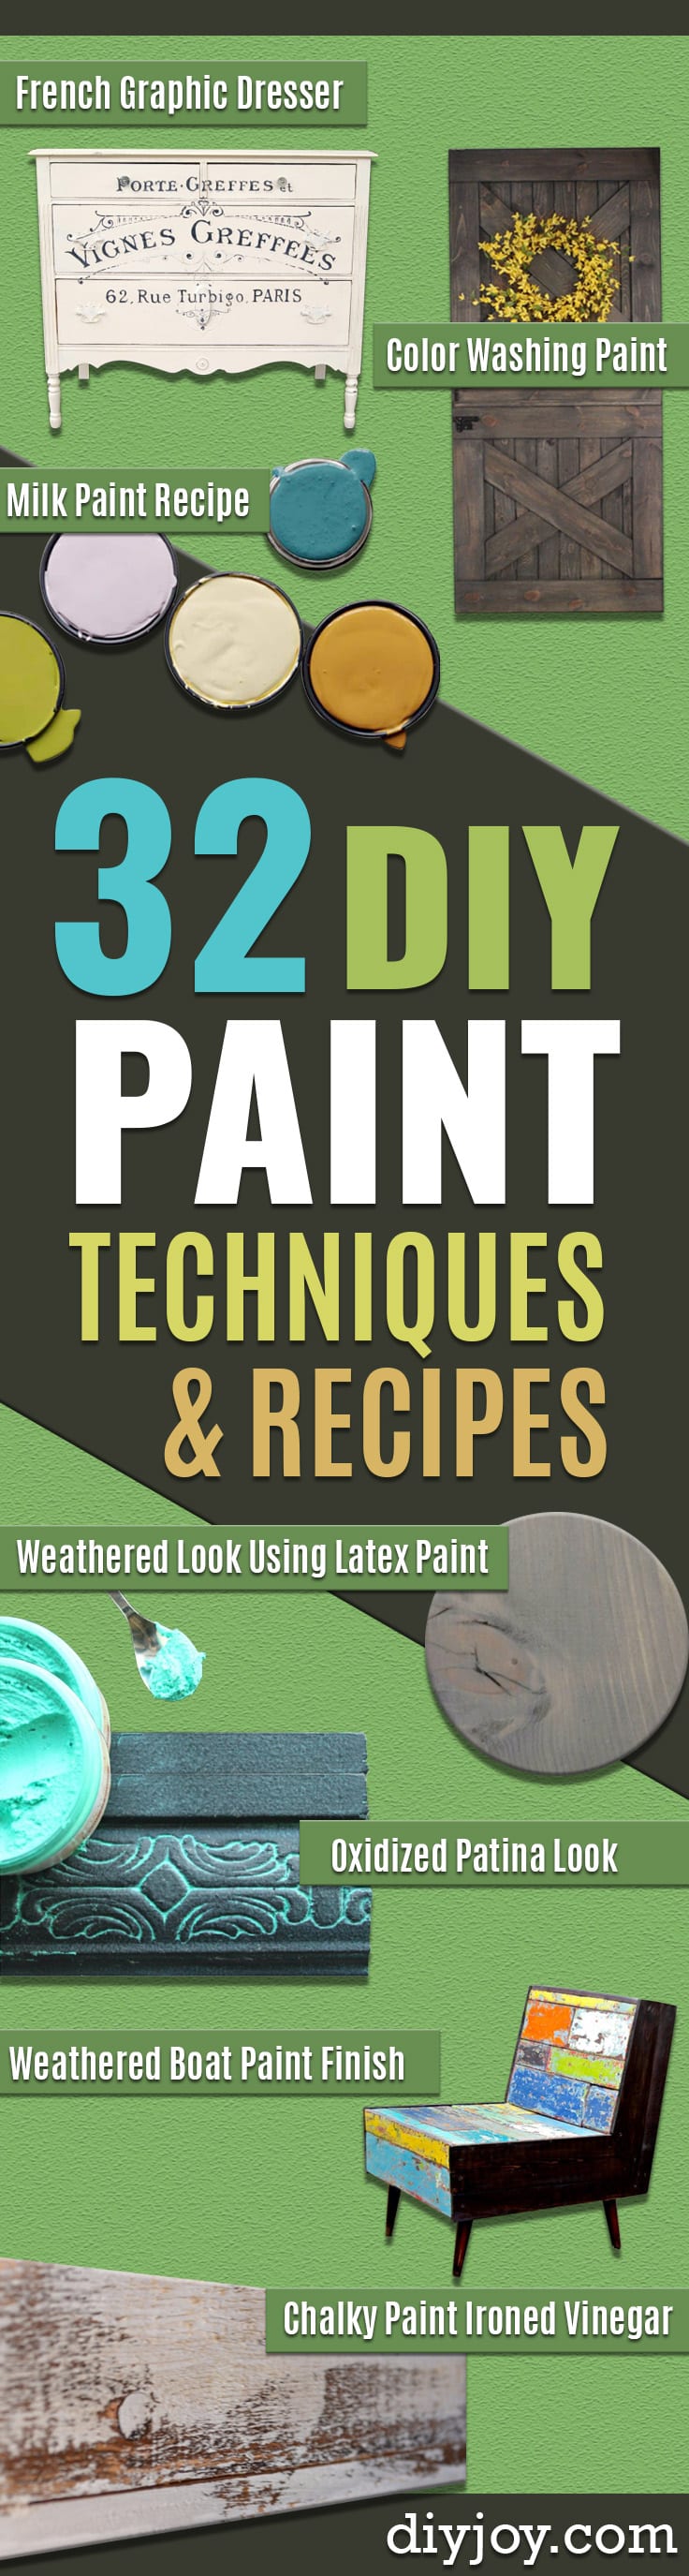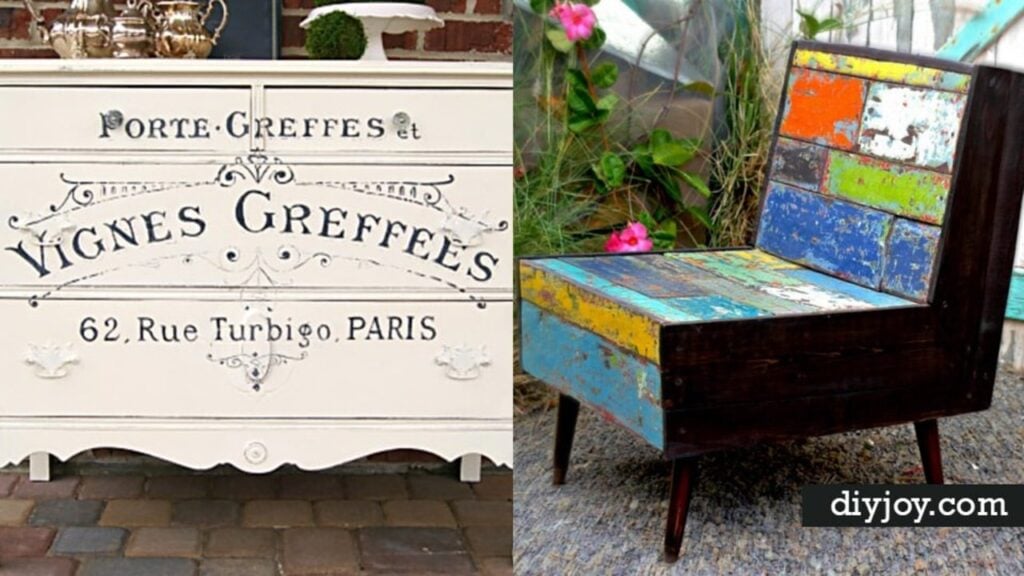
Nobody looks at a chippy blue dresser and thinks “that has been sanded”. They think it has been outside since 1962. That gap between what a finish looks like and what actually produced it is what these 18 DIY paint techniques close, and almost all of them come down to putting something between two coats of paint so the top one cannot hold on. Candle wax, Vaseline, hairspray, a resist you already own. The rest are homemade paint recipes, which are cheaper and more fun than they sound: three ingredients make washable fabric paint, two make bath paint, and food coloring and water make liquid watercolor for about a dollar. Aging, weathering, veneer, oak cabinets, a brick fireplace. Pick the surface you are sick of looking at and start there.
DIY Paint Techniques and Finishes
1. Weathered Boat Paint Finish
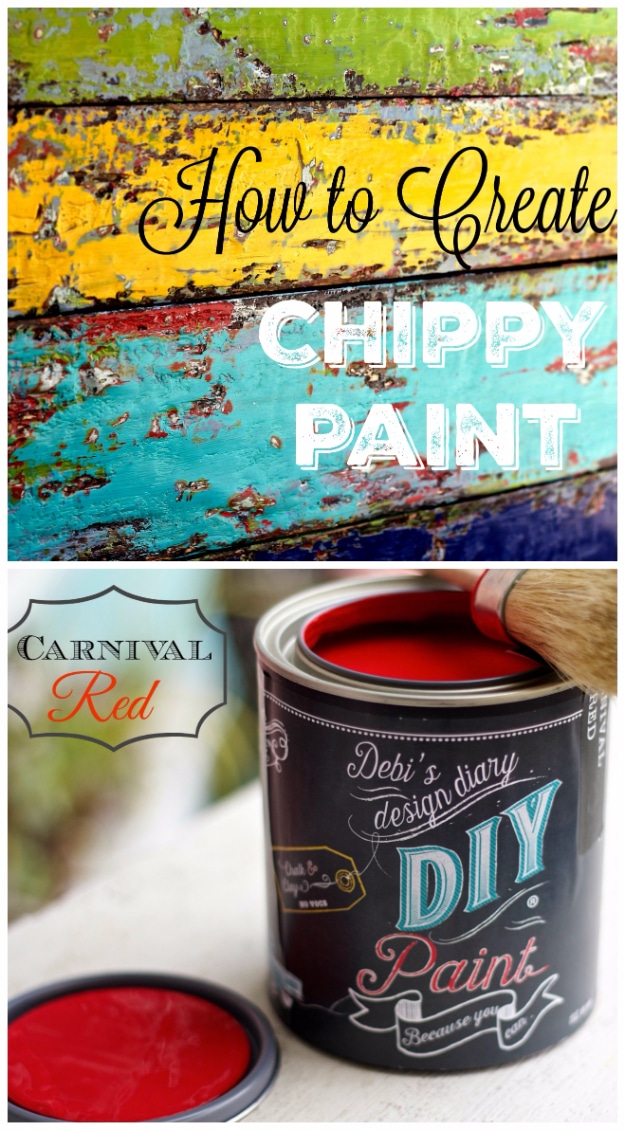
Eight colors layered over a chocolate base and then chipped back with a putty knife to show every one of them, which is why this reads as a boat left in the weather rather than as a distressed chair. The trick is thin coats of thick paint: leave the tin open so the paint bodies up, then spread it with a spatula instead of a brush so coverage stays uneven without brush marks. The last coat is the one that matters. Let it dry to about 90 percent, cold to the touch, then chip. Sand too much and it goes plain distressed instead of boaty.
Get the full tutorial at Debi's Design Diary.
2. Chalky Paint Ironed Vinegar
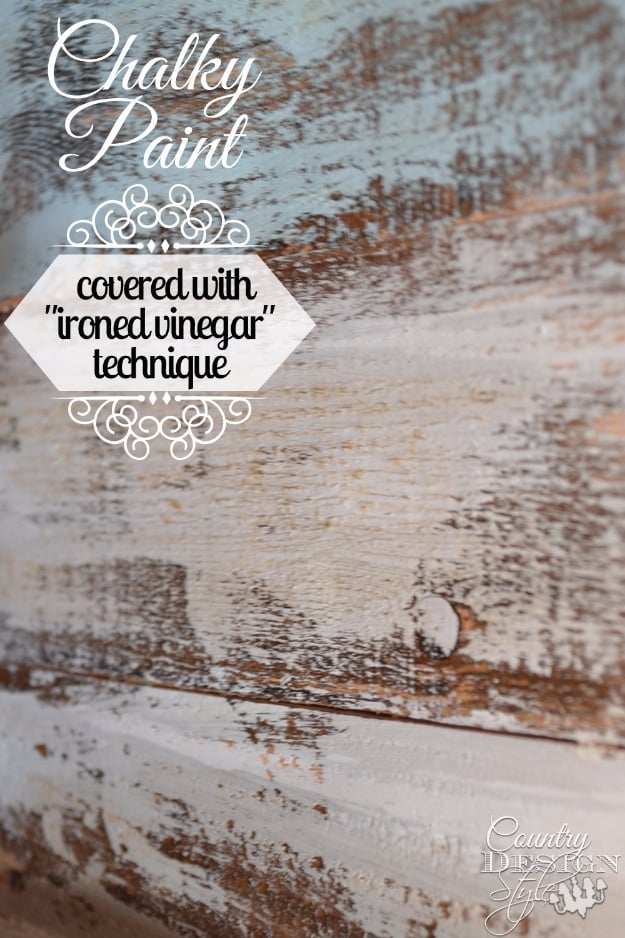
Steel wool dissolved in vinegar, brushed over wood that has already been washed with strong black tea, and left to darken on its own as it dries. A quarter of a 0000 pad to a cup of vinegar fills a pint jar; three quarters of a pad to two and a half cups fills a quart, and a batch that size covers 25 to 50 square feet for about three and a half dollars. Punch air holes in the lid and give it 24 hours. Under chalk paint this is the better order: age the wood first, then dry brush over it so the gray shows through.
Get the full tutorial at Country Design Style.
3. Dry Brushing Paint Technique
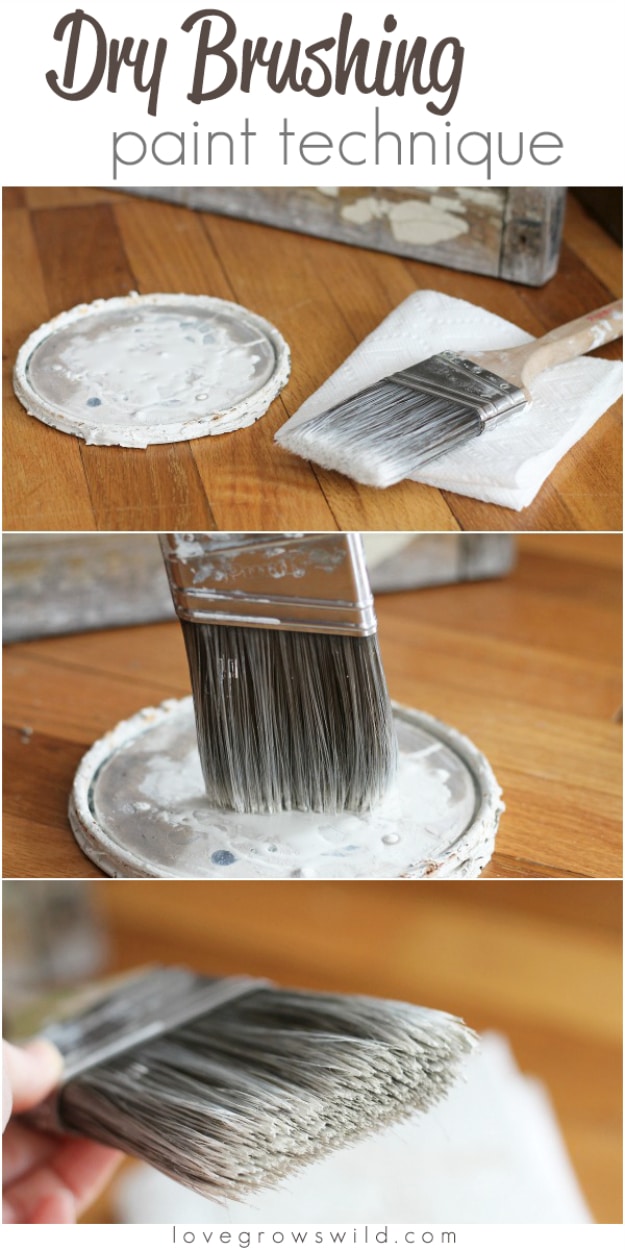
A very small amount of paint dribbled onto the underside of a tin lid, the tip of a dry brush dabbed into it and then dabbed straight onto a paper towel to take the excess off again. That second dab is the whole technique. You want most of the bristles still separated and not soaked, because a loaded brush lays down a coat and a starved one lays down texture. Work in short quick strokes running in different directions so nothing reads as uniform, or hold the brush upright and dot instead. No coat count, no sealing, nothing to buy.
Get the full tutorial at Love Grows Wild.
4. Weathered Look Using Latex Paint
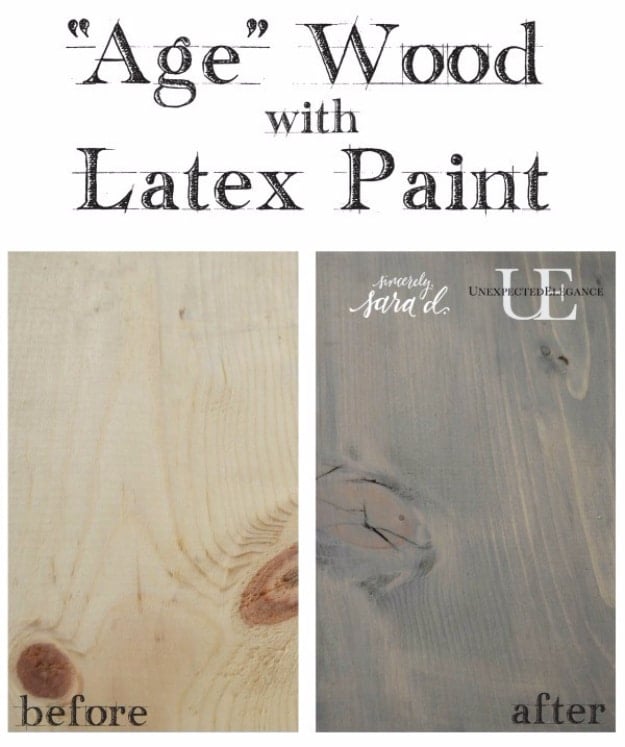
Gray latex thinned on the brush rather than in the tin: dip into the paint, dip into a cup of water, then wash it over the wood and wipe it straight back off with a lint-free cloth before it sets. Repeat until the grain reads as old. This one wants bare unfinished wood, because the pigment has to sink into the fibres to do anything. Latex is the awkward member of the family here and the source says so outright, that it does not distress as well as chalk or milk paint, so if you are going over an existing painted coat give it days to cure and then use very fine grit with a light hand.
Get the full tutorial at Unexpected Elegance.
5. Create a Chipped Paint Finish
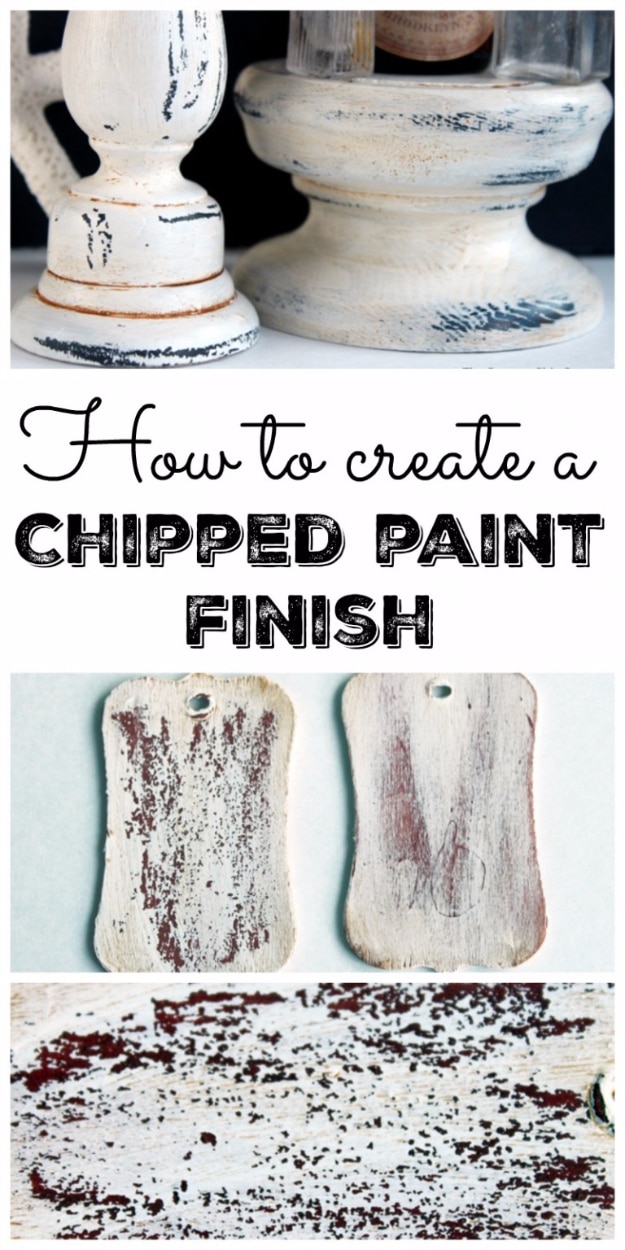
An old candle is the whole secret. Paint a dark chalky undercoat, give it two hours, rub the candle over the whole surface, then put two coats of a light color on top. Once it is dry, warm the piece with a hair dryer for a few minutes to soften the wax underneath, press packing tape down onto the surface and pull it off. The top coat lifts in flakes exactly where the wax is. Use a fresh piece of tape every time, because tape loses its grip the moment it has pulled once. More candle wax means a more rustic result, so that is the dial.
Get the full tutorial at The Country Chic Cottage.
6. Mica Paint On Cold Process Soap
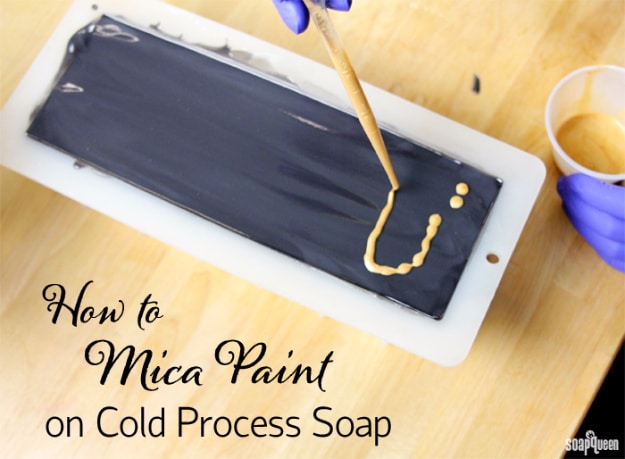
One teaspoon of mica dispersed into one tablespoon of a lightweight oil, sweet almond or sunflower or avocado, and up to two teaspoons if you want it loud. Drop it onto the wet soap with a dropper at thin to medium trace, either as lines you can swirl or as single spots. Then mist very lightly with 99 percent isopropyl alcohol; go heavy and the swirl breaks up. Too much oil and it never soaks back in, so you are left with a greasy top. Give it a full day for the oil to sink. Worth knowing before you gift it: mica paint washes off in water.
Get the full tutorial at Soap Queen.
7. Washable Homemade Fabric Paint
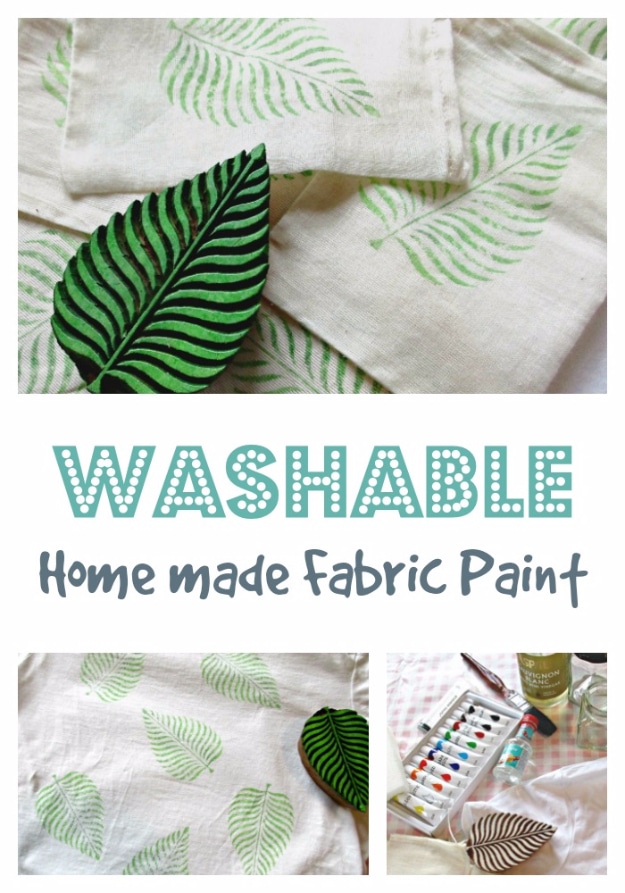
Ten millilitres of white vinegar, ten of glycerine and twenty of tap water, shaken together in a jar. That is the medium. Thin ordinary acrylic paint with it until it runs like ink and it will stamp or brush onto fabric and stay there. The surprise is that heat setting turns out to be optional: the tutorial washed ironed and un-ironed samples at 40 degrees with detergent and the un-ironed prints came out just as bright. Iron through a cloth on medium if you want the insurance. The medium keeps for months in a closed jar, but once it is mixed into paint use it within a couple of weeks.
Get the full tutorial at Craft Invaders.
8. Distressed Furniture
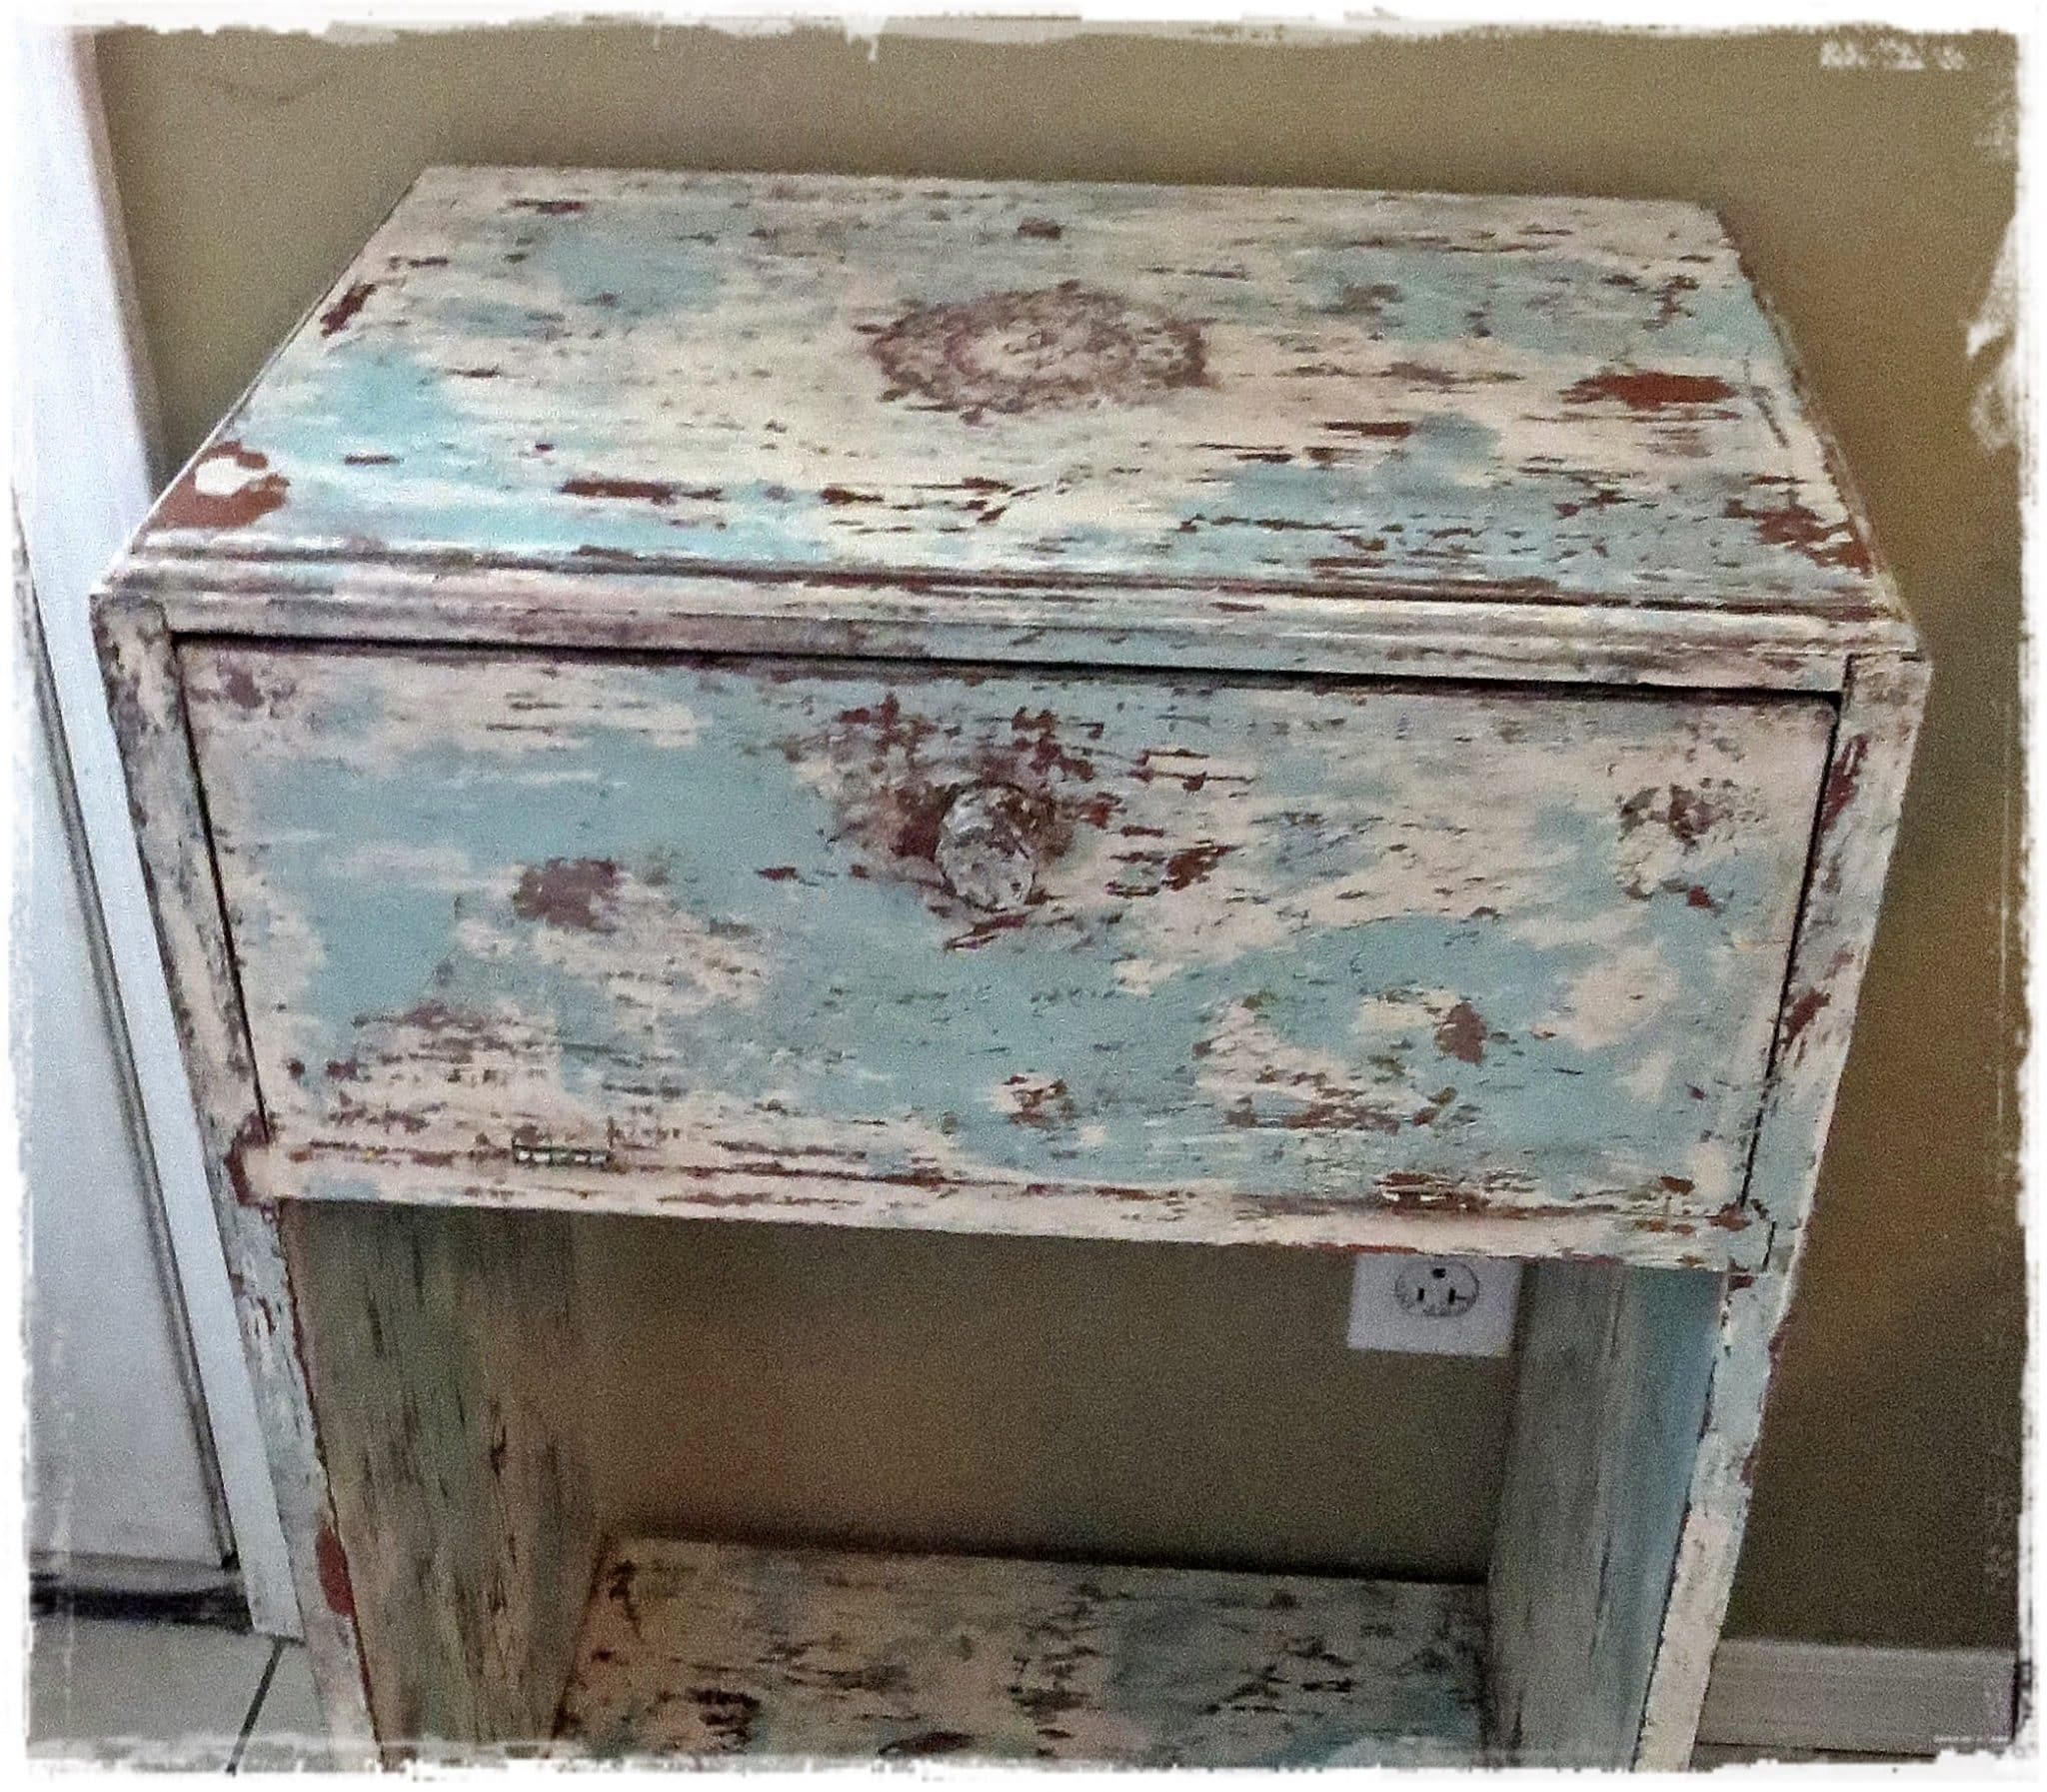
Three colors of chalk paint, a tub of Vaseline and a tablespoon of plaster of Paris are what sit behind this soft blue and white cabinet, and each one does a different job. Vaseline is the resist: smear it where you want the lower color to survive and the next coat simply will not stick there. Plaster of Paris thickens paint so it drags and leaves texture. Crackle medium splits the top layer as it dries. Glaze mixed three to one with craft paint settles into the splits and the carving and makes every one of them read. Windex and a rag take the excess back off.
Get the full tutorial at DIY Joy.
9. Liquid Watercolor Paint
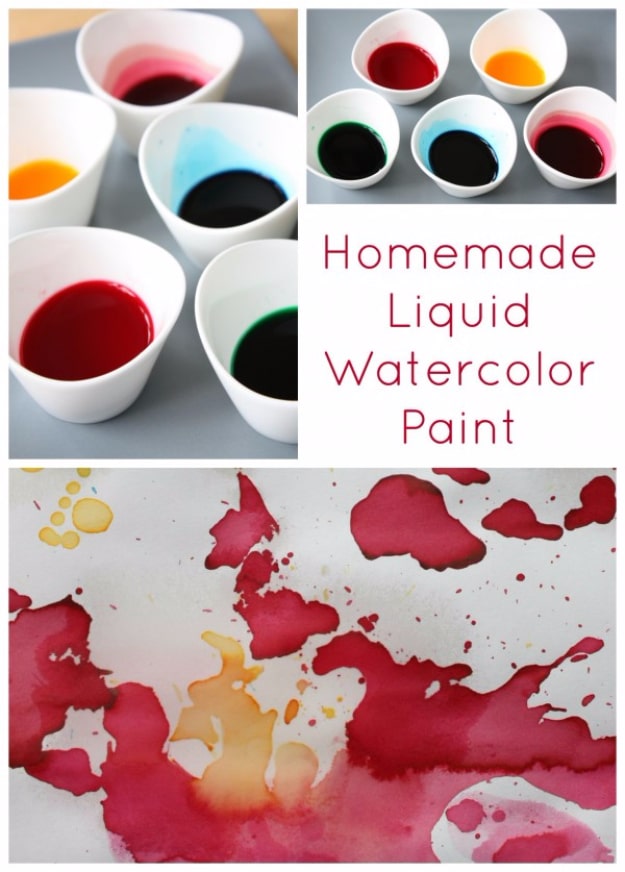
Water and food coloring. That is the entire ingredient list, and the reason to bother is that shop-bought liquid watercolors are expensive and you go through them fast if there are children in the house. Pour the amount of water you actually want into small containers, then add a single drop of coloring to each and look before you add another, because food coloring is stronger than it looks and gel is stronger again than liquid. One drop gives you a pastel wash, a couple gives you the vivid jewel tones. It stains clothes, so aprons on. Watercolor paper or postcards take it best.
Get the full tutorial at Emma Owl.
10. Distress Paint With Vaseline
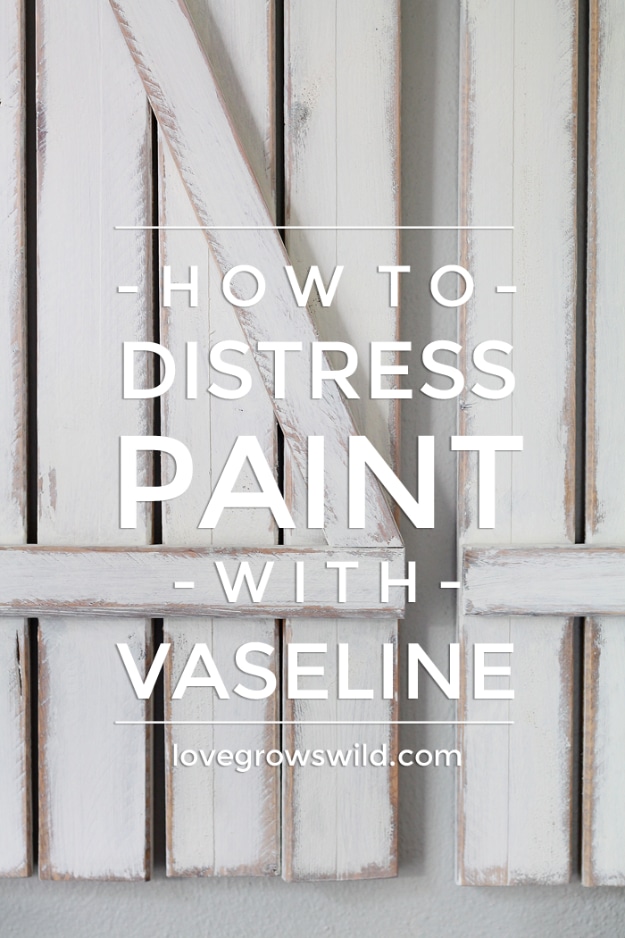
A thin layer of Vaseline smeared with a finger onto the edges and anywhere else you want wear, then paint straight over the top. Nothing sticks where the jelly is. Vary the thickness across the piece so the result looks worn rather than outlined, and be sparing, because this really does stop paint adhering completely. The timing is the part people get wrong: let the paint dry slightly, not wet to the touch and not cured, then rub the greased areas with a damp rag and the top layer comes away to whatever is underneath. Wipe the grease off with paper towels before any polyurethane goes on.
Get the full tutorial at Love Grows Wild.
11. Paint Oak Cabinets
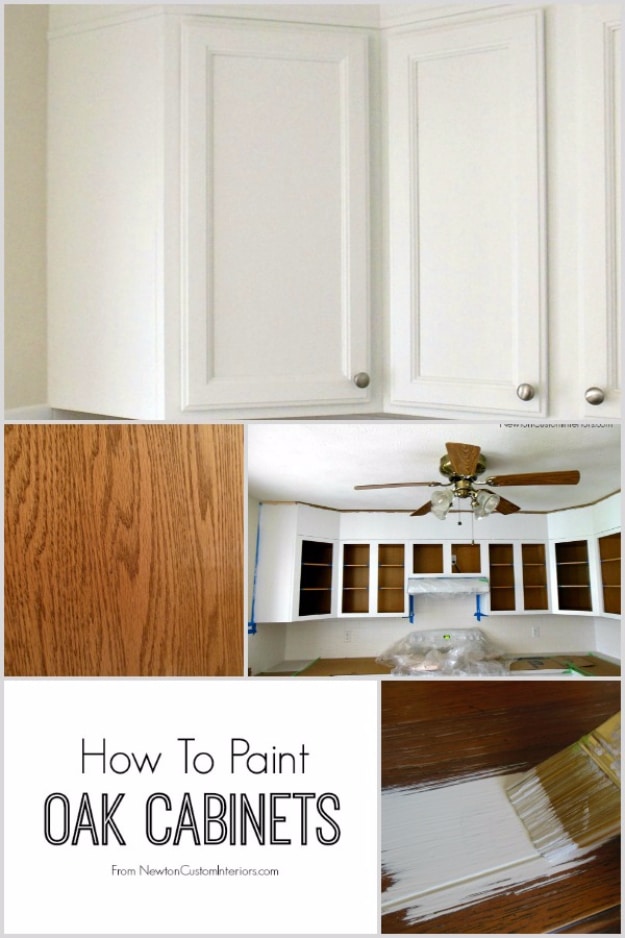
Orange-toned oak kitchen cabinets taken to plain white, which is the single highest-value thing paint does in a house and also the one with the most ways to go wrong. The before and after frames show the two conditions worth studying: heavy grain and a factory finish. Oak grain is deep enough to telegraph through paint no matter how many coats go on, so it either gets filled first or it becomes part of the look on purpose. The factory finish underneath is engineered not to accept anything, which is why every reliable cabinet job starts with degreasing, scuff sanding and a bonding primer rather than paint.
Get the full tutorial at Newton Custom Interiors.
12. Paint Veneers Tutorial
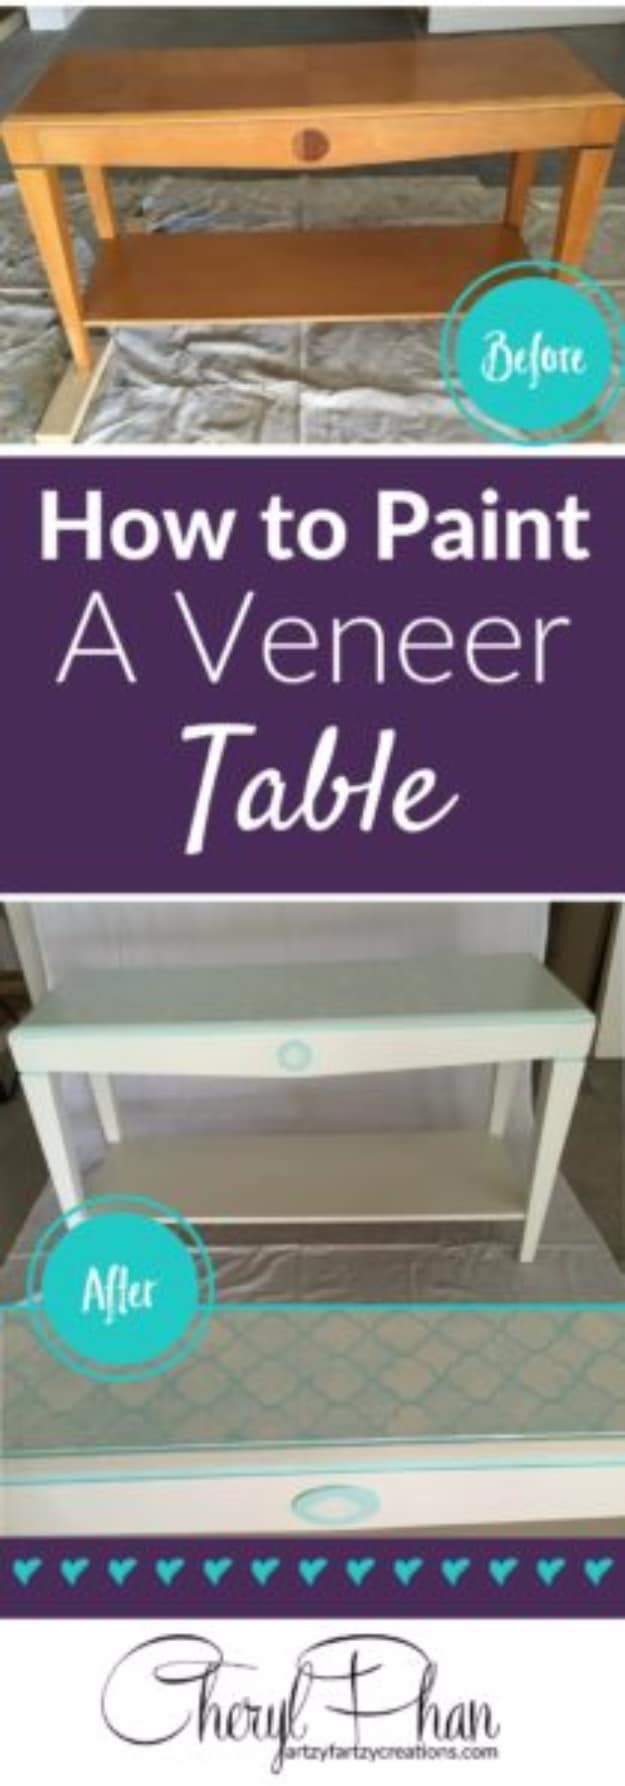
Veneer is a sheet of real wood about a millimetre thick glued to something cheaper, so the rules are different: sand with 120 grit only until the gloss is gone, because going further takes you through the veneer itself. Wipe down with TSP, then prime with a bonding primer, rolled on with a sponge roller for a flat surface and cut in with a brush. Lifting corners get wood glue and blue tape until dry, then a light sand. Two coats of paint, then a clear topcoat. Skipping the prep is the failure everyone repeats, and veneer punishes it faster than solid wood.
Get the full tutorial at Artzy Fartzy Creations.
13. Paint And Distress A Wood Hutch
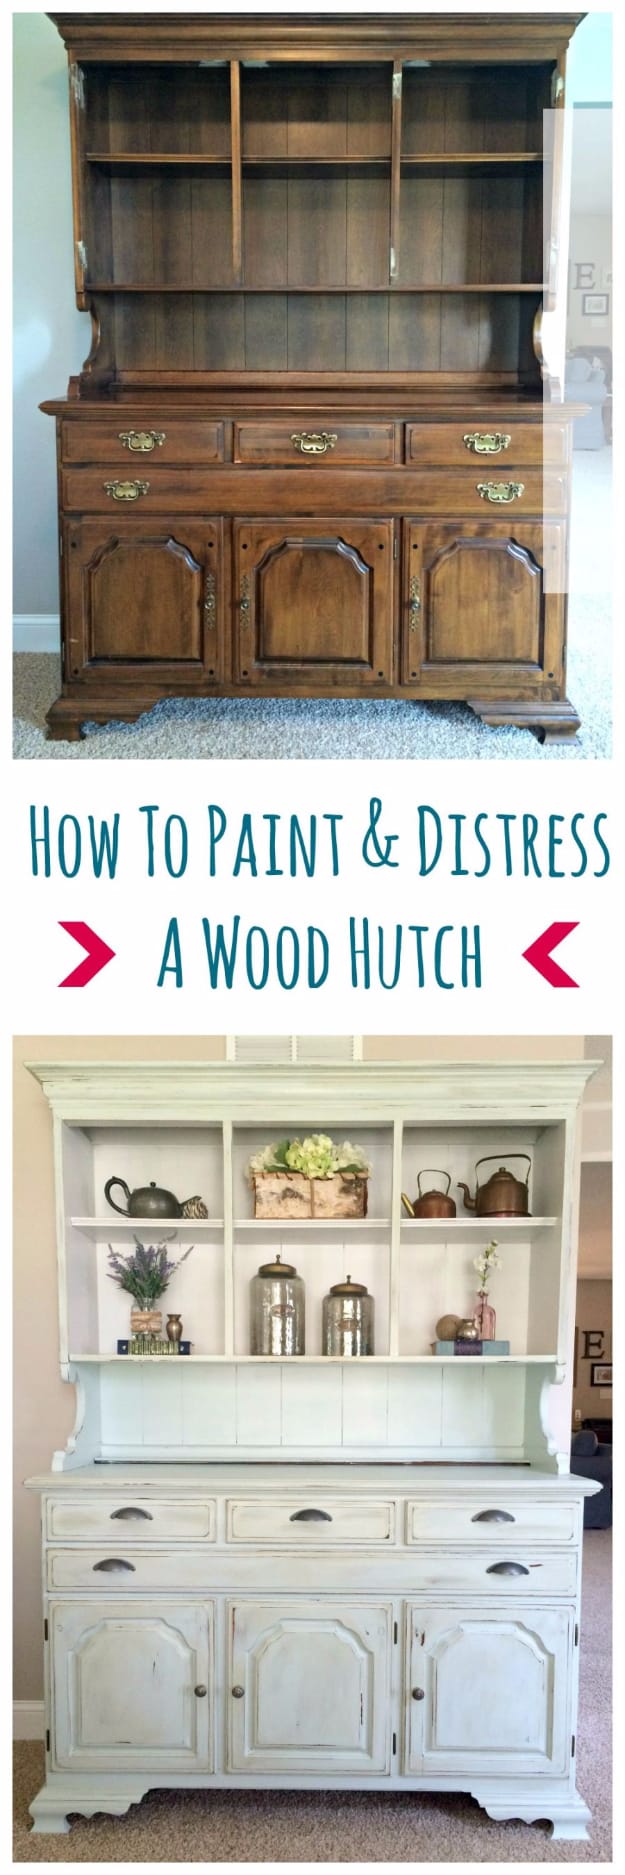
Dark oak to soft greige, and the sequence is what does it. Hardware off, holes filled, the whole piece hand sanded, then two coats of latex primer. One coat of a darker custom gray goes on first as the color you will sand back to, then two coats of the pale green-gray top color with an hour between them. Distress with a 60 grit block on corners, edges and flats. Then the step most people skip: a brown cabinet glaze brushed on with foam and wiped off with paper towel, which settles into the sanded edges and makes them read as wear rather than as sanding.
Get the full tutorial at Sobremesa Stories.
14. Paint A Brick Fireplace
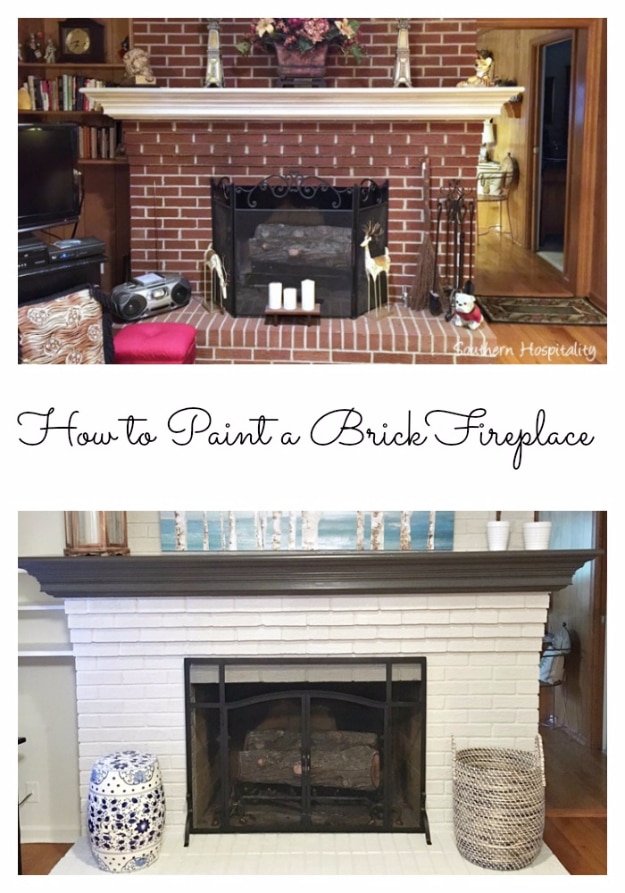
Red 1950s brick to warm off-white, and the only real difficulty is the mortar. Vacuum the brick thoroughly first, or wash it with soap and water if there is any grease, then tape off the firebox. Prime with a water-based primer and sealer, working it into the grout lines with a brush and rolling the faces with a short nap roller; it does not have to reach every crevice. Leave the primer overnight. One coat of satin covered the brick after that, which is the payoff for priming properly. Worth noting before you start: this was a gas fireplace, so nothing painted was taking real heat.
Get the full tutorial at Southern Hospitality.
15. Homemade Puffy Paint
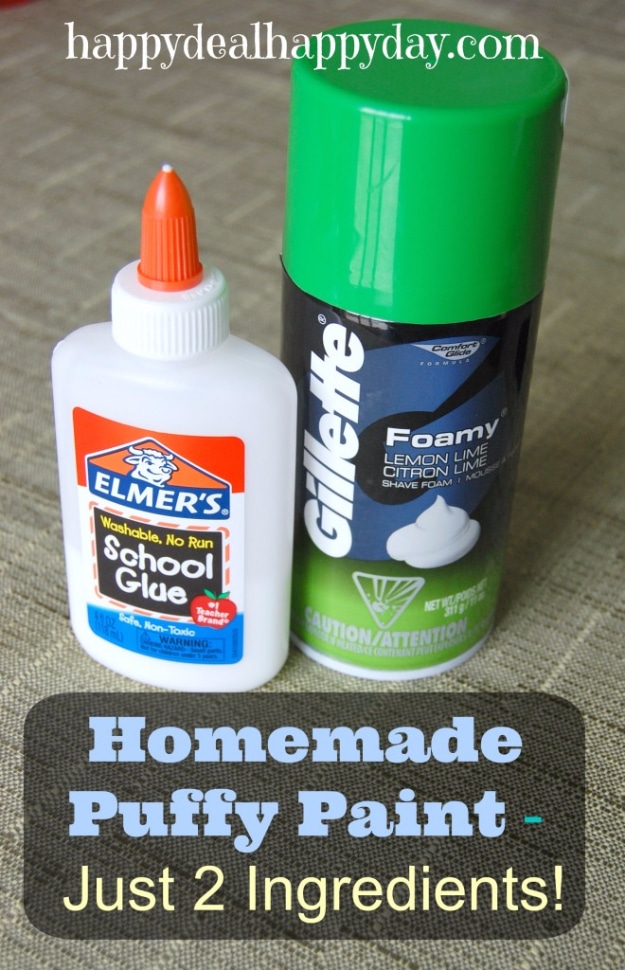
Shaving cream and white school glue in equal parts, stirred with a lolly stick, with food coloring if you want it to be anything other than white. There is no microwave step in this version and no heat at all; the puff is just the foam holding its structure while the glue sets around it, which is why it wants hours rather than minutes and is happier finished the next morning. Sun or a warm dry room speeds it. Card stock is the surface, and black card is the one that makes the colors sing. Not especially messy for what it is, and fine for all ages.
Get the full tutorial at Happy Deal Happy Day.
16. Bath Paints Using 2 Ingredients
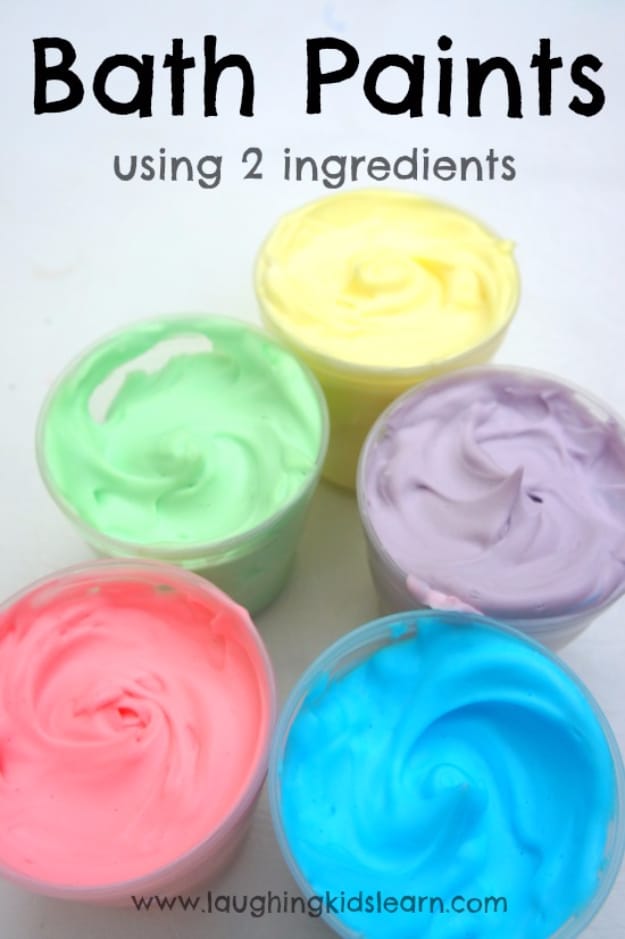
One cup of shaving cream per color, three to six drops of food coloring, stirred in a cup. Five minutes and you are done. The honest warning is the useful part of this one: grout stains, so keep it off the grout, and on a fiberglass tub it is safer to let them paint the glass shower screen instead of the tub itself. Use a drop or two rather than six if you are renting. It washes off easily and a watering can turns the cleanup into the second half of the activity. It is explicitly not edible, which makes it the safer choice for babies over whipped cream.
Get the full tutorial at Laughing Kids Learn.
17. Paint Graphics On A Furniture Like A Pro
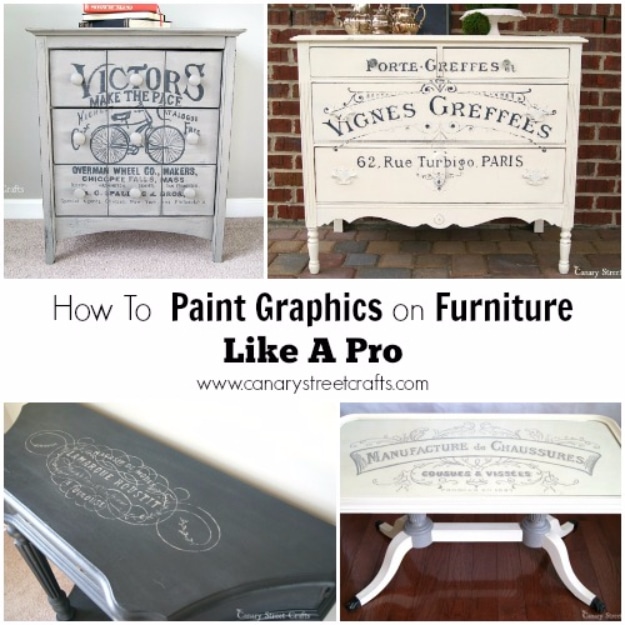
An overhead projector and a sheet of transparency film, which is how sign painters did this before anyone owned a cutting machine and is still the most forgiving method there is. Print the image onto film that matches your printer, project it onto the piece and trace, but trace with a watercolor pencil rather than a lead one, because watercolor wipes off with a damp cloth when you change your mind and graphite does not. Fill in with chalk or acrylic craft paint in thin coats using several brush sizes. Then sand the dry lettering with a fine block, which turns every wobble into intentional wear.
Get the full tutorial at Canary Street Crafts.
18. How To Distress New Wood With Hairspray
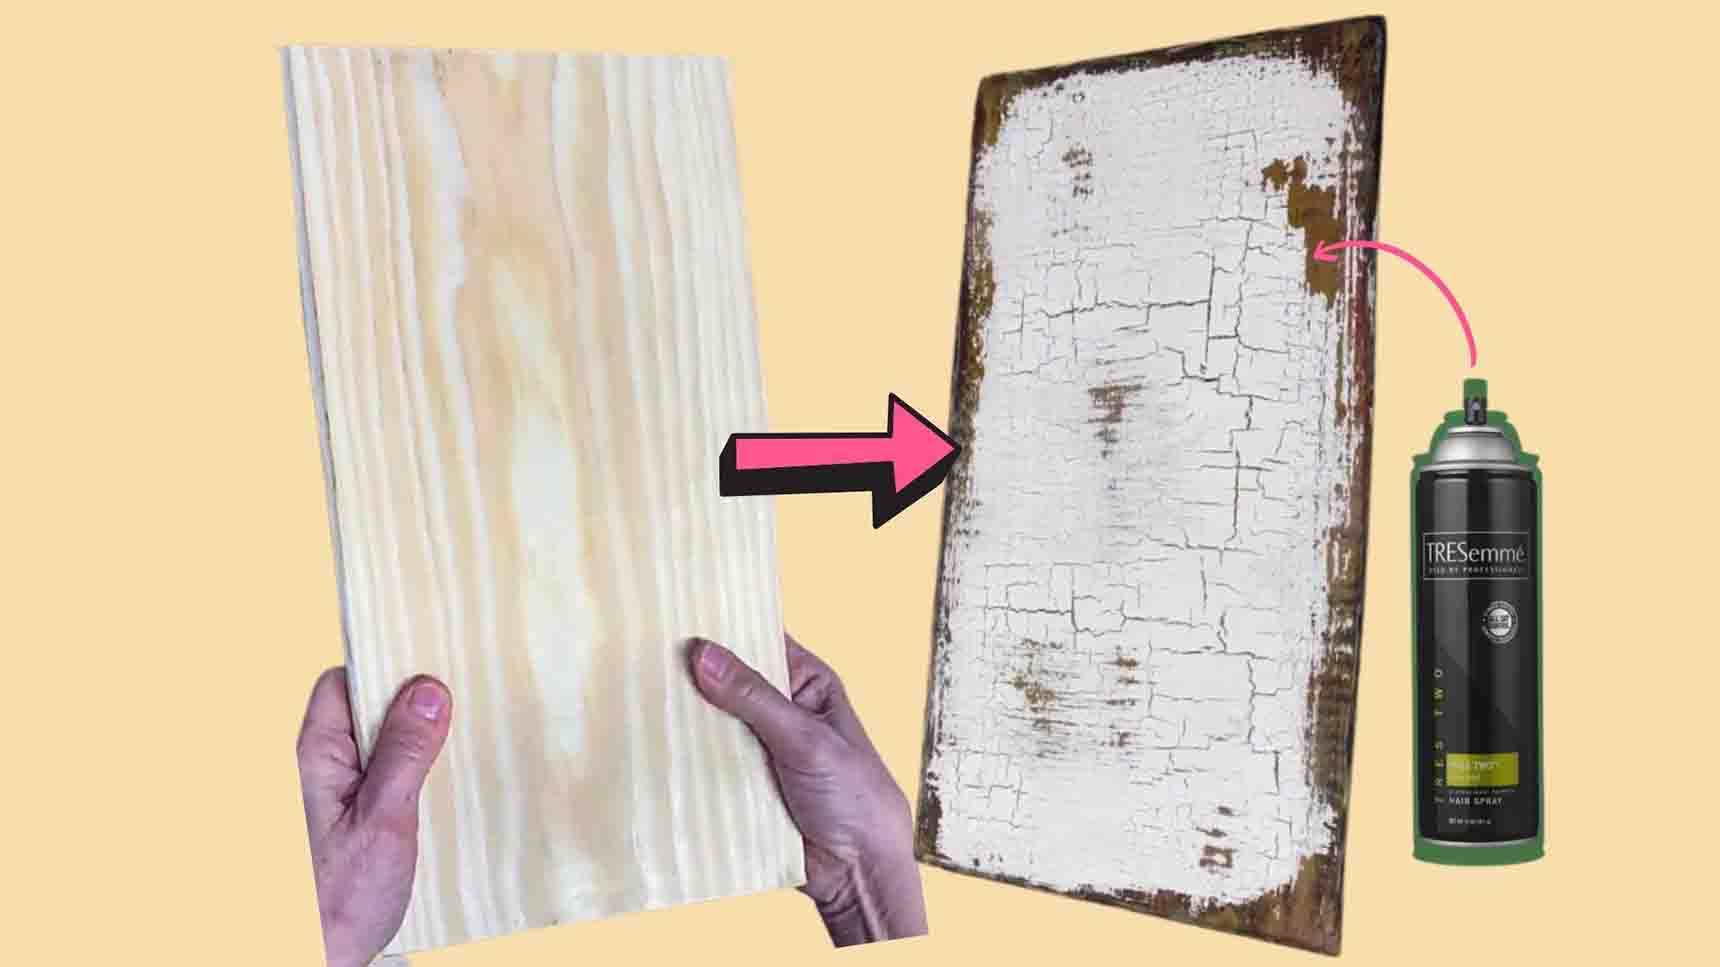
Hairspray as a resist, which is the cheapest one on this whole page and behaves differently from wax or Vaseline because it dissolves in water instead of being wiped off. Chip the edges of a fresh board with a cutter and sand them, then lay chalk paint, then terracotta and yellow brushed on loosely without covering everything, drying between each. Coat it heavily with hairspray and let that dry. Put white acrylic over the top, let it dry completely, then spray warm water around the corners and work it with a flat stencil brush until the white lifts off in exactly the pattern you want.
Get the full tutorial at DIY Joy.