

Getting a nursery ready is one of the sweetest projects there is, and handmade pieces make the room feel like hers from the very first day. These DIY nursery decor ideas for girls cover the walls, the crib and every little corner in between: painted wood block animal art, rainbow paper dahlias, a no sew bed canopy, a gold dot accent wall, a seashell growth chart and a doily lamp that scatters lacy shadows at bedtime. Many of them start with craft store canvases, paper mache letters, felt or cupcake liners, so a pretty room doesn’t need a big budget. A few DIY JOY originals with full videos are tucked in as well, like fork pom pom flowers, a textured heart canvas and a clay flower mirror. Choose a color palette, pick two or three favorites and get crafting while there’s still time to nest!
Handmade Nursery Decor Ideas for Girls
1. Paper Dahlia Flowers

Paper dahlia flowers fill a wall with color for the price of some bright cardstock. Each flower takes about 10 sheets of 8.5 by 11 inch paper, cut into 4.25 by 5.5 inch rectangles with a paper trimmer. Roll every rectangle into a cone, then hot glue the cones in rings onto a 6.5 inch cardboard circle, starting with a big four sheet layer and working in to a one sheet center. A low temperature glue gun is safer with little helpers around. Arrange a rainbow cluster above a crib or dresser.
Get the full tutorial at Craftaholics Anonymous.
2. DIY Painted Wood Block Nursery Art

Painted wood block nursery art is very doable even for anyone who doesn’t feel like a natural artist. Have a lumberyard cut a 1×4 into squares and sand any rough edges. Paint the tops and sides with two coats of bright acrylic and let them dry completely. Cut out black and white baby animal prints (there’s a free printable), brush a thin coat of Mod Podge on the backs and press them down, smoothing bubbles with a credit card. A top coat of Mod Podge seals everything, and removable mounting squares hang them.
Get the full tutorial at Alice and Lois.
3. DIY Nursery Art – Let Her Sleep

This Let Her Sleep canvas is made from road maps, so every letter can hide a meaningful place. Paint a 3 by 4 foot canvas gray, layering two shades so the darker tone peeks through. Use 2 inch stencils for the small letters and printed 6 inch Arial letters for the large ones, trace them onto maps of hometowns and favorite trips and cut them out, avoiding the folds. Mod Podge each letter onto the canvas along a yardstick to keep the lines straight, then coat the whole canvas for gloss and texture.
Get the full tutorial at Snappy Casual.
4. Paper Mache Alphabet Wall

This paper mache alphabet wall turns a set of 8 inch craft store letters into one big piece of wall art. Lay all 25 letters out (the O is swapped for a paper mache heart with its edges trimmed) and photograph the layout. Spray the fronts flat white, except for the three center pieces, which stay natural to spell a little love message in the middle. Gold glitter spray adds optional sparkle. Hot glue the touching edges, flip the panel to glue the backs, then add two sawtooth hangers.
Get the full tutorial at Fawn Over Baby.
5. Textured Heart Canvas Art
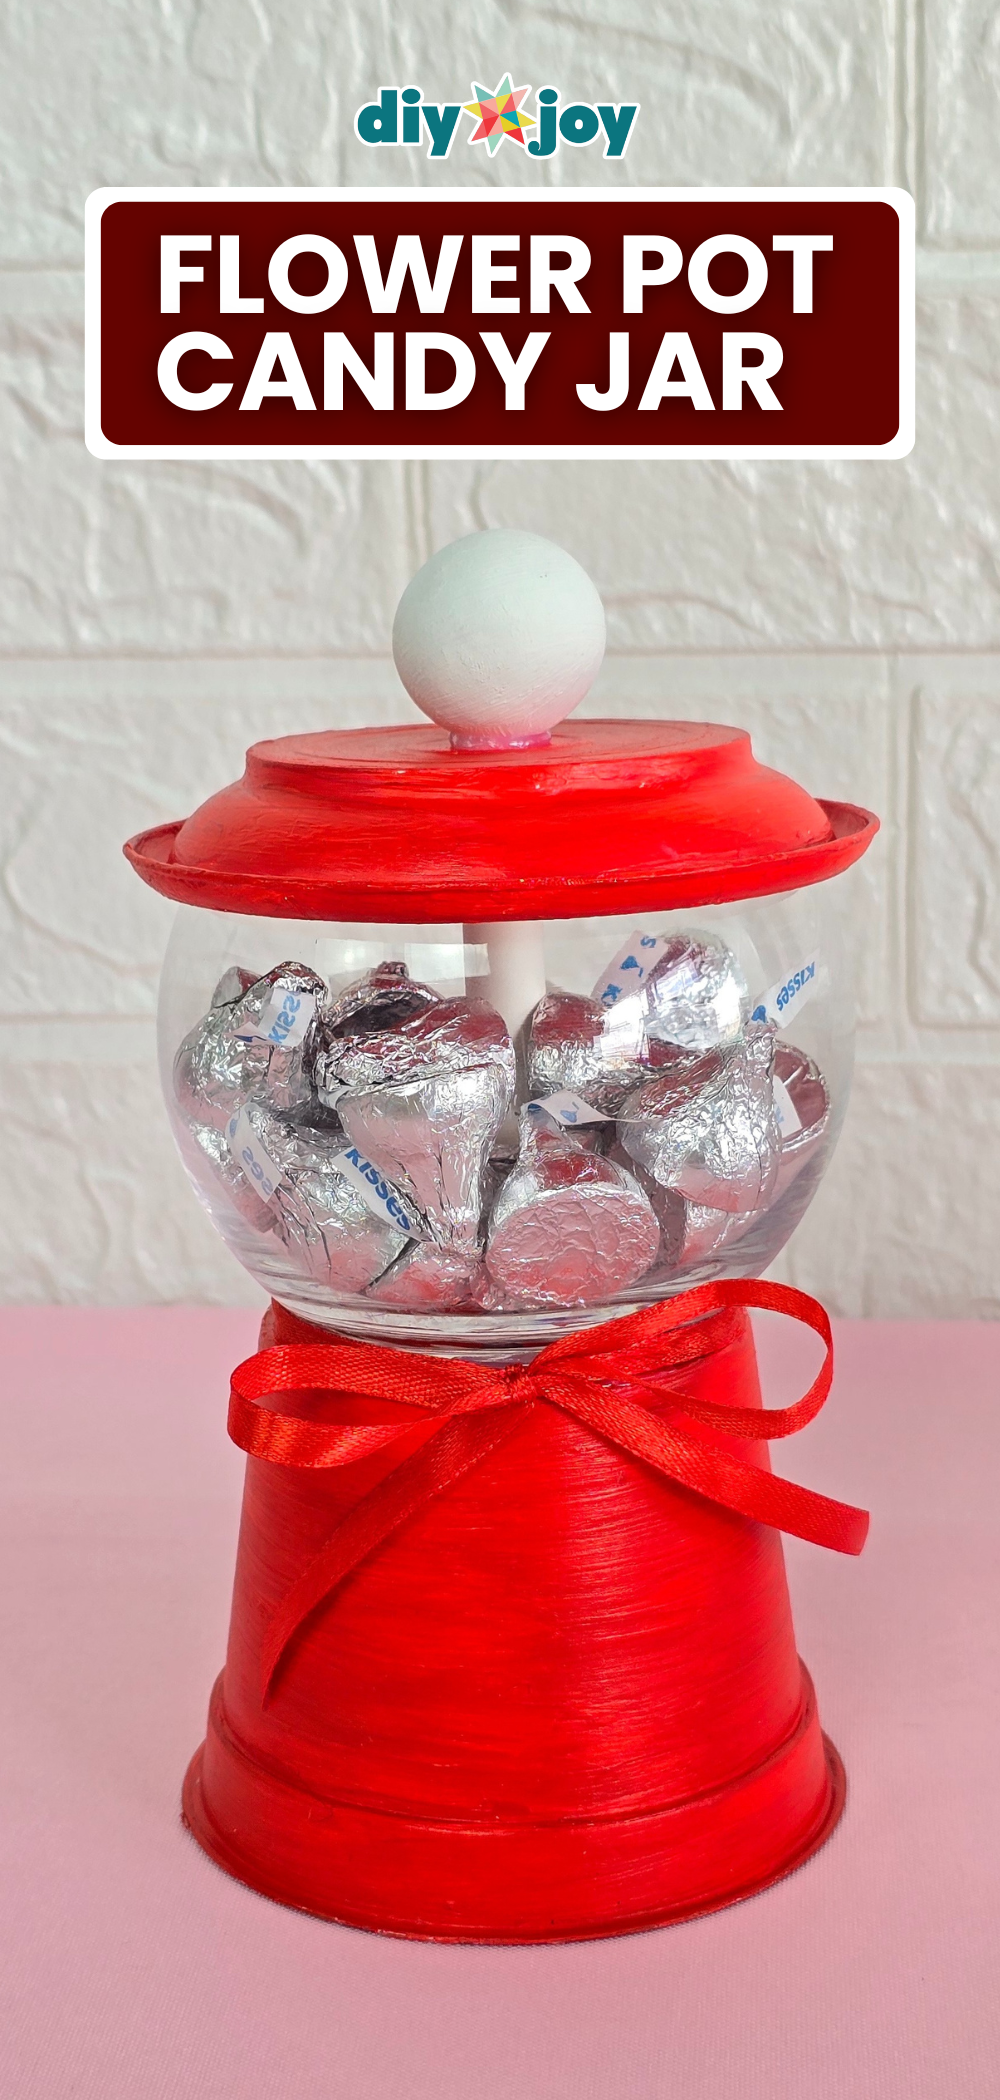
This textured heart canvas uses a simple paper mache method to give each heart a raised, embossed look. Paint the canvas a solid color and let it dry, then sketch hearts, letters or shapes where you want them. Soak torn tissue paper in water, squeeze out the excess and tear it into even smaller bits, then stir in glue and paint until it’s well mixed. Fill each outline with the mixture until no lines show. Small, even pieces dry smoother, while extra layers make the hearts stand out more.
Get the full tutorial at DIY JOY.
6. Patterned Dot Wall

A patterned gold dot wall behind the crib looks like designer wallpaper. Gold adhesive vinyl cut into 1.5 inch dots with a cutting machine keeps it removable. Work out the spacing before you start: 8 feet of 12 inch wide vinyl gave enough dots to place them 6.5 inches apart. A laser level is the key tool. Mark 6.5 inches down from the ceiling on both sides, line up the laser and space each dot with a cardstock ruler cut to size. Once the first two rows are set, the rest goes quickly.
Get the full tutorial at TaylorMade.
7. DIY Paper Heart Wreath

This paper heart wreath uses 3D hearts and folded leaves for extra dimension. Punch six hearts from each color with a 3 inch heart punch. Fold one heart in half, run a thin line of glue along the fold and press it onto the center of a flat heart of the same color. Fold green paper several times, trace a leaf and cut through all layers at once, then fold each leaf in half. Hot glue the leaves around a wooden hoop, overlapping them, then add the hearts and a bow.
Get the full tutorial at DIY JOY.
8. No Sew Bed Canopy

This no sew bed canopy uses hot glue and staples instead of a sewing machine. Sketch an arch on the ceiling with chalk, about a foot out over the bed and 3.5 feet wide. Cut six yards of sheer lace edged fabric in half, so the panels need no hemming and can puddle on the floor. Hot glue about eight 18 inch lengths of grosgrain ribbon along the top of each panel, then staple the ribbons to the ceiling along the arch. Knotted strips of lace fill the gaps, and ribbon ties the sides back.
Get the full tutorial at The Lilypad Cottage.
9. DIY Elephant Garland

This elephant garland is made from scrapbook paper and string, and it comes together quickly. Draw an elephant template about 15 centimeters wide and 10 centimeters tall, or pick any animal you like and size it up or down. Trace the template onto patterned scrapbook paper and cut out each elephant. Cut a string long enough to hold them all with a loop left at the top. Run a line of hot glue or white craft glue down the back of each animal and press the string in place, then hang it vertically.
Get the full tutorial at thaturbanfoxx.
10. Easy Paper Flowers With Cupcake Liners
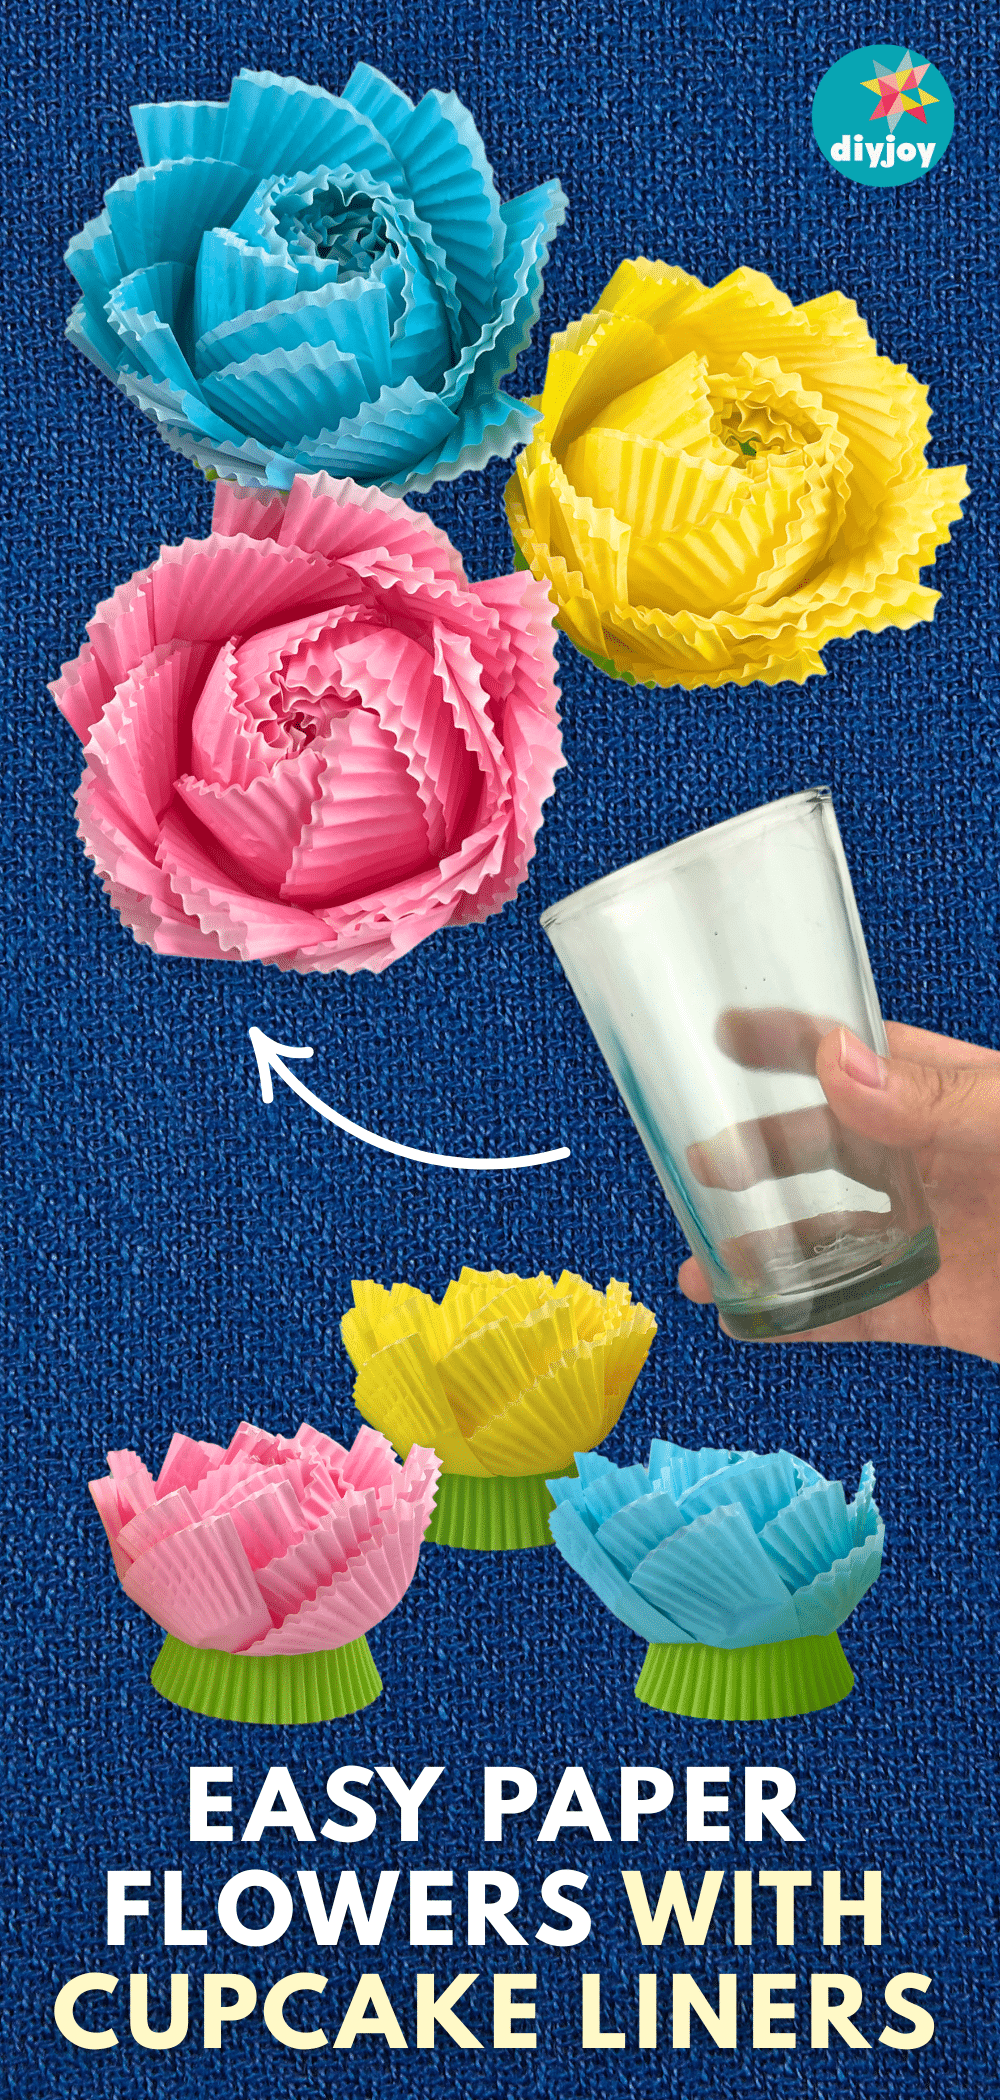
Cupcake liner flowers look like ruffled roses, and each one takes about 12 liners. Flatten each liner and fold it into quarters. Set one folded liner over the rim of a glass so the sides hang loose, add hot glue to the crimped point and overlap the next one, working all the way around. Build more layers by placing liners between the ones before. Turn the glass over and gently lift off the finished flower. Color plain liners with markers or watercolor first, or add glitter along the petal edges.
Get the full tutorial at DIY JOY.
11. Easy DIY Fairy Jar Lanterns
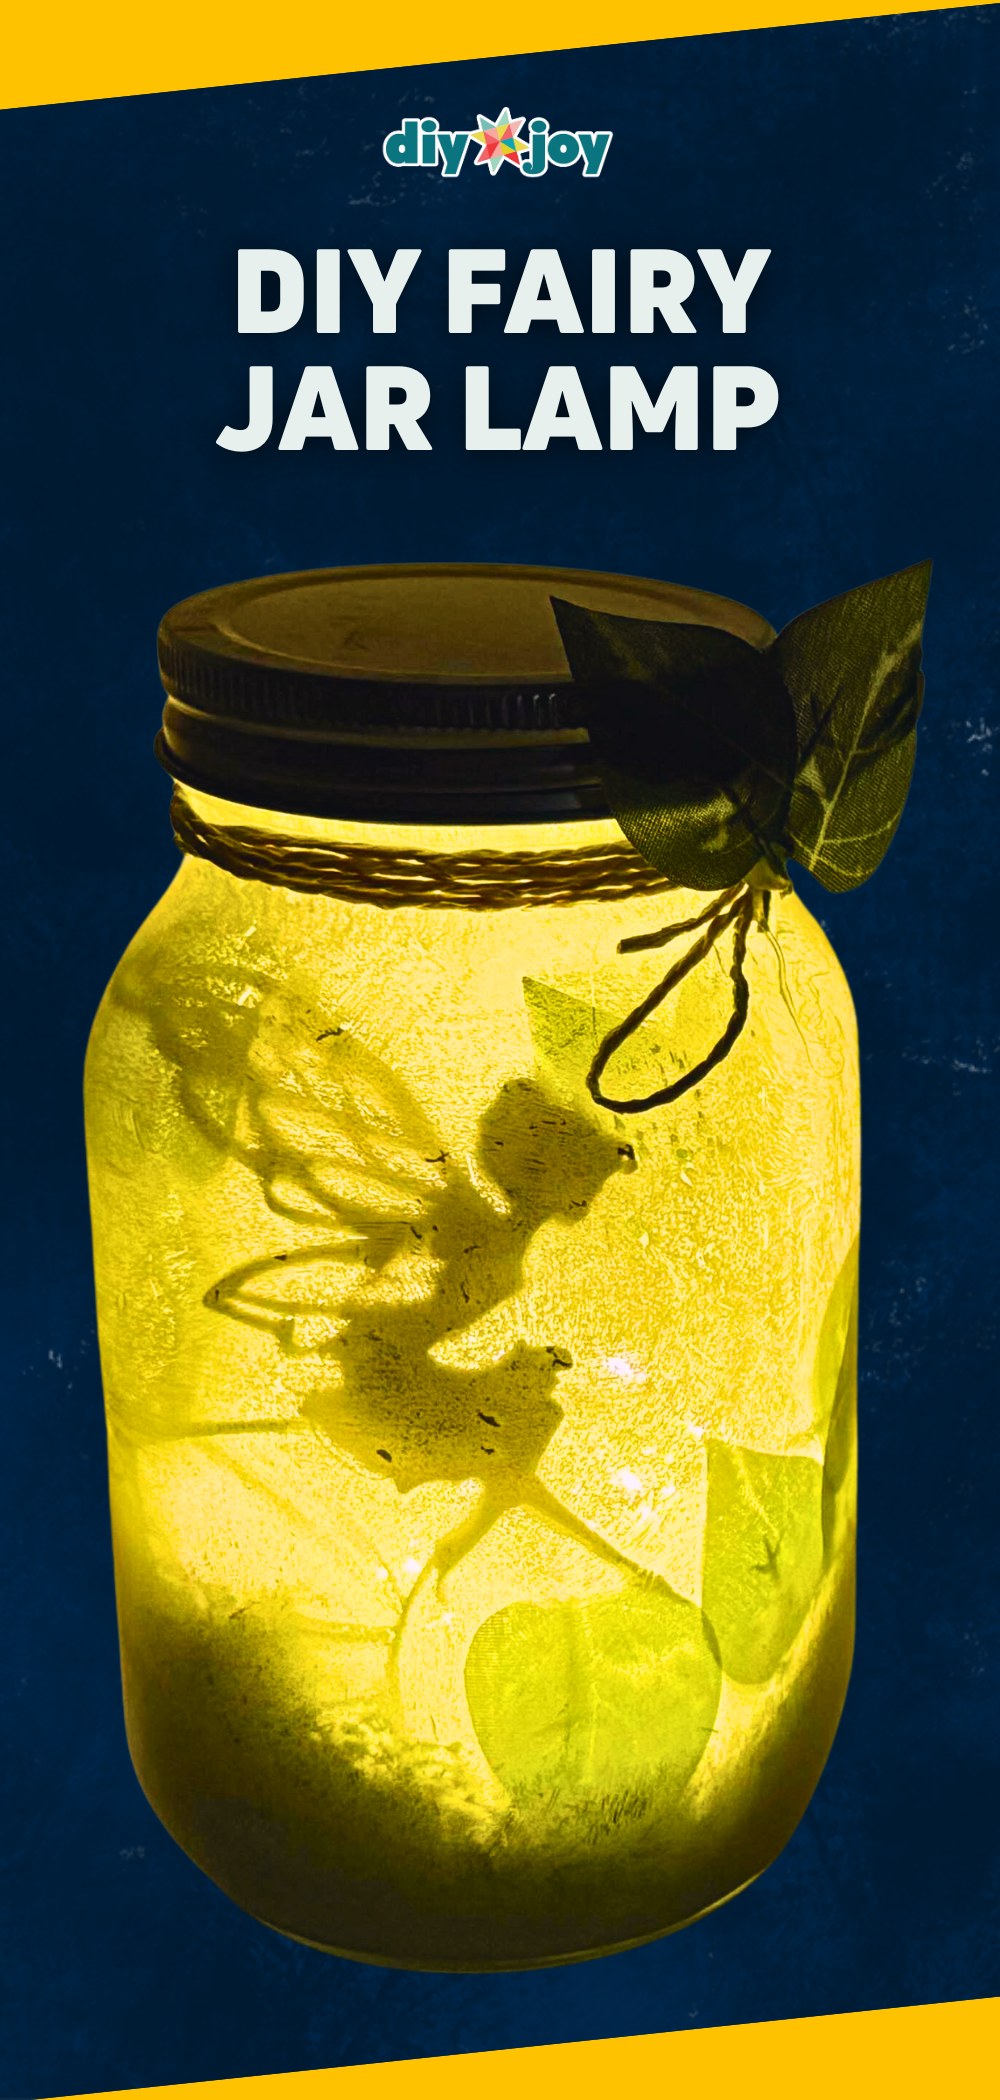
A fairy jar lantern makes a gentle night light for late night feedings. Print a fairy silhouette, or a tree, mushroom or tiny house, and cut it out. Paint the inside of a clean glass jar with white acrylic or primer, keeping the coat thin enough for light to glow through. Add fake moss or crumpled tissue to the bottom, hot glue the silhouette and a few leaves inside, then set in a battery tea light or fairy lights. A twine bow and glued leaves dress up the neck of the jar.
Get the full tutorial at DIY JOY.
12. Seashell Growth Chart

A portable wooden growth chart moves with the family, so the height marks are never left behind on a wall. This one is hand painted for an under the sea nursery. Paint a long board with an ombre background, blending soft purples into aqua with acrylic craft paint, then outline seashell designs on top. Add the measurement lines and numbers so the board can hang at the right height. Bright colors pop against pale walls, and the same idea works with any nursery theme, from hot air balloons to trucks.
Get the full tutorial at Spot of Tea Designs.
13. How to Make a Clay Flower Mirror
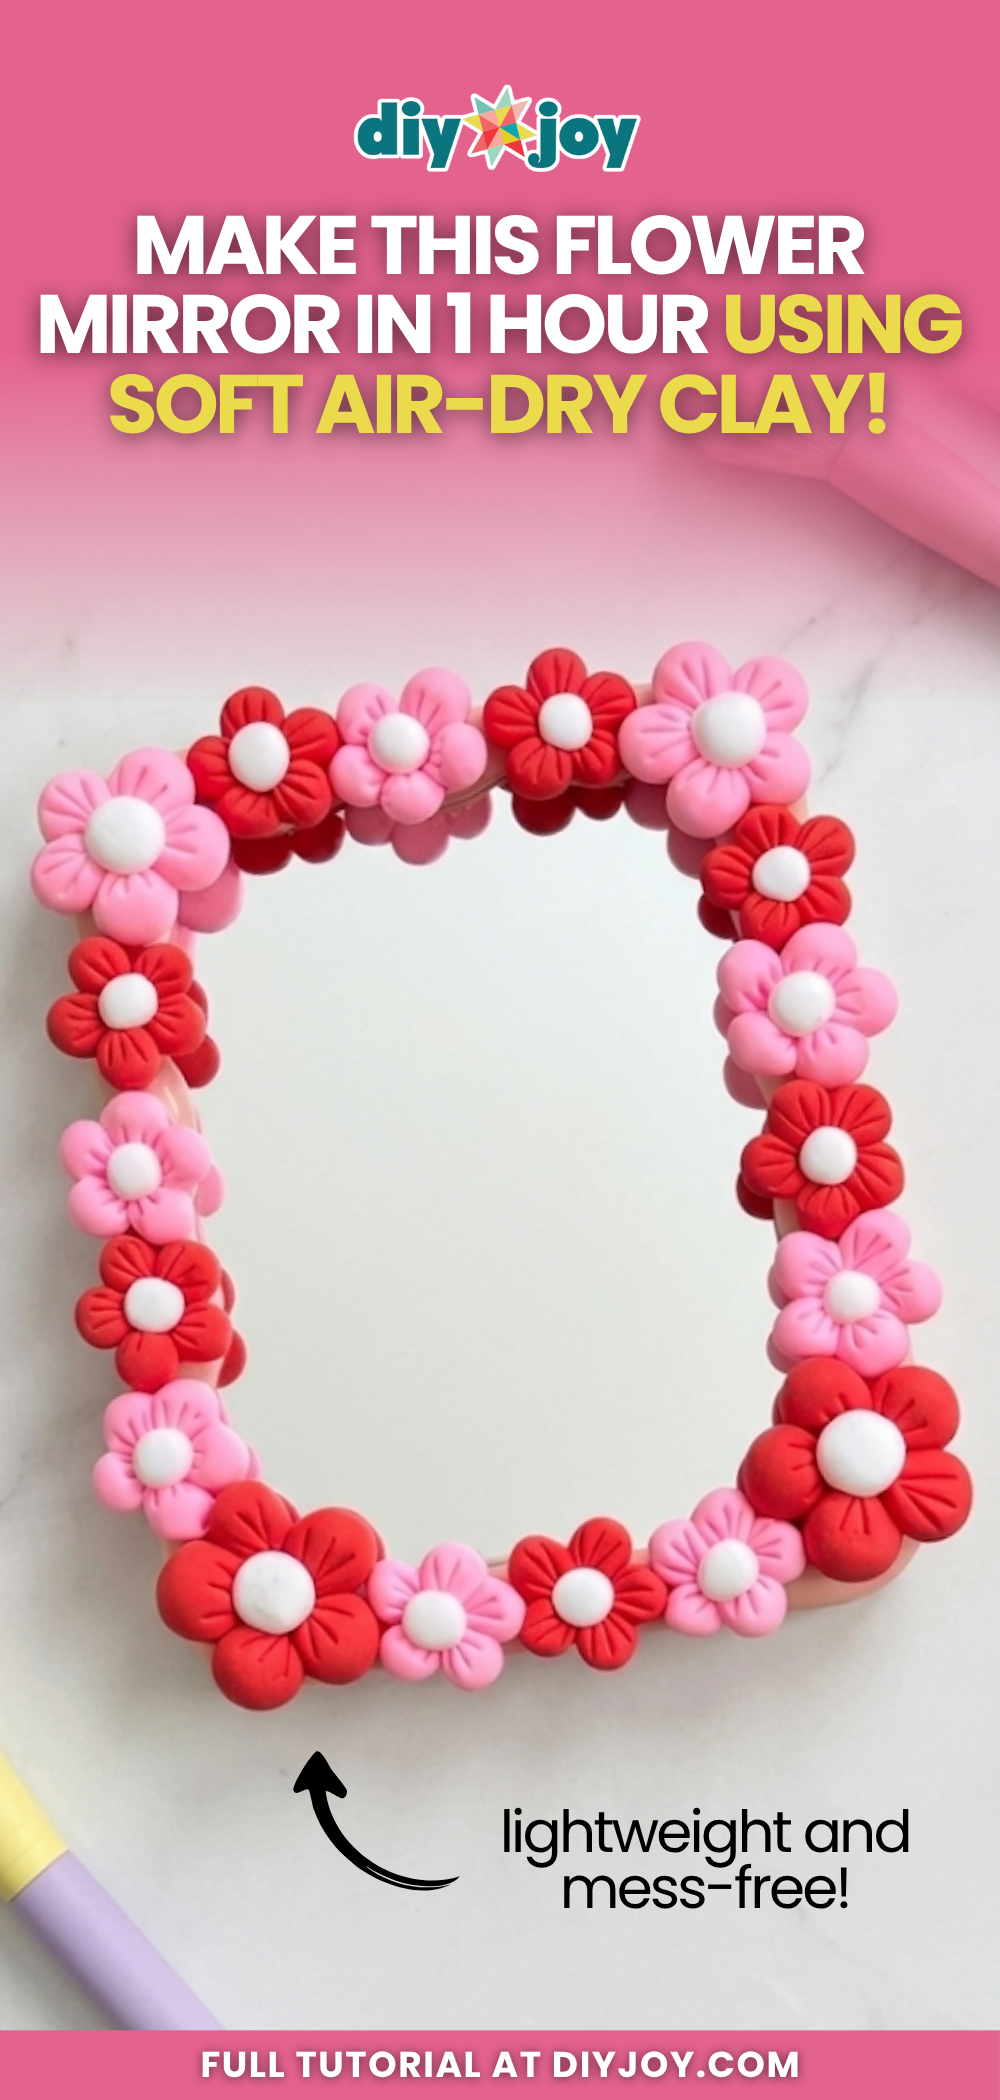
A clay flower mirror gives a plain or dollar store mirror a playful upgrade in about an hour. Roll soft clay into smooth balls and press three lines into the bottom of each with a sculpting tool, so the lines meet at a point. Five of these make one flower, with a small white ball in the center. Make flowers in several colors and sizes, let them firm up until no longer sticky, then arrange and hot glue them around the frame. A coat of gloss varnish helps prevent cracking later.
Get the full tutorial at DIY JOY.
14. DIY Bookshelf

Old dresser drawers become wall mounted bookshelves that show off picture book covers. Remove the hardware, measure 6 inches back from the front of each drawer and cut straight across with a circular saw, clamping the drawer so it can’t move. Prime with an oil based primer and a foam roller, then spray paint. Cut a 3 foot 1×1 into six 5 inch cleats to hold the drawers to the wall, using wood screws and two drywall anchors per cleat. Mismatched drawers in soft colors look charming stacked.
Get the full tutorial at Addison Meadows Lane.
15. Grassy Nightstand Makeover

This grassy nightstand makeover adds a little nature to a toddler room. Start with a low round table with screw on legs, then spray it blue, coat it white and sand the edges so the blue peeks through. For the top, cut a clear plastic desk pad to the tabletop shape so nothing is glued to the wood. Hot glue 12 inch squares of faux grass onto the pad, cutting the pieces to fit and filling sparse edges with small sections. Three squares cover a small table with leftovers to spare.
Get the full tutorial at The Ragged Wren.
16. Easy DIY String Art
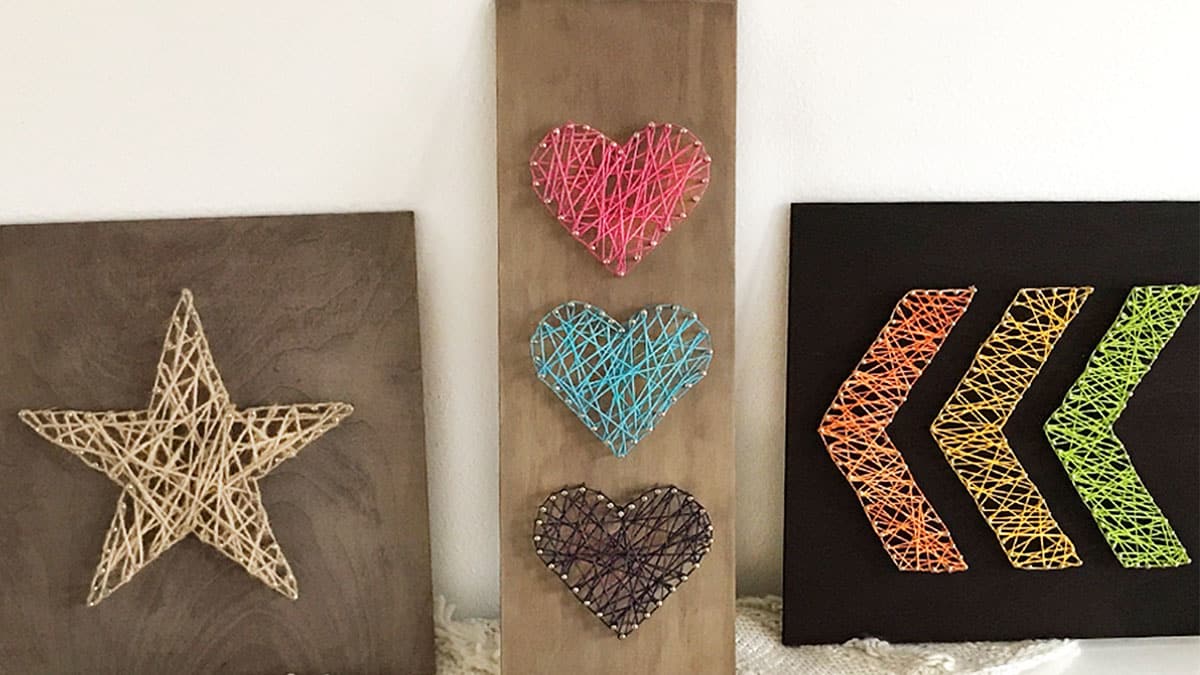
String art makes a sweet nursery piece with nothing more than a printed shape, a hammer and small nails. Tape the printout onto a wood plank and nail around the outline at even spacing, then tear the paper away. Knot embroidery thread or twine to one nail and wrap it back and forth across the shape until it’s filled, tying it off at the end. The same method makes hearts, a rustic star or an arrow. Linoleum nails work well, though most small wire nails do the job.
Get the full tutorial at DIY JOY.
17. Easy DIY Heart Garland From Cardboard Rolls

Empty cardboard rolls become a pastel heart garland at almost no cost. Flatten a roll, lay a heart template on top, trace it and cut it out. Paint both sides white first and let them dry, then add the color of your choice, like soft pink, yellow and blue. Poke a small hole in each side of the heart with a pointed tool, thread them onto twine or string and space them evenly. Beads, glitter or sequins dress them up even more. Hang it across a wall or window.
Get the full tutorial at DIY JOY.
18. How to Make Pom Pom Flowers Using a Fork
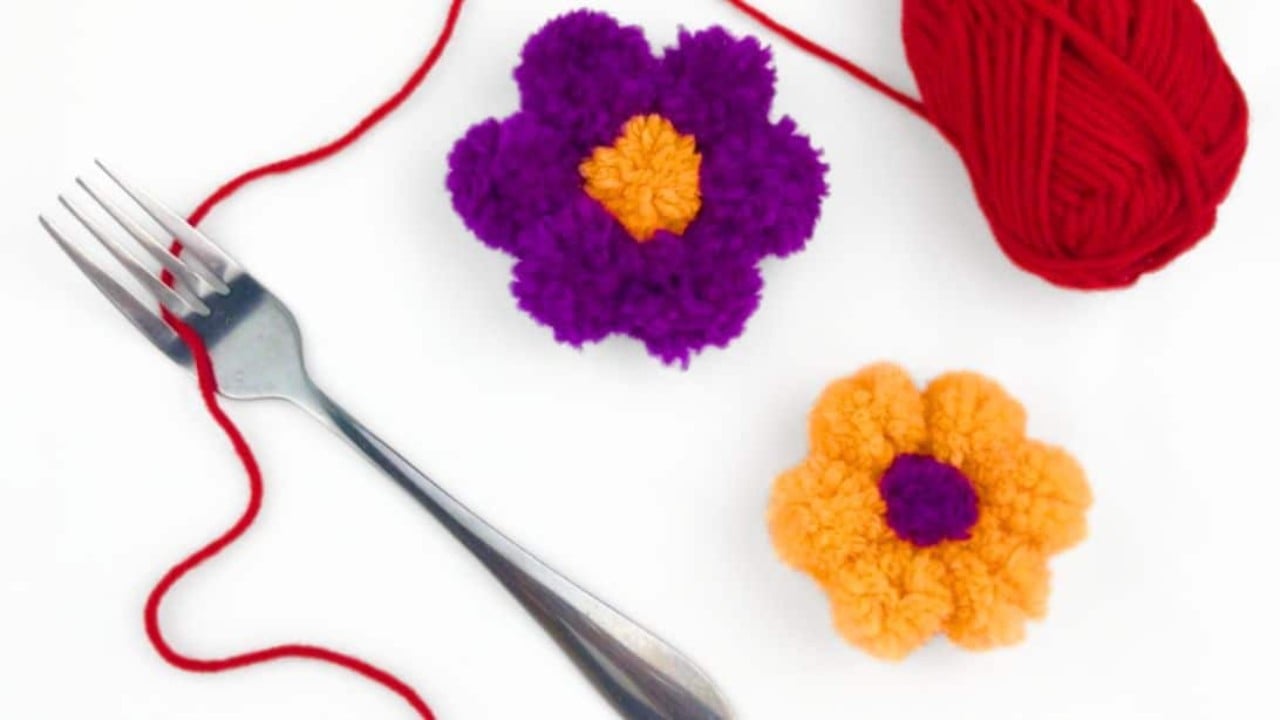
Fork pom pom flowers need just yarn in two colors, a fork, tape and a paper clip. Wrap yarn around the fork tines 30 times, tie a short piece through the middle tines and knot it around the loops. Slide it off, cut the loops, fluff with the fork and trim into a round pom pom. Make six for the petals and one for the center. Straighten a paper clip and tape yarn to it for a needle, thread the petals into a ring, tie them, then add the center.
Get the full tutorial at DIY JOY.
19. Glittery Print Wall Art

This glittery animal print wall art copies pricey catalog prints with craft store supplies. Fill four 8 by 10 inch photo frames with gold glitter craft paper, using two different textures for variety. Paint a giraffe and an elephant onto two sheets with acrylic paint and a foam brush, keeping the paint thin so the glitter shows through. Stencil a honeycomb pattern on another sheet in the room’s colors, skipping a few cells. A mistake can turn into a design, so cover it with a strip of glitter paper and keep going.
Get the full tutorial at Big DIY Ideas.
20. DIY Paper Ranunculus
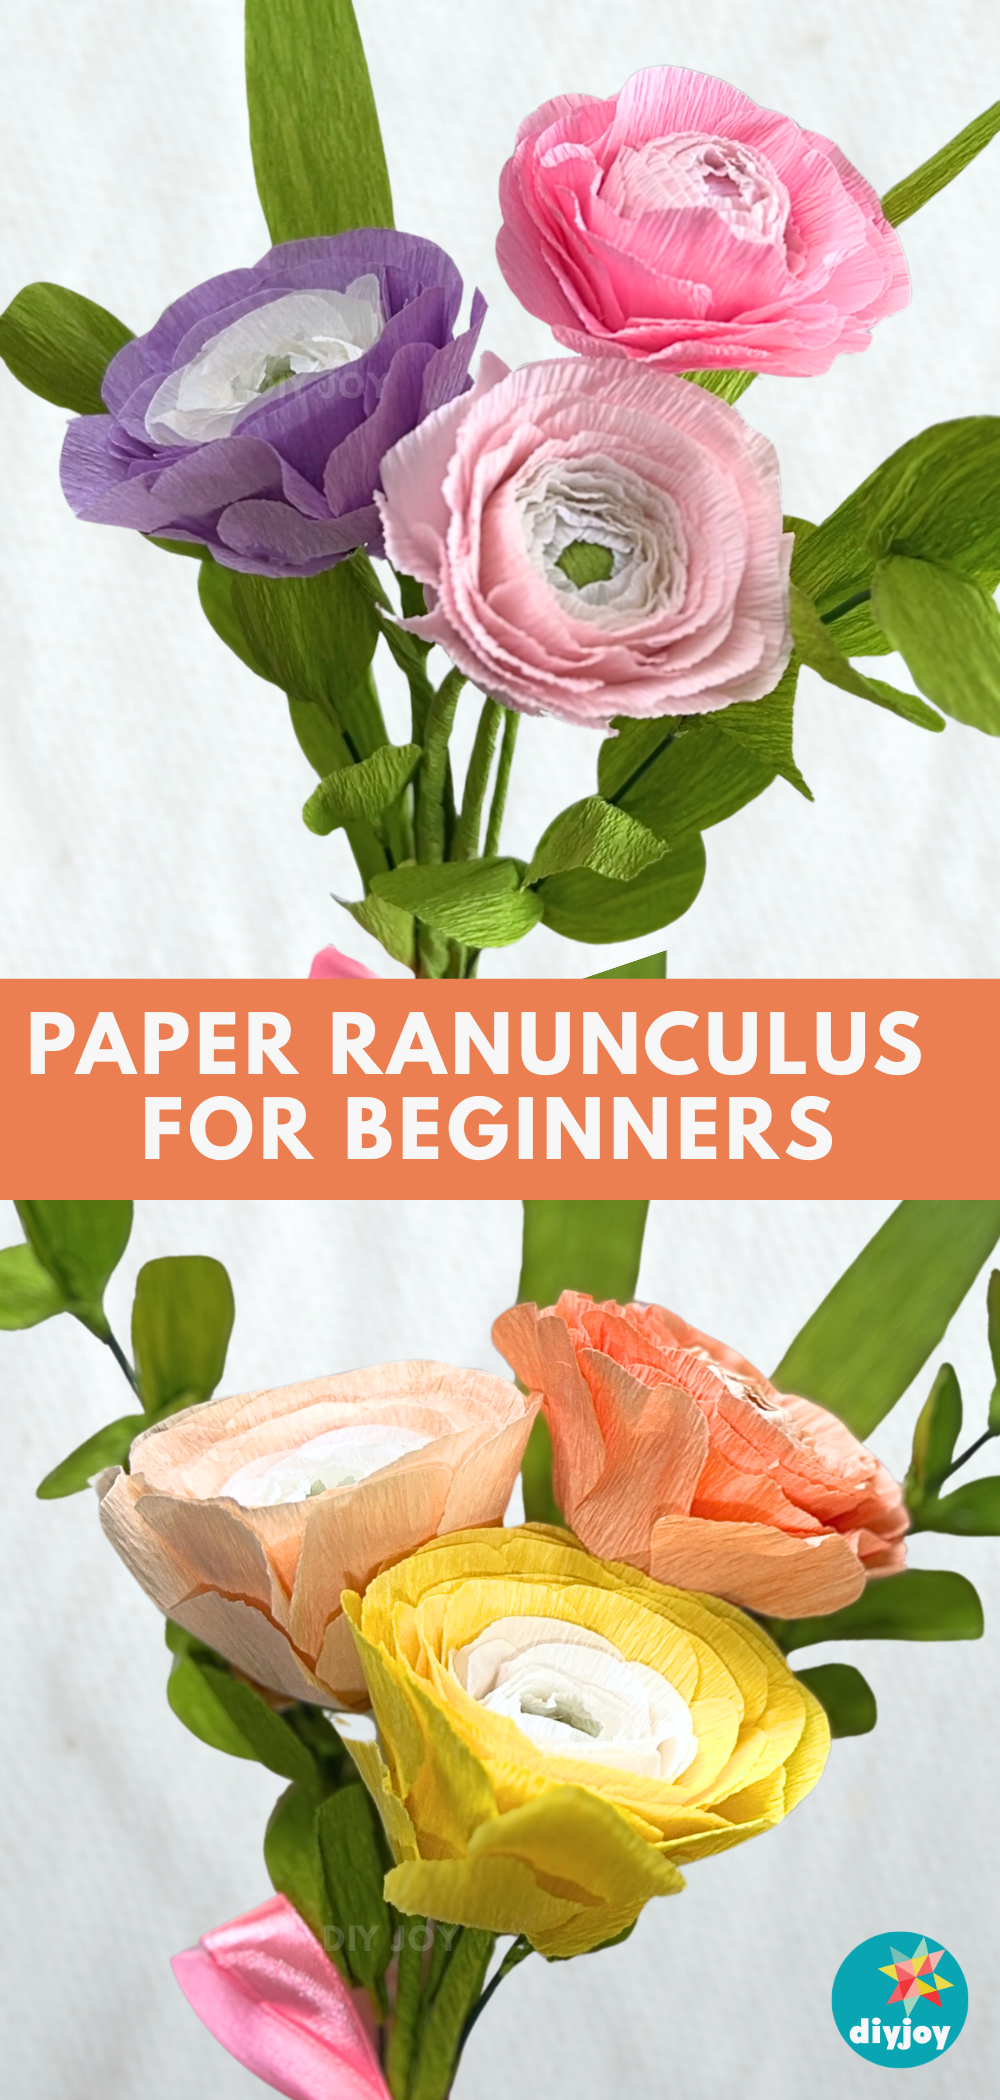
Paper ranunculus are known for their many layered petals, which gives them a lush, romantic look. Crepe paper, floral wire, aluminum foil, glue sticks and a glue gun are all it takes. A small ball of foil on the end of the wire forms the center, then petal after petal is cut from crepe paper, gently cupped and glued around it in overlapping layers. Expect to cut and glue a lot of petals for each flower, so patience helps. Pink, orange, violet and yellow all turn out beautifully.
Get the full tutorial at DIY JOY.
21. DIY Baby Monogram

A painted initial canvas makes a sweet nursery keepsake and a heartfelt baby shower gift. Start with an 11 by 14 inch prestretched canvas and acrylic paints, mixing your own shade if one tube isn’t quite right. Paint the whole canvas, edges included, and let it dry. Dip the end of a rubber wine cork in white paint to stamp polka dots, working out from the center like a grid, and touch up with a brush. Sketch the letter in white colored pencil or use a stencil, then paint it in pink.
Get the full tutorial at lovemaegan.com.
22. DIY Crib Skirt
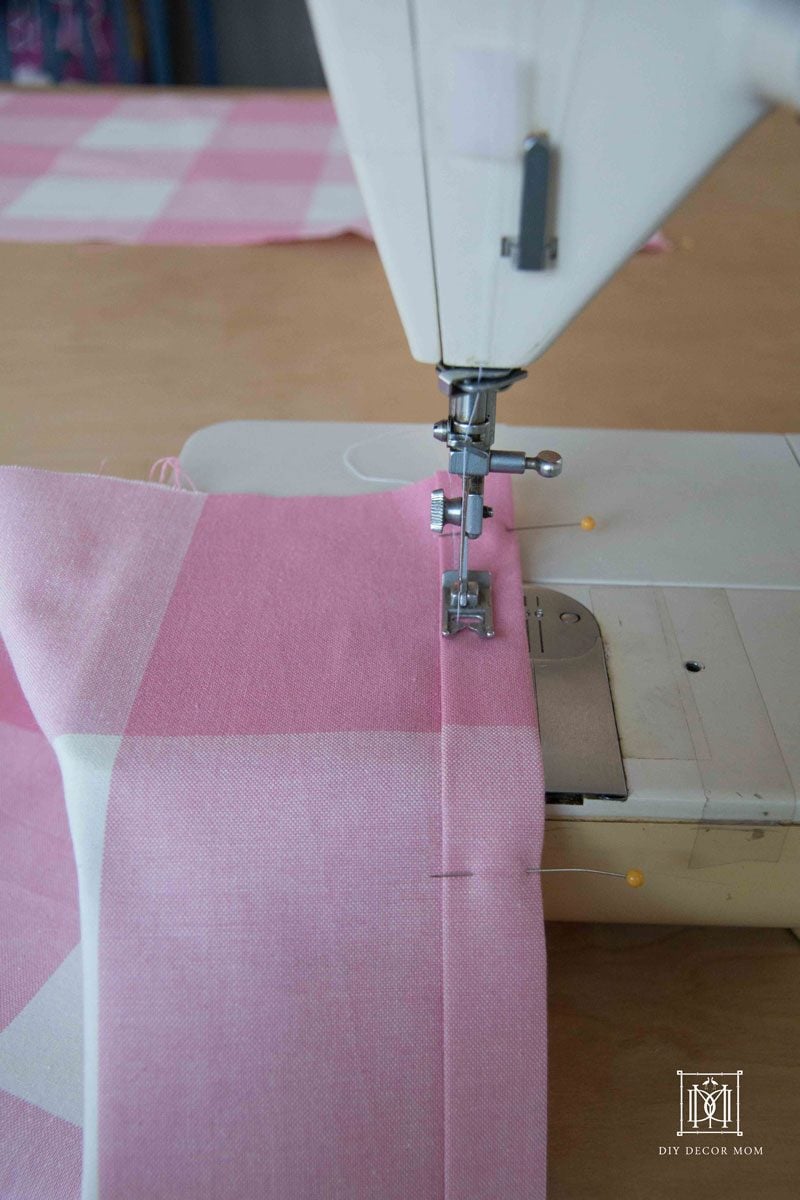
A custom crib skirt ties a nursery together and takes about a morning. An old flat sheet becomes the center deck, cut about 52.5 by 28 inches, and about two yards of fabric make the side panels (55 by 20 inches for the long side and 33 by 20 for the foot). Measure the height for the crib’s tallest mattress position. Hem the sides and bottom of each panel, then sew them to the deck right sides together, leaving gaps for the crib brackets. Ribbon ties secure a two sided skirt at the back.
Get the full tutorial at DIY Decor Mom.
23. Elephant Door Stop

This elephant doorstop is so cute it may end up on a bookshelf instead of the floor. Print the elephant pattern landscape style at 250 percent, piece it together and cut the body from gray felt. Cut the ears from decorative scrap fabric, a little larger than the pattern so the edges turn under, with felt backs. Pin the pieces and whip stitch the body together with embroidery thread. Roll a felt strip for the tail. Fill the base with pebbles in a plastic can gripper, then stuff the rest and add a bow.
Get the full tutorial at Create Studio.
24. DIY Birth Stat Chalkboard Wall Art

Birth stat chalkboard wall art records the big day without hours of hand lettering. Cut a piece of white gloss hardboard with a jigsaw to fit the inside of a picture frame, dry fit it and sand the front. Design the stats in a chalkboard style file, have it printed in black and white at a print shop for a few dollars, and adhere it to the board with decoupage medium. Two coats of clear chalkboard coating make it look truly chalky. Paint an old frame to refresh it.
Get the full tutorial at The DIY Village.
25. Doily Lamp

A doily lamp throws lacy shadows across the nursery walls at night and costs about $10. Blow up a large punching ball balloon from the dollar store, since it’s rounder and thicker than a regular balloon. Lay thrifted doilies over it and brush them with watered down school glue until saturated. Let it dry about 24 hours, touch up any soft spots with a stronger glue mix and dry another day. Pop the balloon and hang the shade from an Ikea lighting cord, leaving a gap for the bulb.
Get the full tutorial at EmmmyLizzzy.
26. DIY Neon Nursery Wall Hooks

These neon animal wall hooks add storage where floor space is tight, holding swaddles, blankets and hooded towels. Have the hardware store cut a board to length and slice toy animals in half (or cut them with a saw at home). Spray paint a pack of plastic animals hot pink, then sand the board well and spray it white. Install hanging hardware on the back. Run hot glue around the inside rim of each cut animal and press it onto the board. Screws from the back add strength.
Get the full tutorial at Say Yes.






