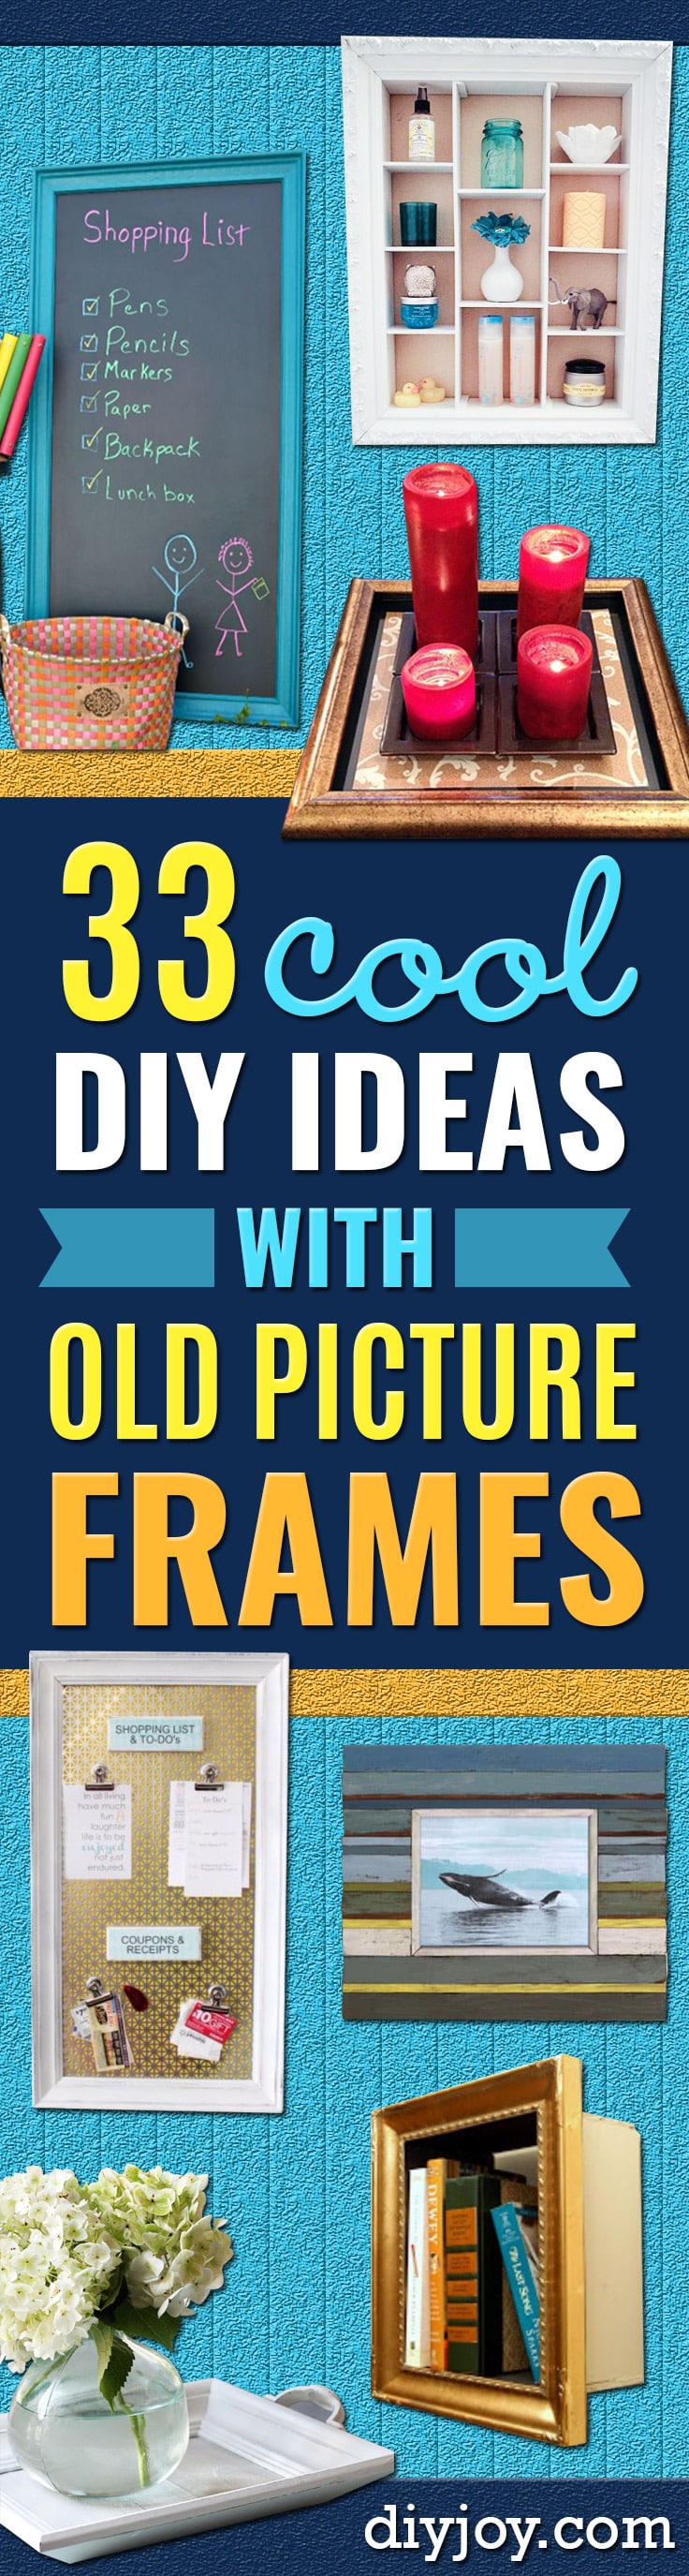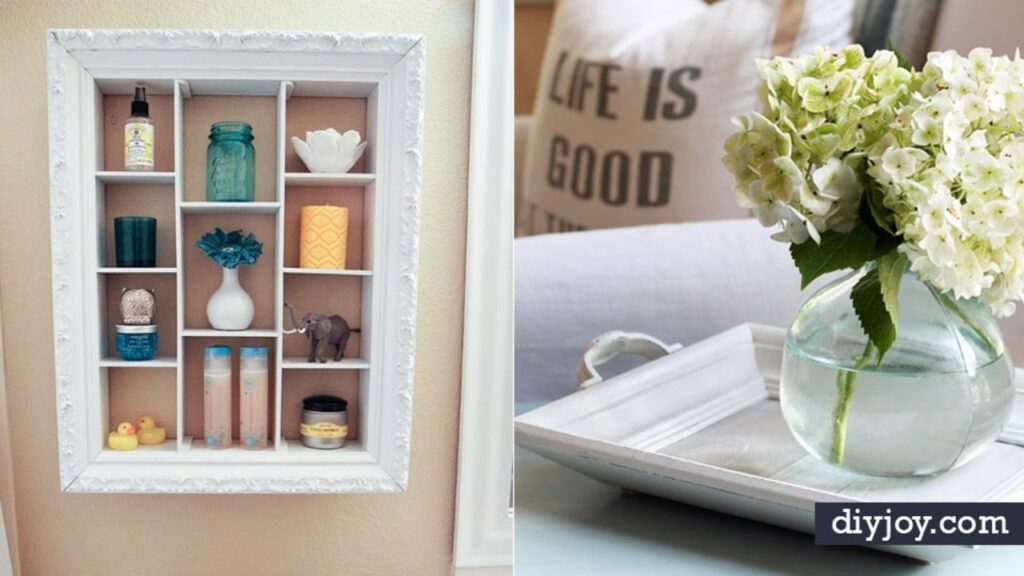
An old picture frame is one of the best finds at any thrift store, because the frame is the pretty part and everything else can change. These 19 DIY ideas to make with old picture frames go way past photos. Paint chalkboard paint right onto the glass, slip patterned paper under it for a serving tray, or stretch chicken wire or wire mesh across the opening to hold earrings, notes and snapshots. There’s a tufted headboard, a coffee table covered in frames, a pair of framed cork boards and a pin cushion small enough to fit in your palm. Three DIY JOY video tutorials join in too: a beaded window suncatcher, tiny hot glue photo frame magnets and a denim pocket organizer. Shopping tip: frames with deep carving take paint best, and the ugly art inside doesn’t matter one bit.
1. DIY Picture Frame Suncatcher
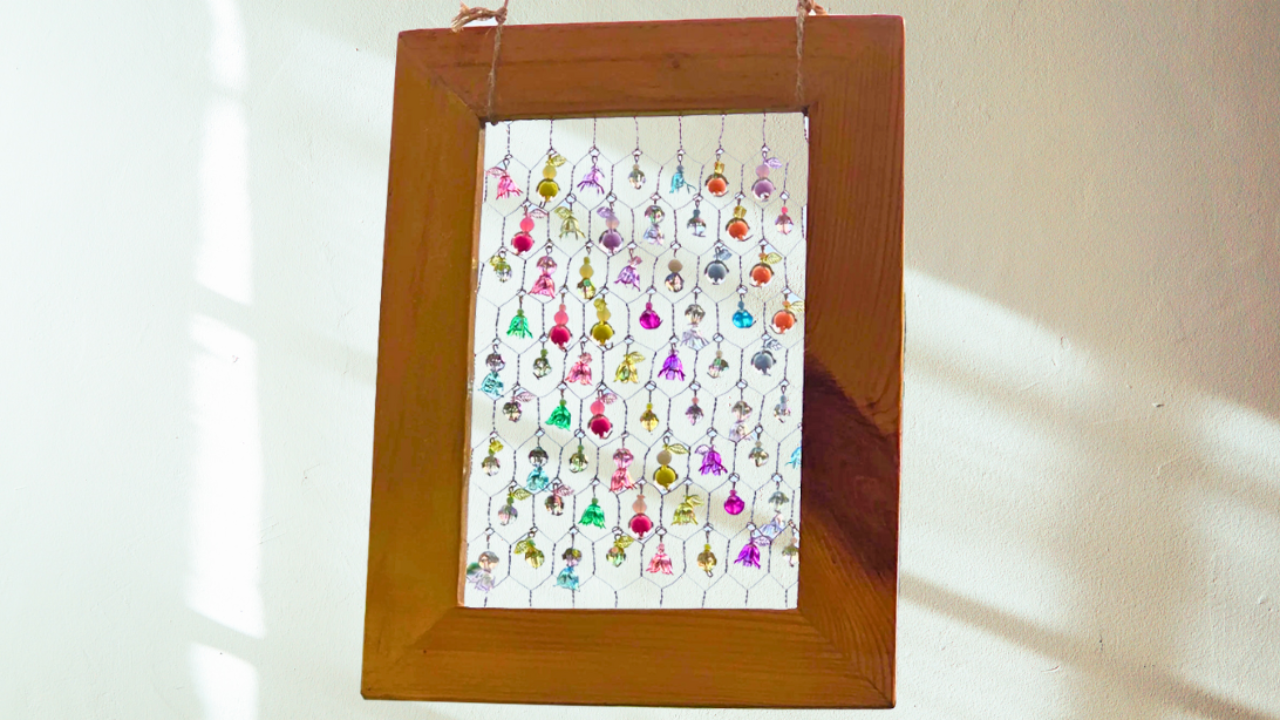
A DIY picture frame suncatcher turns an empty frame into a window full of sparkle. Pop out the glass and backing, then attach a piece of chicken wire across the opening. Thread beads and little charms onto eye pins, bend the tops closed and add a jump ring or two so each strand dangles. Hook the strands onto the wire, one per opening, mixing sizes and colors as you go. Tie jute across the top as a hanger. Faceted or see-through beads catch the most light, and gloves make the wire easier on your hands.
Get the full tutorial at DIY JOY.
2. Magnetic Organizational Board

This magnetic organizational board gives stray coupons, receipts and lists one tidy home. Start with a large thrifted frame and have a sheet of magnetic metal cut to fit the opening, using a cardboard template to get the size right and tin snips for trimming. Paint the metal with a durable spray made for metal, then paint the frame white and sand the edges for a worn look. A layer of decorative radiator grille adds texture. Labeled wood plaques and magnet clips finish it, and picture hanging strips hold it on the back of a pantry door.
Get the full tutorial at The House of Smiths.
3. DIY Chalkboard From An Old Picture Frame

Of all the frame upcycles out there, a DIY chalkboard from an old picture frame might be the easiest. Look for a big thrift store frame, 16 by 20 or larger, and don’t worry about the print inside since it gets covered. Prime the wood frame white so the grain won’t show through, then paint chalkboard paint straight onto the glass in two light coats and let it dry overnight. Before writing anything, season the surface by rubbing chalk all over it and wiping it off. Craft store chalkboard paint costs about a dollar, so this one’s a true bargain.
Get the full tutorial at The Frugal Homemaker.
4. Mini Hot Glue Photo Frame Magnets
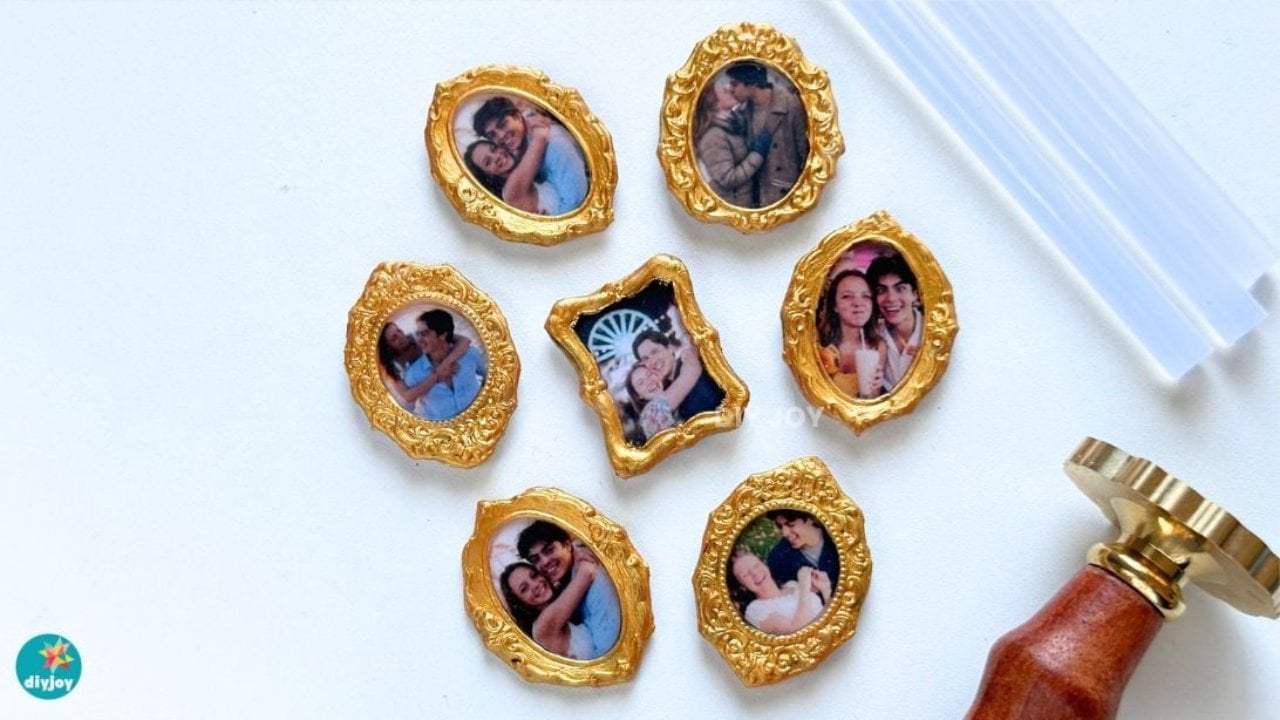
Mini hot glue photo frame magnets look like tiny gilded antiques, but they’re made with a glue gun and a wax seal stamp. Print photos at about 0.85 by 1 inch. Chill the metal stamp on an ice pack and wipe it dry, then squeeze a generous blob of crystal clear hot glue onto the photo and press the stamp in. After 10 to 15 seconds, lift it, trim the extra glue so only the frame shape remains and paint it gold. Stick a magnet on the back. A low 15W glue gun helps prevent bubbles.
Get the full tutorial at DIY JOY.
5. DIY Framed Jewelry And Earrings Organizer

Tired of untangling necklaces? A DIY framed jewelry and earrings organizer keeps dangles, hoops and necklaces on display instead of tangled in a drawer. Measure your wall first so you know what size frame to hunt for, then pick one with plenty of carved detail; a yard sale find works great. Paint it a burnished metallic, layering a warm silver over gold if the first coat looks too brassy. Cut chicken wire with metal shears, staple it to the back, add a spacer so earrings hang freely and hang it with utility wire. Studs poke right through the mesh.
Get the full tutorial at Marty's Musings.
6. DIY Denim Jean Organizer
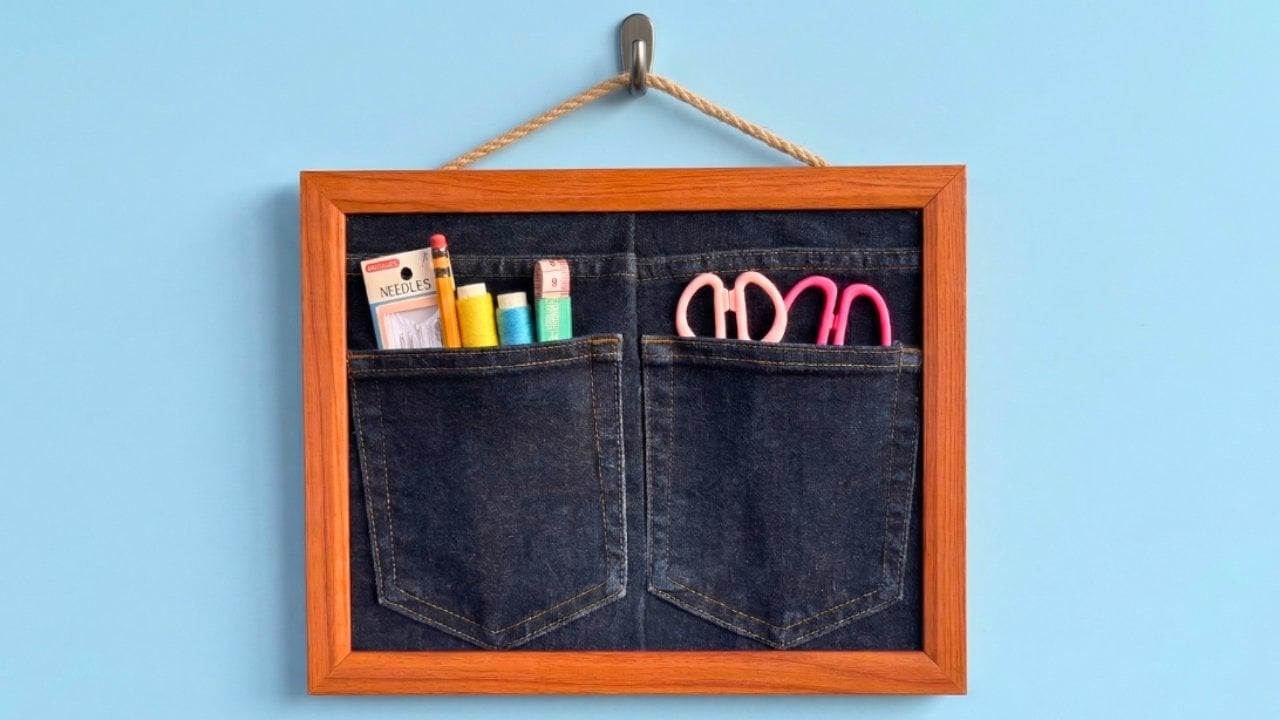
A DIY denim jean organizer puts old jeans and a picture frame to work as wall storage. Empty the frame, keeping only the frame and backing. Lay the frame on the back of the jeans, trace around it and cut along the lines. Fold the denim so both back pockets sit side by side in the center, hot glue the fold and check it against the frame. Glue the backing to the wrong side of the denim, then lock the frame on top. Knot jute rope, glue it to the top corners and hang it by your sewing supplies.
Get the full tutorial at DIY JOY.
7. DIY Fabric Art
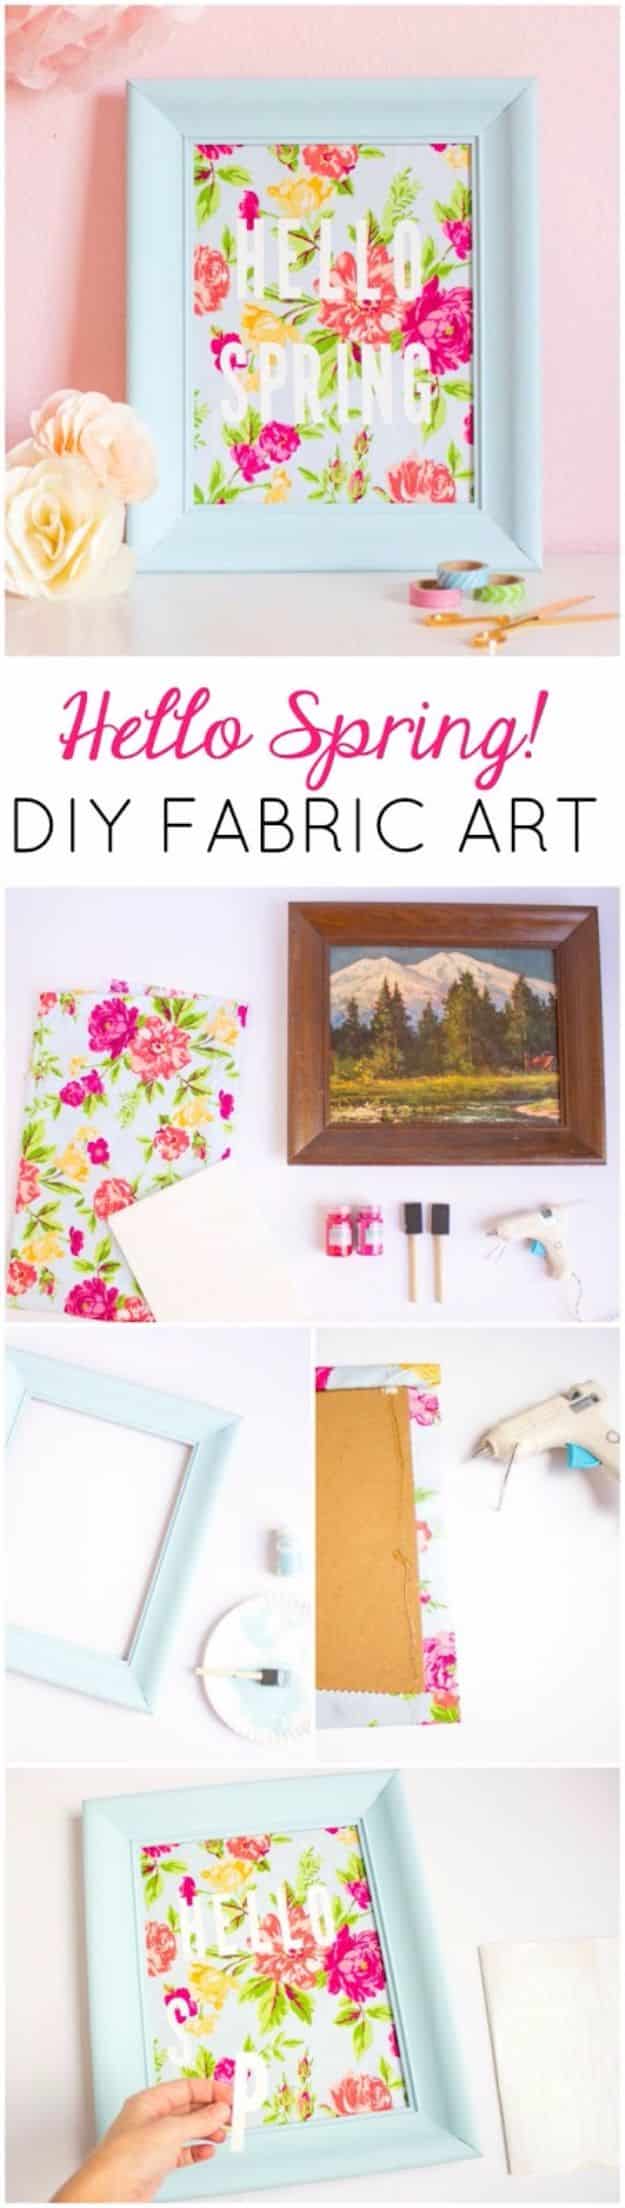
This DIY fabric art turns a $2 thrift store print into a cheerful spring sign. Cut a floral fabric scrap with pinking shears so it’s about an inch bigger than the cardboard backing on every side, and iron out any wrinkles. Give the frame two or three coats of chalk paint, which needs no sanding first. Wrap the fabric around the backing, hot gluing one side at a time and pulling it taut, then slip it back into the frame. Vinyl letter stickers spell out hello spring across the front and reposition easily if they go on crooked.
Get the full tutorial at Design Improvised.
8. DIY Picture Frames Table

A DIY picture frames table gives a tired, scratched coffee table a whole new look. Collect a mix of silver, white and mirrored frames from the flea market or thrift store, keeping the glass in whenever you can, since old wavy glass adds charm. Lay them out on the tabletop like a puzzle, mixing shapes and finishes until they cover the whole surface with almost no gaps. Once you like the arrangement, secure each one in place. The result reads like mirrored furniture, and it doesn’t matter how plain the table underneath started out.
Get the full tutorial at DIY JOY.
9. DIY Framed Dessert Table Trays

DIY framed dessert table trays add a punch of color to a party buffet for the price of a can of spray paint. Hunt the thrift store for the most detailed frames you can find, metal or wood. Remove the backing and glass, give wood frames a light sanding, then spray in sweeping passes from a few inches away so the paint doesn’t drip. Slide patterned paper or fabric under the glass and set it back in. Different sizes make a fun tiered display for cupcakes and cookies, and they double as signs for a seating chart.
Get the full tutorial at Ruffled.
10. Tufted Picture Frame Headboard DIY

A tufted picture frame headboard is perfect when a twin bed needs a solid, calm backdrop. Find a big thrifted frame about as wide as the bed and paint it before you upholster, not after. Cut half inch plywood or MDF an inch larger than the inside trim. Lay out the fabric face down, then batting, then egg crate foam bumpy side down, then the board. Staple from the middle of each side outward, fold corners like wrapping a present and add covered buttons for the tufts. Grab a helper, since pulling fabric tight takes two.
Get the full tutorial at Vintage Revivals.
11. Sewing Pattern Wall Art
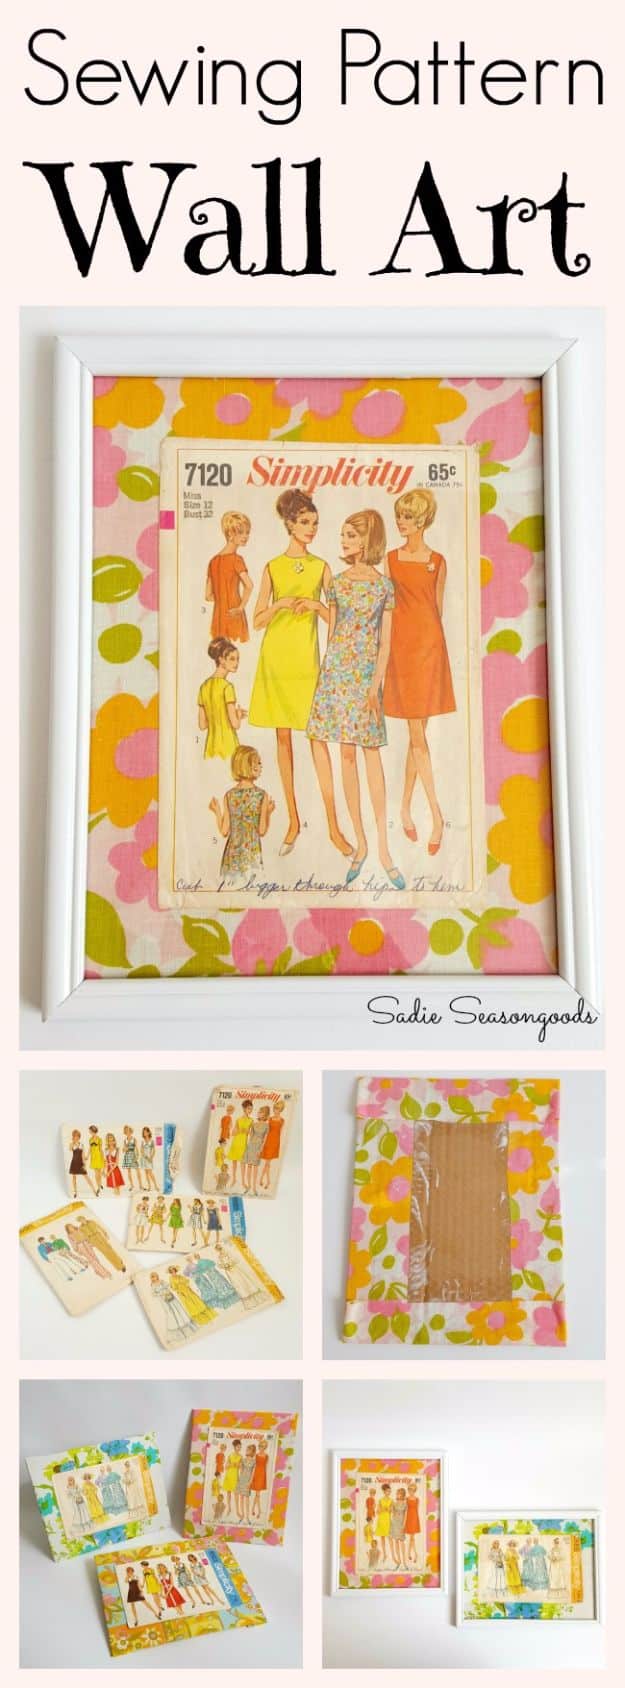
Sewing pattern wall art makes the most of those vintage envelopes with fabulous retro fashion illustrations. Take apart an inexpensive thrift store frame and use the cardboard backing as your guide. Cut vintage bed sheet fabric about an inch and a half bigger all around, iron it, then fold it over the cardboard and fuse it with watered down Mod Podge. Gently iron the pattern envelopes on low heat, glue them on top and spray paint the frames before reassembling. A set looks fantastic in a sewing room or walk in closet, and the pattern tissue can go into another project.
Get the full tutorial at Sadie Seasongoods.
12. DIY Inspiration Mood Board

Remember tearing pages out of magazines? A DIY inspiration mood board gathers photos, quotes, ticket stubs and cards in one pretty spot. Remove the glass from a large frame and press down any metal tabs. Measure wire mesh to cover the opening with about half an inch of overlap, snip it with wire cutters and staple it around the back every few inches. Then comes the fun part: clip on square photo prints, greeting cards and favorite words with mini clothespins. Stick to one color palette or theme, and swap pieces whenever your style shifts. A string of fairy lights makes it glow.
Get the full tutorial at The Anastasia Co.
13. Table Organizer

A table organizer made from a $1 thrift store frame keeps mail, notes and pens upright on a desk. Paint the frame if you like, or keep an ornate silver finish as is. Cover the backing with linen or another sturdy fabric, then sew a few deep pockets in staggered heights so taller papers sit in back and pens slide into a skinny slot up front. Glue the fabric panel in place and set the frame on its stand. Choose a fabric that doesn’t fray much, or finish the edges before sewing.
Get the full tutorial at The Wishful Tinker.
14. Picture Frame Pin Cushion

A picture frame pin cushion is a sweet little gift for anyone who sews. Paint tiny decorative wood frames in two or three coats; spray paint is quickest. Lay the frame face down and set a 4 by 5 inch fabric scrap over the opening, right side down. Fold a 6 by 8 inch piece of batting into a small pad and tuck it into the opening, then smooth the fabric and fold the edges over. Press the chipboard backing on top to hide raw edges and bend the tabs to lock it. A coat of magnetic paint helps catch stray pins.
Get the full tutorial at Craftaholics Anonymous.
15. Vanity Tray

A vanity tray from a $2 Goodwill frame takes about ten minutes. Pick a frame with lots of edge detail, then paint it white. Pop the easel stand off the back, slide a piece of decorative scrapbook paper in behind the glass and set it on the counter as a landing spot for lotions, hair clips and jewelry. Change the paper with the seasons, or tuck in a photo and move it to a nightstand. Since the glass stays in, spills wipe right off. A ribbon on the back turns it into wall art later.
Get the full tutorial at IHeart Organizing.
16. DIY Chalkboards From Old Picture Frame

DIY chalkboards from old picture frames are a great use for thrift finds with pretty frames and awful prints. If you like the frame color, skip straight to the chalkboard step. Otherwise, paint the frame first, here in a crisp white chalk paint, distress the edges lightly and seal it with a clear topcoat. Next, brush dark chalk paint right onto the glass in three or four coats, letting each dry fully; the first coat looks patchy but it sticks. Season the board by rubbing chalk across it and wiping it clean, then letter a holiday saying.
Get the full tutorial at Artsy Chicks Rule.
17. Framed Trays
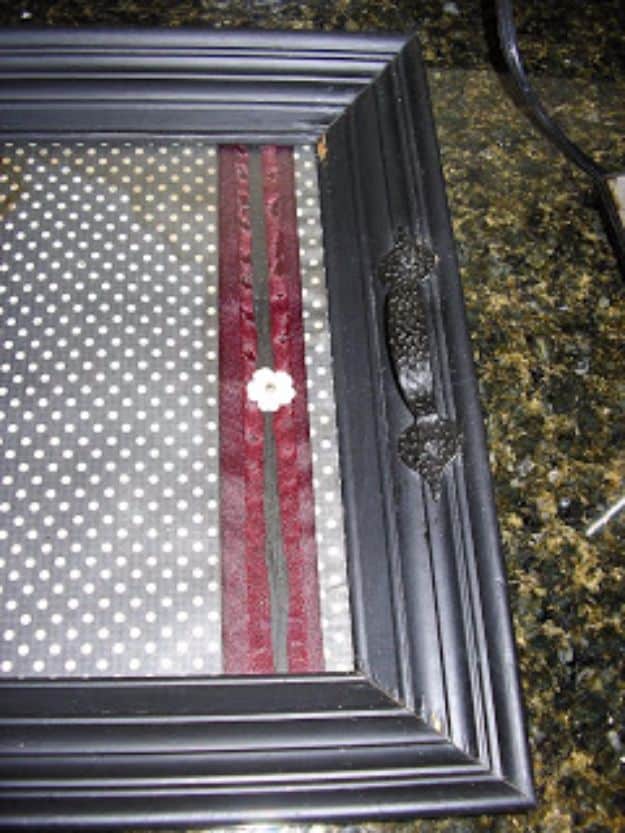
Framed trays give old Goodwill frames and leftover scrapbook paper a job together. Spray paint the frames, distressing a few for a worn look, then slip patterned paper under the glass. For extra flair, add ribbon or small embellishments on top of the paper before the glass goes back in. Hardware store drawer pulls screwed onto the short sides turn a flat frame into a real tray with handles. Stick felt sliders on the bottom and it glides in and out of a corner as a coffee station, or holds glasses, snacks and mail.
Get the full tutorial at Thrifty and Chic.
18. DIY Photo Frame Of An Old Picture Frame

This DIY photo frame of an old picture frame turns an oversized frame into a clothesline gallery. Paint the frame a bright color, like a sunny turquoise, and let it dry. String thin 28 gauge silver wire across the opening in several rows so the lines nearly disappear and the photos take center stage. Screw a ring hook into each back corner for hanging, and use sturdy 20 pound hooks or nails in the wall. Clip on prints of the same size with mini clothespins and swap them whenever you have new favorites.
Get the full tutorial at Shelterness.
19. DIY Cork Board

Two thrift store frames at a few dollars each make a pair of pretty DIY cork boards. Look for frames with lots of carved detail, then remove the glass and art. A coat of creamy spray paint gives them new life and hides any old paint attempts. Cut cork board to fit the opening and set it into the frame where the glass sat. Use the finished boards as a design board for fabric swatches and sketches, or pin earrings and necklaces to it as a jewelry display. Two side by side look lovely leaned against a dresser.
Get the full tutorial at Tea Rose Home.