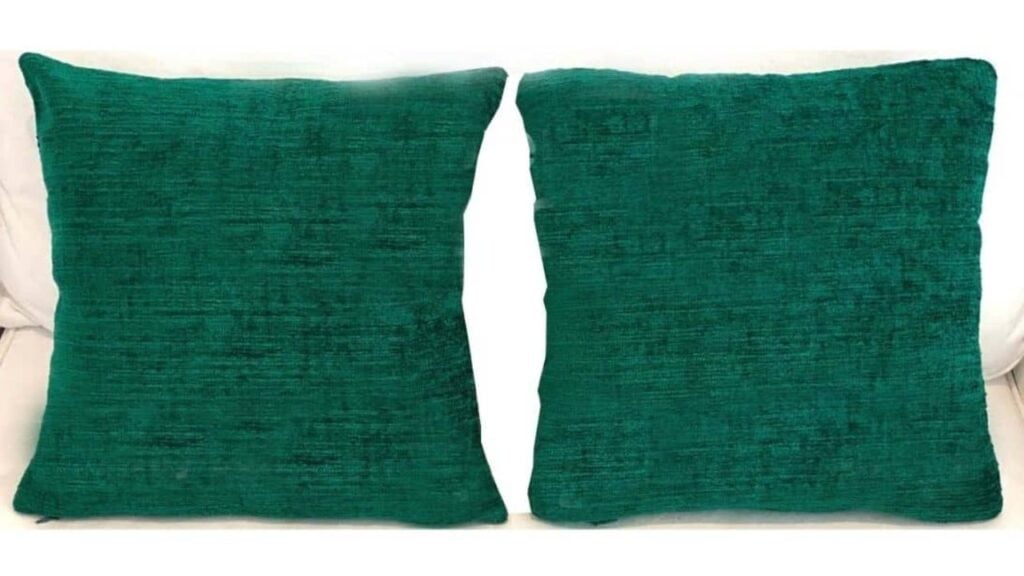
I consider sewing as a relaxing hobby, it’s effective in keeping me distracted and calm in certain situations, it is also fun and satisfying especially when you see the outcome of the project you did. One sewing project I love is probably those that involve pillows or cushions just like this one by Notches Sewing on YouTube. This tutorial was very easy to follow even if you’re a beginner in sewing.
Materials:
- Fabric
- Cushion insert
- Ruler
- Zipper
- Scissors
- Chalk
Directions:
Step 1
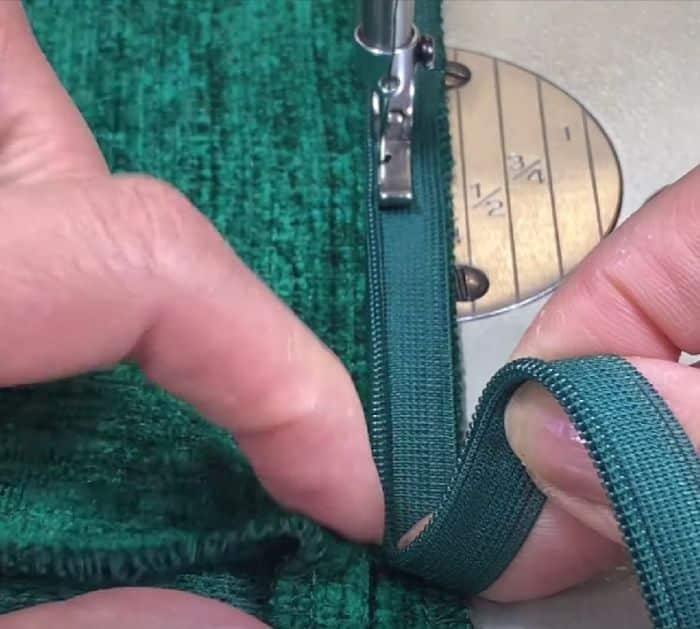
Measure the size of your cushion insert by slightly curving your ruler around. Fold the right sides of the fabric together then mark the size of the cushion, place a weight down the center then cut the square. Mark the bottom with 1½ inch from each corner, then from the scrap cut 2 pieces of 1×1 inch (2.5cm x 2.5cm) square and set aside. Match the pieces of the fabric with the right sides together, stitch around the fabric with a ½ inch (12mm) seam allowance, but make sure to avoid the space allotted for the zipper. On the opening between the marks insert the zipper with the wrong side facing you (the zipper should be 1 inch longer than the opening), separate the teeth of the zipper then start sewing each side of it to the fabric, cut away the excess. Take one small fabric cut out, fold it in half with the wrong sides out, then place on top of the bottom edge of the zipper slider and stitch right beside the zipper teeth back and forth a few times. Repeat the process to the other side. Flip the fabric inside out and poke the corners nicely, insert the cushion, and zip close.
[social_warfare]
Step 2
If you want your cover to have tighter corners, then start by marking the square size of the cushion insert. Then draw a diagonal line from corner to corner, mark 1 inch (2.5cm) up on diagonal lines from each other, then from those marks draw 2.5 inches (6.5cm) lines to the edges on either side. At the bottom of the fabric, make marks at the end of those lines for the zipper opening then cut out. Match the pieces of the fabric with the right sides together, stitch around the fabric with a ½ inch (12mm) seam allowance, but make sure to avoid the space allotted for the zipper. On the opening between the marks insert the zipper with the wrong side facing you (the zipper should be 1 inch longer than the opening), separate the teeth of the zipper then start sewing each side of it to the fabric, cut away the excess. Take one small fabric cut out, fold it in half with the wrong sides out, then place on top of the bottom edge of the zipper slider and stitch right beside the zipper teeth back and forth a few times. Repeat the process to the other side. Flip the fabric inside out and poke the corners nicely, insert the cushion, and zip close.

*All image credit belongs to Notches Sewing via YouTube. Follow and subscribe to her channel for more!
2-Way DIY Cushion Covers with Reinforced Zipper