After I took my daughter to college, I saw that she still needed a couple things. After running across this simple DIY project, I thought this was a perfect addition for her dorm room!
This was perfect and I was able to pick a fabulous fabric for the seat to go with her new comforter! It’s just darling and she loves it! If you’ve been anywhere on the internet you know what a crate seat is… an ingenious combination of crate for storage and cushioned top for sitting. I’ve even seen people stack more than one of these (with the seat cushion) as stackable storage and it serves way more than one purpose. The extra storage comes in handy and gets things up and out of the way!
To start, lay out the foam mattress pad and use the cut piece of particle board as a guide. Cut the foam as close to the size of the board as you can. You could use two layers of foam per board if you want the seats to be extra soft. We felt that the one layer was just fine though!
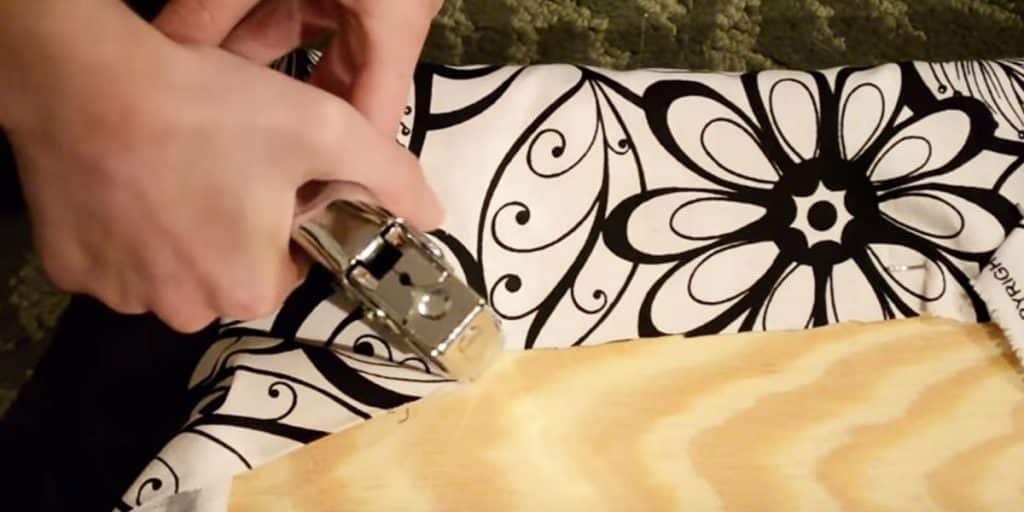
Next, you’ll need to cut the fabric pieces. The measurements listed above for the fabric are very generous. To cut each piece we simply laid out the fabric underneath the cut board and cut. Just make sure to leave enough of a border of the fabric that you can fold it tightly over the foam pad and the board and staple it securely. Now you’re ready to fold and staple. You should have the fabric, wrong side facing up, first, then the foam, and finally the particle board. Make nice, tight folds and staple with a staple gun in place.Fold the corners like you would a present. You may need a few extra staples to ensure that everything is secure!
Once the fabric is completely secured on all sides, you’re ready to attach the ribbon. This will serve as a ribbon pull to lift the seat part off the crate, so you can store items in the crate itself. We put the ribbon pull on the short side of the seat after measuring to find the middle. Use a 10 inch piece folded in half. You may also want to use a lighter on the ends to keep the ribbon from fraying over time. Now, all you have left to do is pop the seat on top of the crate!
The nice thing about them is you can make them in any color imaginable, so they will fit your room decor/theme perfectly! I also LOVE the fact that they are multi-purpose: a seat and a book storage item in one!
Watch how Krystlyn Grace’s step by step tutorial so you can make one of these adorable crate seats!