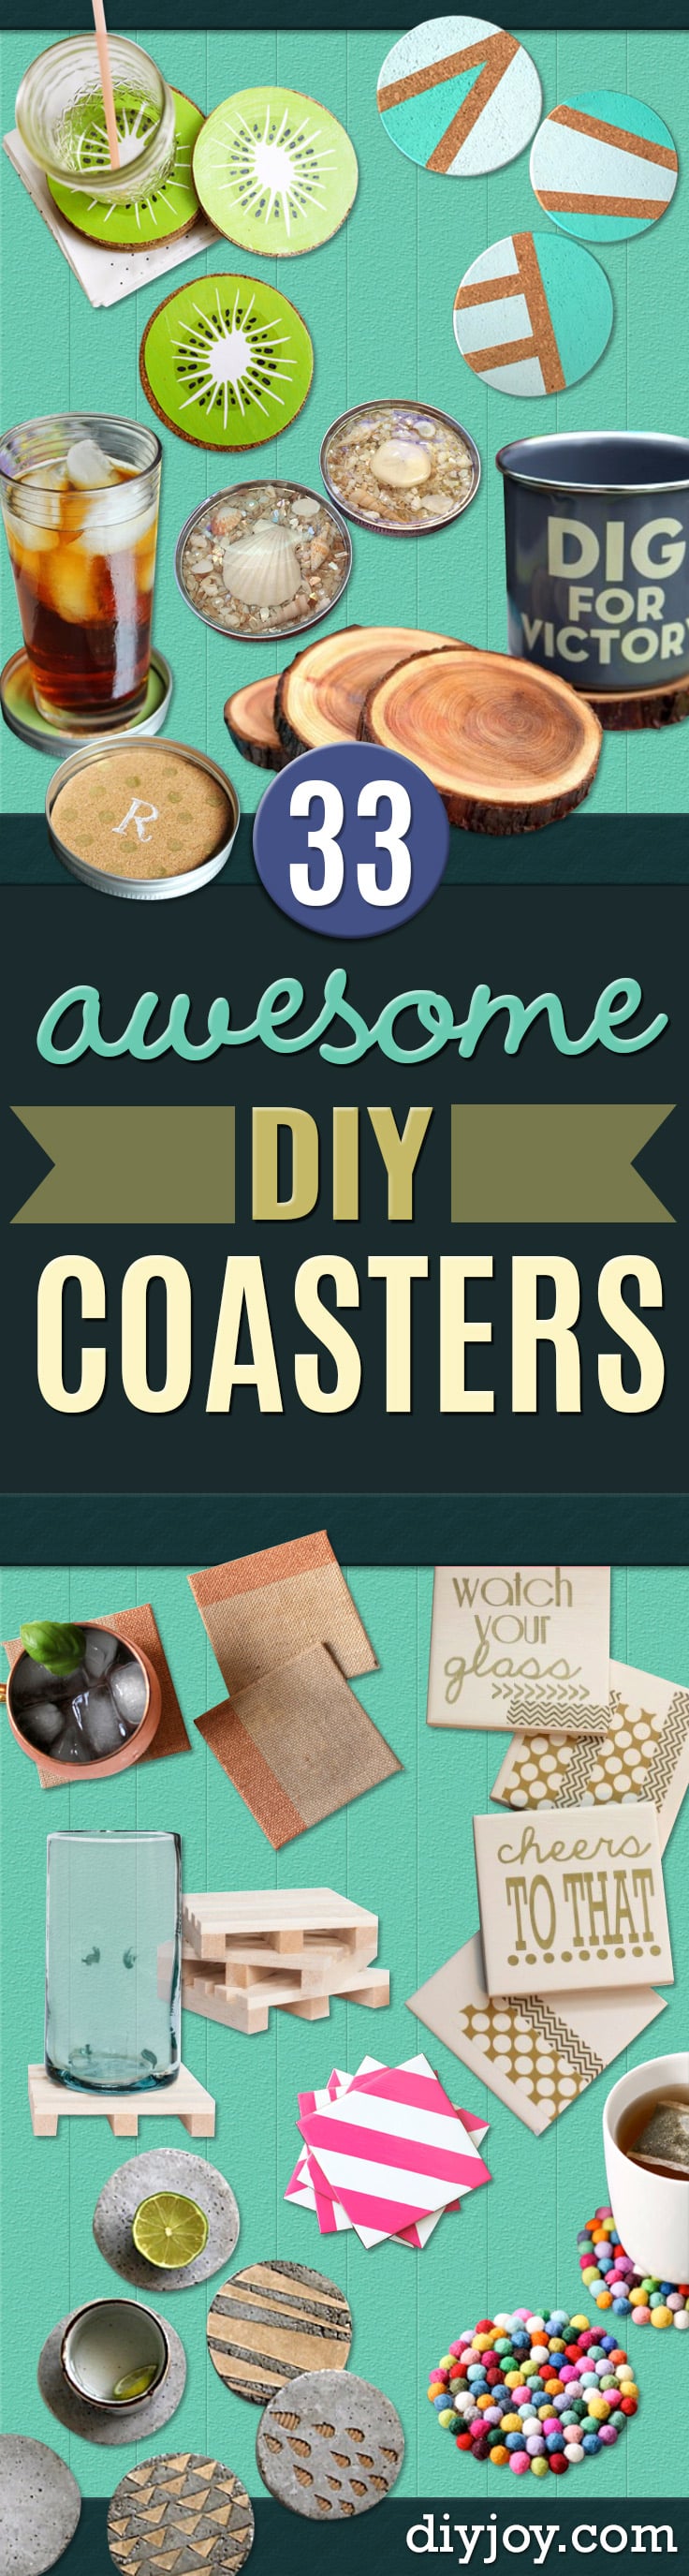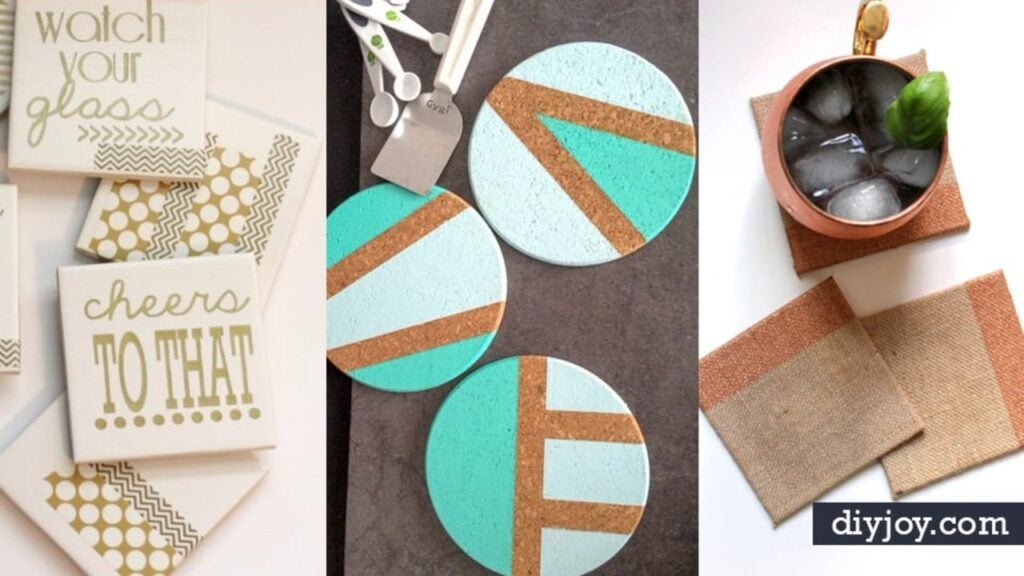
Coasters might be the most useful small craft there is: they’re quick, they get used every single day and a handmade set always goes over well as a gift. These 21 DIY coasters cover nearly every material in the craft closet, from cork, ceramic tile and wood slices to felt, yarn, leather scraps and resin. A DIY coaster is simply a flat surface that protects a table from water rings and hot mugs, so most of these need little more than tape, paint, Mod Podge or a glue gun. Our own resin coaster with dried flowers and no-sew felt fruit coasters come with step by step videos, and plenty of the others are quick gifts for hosts, teachers and dads. Seal anything painted, add felt to the bottom and give sealed coasters time to cure before the first hot drink.
1. Easy Color Blocked Coaster Trivet DIY
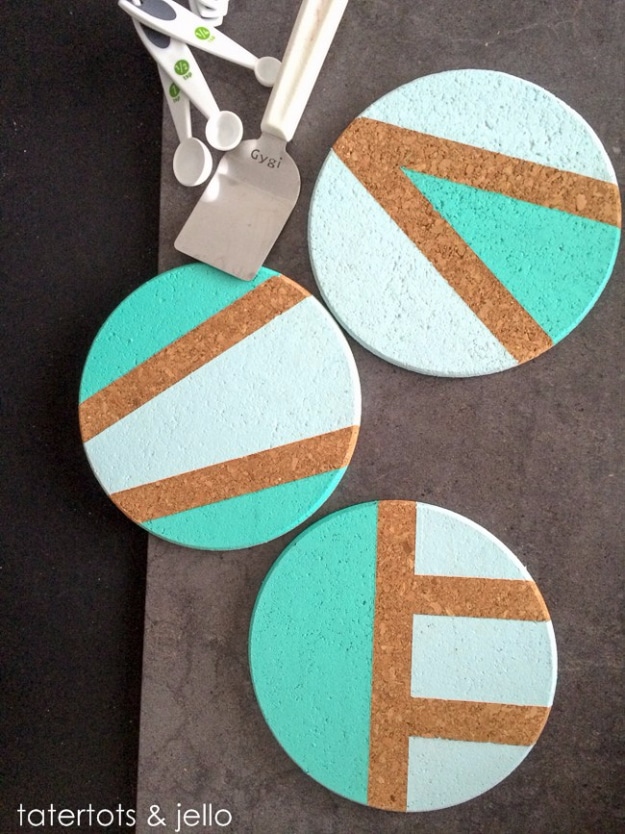
Color blocked coasters and trivets start with plain cork rounds from any store and a couple of paint sample pots. Tape off geometric shapes, stripes or triangles with good quality painter’s tape, since cheap tape won’t seal well on cork. Brush in two contrasting colors with inexpensive foam brushes, let them dry and peel the tape to reveal the natural cork underneath. Make coasters and a matching trivet in different sizes. Hand wash them instead of using the dishwasher. They make easy housewarming, hostess and birthday gifts, and kids can help.
Get the full tutorial at Tatertots and Jello.
2. DIY Woven Coasters
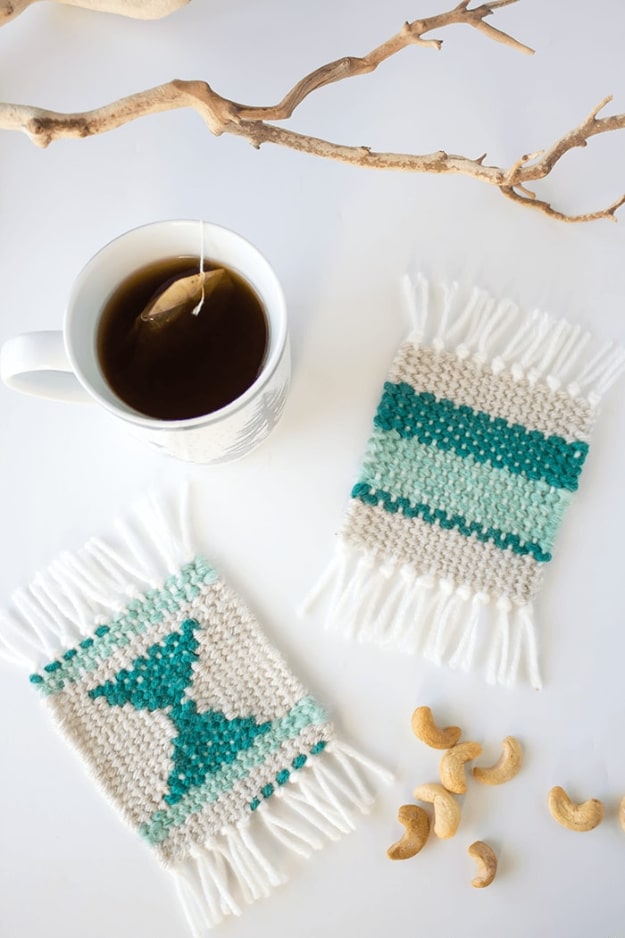
DIY woven coasters skip the loom entirely by using a piece of cardboard. Cut a 10 by 5 inch rectangle and trace the coaster size onto it, using an existing cork coaster as the template. Cut slits along the top and bottom edges, about 1/5 inch apart, and wrap yarn through them to create the vertical warp. Weave colored yarn back and forth with a large blunt needle and pack each row down with a kitchen fork. Inexpensive acrylic yarn works fine. Fringe at the ends gives them a mini rug look, and they make a perfect first weaving project.
Get the full tutorial at A Pretty Fix.
3. DIY Mason Jar Lid Coasters
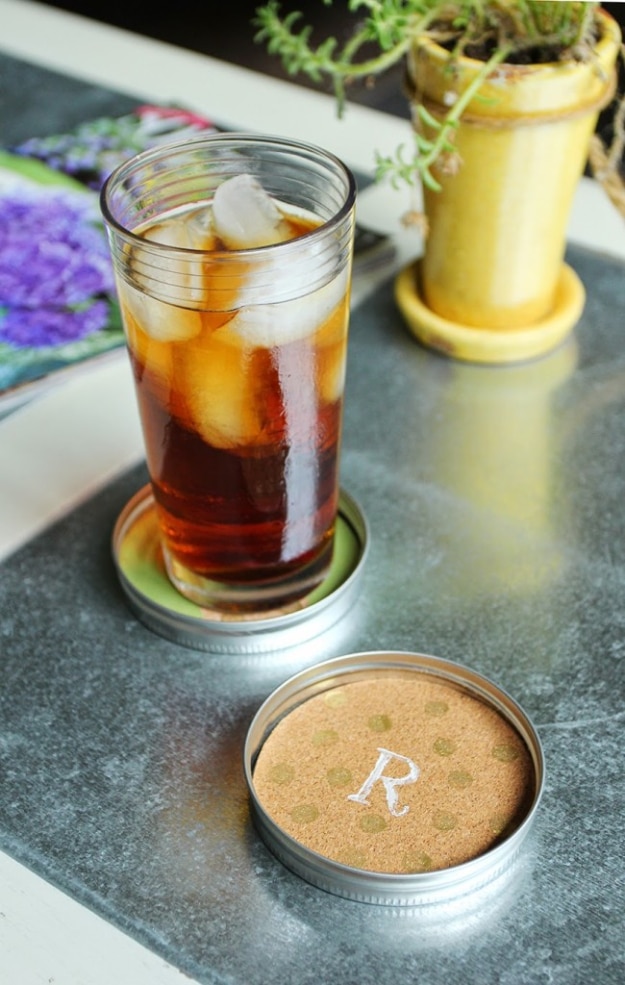
Mason jar lid coasters turn wide mouth lids into cute coasters with a cork center. Trace the flat lid insert onto thin self adhesive cork and cut it out. Hot glue the insert into the outer ring so the two pieces stay together. Decorate the cork with craft paint, stamping a letter for a monogram, adding polka dots with a pencil eraser or masking off stripes with painter’s tape. Wipe the stamps before the paint dries on them. When everything is dry, peel off the cork backing and press it into the lid. They’re great for a group craft night.
Get the full tutorial at Less Than Perfect Life of Bliss.
4. Natural Branch Coasters
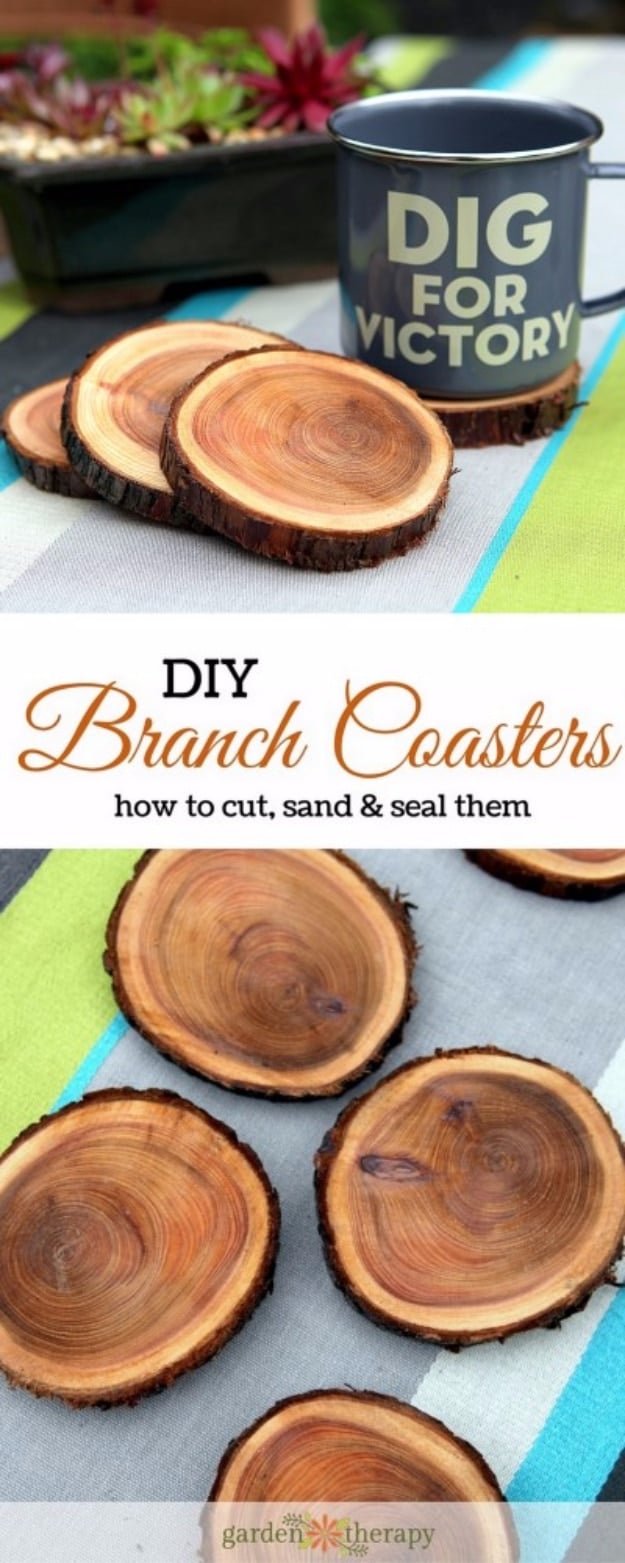
Natural branch coasters turn a pruned tree limb into a set of wood slice coasters. Pick straight branches at least 3.5 inches across and saw them into 1/2 inch slices. Sand each slice with heavy grit sandpaper and then a finer grit, leaving the bark alone. Dry the wood slowly in a cool, dry room before cutting, which helps keep the slices from cracking. Coat the front, back and sides with clear varnish, or leave them raw to soak up drips. A wood burner can add designs before sealing, and the same slices make sweet ornaments.
Get the full tutorial at Garden Therapy.
5. Resin Coaster With Dried Flowers
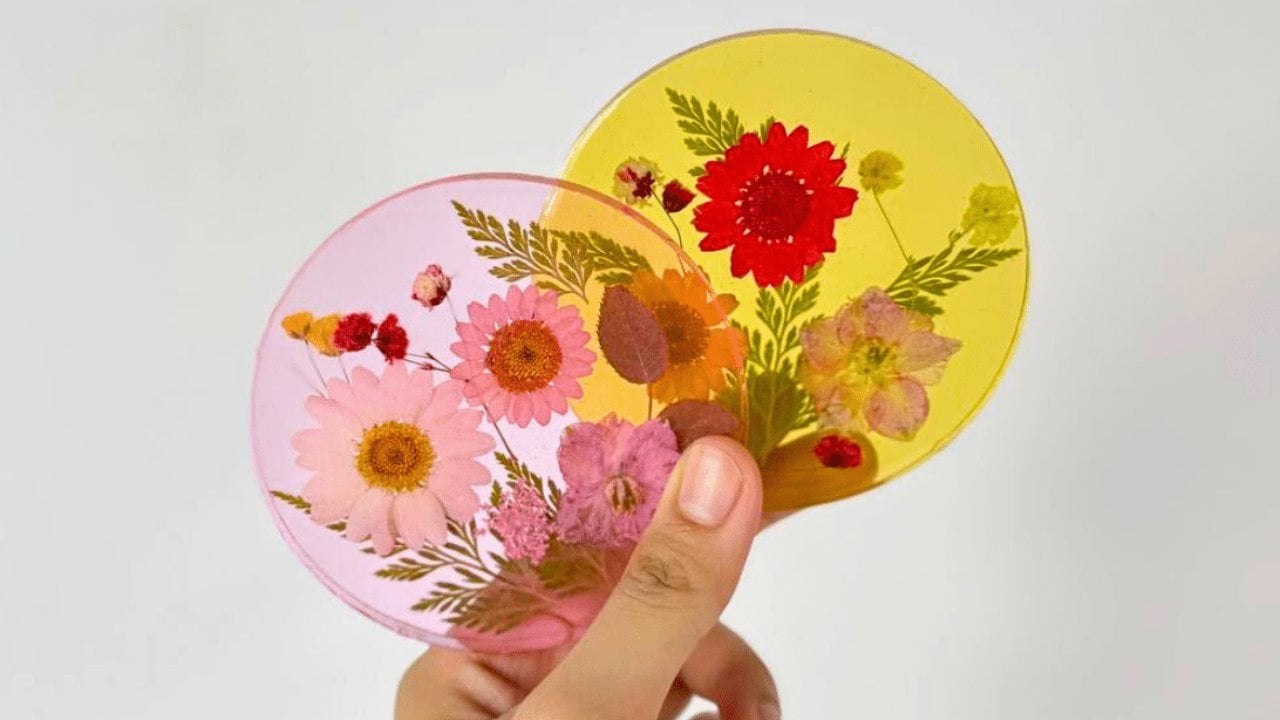
A resin coaster with dried flowers preserves real blooms in a clear, glossy disc. Mix about 36 grams of epoxy resin with about 12 grams of hardener for a 3 to 1 ratio, checking your own bottle, and stir slowly for 5 to 10 minutes until clear. Add 2 or 3 drops of pigment. Pour half into a clean mold, arrange the pressed flowers, wait a couple of minutes, then pour the rest and pop bubbles with a lighter. After it sets overnight, glue the back, spread a thin coat of UV resin on the front, cure it under a UV lamp and peel off the glue for extra shine.
Get the full tutorial at DIY JOY.
6. Seashell Coasters Made With Resin
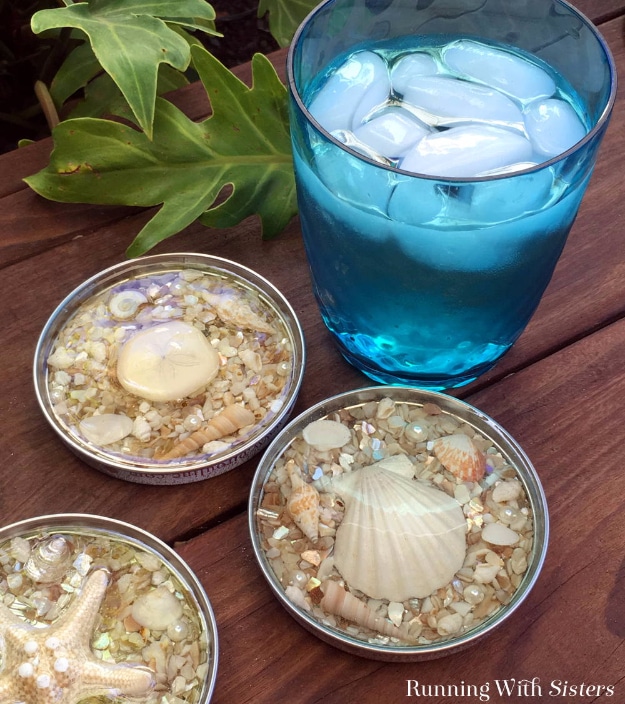
Seashell coasters made with resin start with jar lids about 3 1/4 to 3 1/2 inches across, sprayed silver, with felt pads on the bottom. Unthreaded lids look neatest. Glue a large shell into each lid with clear silicone, making sure it sits below the rim, then fill around it with shell chips, smaller shells and a few pearls. Mix equal parts resin and hardener, stir two minutes, pour into a clean cup and stir one more minute. Pour it to the top lip of each lid, exhale gently over the surface to release bubbles and let them cure 48 hours on a level surface.
Get the full tutorial at Running With Sisters.
7. Clay Kitty Coaster DIY
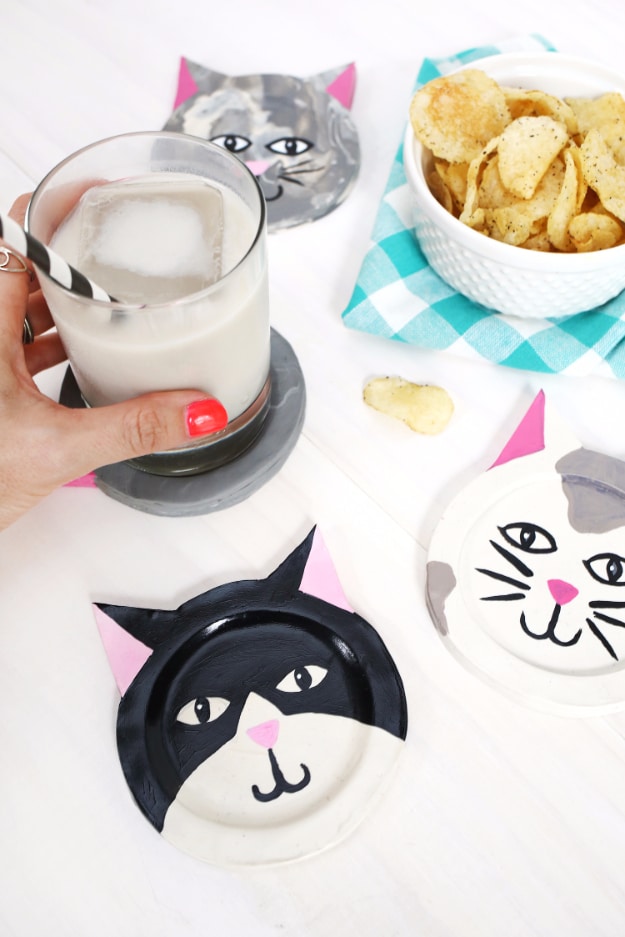
Clay kitty coasters are oven bake clay cut into cat faces with a printable template. Roll the clay at least 5 by 6 inches and 1/4 inch thick, using matching rulers on each side to keep it even. Trace the outline with a craft knife and cut a circle from the middle. Cut a second, solid cat face and set it on top of the first, then smooth the seam. Press the center of the top layer down with a fingertip so it sinks into the hole and leaves a round dip for a glass. Bake, cool, paint the markings and seal.
Get the full tutorial at A Beautiful Mess.
8. Wooden Pallet Coasters
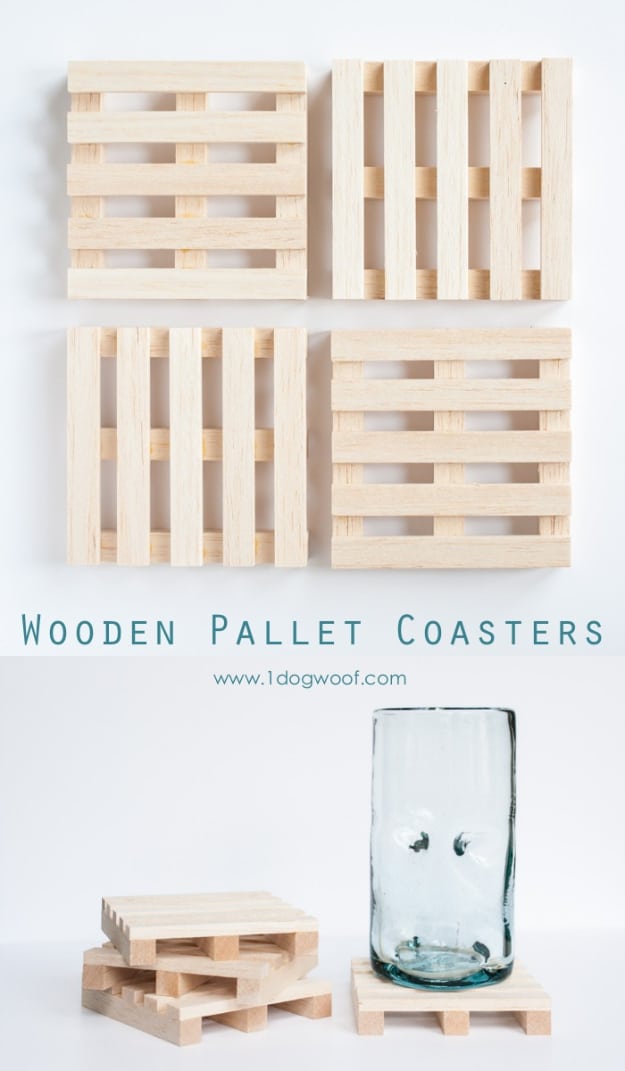
Wooden pallet coasters are tiny pallets built from craft store dowels, no real pallet needed. Buy three square dowels (1/2 by 1/2 by 36 inches) and two flat ones (1/2 by 1/4 by 36 inches), which cost under $5 total. Cut them into 4 inch pieces. Each coaster takes three square pieces for the base and five flat pieces across the top, spaced evenly into a 4 inch square. Use only a small dab of wood glue so it doesn’t squeeze out and stain the joints. Weight each one and let it dry overnight. They suit hot mugs best.
Get the full tutorial at One Dog Woof.
9. Chalkboard Ombre Coasters
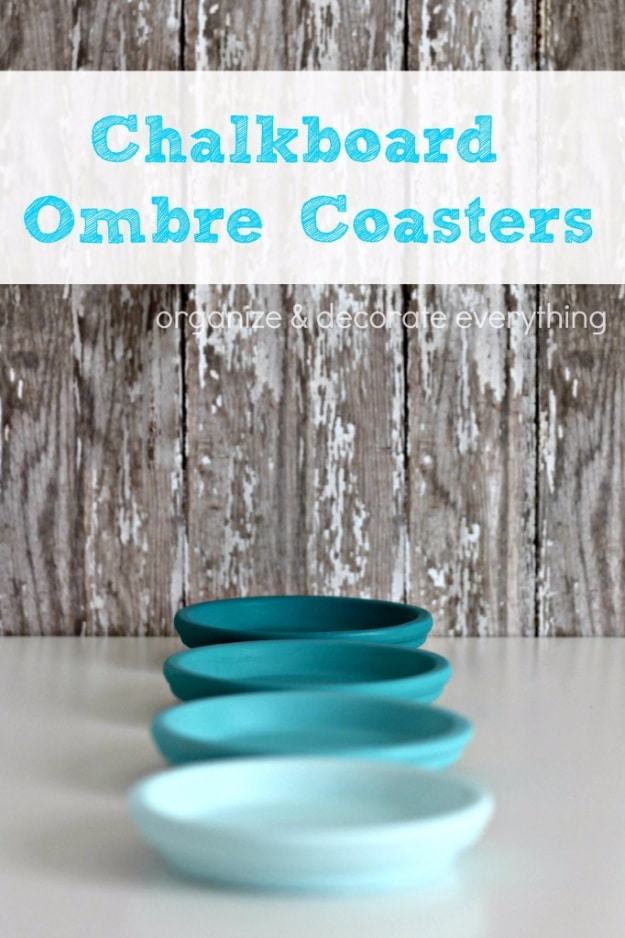
Chalkboard ombre coasters are clay saucers painted in four shades of one color, with a chalkboard center so guests can claim their drink. Start with a dark color at full strength on the first saucer. Mix the next at 2/3 color and 1/3 white, then half and half, then 1/4 color and 3/4 white. Brush two coats of clear chalkboard coating inside each saucer, rim included, and prime it by rubbing chalk on its side over the surface. Light chalk shows best on dark saucers and dark chalk on light ones. Felt on the bottom prevents scratches.
Get the full tutorial at Organize and Decorate Everything.
10. Terracotta Coasters
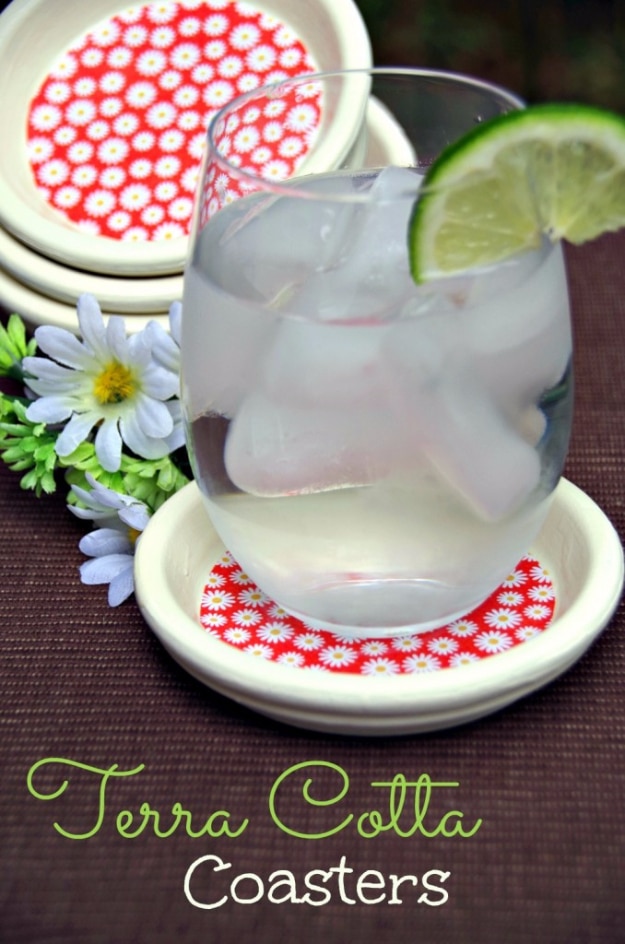
Terra cotta coasters start as 4 inch clay saucers, about 77 cents each at the Home Depot, so a set of six comes in under $10. Terra cotta is porous and drinks paint, so plan on two coats of acrylic and a couple of small bottles. While the paint dries, trace a circle onto scrapbook paper with a juice glass and cut it out. Brush Mod Podge inside the saucer, lay the paper circle down, then cover the whole upper surface with one or two more coats. Let them dry completely before using. Bright paper looks cheerful on a patio table.
Get the full tutorial at Suburbia Unwrapped.
11. DIY Wool Felt Ball Coasters
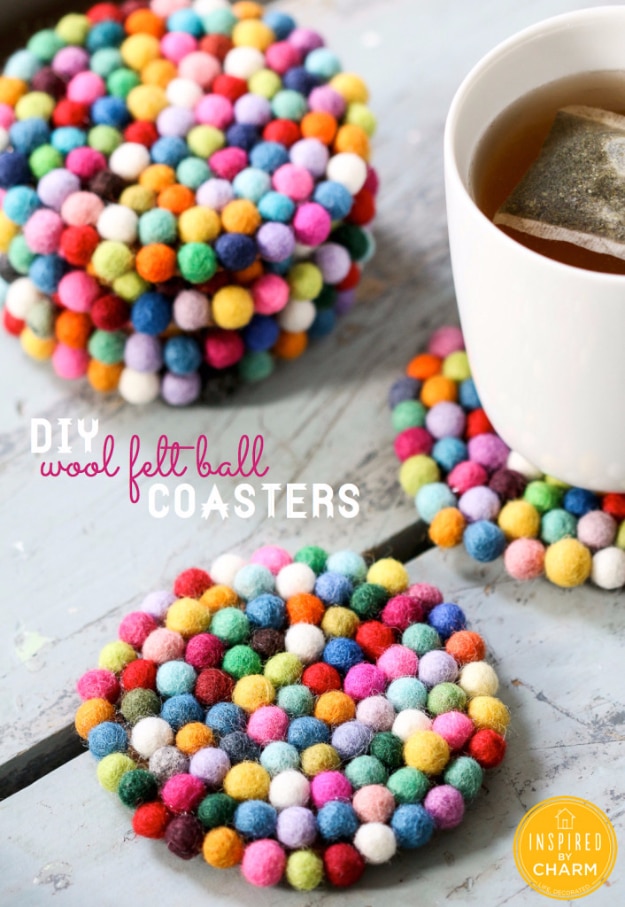
DIY wool felt ball coasters cover plain cork coasters with rows of 1 cm wool felt balls, about 90 to 100 per coaster. Start by gluing one ball in the center with E6000, using a long wooden skewer to place the glue exactly where it’s needed. Work outward in rings, gluing straight onto the cork for the outer rows. Stop every so often to let the glue dry so the balls stay packed tight. On the last row, glue each ball partly to the cork and partly to its neighbor so the cork disappears. Multicolor packs are easy, or pick your own palette.
Get the full tutorial at Inspired By Charm.
12. Felt Fruit Coasters
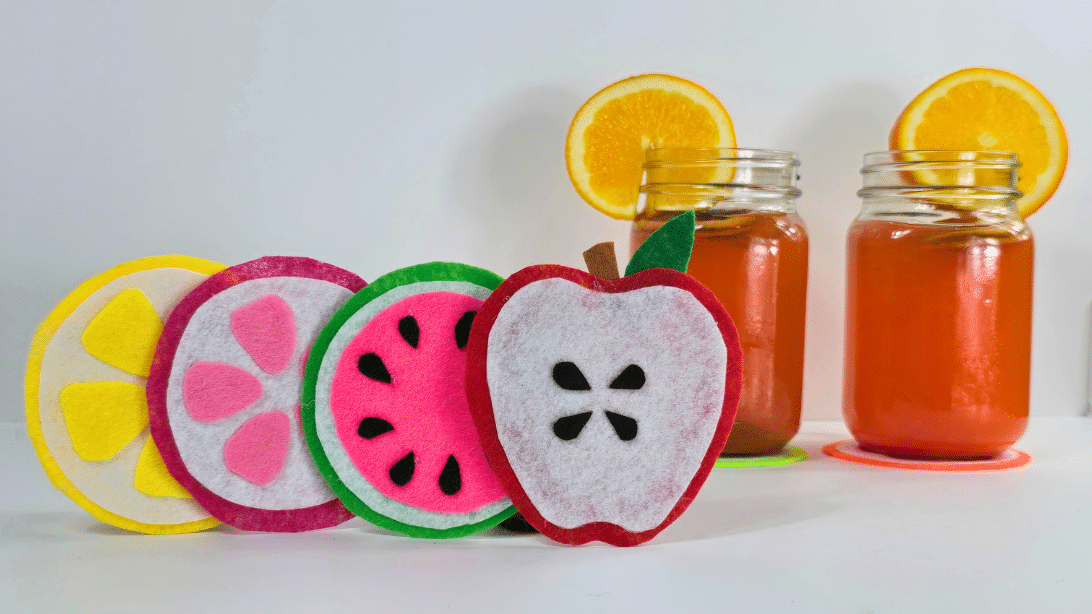
No-sew felt fruit coasters come together with felt sheets, scissors and hot glue. For a lemon, glue a white circle onto a larger yellow one and add five yellow triangles around it for segments. The watermelon stacks a green circle, a smaller white one and a smaller pink one, topped with ten black teardrop seeds. The apple needs a paper template, then a red outline, a white center, a green leaf, a brown stem and four seeds. Stiff or premium craft felt keeps them from flopping, and tailor’s chalk keeps tracing marks invisible. Use glue sparingly.
Get the full tutorial at DIY JOY.
13. Photo Resin Coasters
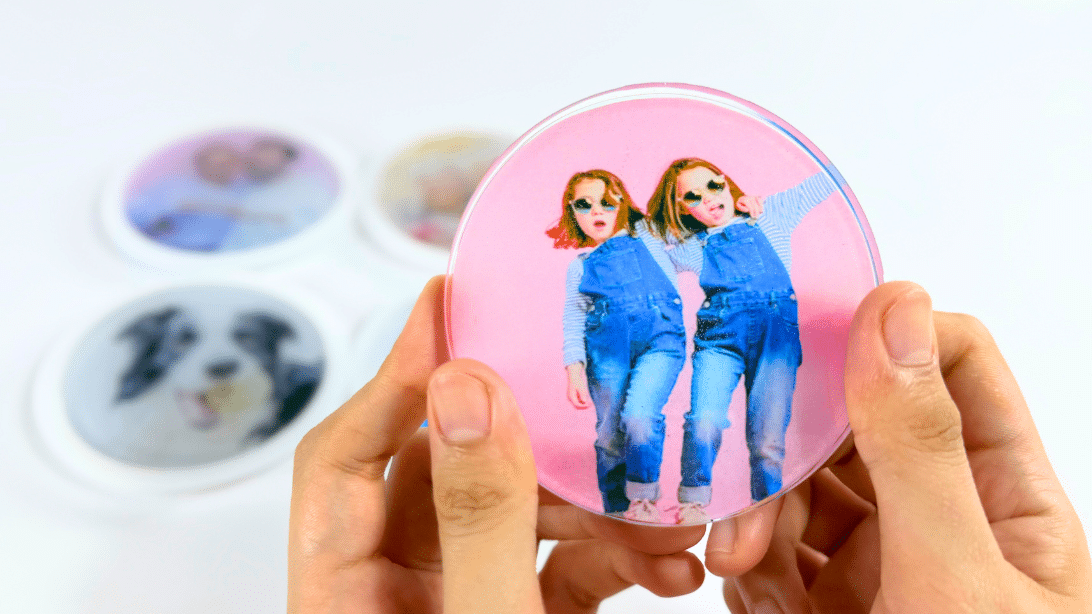
Photo resin coasters seal a favorite picture inside a clear, glossy round. Mix about 36 grams of epoxy resin with about 12 grams of hardener for a 3 to 1 ratio and stir slowly for 5 to 10 minutes, since rushing it creates bubbles. Pour a thin first layer into a silicone mold. Trace a round object about the size of the mold over the photo, centering the best part, then cut it out and set it into the resin. Pour the rest on top to fill the mold. After about 24 hours, pop the coaster out. Nitrile gloves are a must.
Get the full tutorial at DIY JOY.
14. DIY Painted Cork Coasters
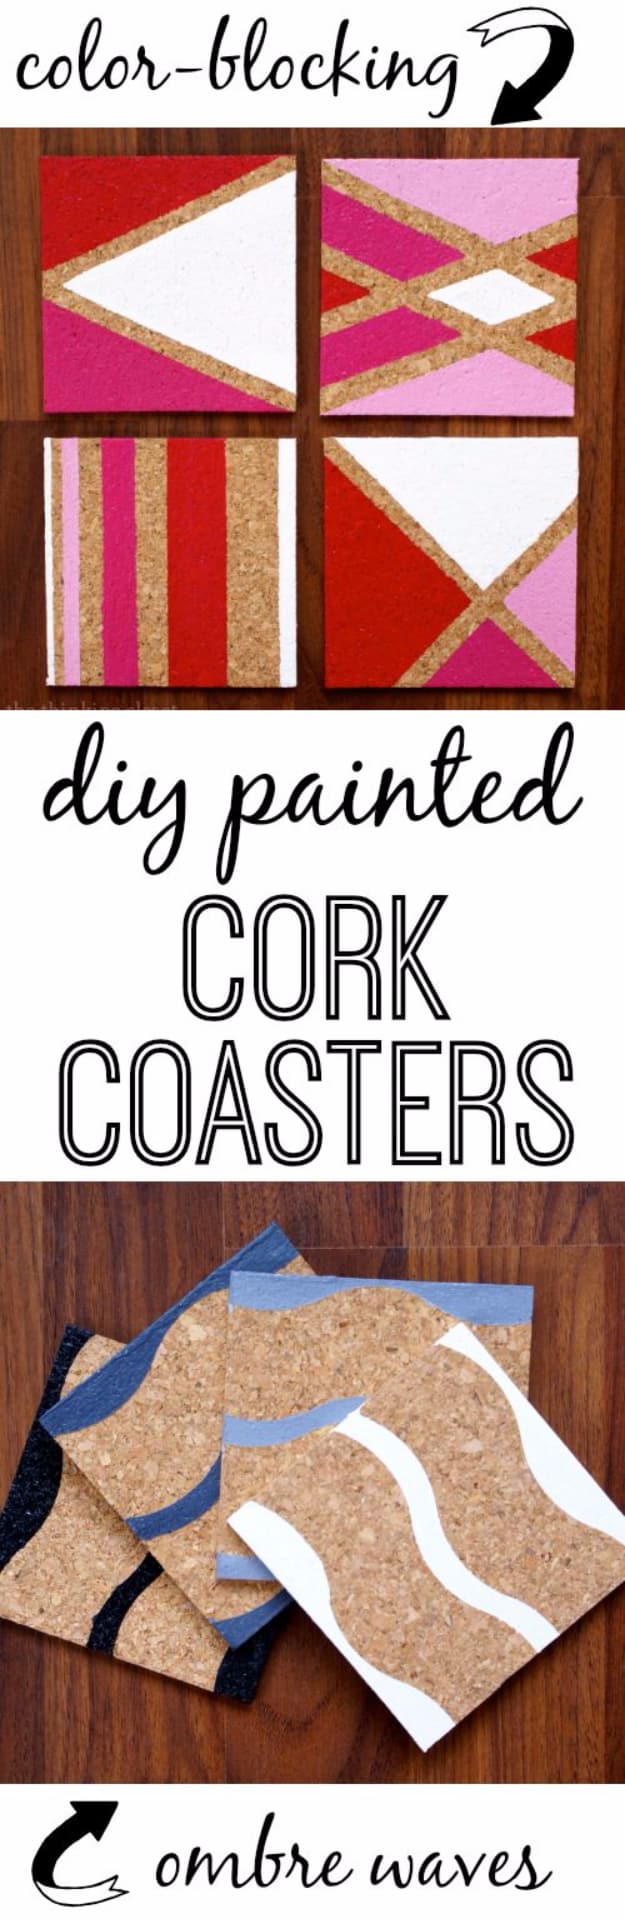
DIY painted cork coasters cost under $4 for a set of four, starting with cork coaster packs from the craft store. Trim painter’s tape into thin strips for color blocking, or layer two strips for waves, wrapping it under the edges and pressing hard so paint can’t creep under. Paint at least two coats of acrylic in ombre shades or color blocked combos. Spray a waterproof sealer before removing the tape, so the bare cork can still soak up drips. Let the sealer cure for 2 to 3 weeks before hot drinks. E6000 attaches felt to the bottom.
Get the full tutorial at The Thinking Closet.
15. DIY Mini Cowhide Coasters
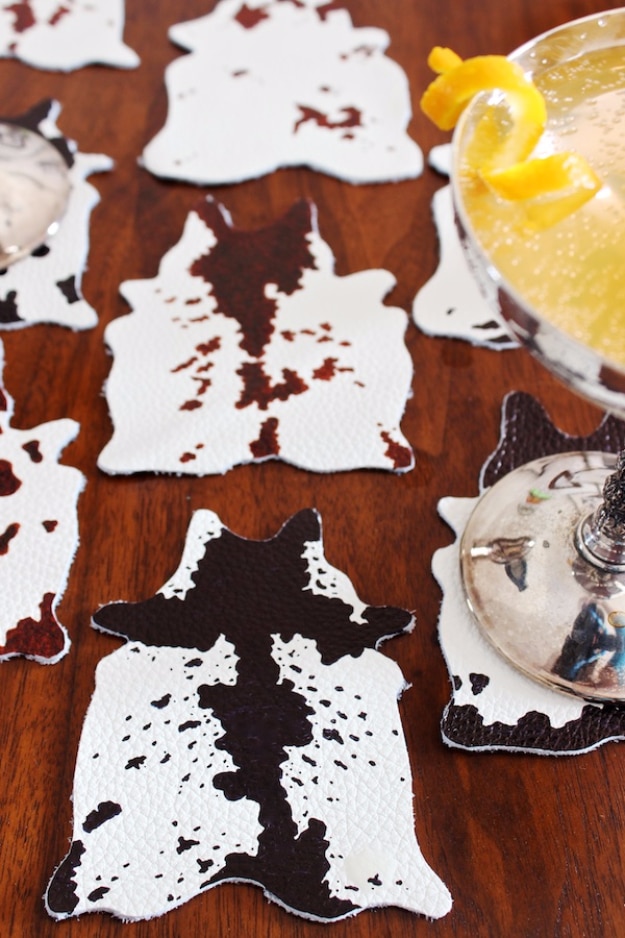
DIY mini cowhide coasters are cut from scrap white leather or vinyl and colored by hand, so they look like tiny cowhide rugs. Print the free cowhide templates and trace each one onto the back of the leather with a fine tip pen. Cut them out carefully with sharp scissors. Then add spots with black and brown permanent markers, outlining each blotch first and filling it in with small circular strokes. Looking at real cowhide rug photos helps the spots look natural. Let them dry and add a second coat if needed. They’re great with a fancy cocktail.
Get the full tutorial at Oh So Beautiful Paper.
16. Crochet Watermelon Coasters
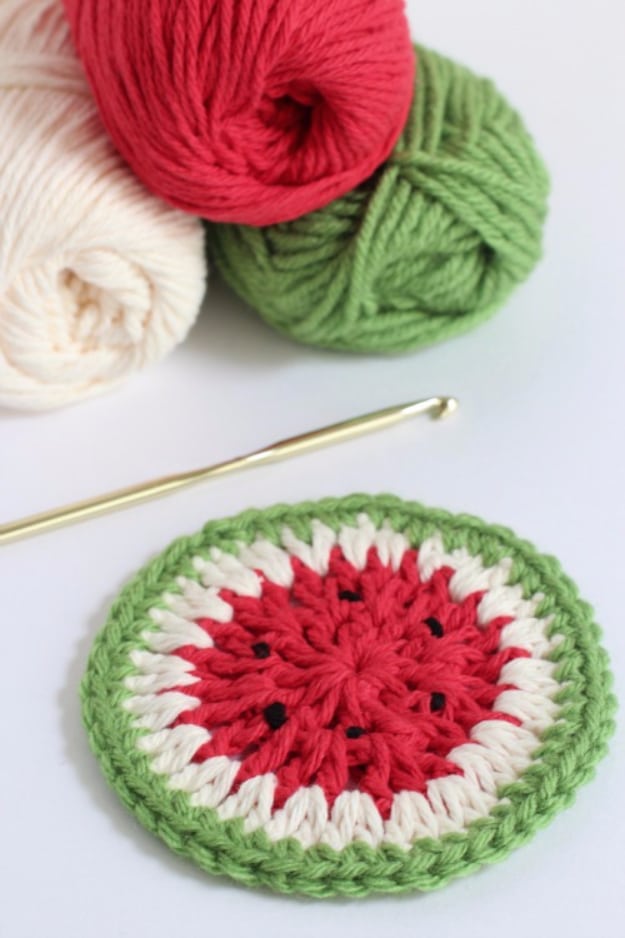
Crochet watermelon coasters work up in rounds like a granny square, only circular. With a size H hook, chain 4 in red and slip stitch into a ring, then work 12 double crochet into the center. The second red round doubles that to 24. Switch to cream and half double crochet two into each space for 48 stitches, then finish with a round of 48 single crochet in green. Weave in the tails with a yarn needle. Black yarn stitched into the red makes the seeds, but that step is optional. A set comes together over a couple of evenings.
Get the full tutorial at Make and Takes.
17. Lacy And Sophisticated DIY Coasters
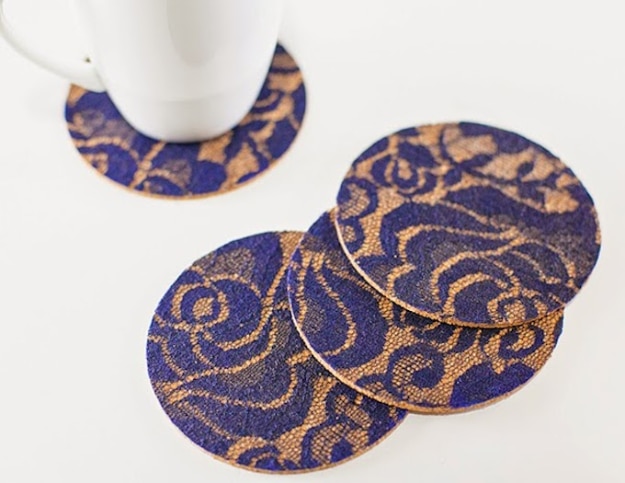
Lacy and sophisticated DIY coasters use up the lace scraps hiding in a fabric stash. Cut a piece of lace close to the size of a cork circle (tile or wood also work). Brush a generous coat of Mod Podge Gloss onto the cork, lay the lace down, then dab more Mod Podge on top with a sponge brush so the lace doesn’t drag. After about an hour, when it’s mostly dry, trim the excess lace at the edge. Dishwasher Safe Mod Podge or a coat of Minwax Polycrylic adds moisture resistance, but they still shouldn’t go in the dishwasher.
Get the full tutorial at Mod Podge Rocks.
18. DIY Copper And Burlap Coasters
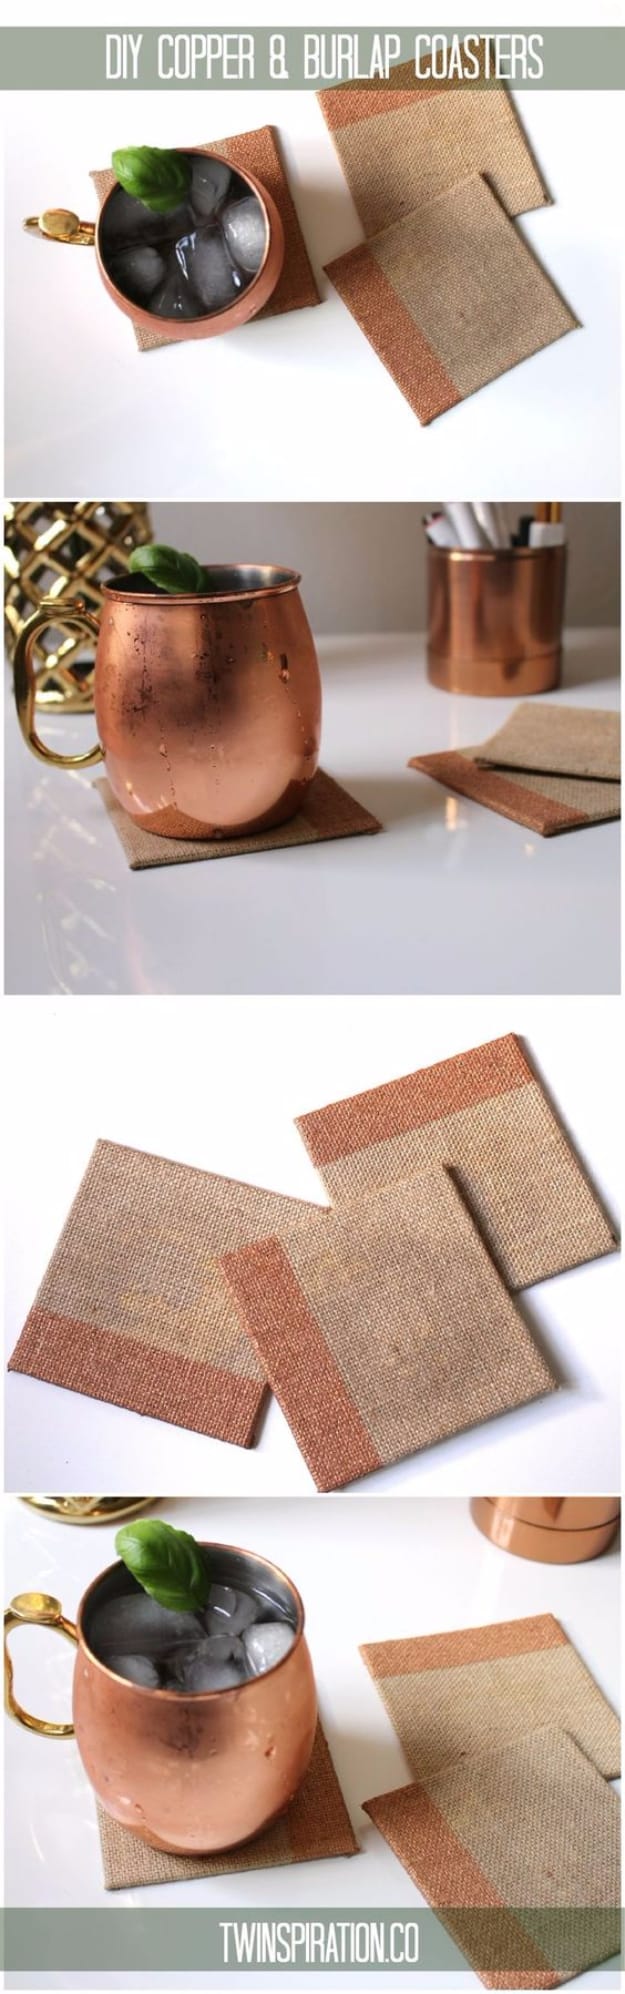
DIY copper and burlap coasters start with 4 by 4 inch burlap panels from the art canvas aisle. That size can be hard to find now, but 8 by 8 inch burlap canvas panels cut into four squares work too. Dab a 1 inch foam brush of metallic copper acrylic near one edge of a panel to mark where the tape goes, about an inch in. Lay painter’s tape along that line, using the burlap’s own grid to keep it straight, paint the edge and peel the tape once it dries. All three coasters take about 15 minutes.
Get the full tutorial at Twinspiration.
19. DIY Photo Coasters
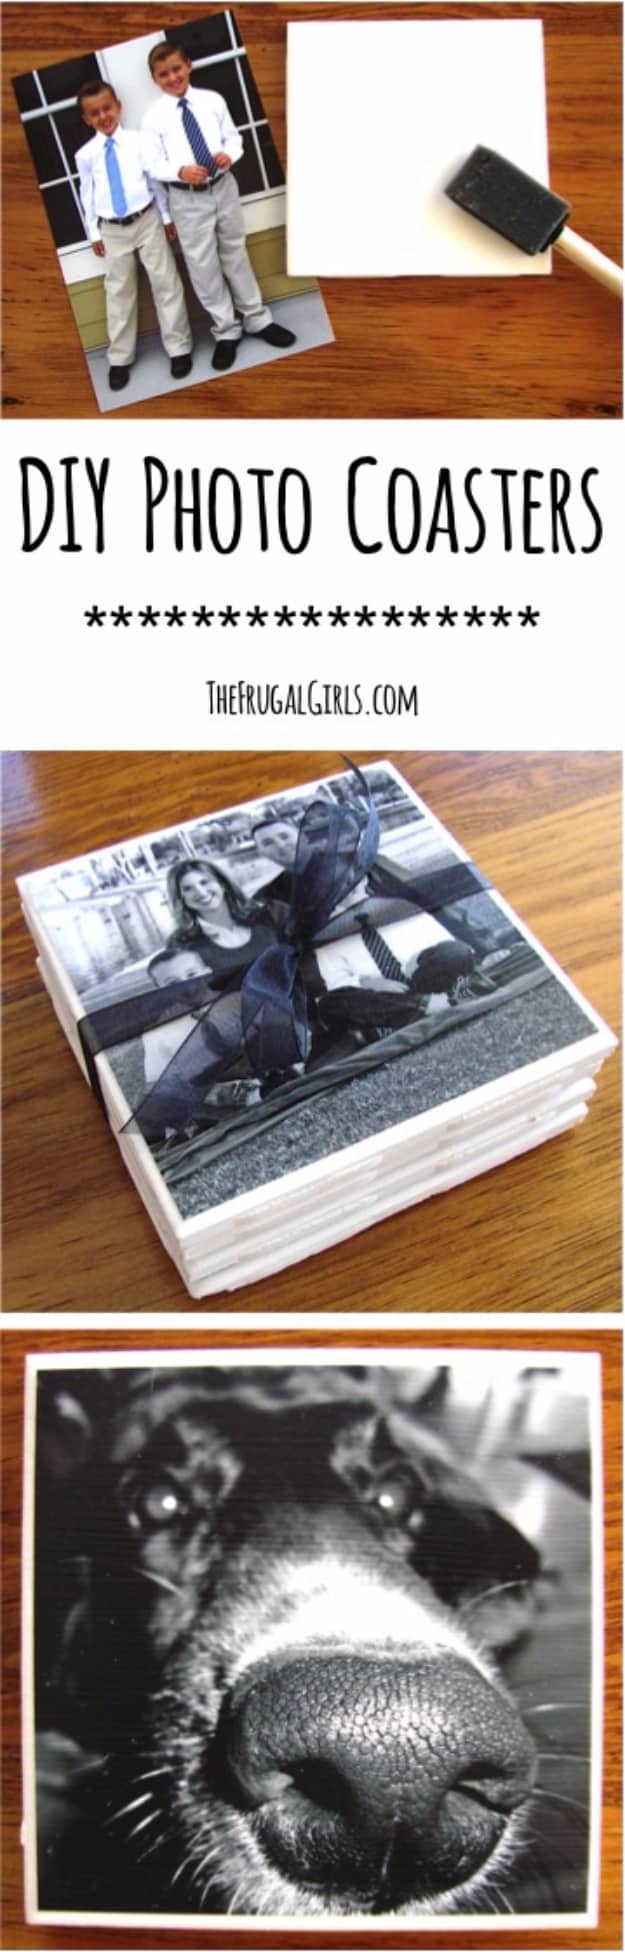
DIY photo coasters turn 16 cent ceramic tiles from Lowe’s and 4 by 6 prints into a thoughtful gift. Paint the rough, unfinished edges of each tile in a white that matches the glaze. Trim each photo square to fit the tile, brush Mod Podge on the back and press it down. Once dry, add a coat of Mod Podge over the top with even left to right strokes, then two more coats, letting each one dry completely for hours. Finish outdoors with clear acrylic high gloss spray to seal the project. Black and white photos look striking.
Get the full tutorial at The Frugal Girls.
20. DIY Beer Coasters
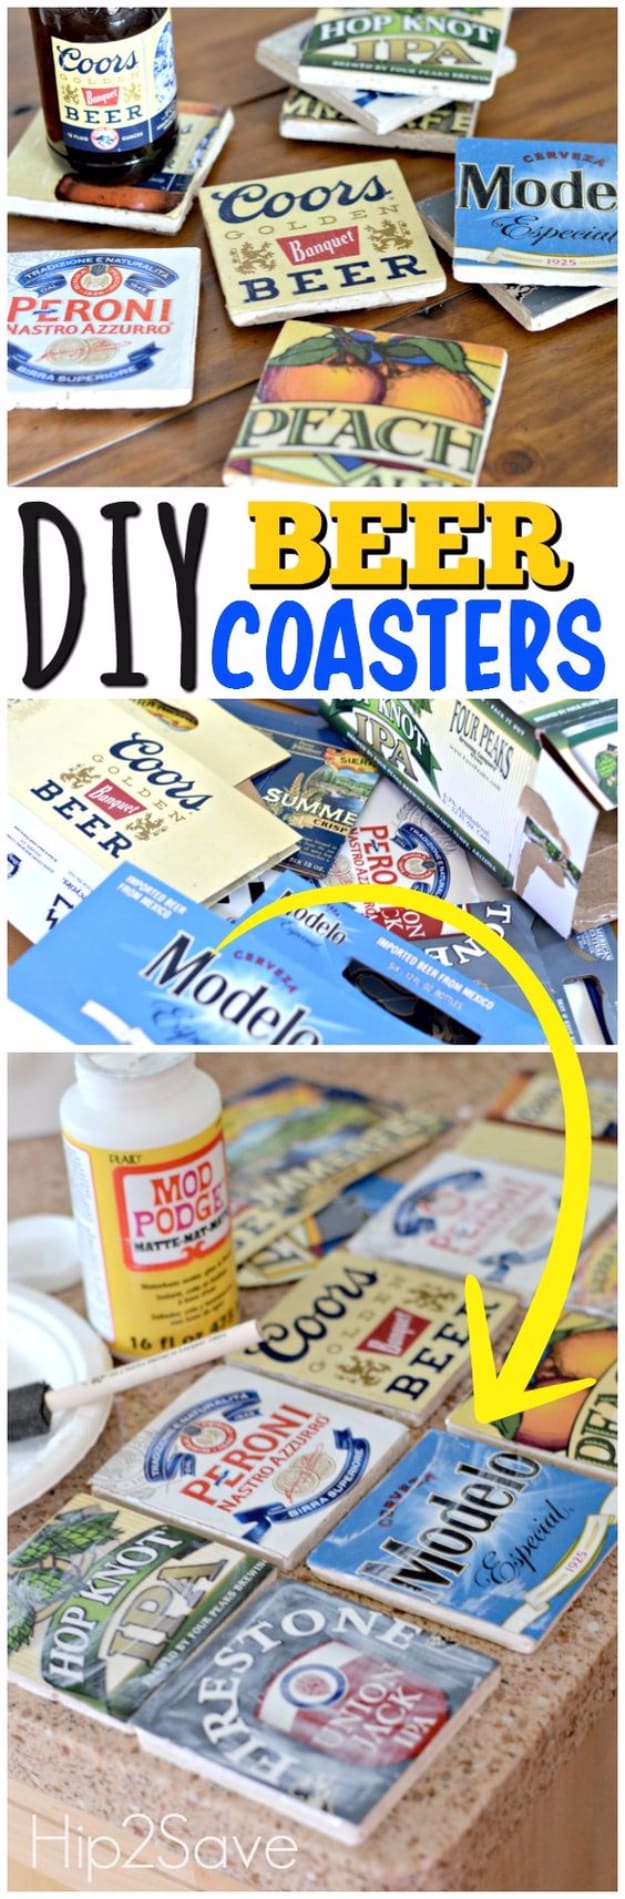
DIY beer coasters recycle cardboard beer carriers into a Father’s Day gift. Trace a 4 by 4 inch tile onto the carrier and cut out the logo square. Brush Mod Podge on the back of the cardboard, press it onto the tile and smooth out bubbles. Flip it so the tile’s weight holds it flat while it dries, pressing down any edges that lift. After about 15 minutes, add two to four more Mod Podge layers on top, drying between each. Sand any rough edges, stick on adhesive felt pads and brush on clear Polycrylic. Soda boxes or photos work too.
Get the full tutorial at Hip2Save.
21. DIY Map Coasters
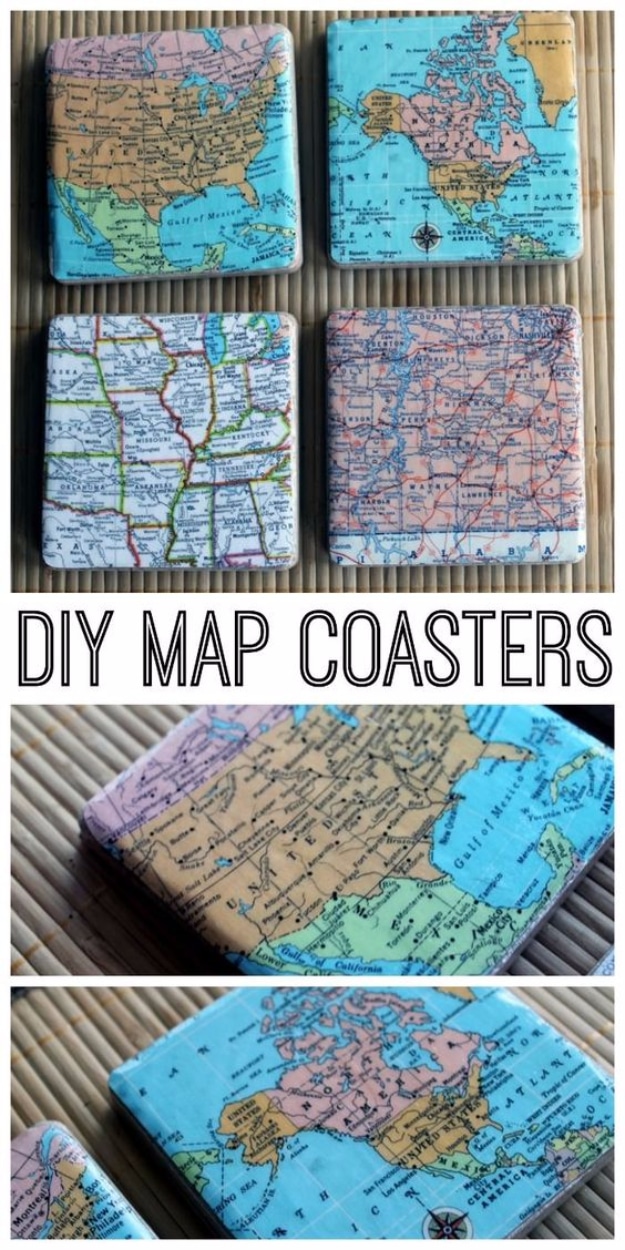
DIY map coasters cover ceramic tiles with real maps and Mod Podge, no epoxy required. Center a coaster over the part of the map you want, trace around it and cut it out. Brush a thin layer of Mod Podge on the back of each map piece and let it dry first, a trick that prevents wrinkles. Then coat the tile, press the map on and add about three more layers on top, drying between each. Outdoor Mod Podge holds up best. Let them cure 48 to 72 hours, then add self adhesive felt to the bottom. Zooming from country to county makes a fun set.
Get the full tutorial at The Country Chic Cottage.