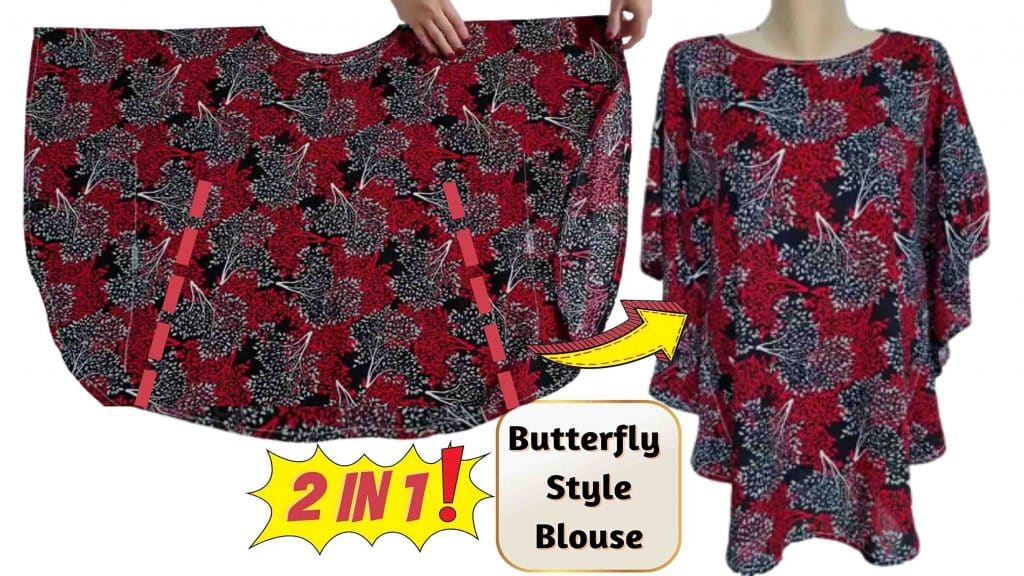
Who says you have to be a master tailor to create fabulous clothing pieces? This butterfly blouse tutorial from Idea Creative on Youtube is the perfect tutorial for a beginner; like me! It’s straightforward and very easy to follow. At the end of the tutorial, you will have an amazing blouse, perfect for any occasion! Learn it by following the tutorial below.
Materials:
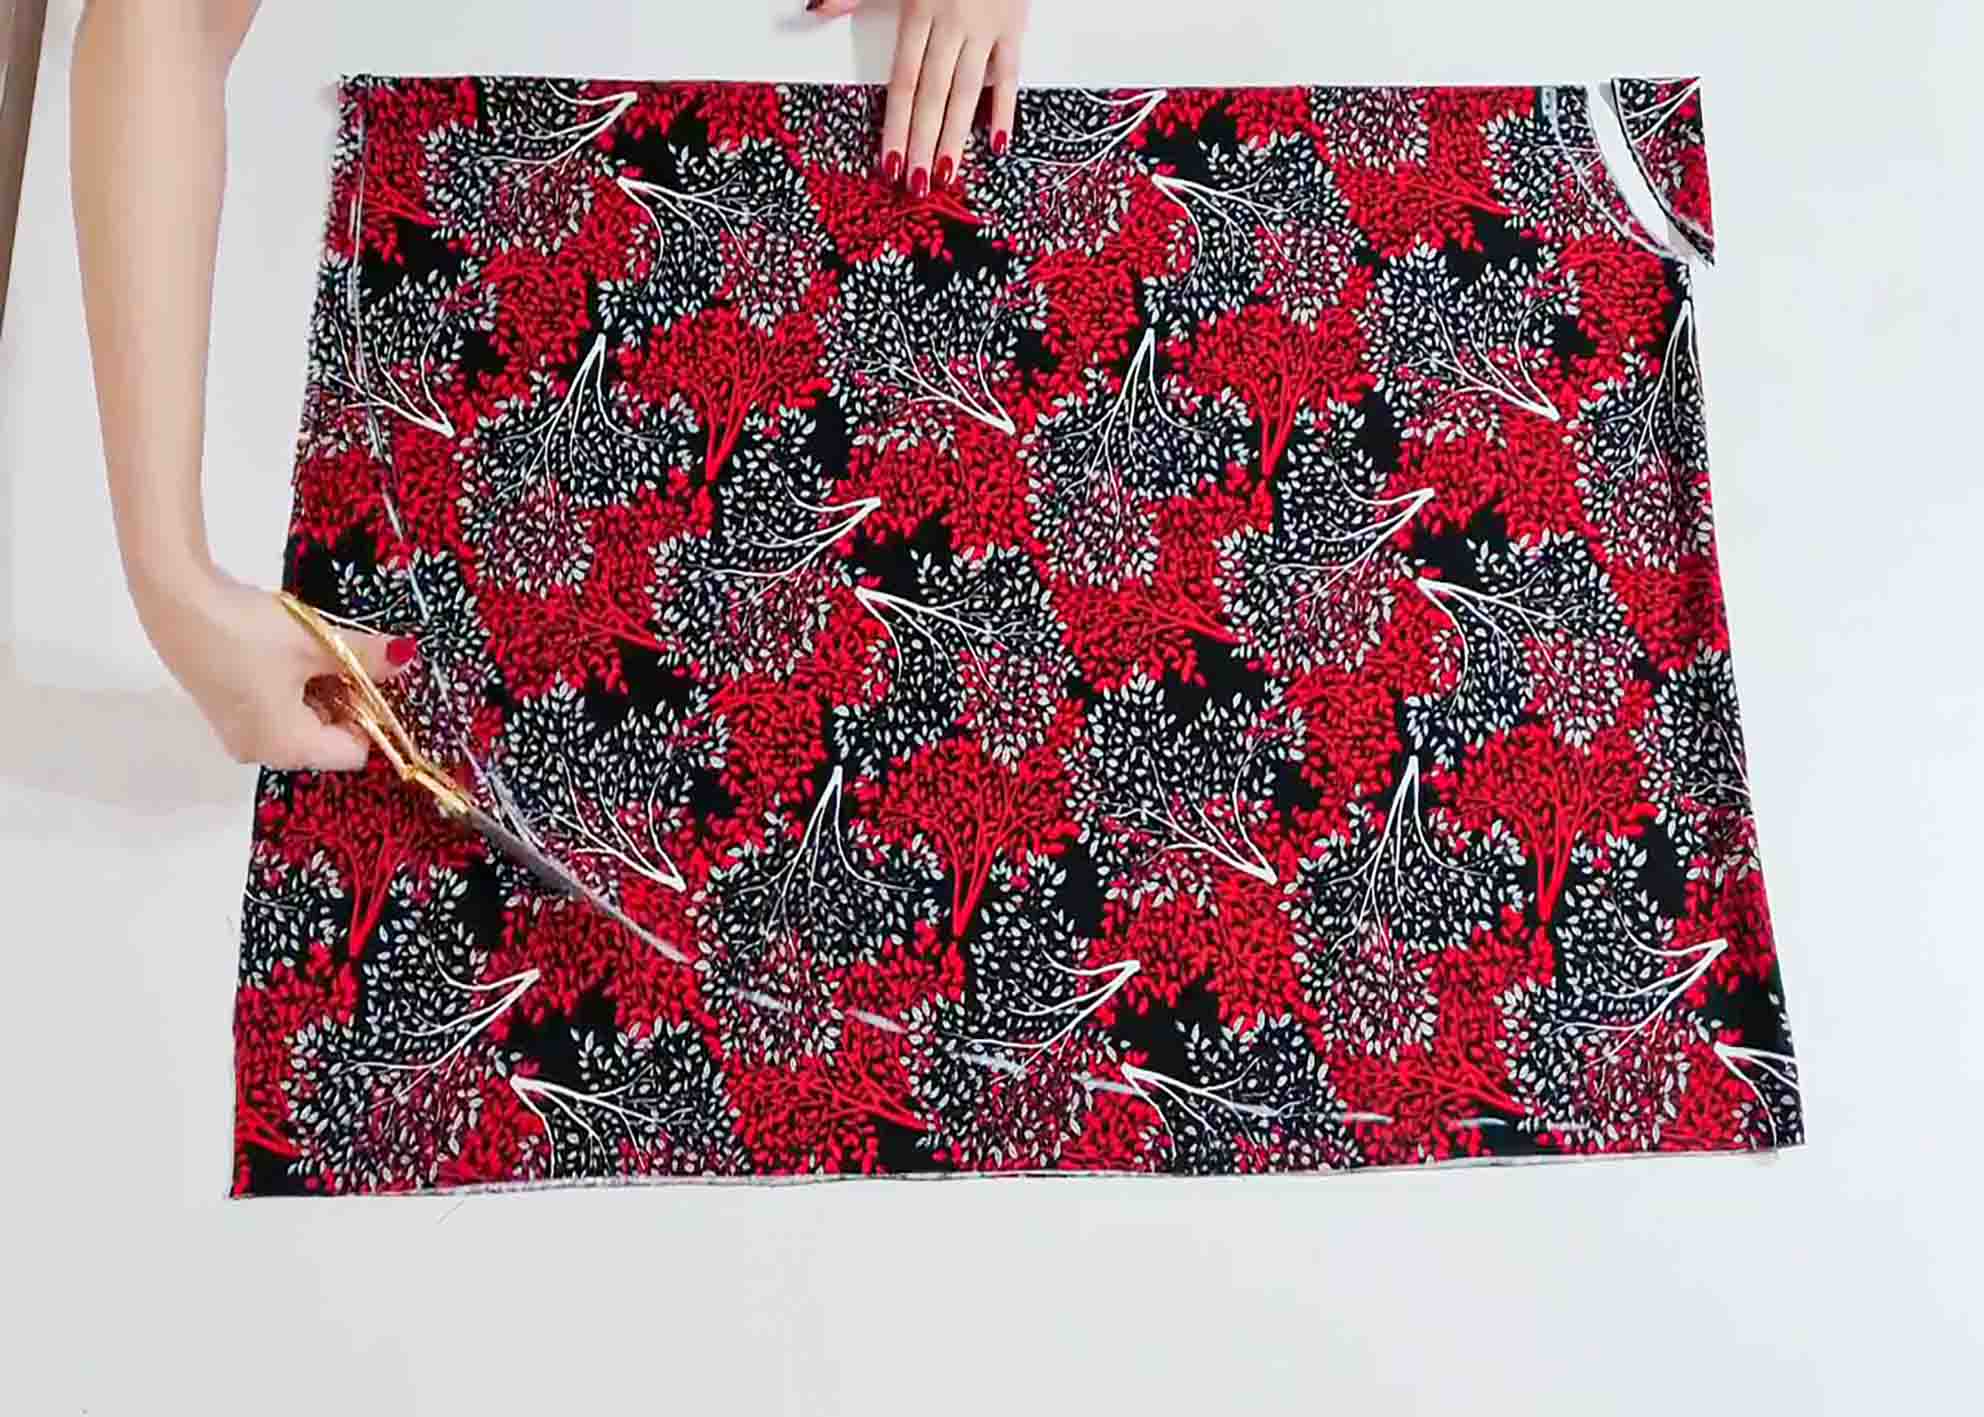
- big fabric (of your choice) measured 160×100 cm (63″x40″), folded in 4 pcs measured 50 cm (20″) in length and 80 cm (31.5″) in width each
- measuring tape
- fabric marker
- scissors
- pins
- ruler
Directions:
Step 1
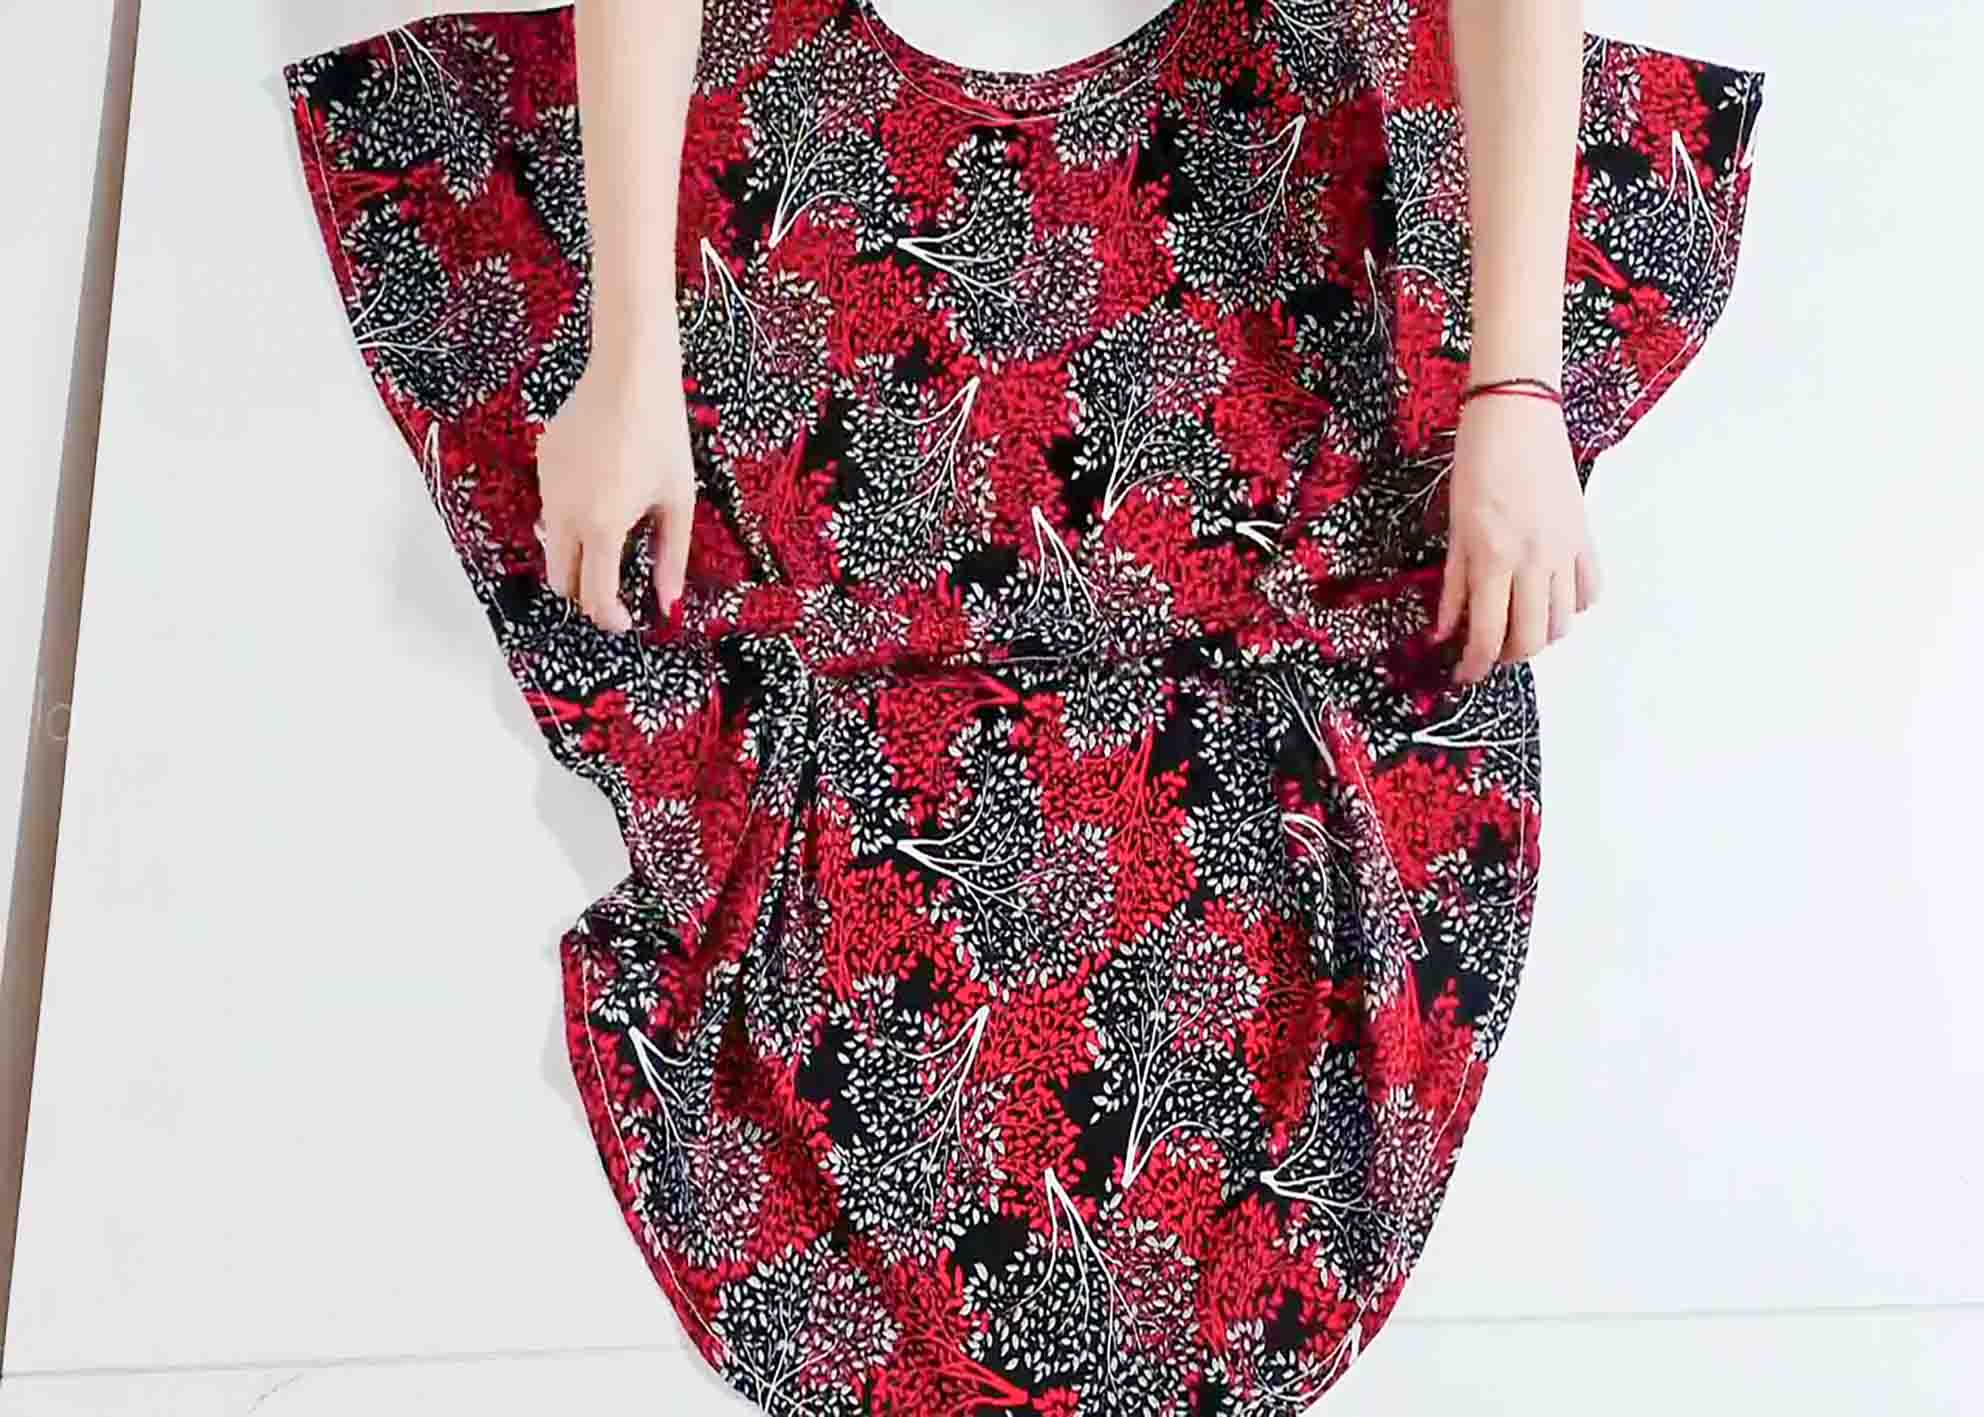
Measure a 6 cm (2.3″) at one of the fabric corners, mark it, then draw an arc line. From the opposite corner, measure a 20 cm (8″), mark it, then draw broken lines in an arc shape from one corner, to the other. Back to the first corner that was marked, measure a 3 cm (1.1″), then draw another arc line, just outside the first one. After this, cut the marked edge along with the arc line on top. Spread out the fabric, now shaped like a proper blouse. Bring out the excess fabric and cut out a 3 cm (1.1″) collar for the neck. Sew it on the blouse’s neck. Also, sew the edges of the blouse in the sewing machine. Fold the blouse in half, then put pins on the top side part near the neck. Tilt the blouse 90 degrees then measure 30 cm (12″) horizontally, and 25 cm (9.8″) vertically. Put a mark where the lines crossed paths. From this line, measure a 5 cm (2″) on the end, just near the edge of the blouse.
[social_warfare]
Step 2
Using a ruler, draw a clear line of this measurement. Do this also on the other half of the blouse. Put pins on each end of the line then sew it. Spread the blouse. On the right side where the sewn line is located, measure a 40 cm (16″) vertical line. From the lower edge of this measurement, measure another 4 cm (1.5″) then mark it. Repeat the process on the left side of the blouse. After this, sew a zig-zag line on the marked parts in the sewing machine. After sewing, cut a hole in each part. Grab the fabric of the same design and cut out a 10×150 cm (4″x59″) piece. Fold it in half then sew in the sewing machine. Flip it inside out then press with an iron. (This will serve as the belt of the blouse.) Next, iron out the edges of the blouse. Put the belt in the blouse by slipping it through the zig-zag sewn hole. Finally, tie the belt to the center. Your blouse is now finished!
Easy Butterfly Blouse Sewing Tutorial