Dreamcatchers were a must growing up to keep the bad dreams away. I would always hang them over and near the top of my bed. This antique doily dreamcatcher tutorial by The Shabby Tree on YouTube shows you how you can recreate your own at home. It looks simple to make this dreamcatcher using lace, vintage doily, and ribbons. This DIY is easy to make and doilies are often found cheap at thrift stores, yard sales, and antique stores. Be creative and unique by taking this tutorial as the base and decorating it whatever you prefer. I would love to add pom-poms at the end of my dreamcatcher once I make one. Some other things you can add on the end would be a string of beads, feathers, or colorful design fabric strips.
Supplies:
- doilies
- wires
- embroidery thread, twine, yarn (your choice)
- large needle
- variety of ribbons
Directions:
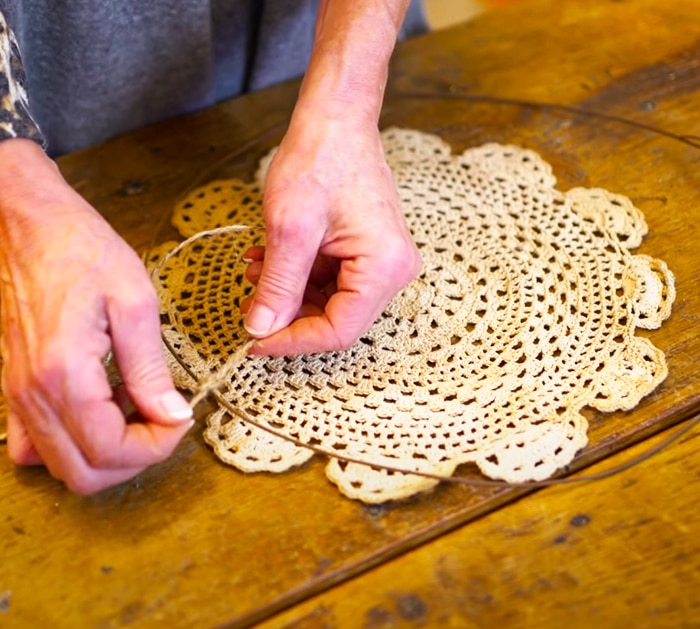
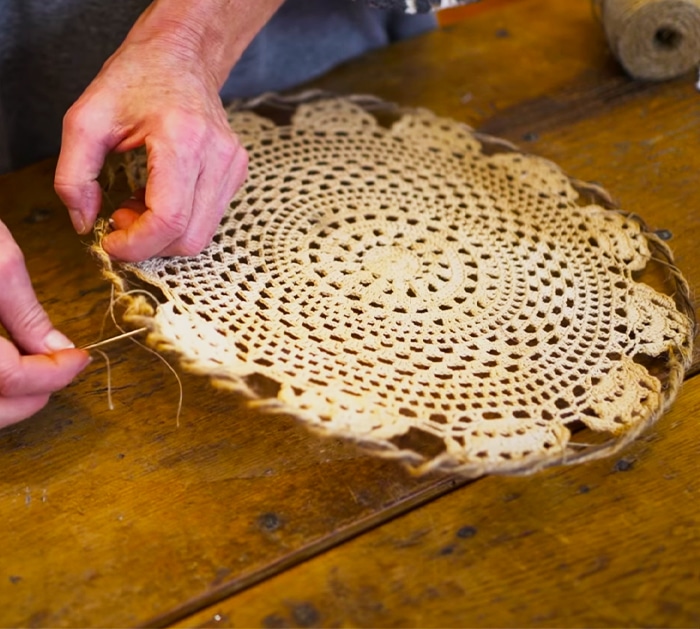
First, start forming a circle with your wire around the doily. Leave a little room from the doily and wire so there’s room to stretch out the doily. Then, take your jute or twine and tie a knot on the wire to hold it in place.

Next, wrap the wire all around the circle with the jute yarn. Then, take your embroidery thread and sew it to the doily. Make sure to do a loose stitch in the beginning so the doily fits around evenly.

Overall, my mom has a lot of old antique doilies around the house. I think it would be cool to create this inexpensive DIY. I love Bohemian style decor and this vintage dreamcatcher would fit perfectly in my room. I’ve always thought they were cool when I saw them at flea markets, and now I can make my own.


