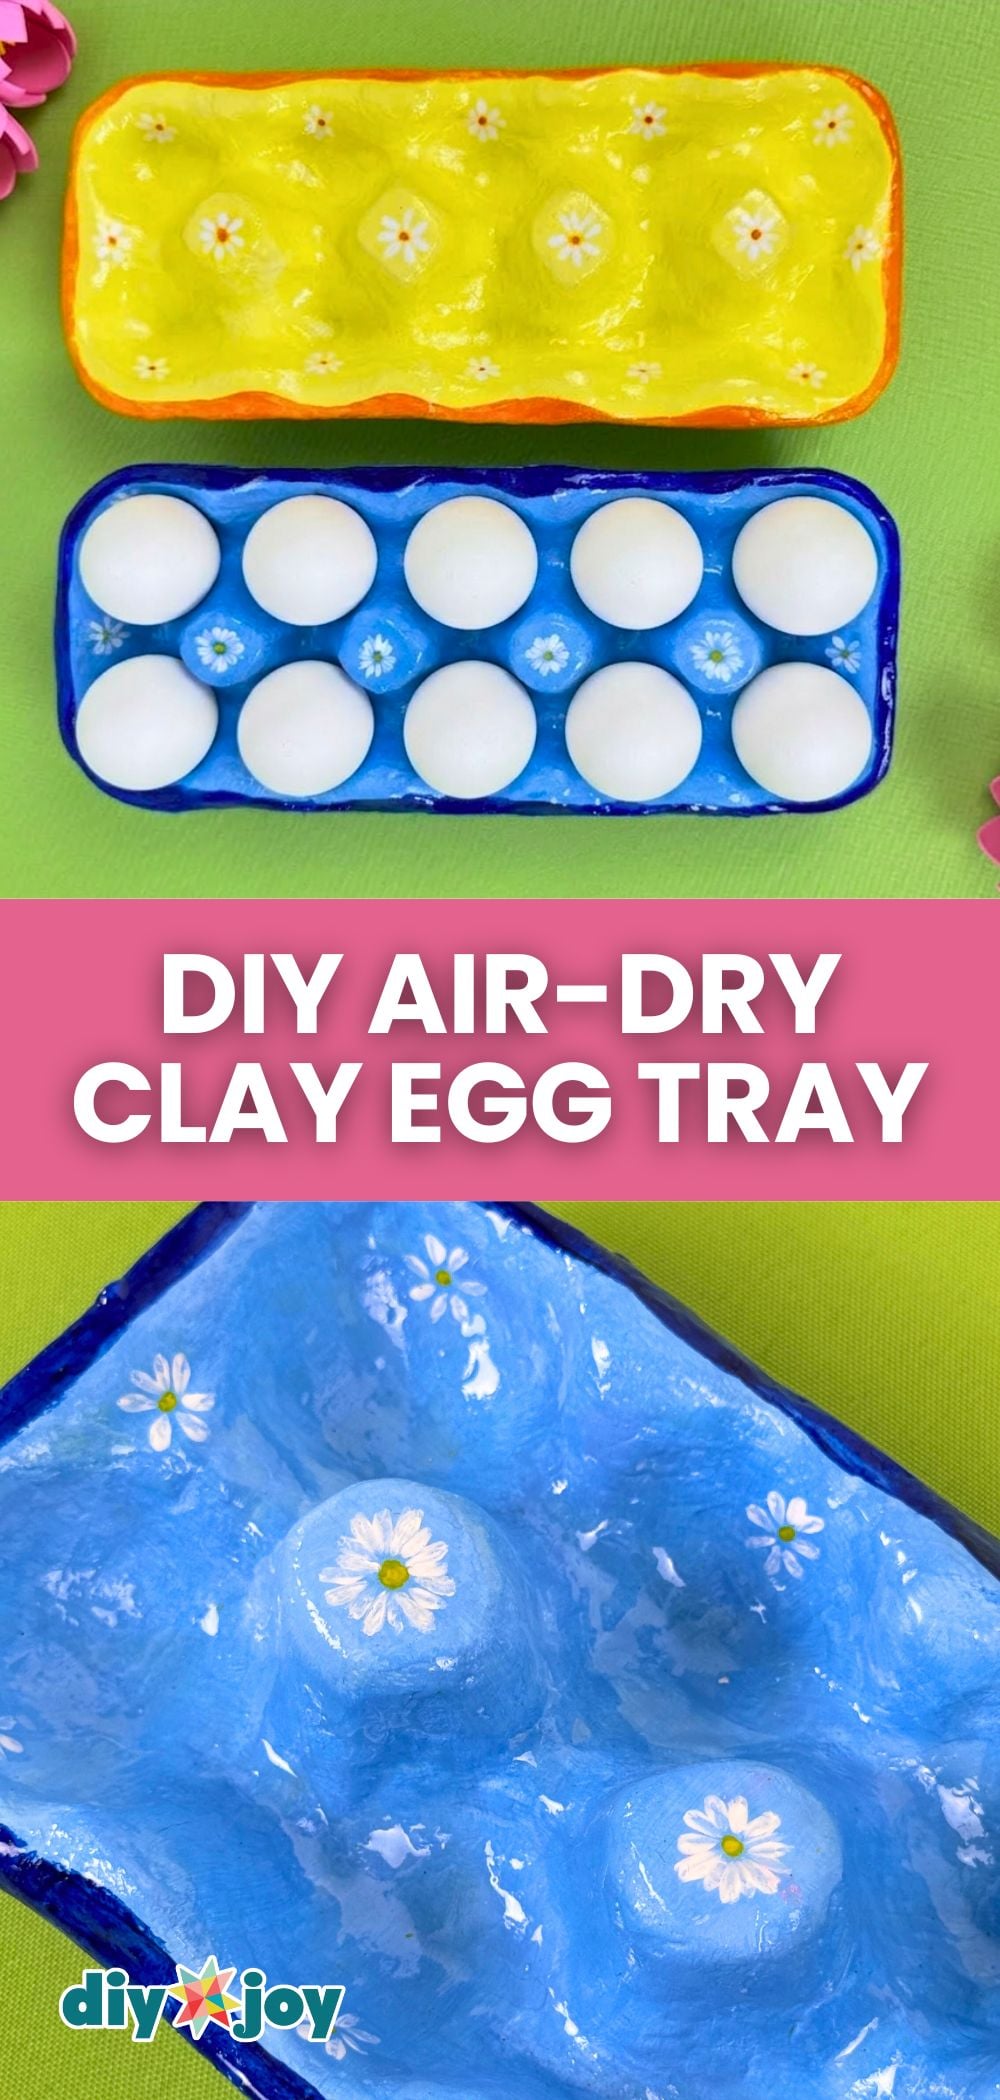
Eggs are a must on my grocery list, and I’ve had or bought many egg trays and holders over the years. Some are flimsy, some are disposable, and most just don’t last as long as I’d like. That’s when I discovered a way to make egg trays that not only last longer but also add a personal touch to my kitchen. Using air-dry clay, you can easily craft a handmade, functional tray that requires no kiln or baking, making it perfect for beginners and anyone who wants a simple, fuss-free project.
What I love most about this project is how practical it is. You can shape the tray to hold a dozen eggs, or even create smaller sections for quail eggs, turning it into a versatile, functional kitchen tool. It’s a fun project to do alone, with kids, or even during a cozy crafting session with friends. Plus, the hands-on process of working with clay is surprisingly relaxing; you get to squish, mold, and personalize each tray exactly how you like.
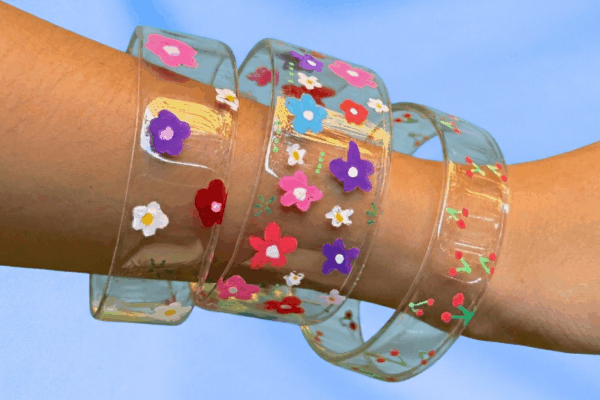
Other Air-Dry Clay Crafts You Might Like:
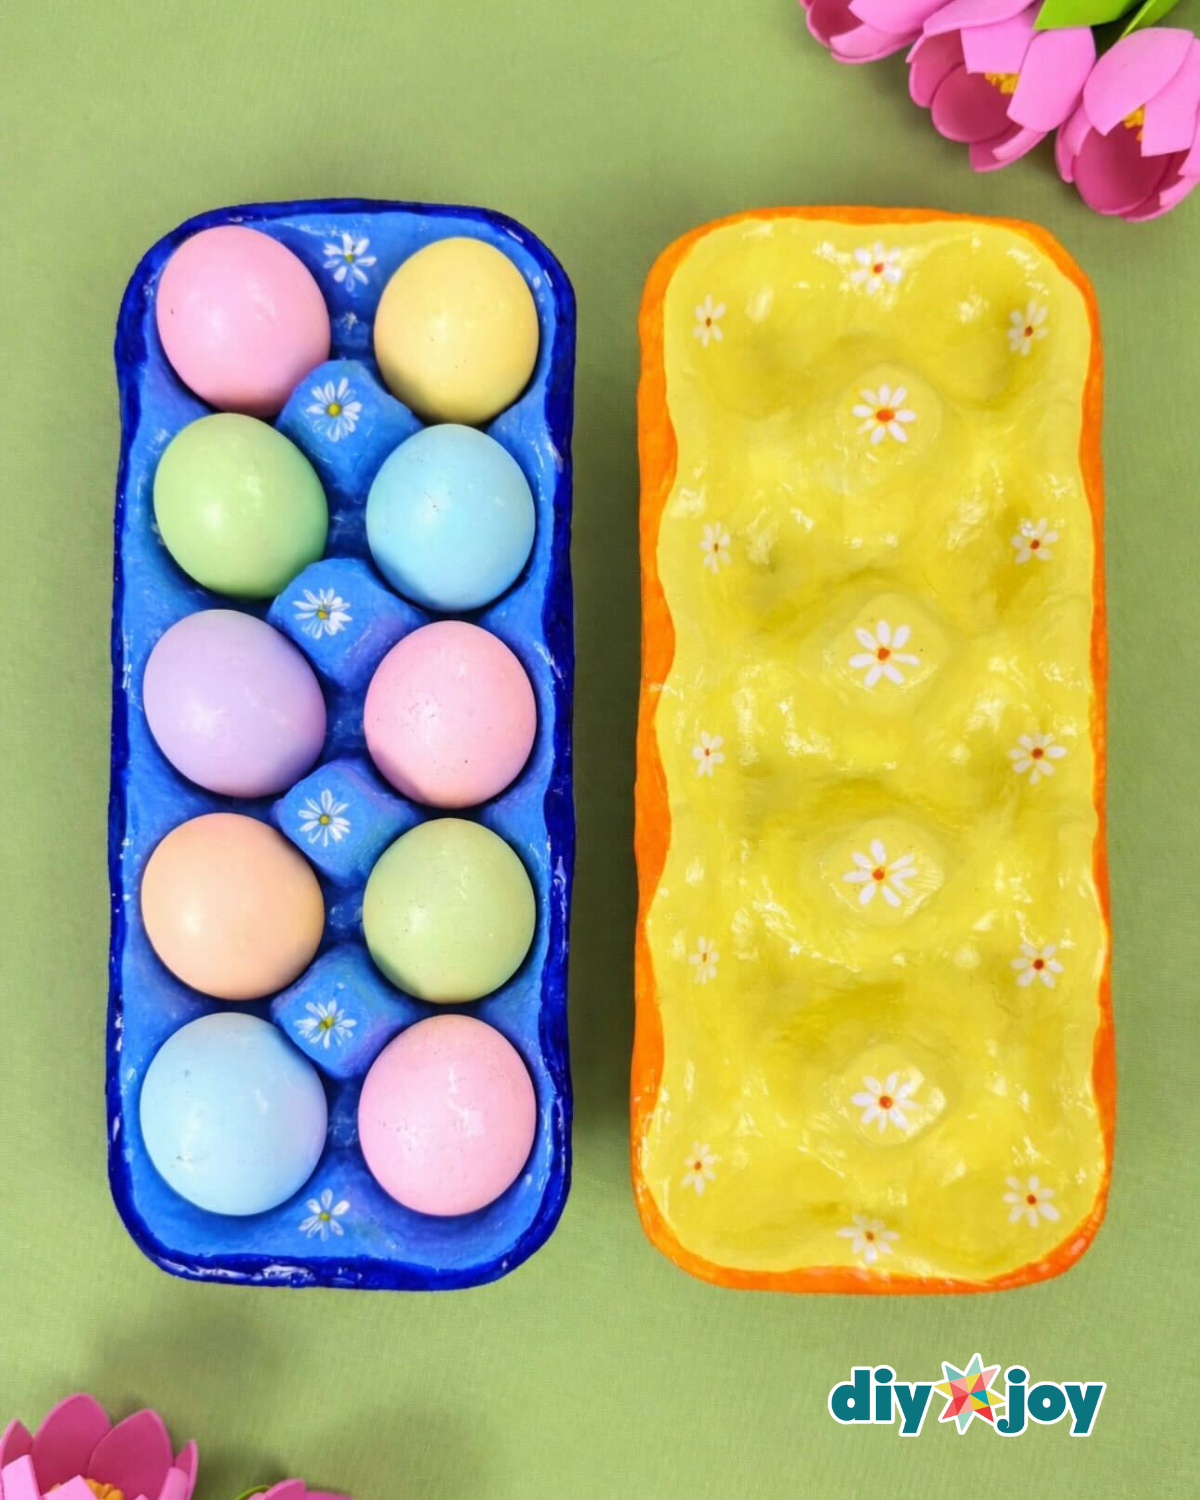
This DIY tray isn’t just useful, it’s also a playful way to welcome spring or celebrate Easter. Imagine your table decorated with your own clay egg tray, filled with colorful eggs or little treats. You can even gift it as a thoughtful, handmade present for friends or family, which adds that extra personal touch that store-bought trays just can’t match.
And the best part? This project is beginner-friendly, requires minimal materials, and can even include upcycled elements for a more sustainable approach. By the end, you’ll have a unique air-dry clay egg tray that’s practical, beautiful, and entirely your own. This is a project that combines creativity, function, and a little bit of springtime fun.
How to Make an Air-Dry Clay Egg Tray
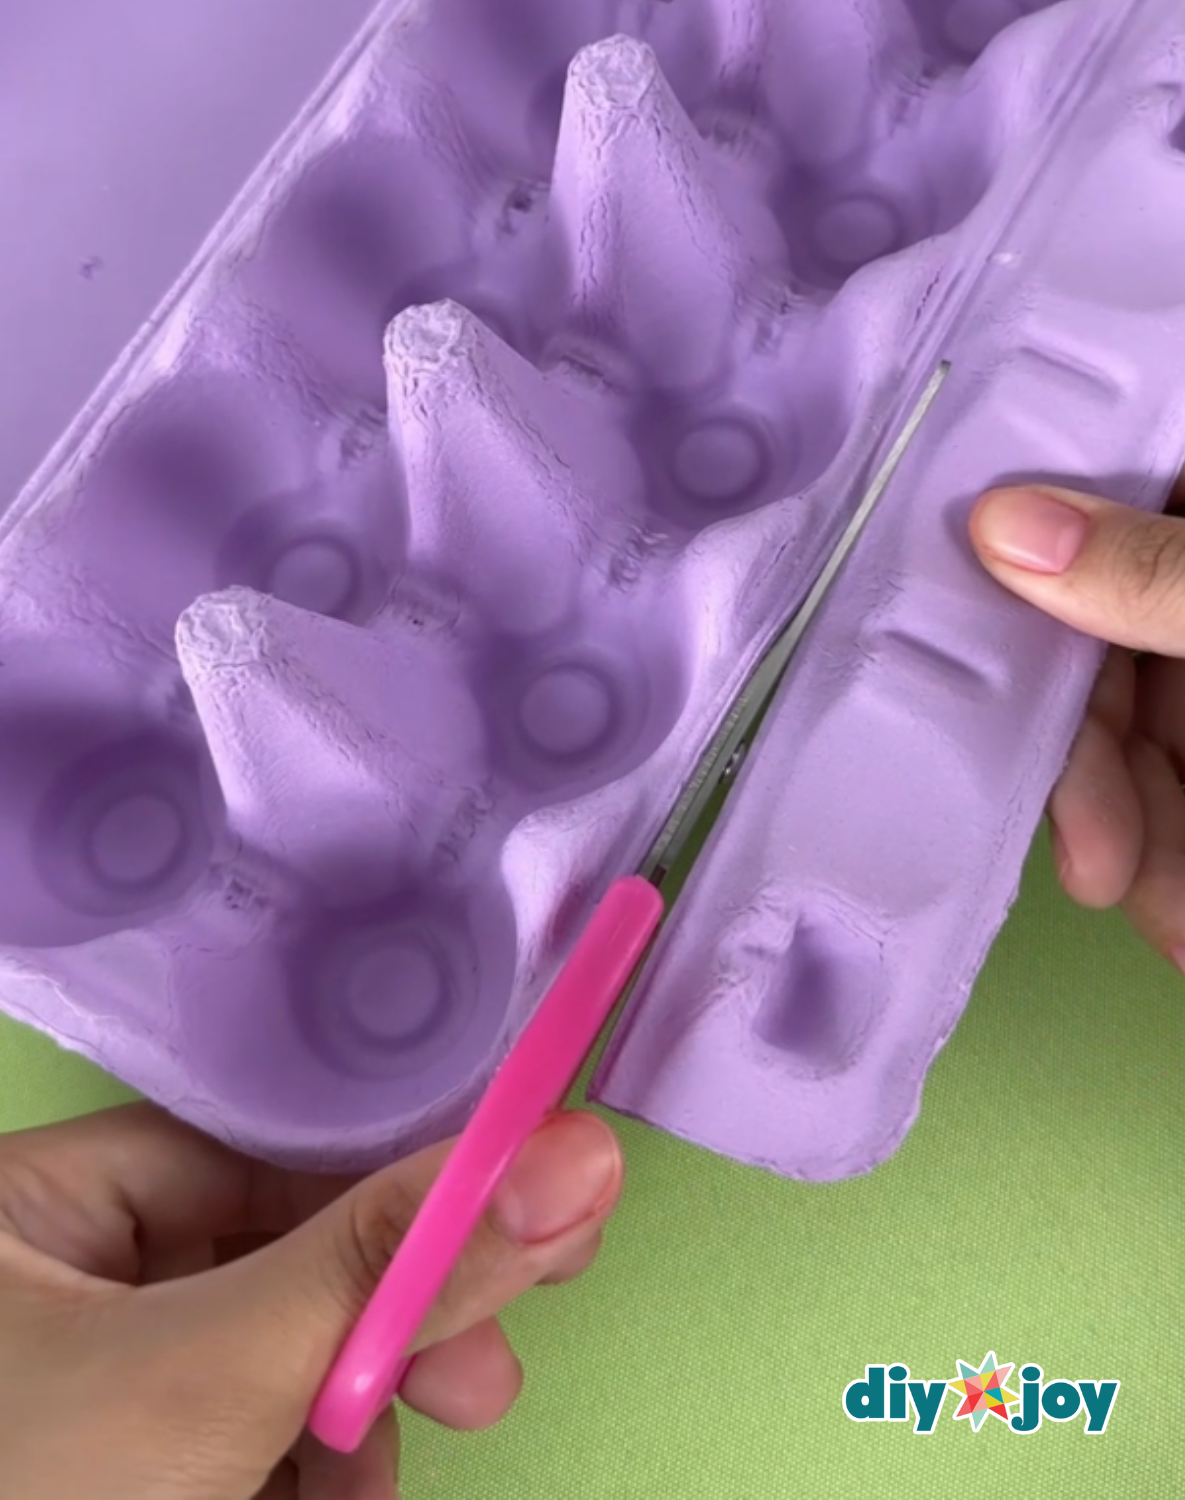
Step 1: Trim the Egg Tray Base

Get an empty egg tray or carton. Using sharp scissors or a cutter, carefully cut off the excess parts, including the lid and side flaps. Trim around the edges until only the base of the egg tray remains.Step 2: Shape the Clay to Fit the Tray

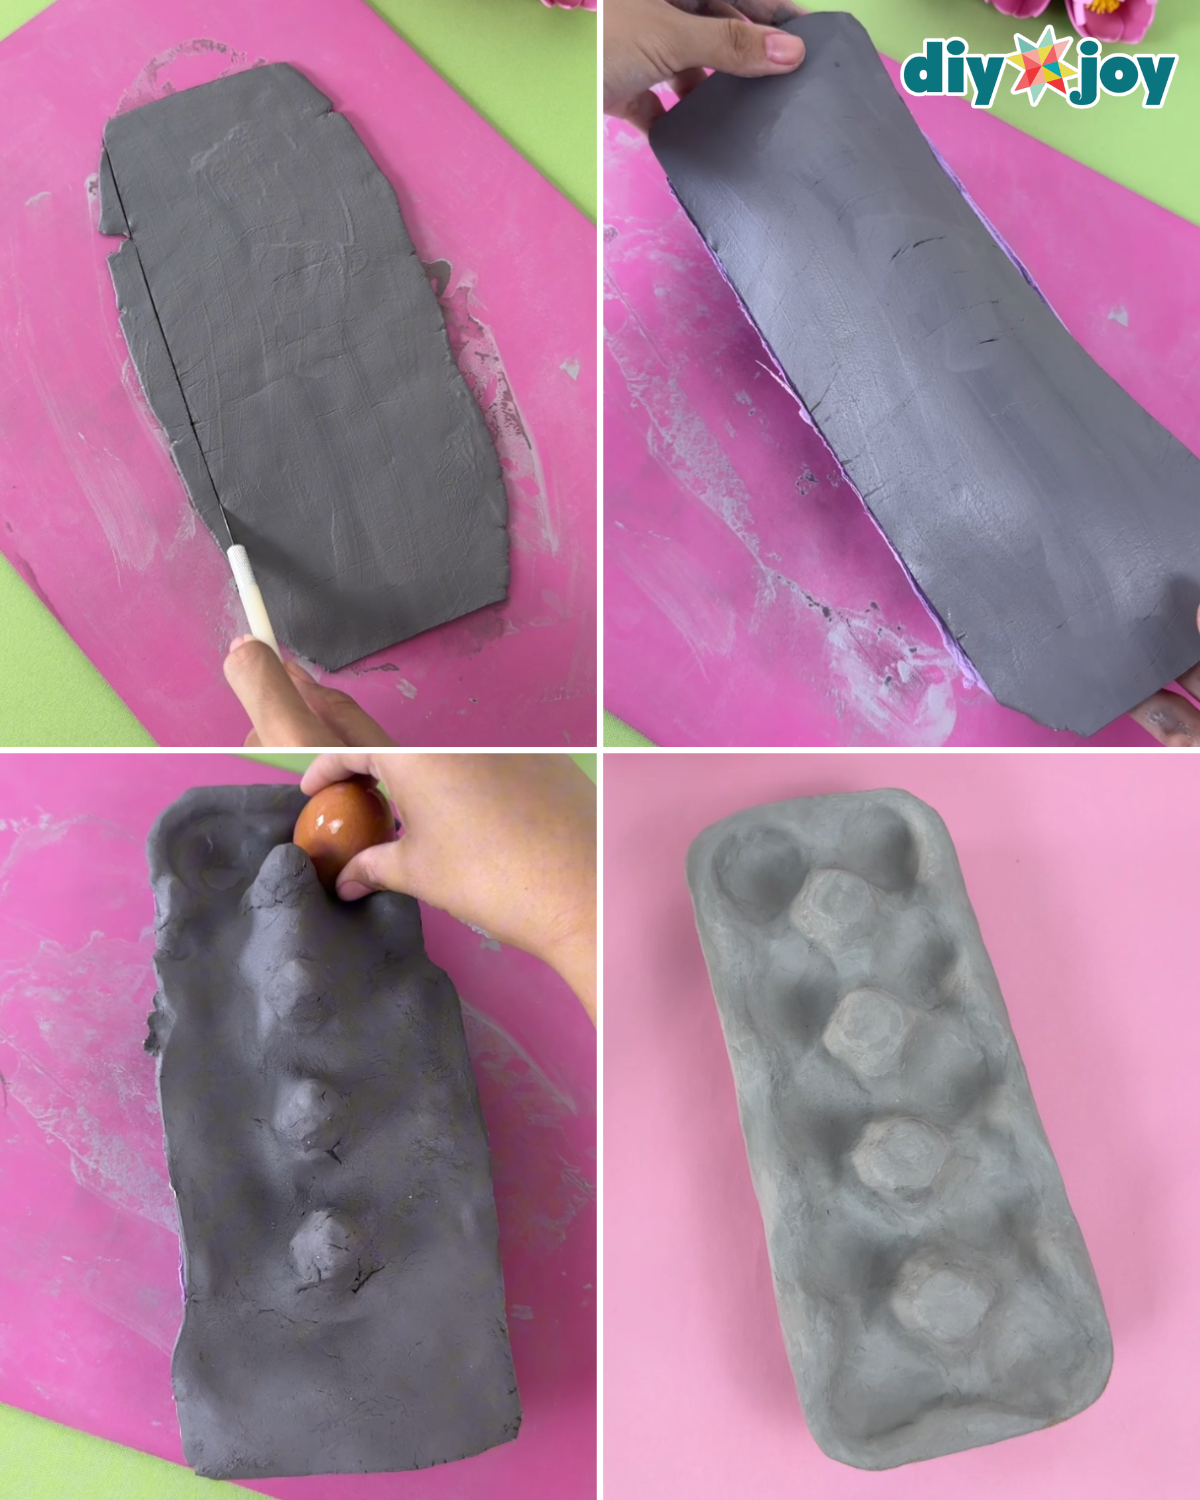
Take a handful of air-dry clay and knead it until soft and slightly elastic, making it easier to shape. Roll the clay with a rolling pin to your desired thickness and trim the edges into a rectangle large enough to cover the entire egg tray base.
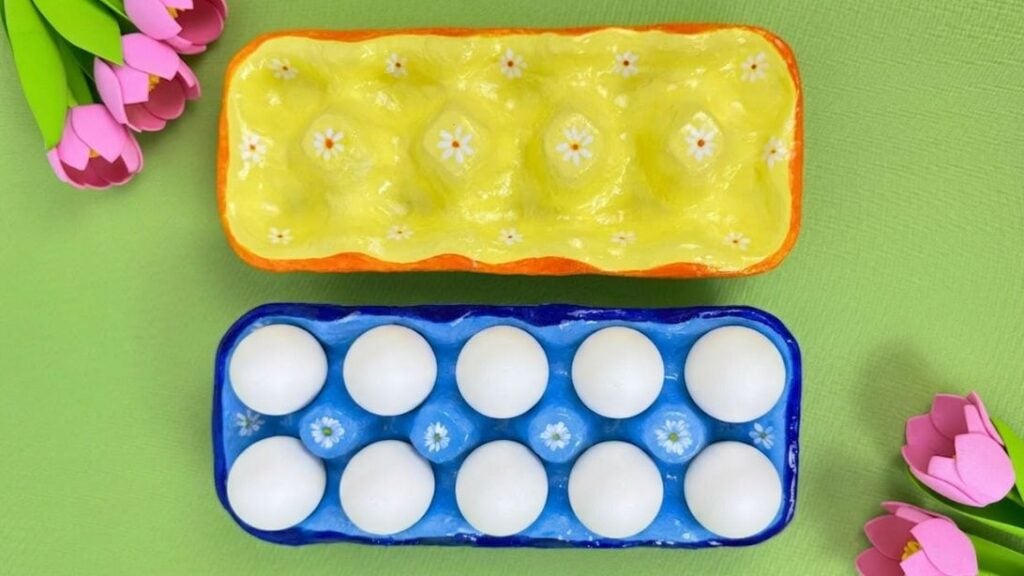
Next, use an egg to press down each cup, forming the egg tray’s individual wells. Smooth out any cracks and fill in holes or gaps with extra clay. Lightly dampen the clay with water as needed to make shaping and smoothing easier. Set the egg tray aside and let it dry completely.Step 3: Prime and Paint Your Tray
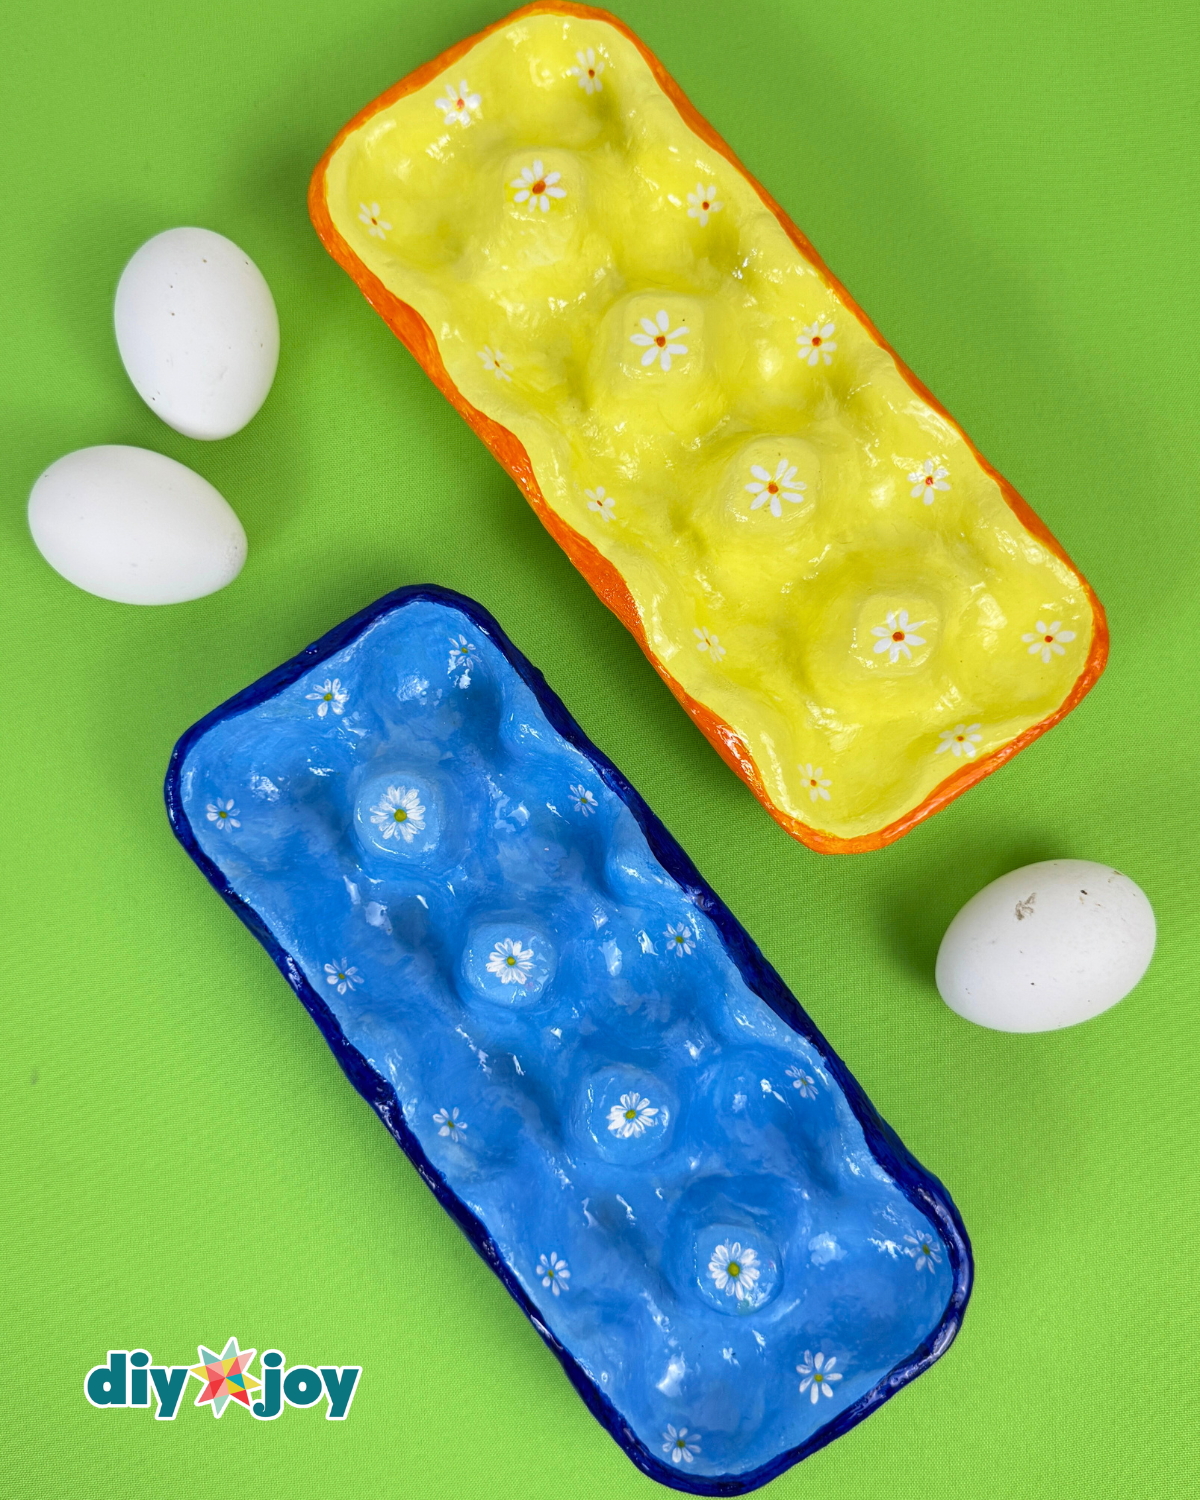
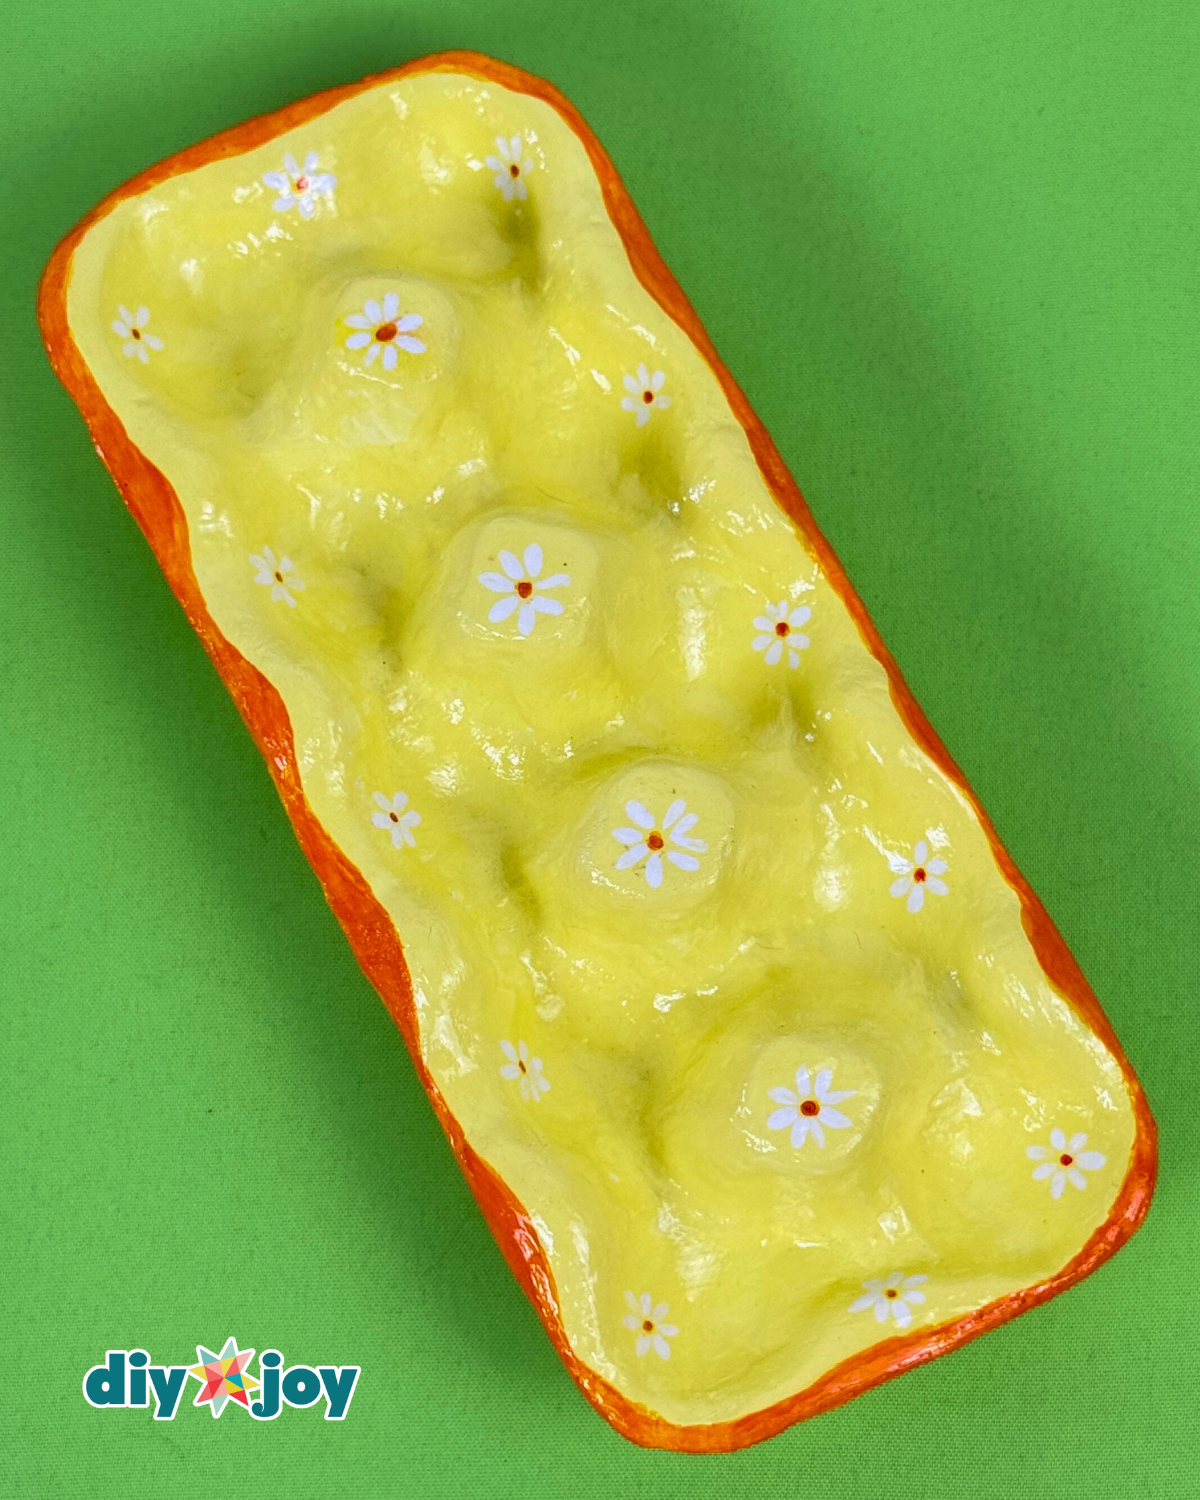
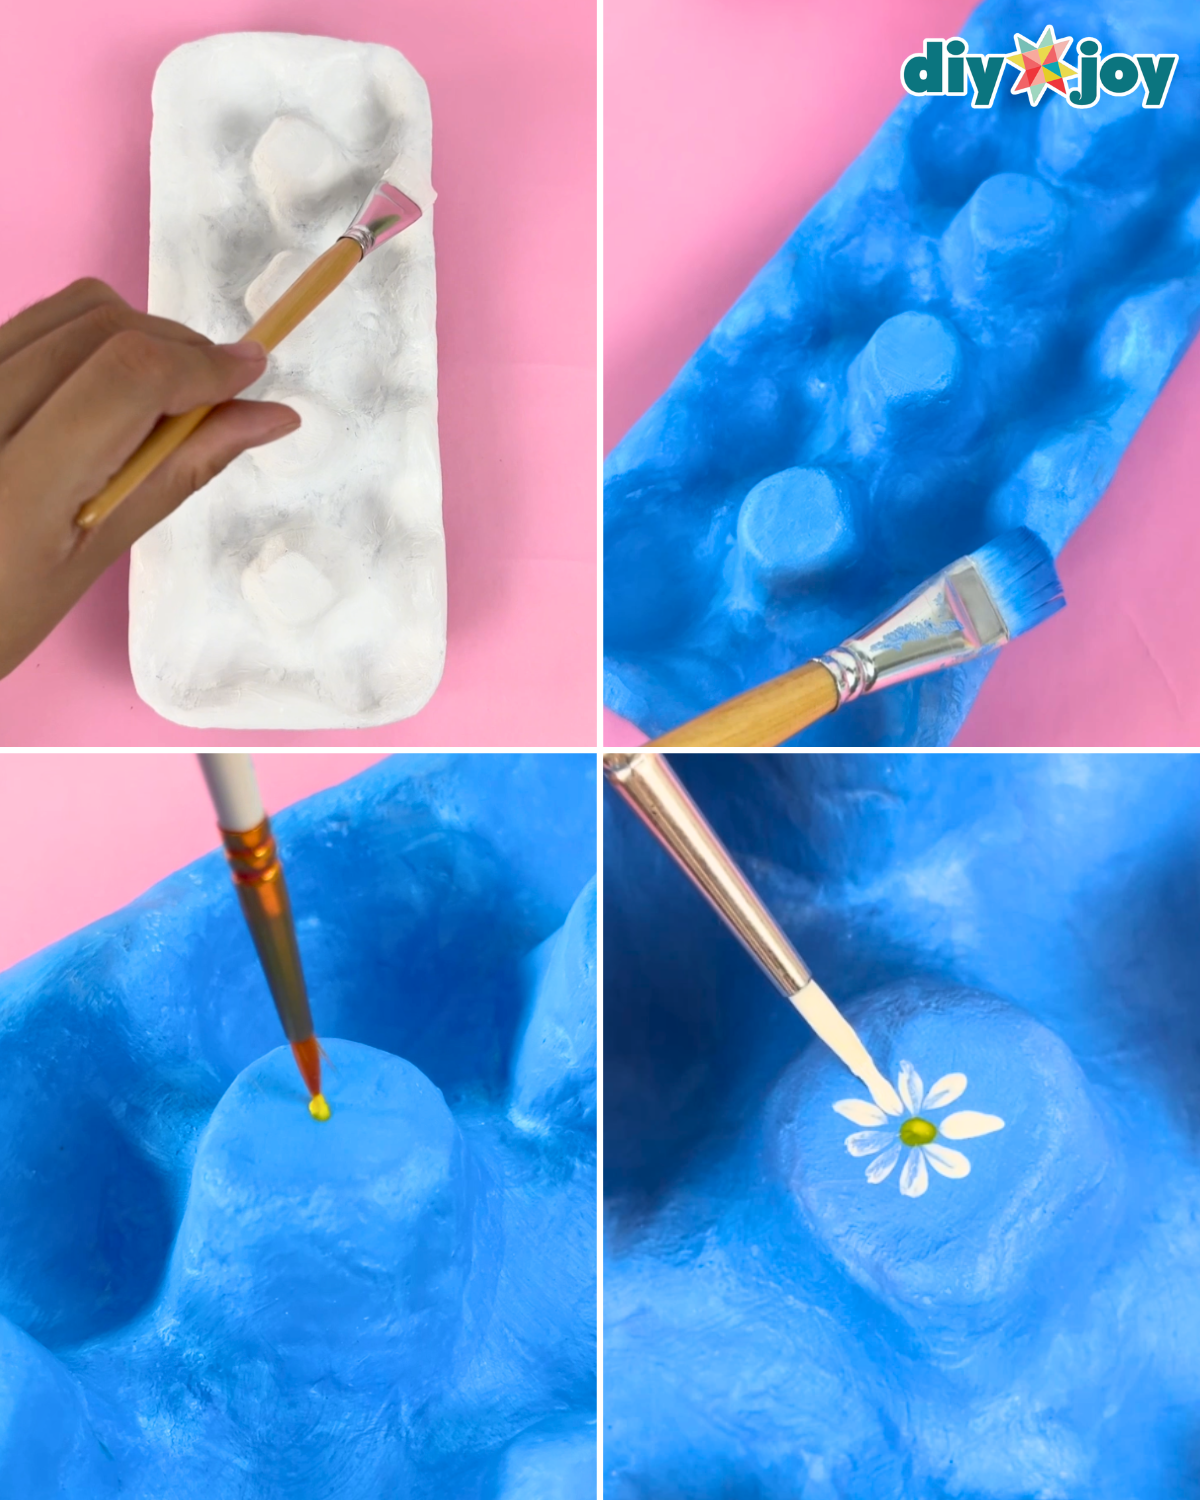
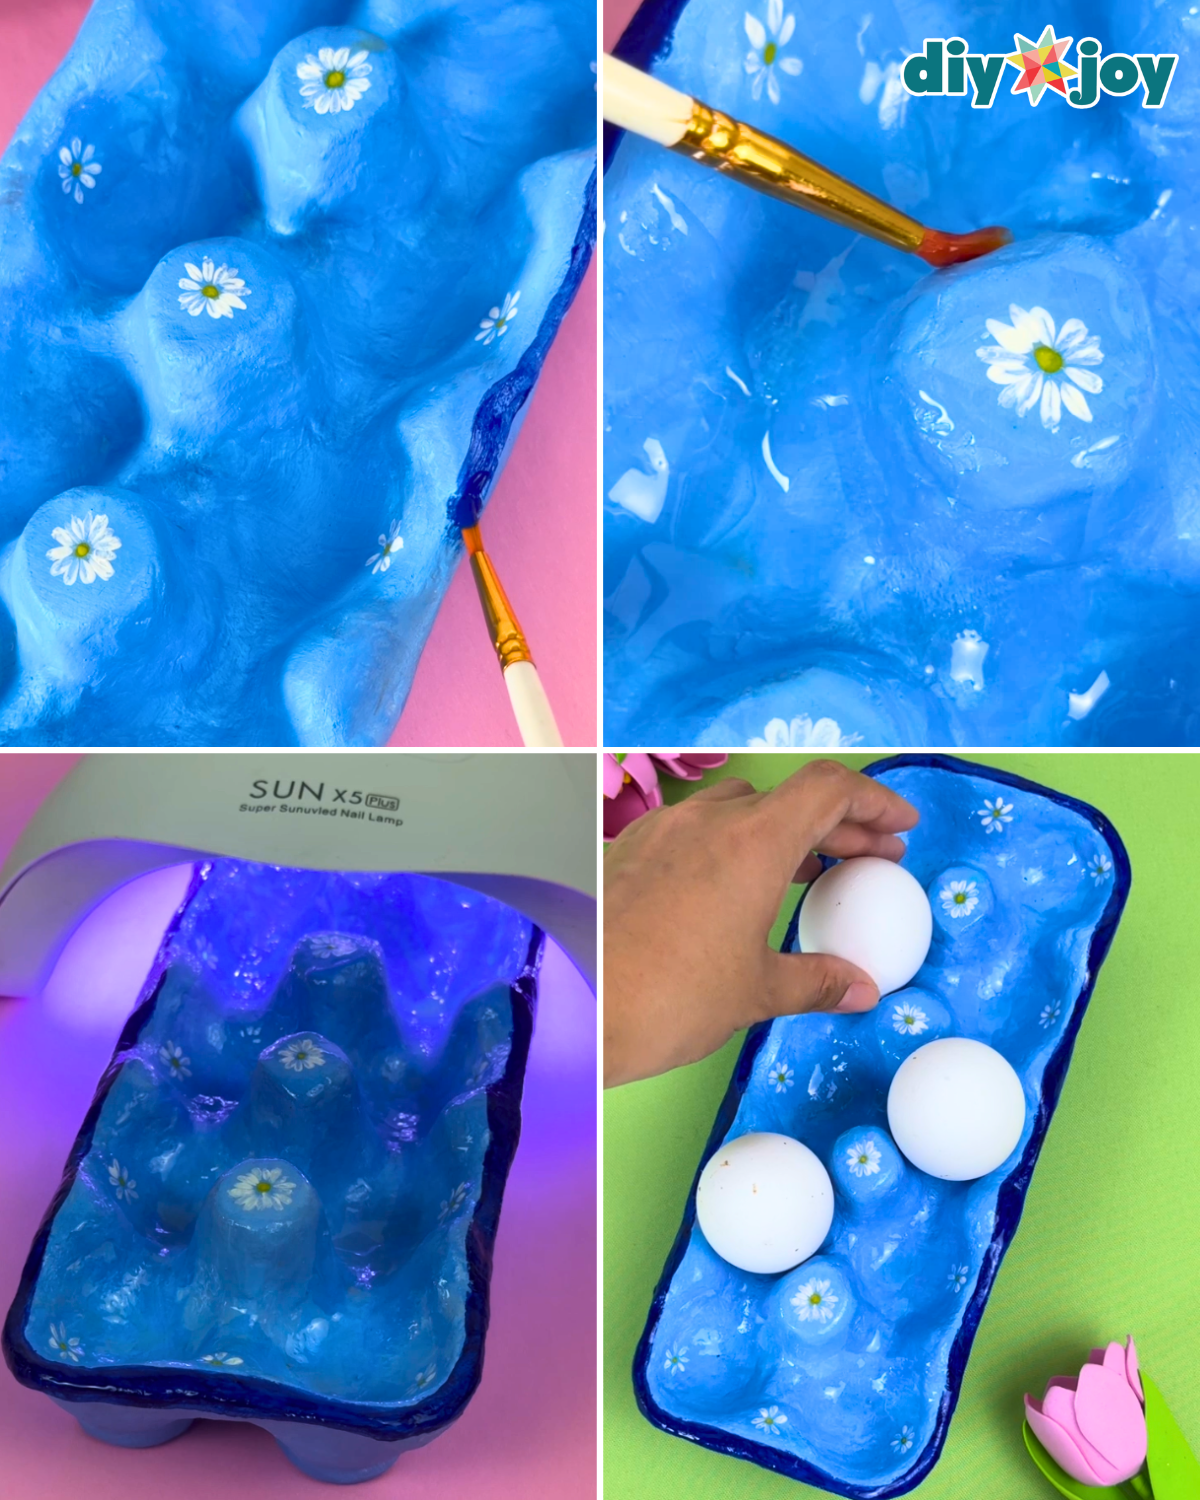
Once the clay egg tray is completely dry, apply a coat of primer all over the surface and let it dry fully. Optionally, add a layer of white paint to help your chosen colors stand out more. After it dries, paint the tray in any color you like. Then, decorate it with flowers, shapes, or designs of your choice, and add a darker border around the tray for a finished look.Step 4: Seal and Protect Your Tray
Once your painted and decorated tray is dry, seal it with a clear varnish or a coat of UV resin. Let it cure under sunlight until it is no longer sticky, or use a UV lamp to speed up the process. This will protect your design and give the tray a smooth, durable finish.
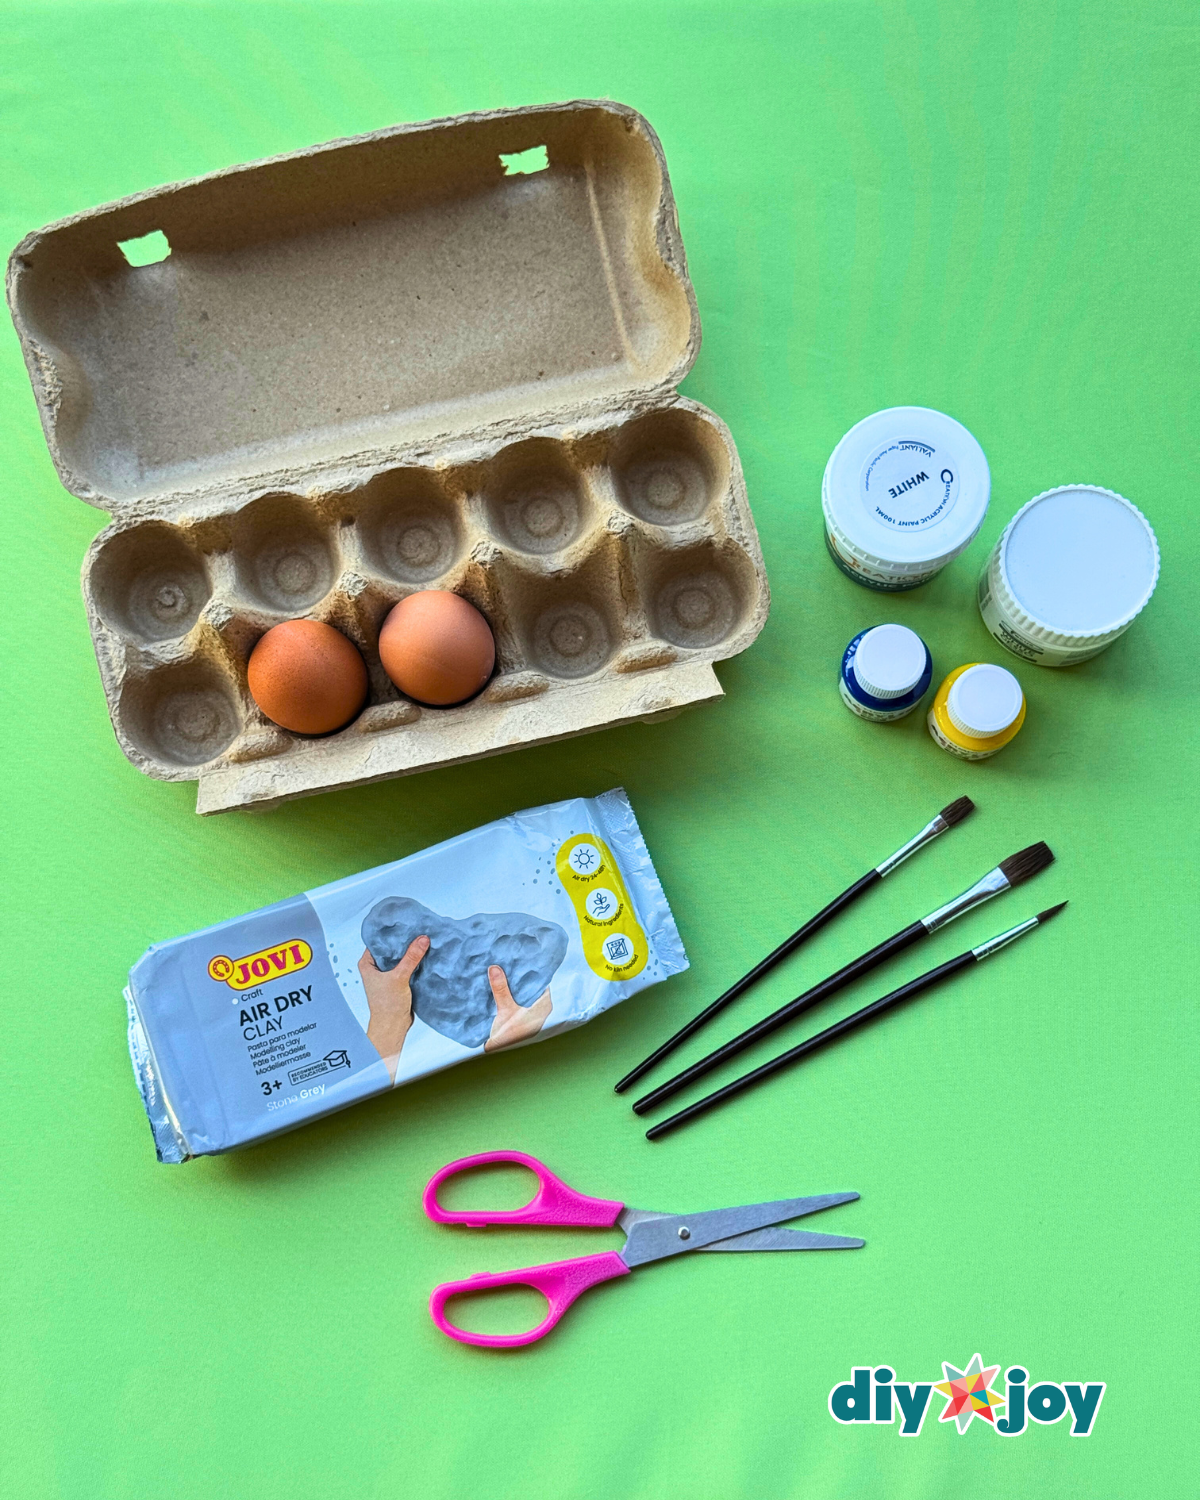
Materials
- Egg Tray or Carton
- Acrylic Paint
- Primer Paint
- Paintbrushes
- Air-Dry Clay
- Rolling Pin
- Scissors or Cutter
- UV Lamp
- UV Resin or Clay Varnish
![]()
Pro Tips
- Work on a clean, smooth surface – Use a silicone mat or wax paper to prevent the clay from sticking and make cleanup easier.
- Keep clay moist – If the clay starts to dry while working, lightly dampen your hands or the clay with water to keep it pliable and smooth.
- Use consistent pressure when pressing cups – Press the egg gently but firmly to create even wells; uneven pressure can lead to cracks.
- Smooth seams carefully – Use a damp sponge or your fingers to smooth joints and cracks for a professional finish.
- Thin layers of paint work best – Apply multiple thin coats of paint instead of one thick coat to avoid streaks or cracking.
- Allow plenty of drying time – Rushing the drying process can cause cracks; ensure the tray is fully dry before painting or sealing.
- Seal properly – For a long-lasting finish, apply at least two layers of varnish or UV resin, letting each layer cure completely.
- Keep tools handy – Have a small water cup, sculpting tools, and extra clay nearby to fix mistakes immediately.

Crafts to Try Next:

Crafts

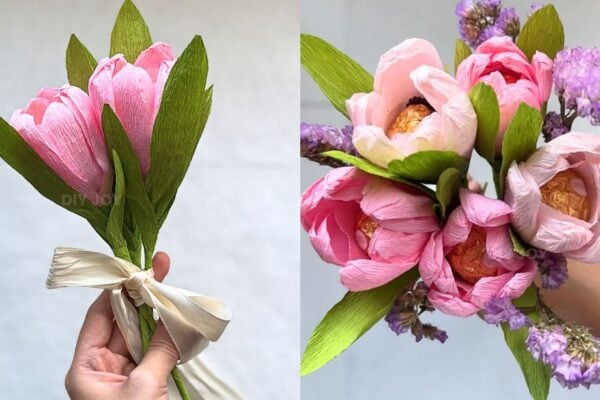
Paper Flowers

Crafts

Paper Flowers
*If you love this craft, then visit our official website, follow our Facebook page, and subscribe to our YouTube channel for more!
DIY Air-Dry Clay Egg Tray Tutorial