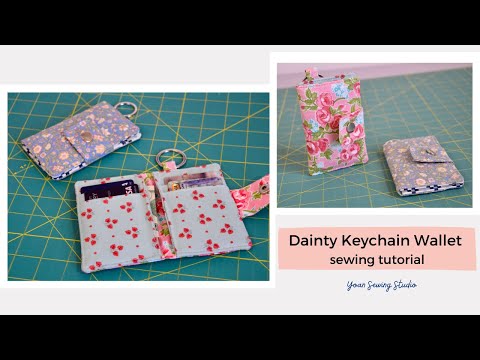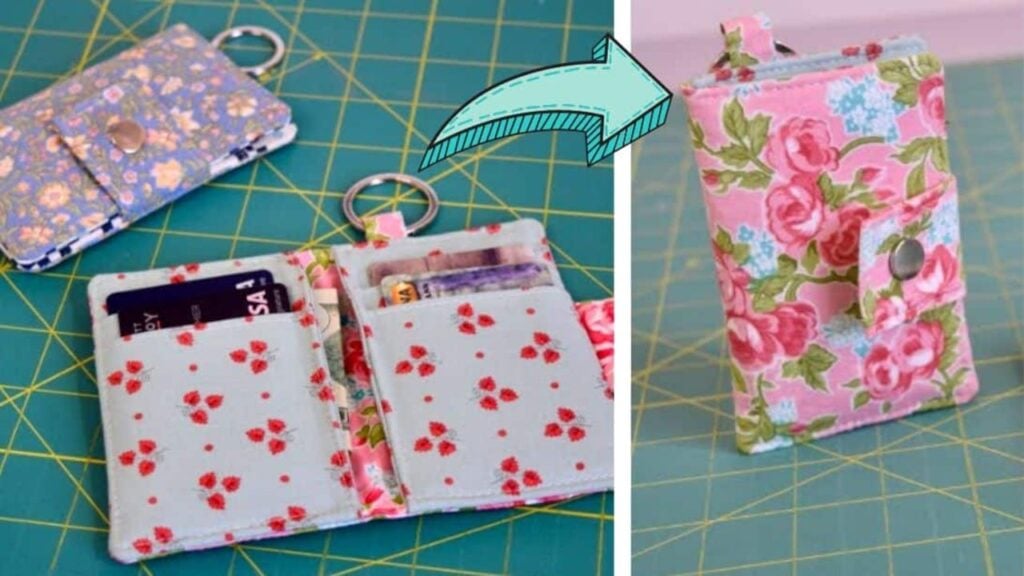
I don’t like bringing a bag with me whenever I go out, so I always just have a wallet. But sometimes it’s hard to bring it everywhere, especially when I don’t have any pockets. That’s why I love this dainty keychain wallet by Yoan Sewing Studio. It’s super cute and can fit all of my cards and money. Plus, it’s handy too! Learn how to make this step-by-step through the video tutorial below.
Materials:
- fabric A: 1/6 yard or 1 piece of fat eight
- fabric B: 1/8 yard
- 6″ x 4 1/2″ firm stabilizer
- 1/3 yard fusible woven interfacing
- 1 set of button snap closure
- 1 keychain ring 1″ to 1 and 1/4″ in diameter
[social_warfare buttons=”Facebook,Pinterest,Twitter,WhatsApp”]
Instructions:
Step 1:
Cut the fabric in these sizes:
Panel 1 and 2
- cut 2 pieces of 18″ x 3 1/2″ from fabric B
- cut 2 pieces of 17″ x 2 1/2″ from fusible woven interfacing
Pocket lining:
- cut 2 pieces of 3 1/2″ x 5 1/2″ from fabric B
Panel 3 (interior of wallet)
- cut 1 piece of 7″ x 5 1/2″ from fabric A
- cut 1 piece of 6″ x 4 1/2″ from fusible woven interfacing
Panel 4 (exterior of wallet)
- cut 1 piece of 7″ x 5 1/2″ from fabric A
- cut 1 piece of 6″ x 4 1/2″ from stabilizer
Ring tab
- cut 1 piece of 2″ x 1″ from fabric A
Button flap
- cut 1 piece of 5″ x 2″ from fabric A
- cut a piece of 4″ x 1″ from fusible woven interface
Step 2:
Apply the fusible woven to panel 1, panel 2, panel 3, and the flap. Make sure to center the position. Next, apply the stabilizer to panel 4, then center the position. Draw the pleat lines to the wrong side of panels 1 and 2.
Step 3:
Fold and press the panels, then top stitch the pleat lines. Trim the bottom.

Step 4:
Place the pocket panel 1 and the pocket lining right sides together, and stitch the right-hand side with a 1/4″ seam allowance. Press with an iron and top stitch with a 1/8″ seam allowance.
Step 5:
Place the pocket panel 2 and the pocket lining right sides together, and stitch the left-hand side with a 1/4″ seam allowance. Press with an iron and top stitch with a 1/8″ seam allowance.
Step 6:
Install the pocket panels to the right side of panel 3.
Step 7:
Sew and attach the ring tab, then sew the flap and install the button snap closure.
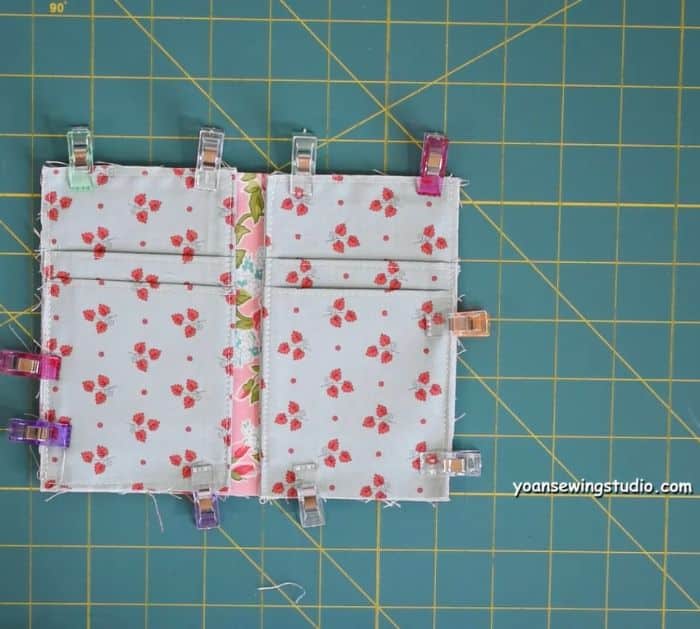
Step 8:
Place panels 3 and 4 right sides together, then stitch all around with a 1/2″ seam allowance but make sure to leave 4″ of opening at the bottom. Clip the corners, and trim the seam allowances on the sides and top.
Step 9:
Turn the wallet right side out through the opening, then fold the opening to the wrong side, clip and press. Finish it by topstitching.
Dainty Keychain Wallet