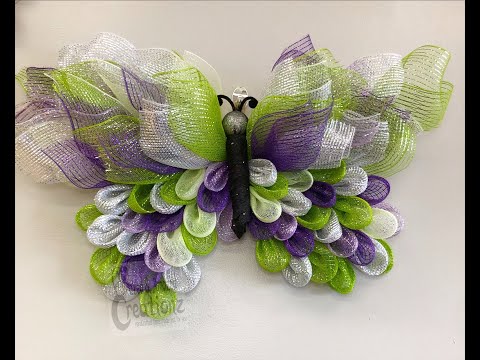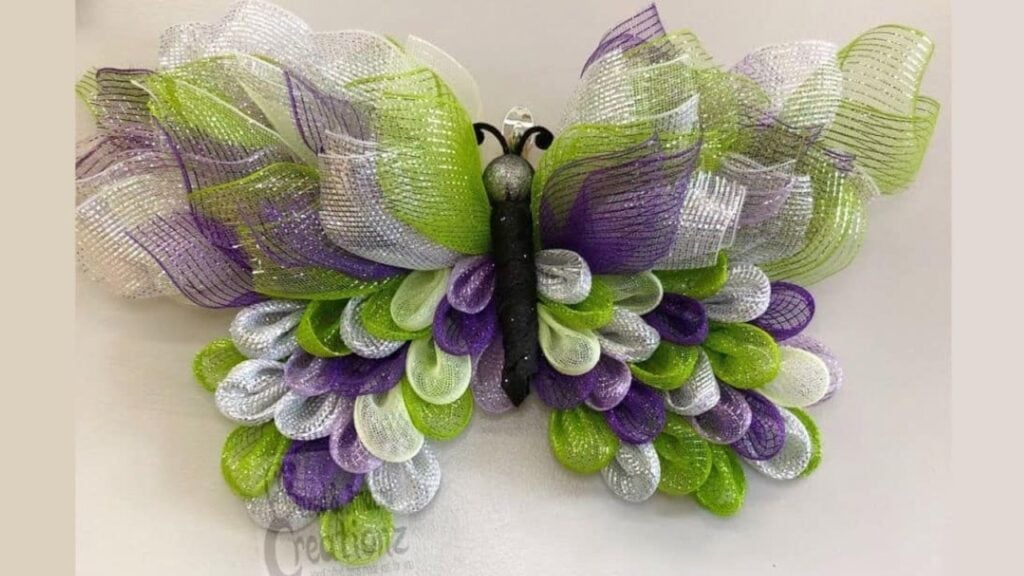
This decor is definitely a stunning piece. I am sure people will talk about this beautiful project once they see it hanging on your wall or door. It’s a fun and enjoyable craft to create on weekends. Learn how to make this eye-catching butterfly wreath with this tutorial by Dazed and Amazed Creationz on Youtube.
Materials:
- 2 heart wreath frames
- pipe cleaners (cut into three)
- zip ties
- mesh of your choice (3 colors recommended)
- plastic canvas
- scissors
- wood burner or rotary cutter
- empty mesh roll
- ribbon for the body (optional)
- felt
- ornament
[social_warfare buttons=”facebook,pinterest,twitter,whatsapp”]
Instructions:
Step 1:
Cut the mesh into 10″ by 10″.
Step 2:
Trace the outside border of the wreath into the plastic canvas. Make sure that the bottom is not exact so you can easily tie the wreaths together. Cut it and attach it to the back of the wreath with zip ties. Cut the excess zip ties. Do the same on the other wreath.
Step 3:
Connect the bottom of the two wreaths together using zip ties to make the wings of the butterfly.
Step 4:
For the top wings, get one 10″ by 10″ mesh. Stretch it out, fold opposite corners toward the middle, then scrunch. Fold them on top of each other, take a pipe cleaner, tie it in the middle, and twist it. Do the same for the remaining 10″ by 10′ mesh until you make 32 pieces.
Step 5:
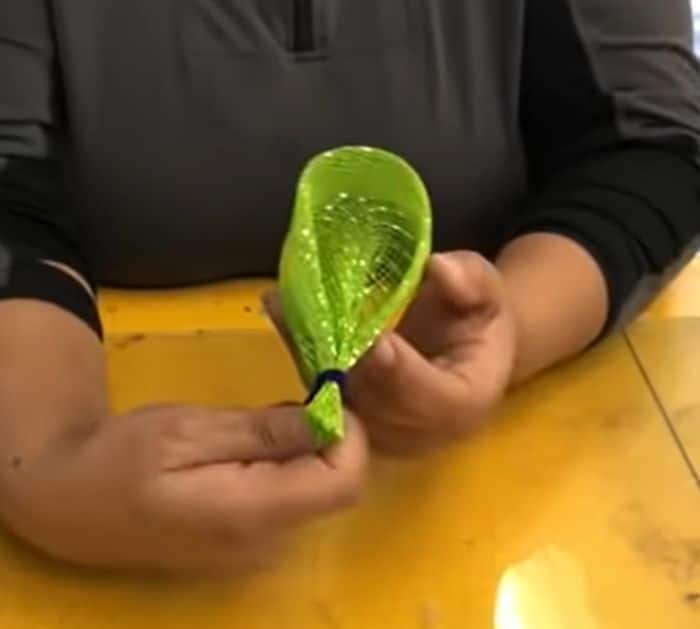
For the bottom, get a 12″ by 12″ and fold it in half diagonally. Take the corner tips and fold them toward the center. Scrunch the tips together. Tie it with a pipe cleaner and cut excess mesh on the bottom. Flip the petal-like shape. Do the same for the remaining 12′ by 12″ mesh until you make 32 pieces.
Step 6:
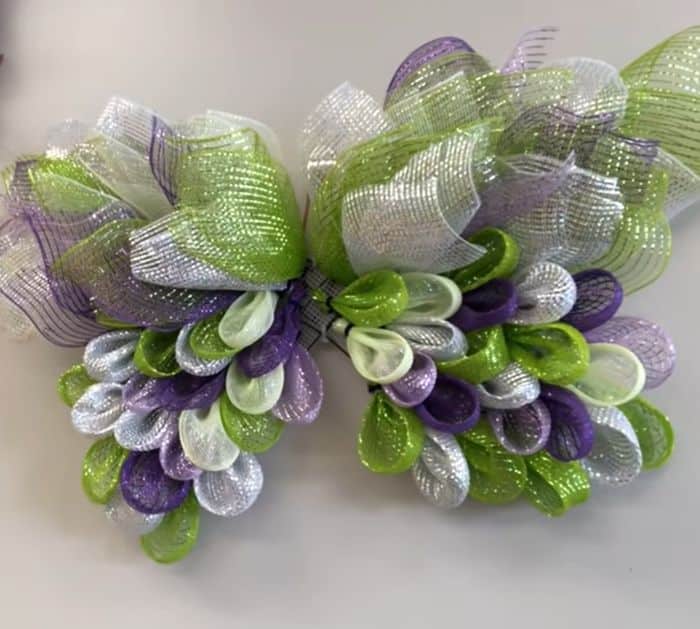
Start putting the top petal-like meshes on the outer corner by inserting the pipe cleaner into the canvas. Go from the outer then towards the middle. Make sure there is a little space in between and you’re putting them in an angle. Repeat until you fill half of the heart wreath. Remember not to put it in the middle of the butterfly.
Step 7:
Fill the bottom part of the wreaths with the 12″ folded mesh the same way with the top.
Step 8:
Wrap the roll with a ribbon. Take a pipe cleaner, insert it on the roll, glue it in place, and fold the ends to the sides. Wrap the ornament with fabric mesh and glue it on one end of the roll.
Step 9:
Get one pipe cleaner and bend it to make the antenna of the butterfly. Glue it on the ornament. Attach the body in the middle of the wreath using the pipe cleaner.
Step 10:
Lay the pipe cleaners on the back flat.
Step 11:
Cover the back with felt.
Butterfly Wreath Tutorial