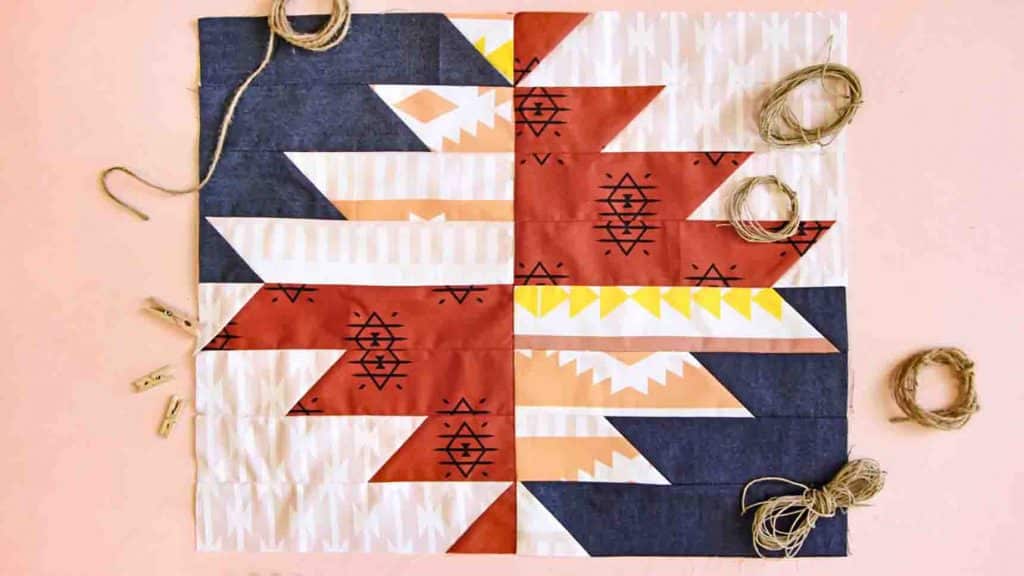
Are you getting tired of your usual quilt design and want to try something new and fun? Then, you might want to try this easy Aztec quilt block tutorial from Art Gallery Fabrics on Youtube. This pattern will surely upgrade your quilting project and make it look ten times better. Watch the video tutorial below to learn this simple method.
Materials:
Fabric Requirements:
click here for the pattern sheet
- fabric A – AZA-6886 (fat 1/4)
- fabric B – AZA-6887 (fat 1/4)
- fabric C – AZA-7883 (fat 1/4)
- fabric D – DEN-S-2008 (fat 1/4)
Cutting Directions:
1/4″ seam allowance is included
- 1 pc 10 & 7/8″ square from fabric A
- 1 pc 10 & 7/8″ square from fabric B
- 1 pc 10 & 7/8″ square from fabric D
Directions:
Step 1
Take a 10-inch square from fabrics B and C and place the right side together. Next, draw a diagonal line from one corner to the other. Sew on each side of the line you drew at 1/4 of an inch. Cut on the diagonal line you drew. Press seams to one side and square your block to nine and a half inches.

[social_warfare]
Step 2
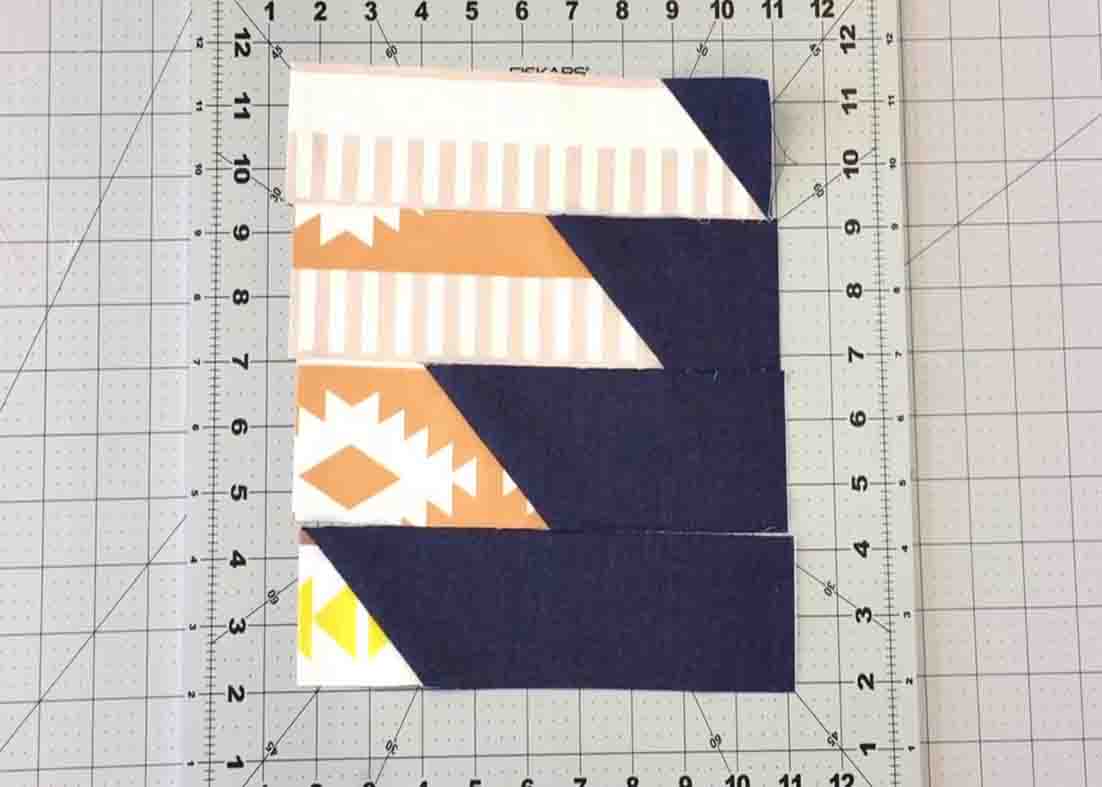
Repeat the same process with your 10-inch square from fabrics A and D. After this, place your half square triangles wrong side down with the seam facing you. Cut your half square triangles in half, and then cut the remaining sections in half again. Repeat this process with your remaining half-square triangles. Next, arrange your strips according to the block design and sew them together. Repeat this process for the rest of your half-square triangle strips. Your Aztec block is now complete.
Aztec Quilt Block Tutorial


