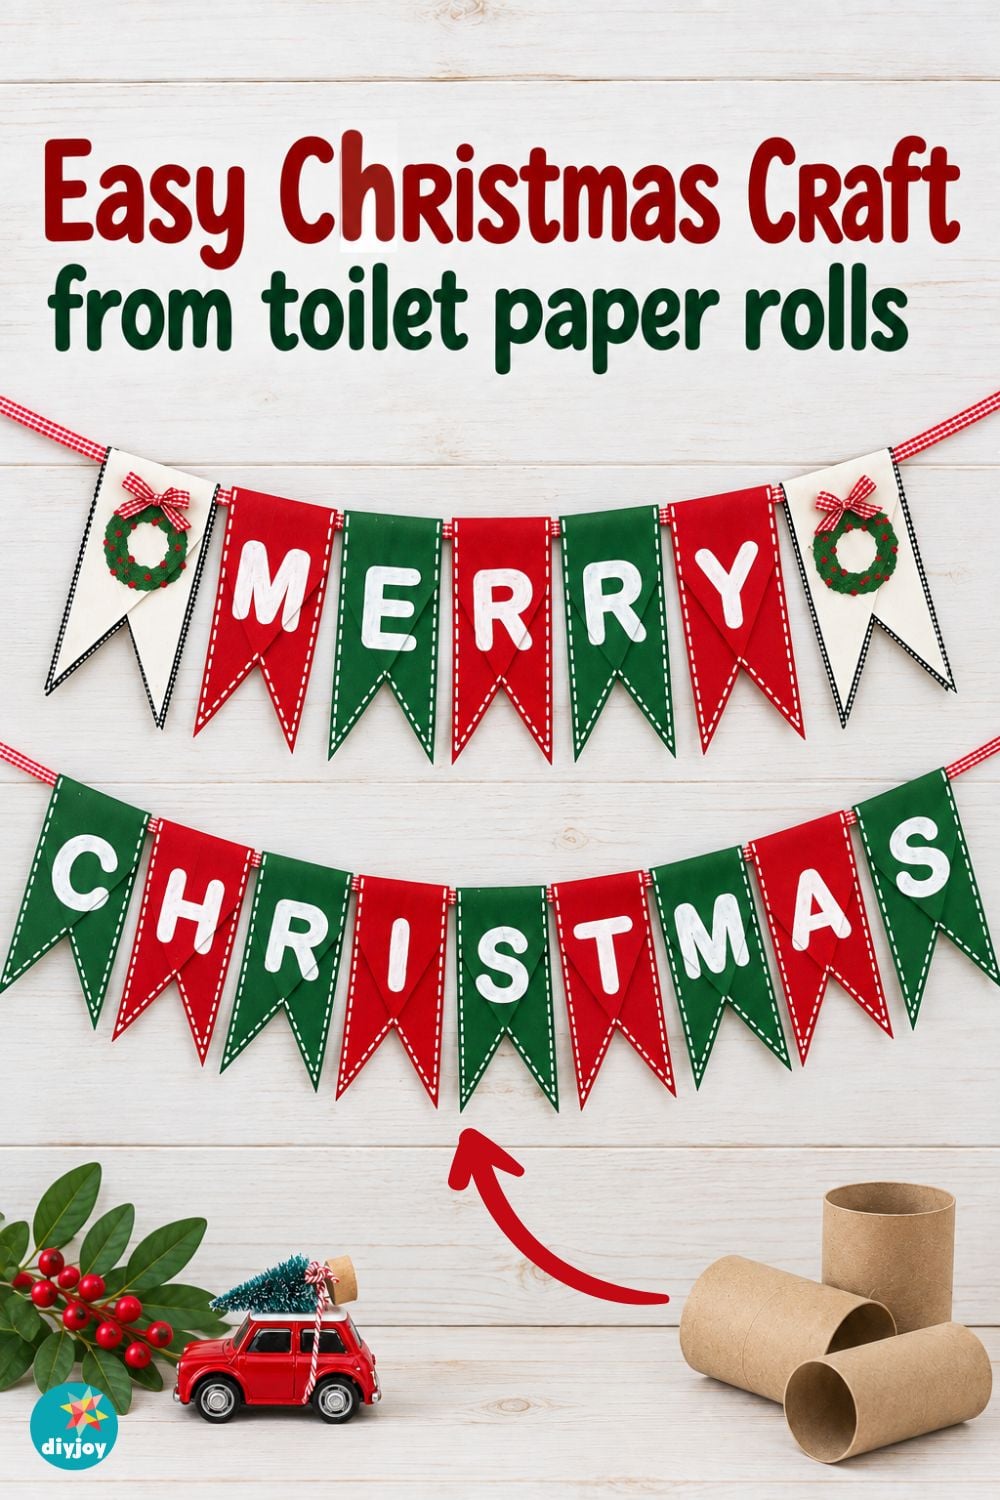
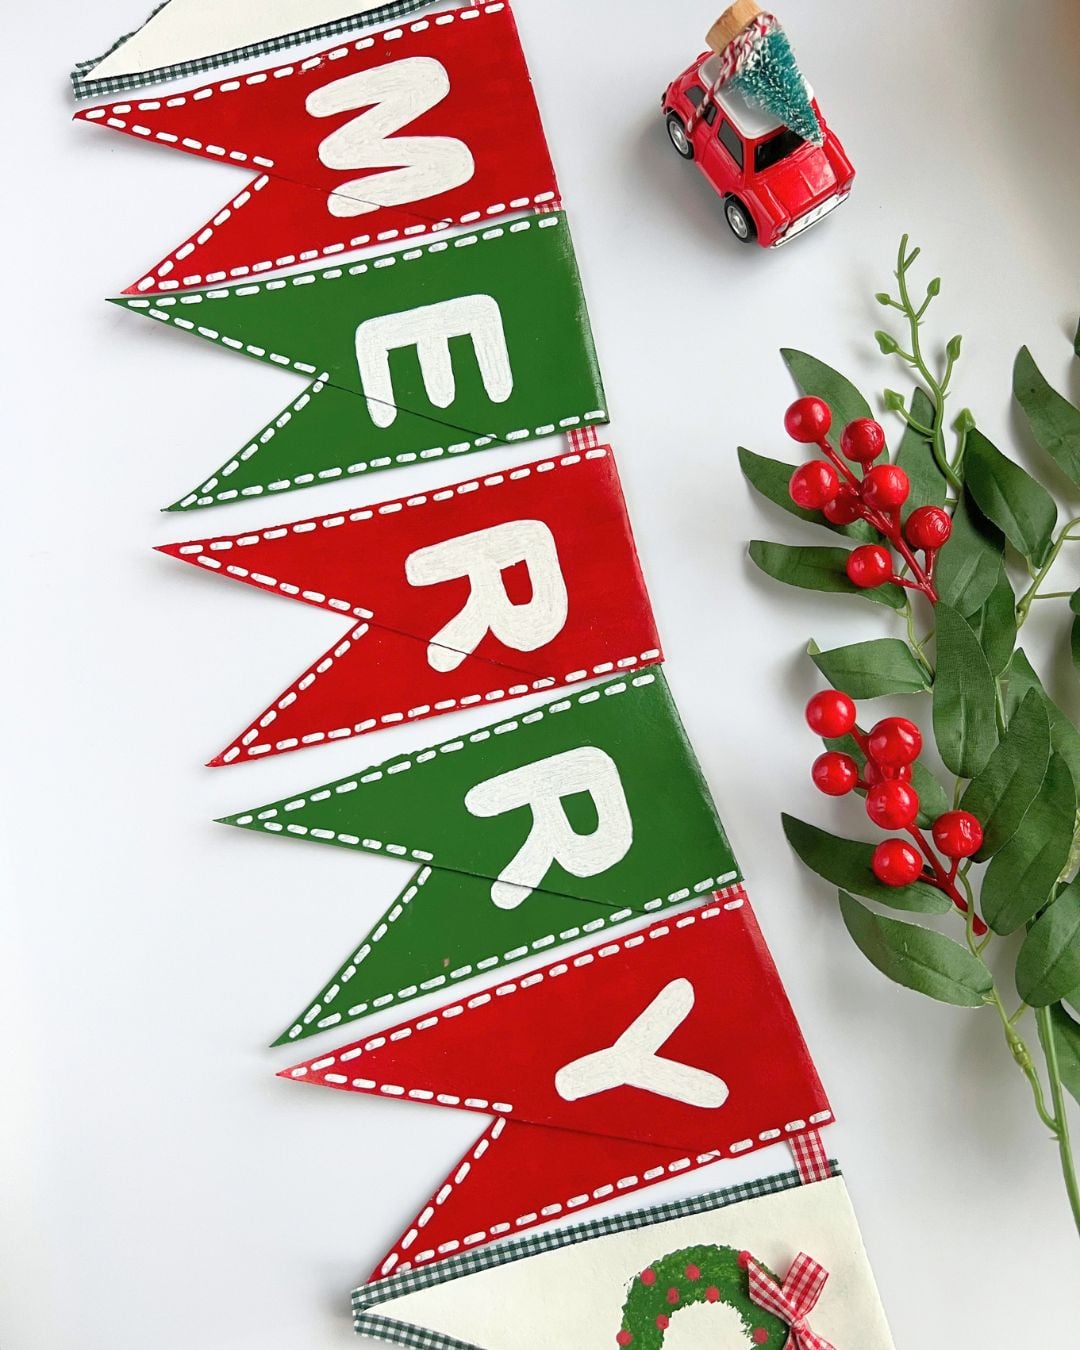
Don’t toss those empty cardboard tubes! This toilet paper roll Christmas banner turns them into a cheerful “Merry Christmas” garland for your wall, mantel or window. You soak the tubes to split them into flat pieces, fold each one into a pennant, paint them red, green and white, then letter them and hang them on ribbon.
It’s an easy, inexpensive Christmas craft that’s fun to make with friends, kids or the whole family. Plus, it’s a great way to reuse the cardboard tubes you collect throughout the year. Customize the colors to match your Christmas decor!
Why Soak the Toilet Paper Tubes?
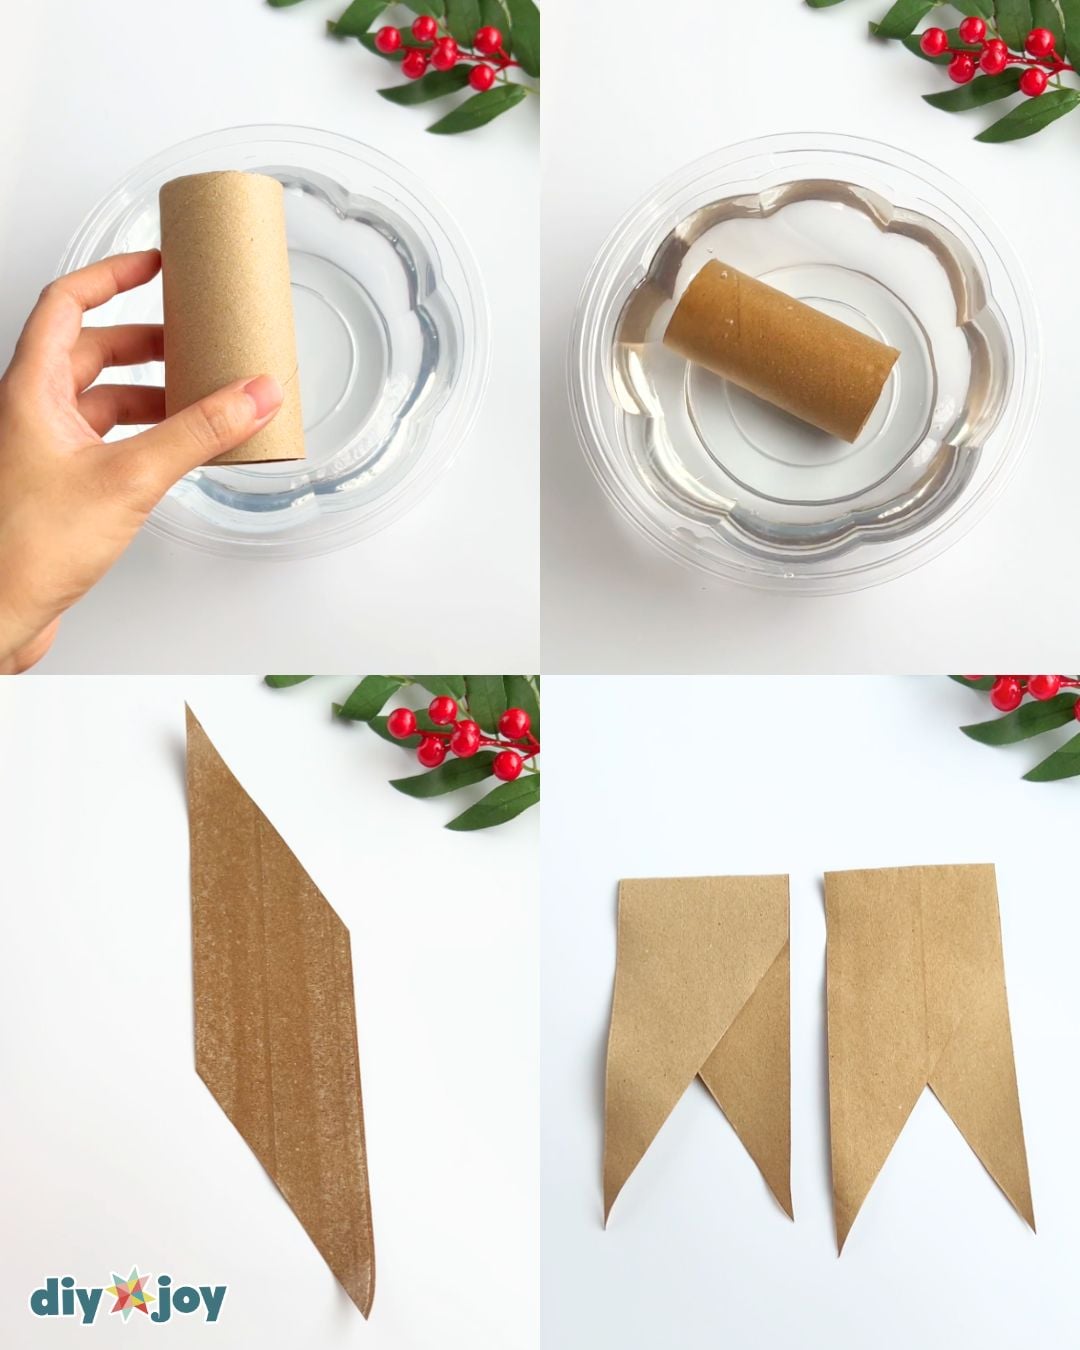
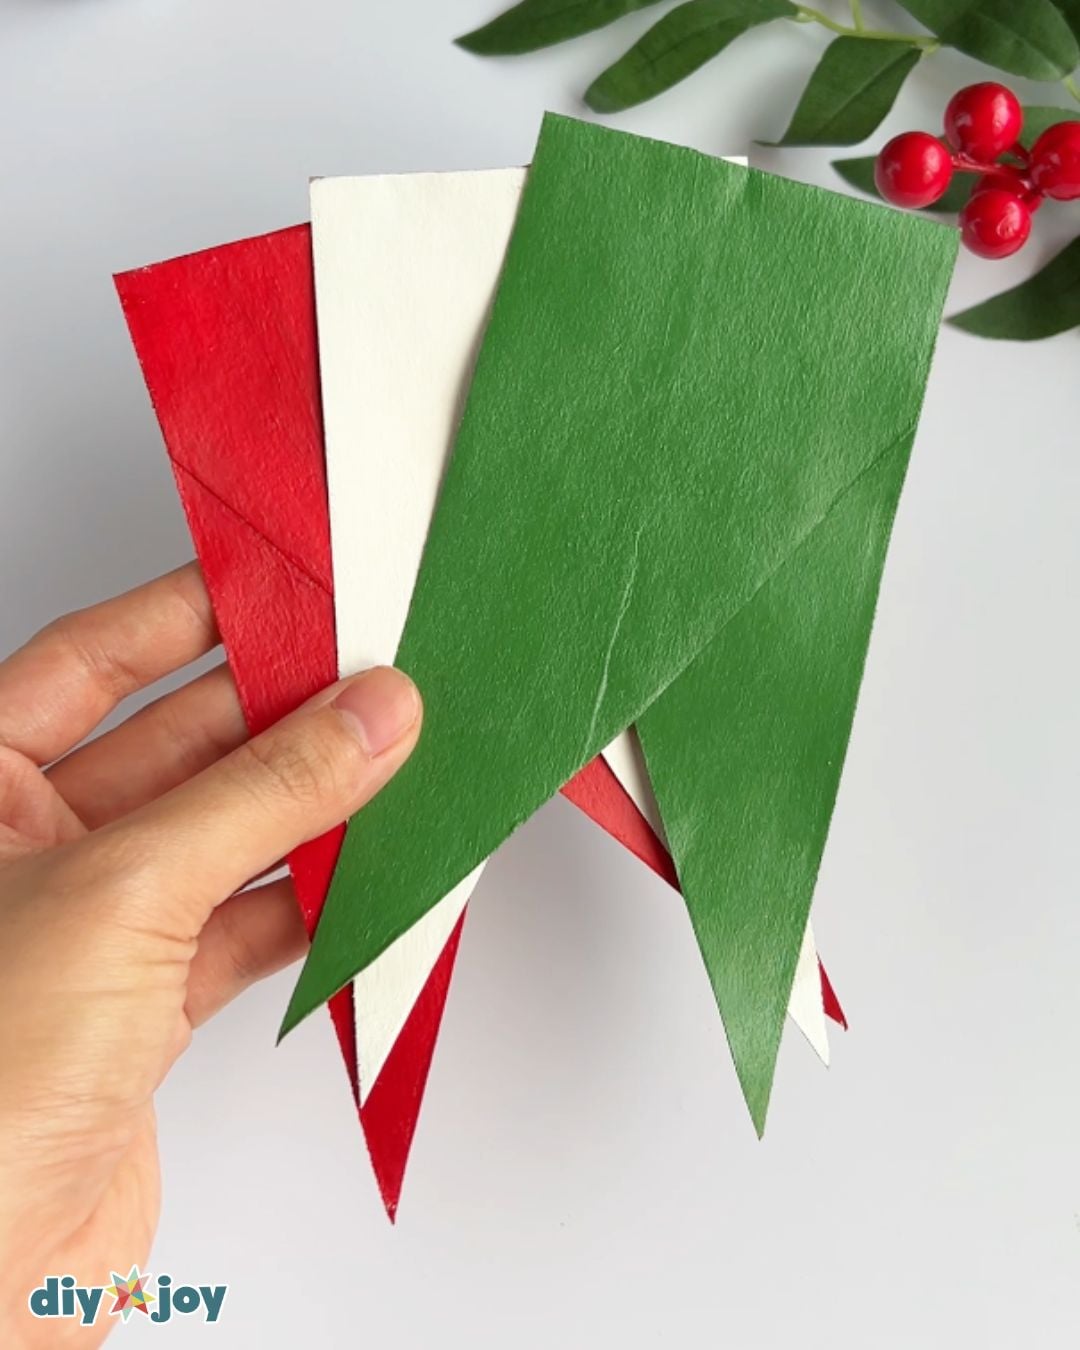
These pieces may not look like toilet paper tubes, but that’s because I soaked them in water to separate the layers. Believe it or not, the tubes I used were made of two diamond-shaped pieces of cardboard glued together! You might be wondering, “Why not just pull them apart?” Soaking loosens the glue, making it easier to separate the pieces without tearing the cardboard and to flatten them for decorating. Try this easy recycled craft this holiday season!
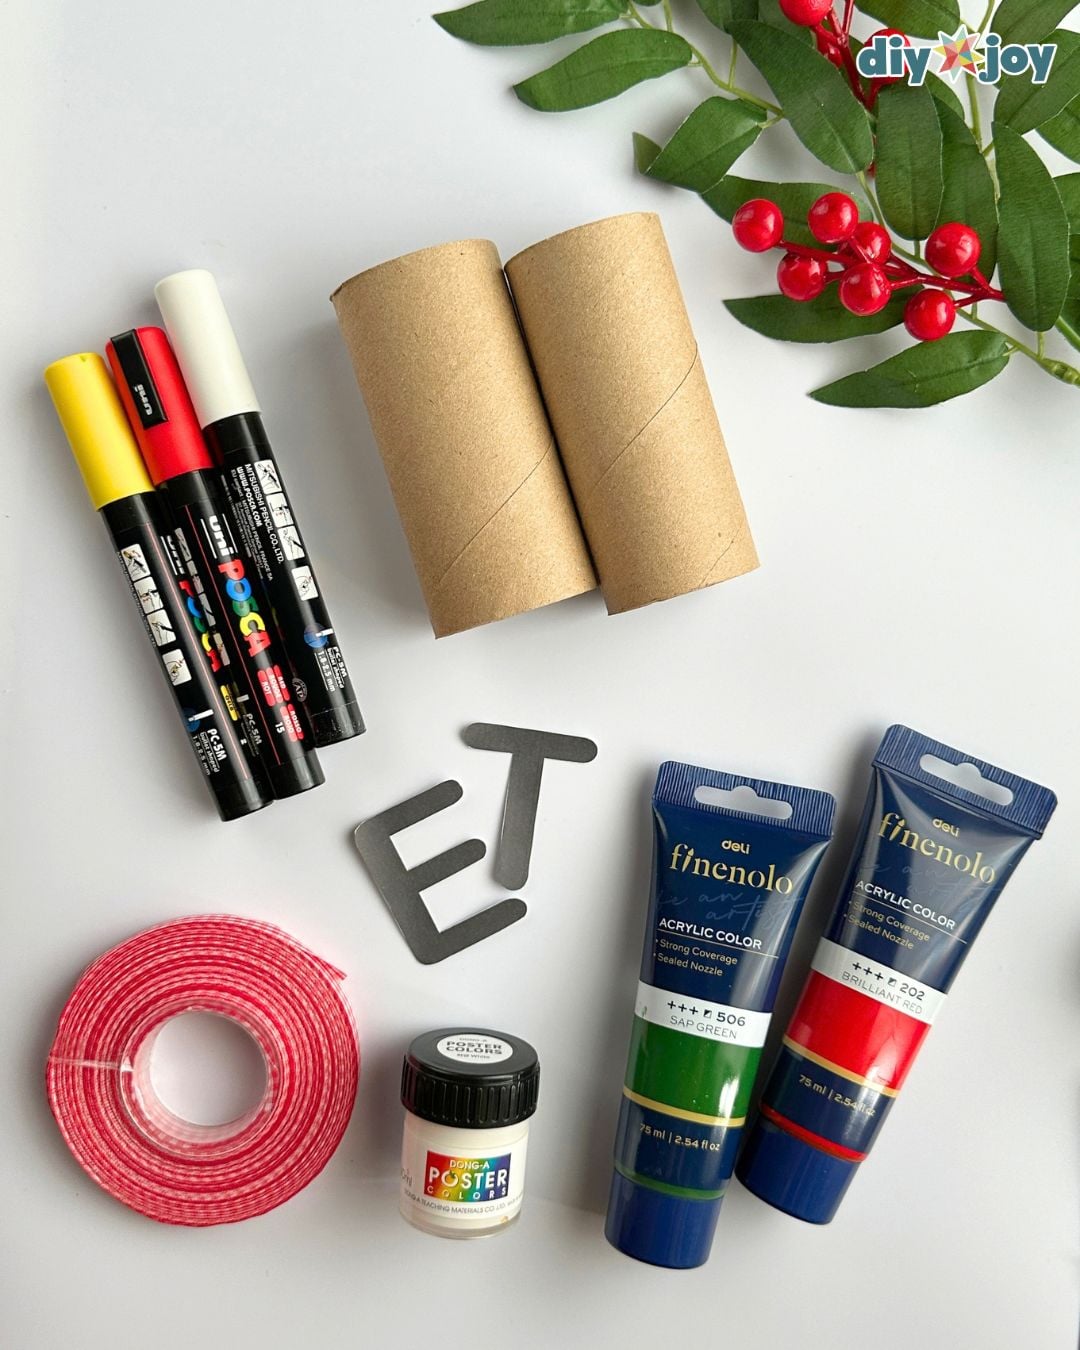
Christmas Banner Supplies
- acrylic paint
- 7 toilet paper tubes
- acrylic markers
- ribbon
- water
- container
- paint brush
- glue
- tape
Shop the Supplies
Here are the main supplies we used for this Christmas banner, so you can grab the same ones and get straight to crafting.
Acrylic Paint
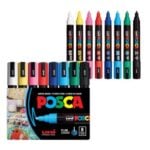
Posca Markers
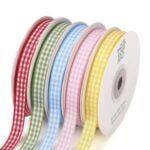
Gingham Ribbon
*Some of the supply links above are affiliate links. If you buy through them I earn a small commission at no extra cost to you.
How to Make a Christmas Banner
Step 1: Soak, Separate and Fold the Tubes
Soak the tubes in water for a few minutes until the pieces separate. Remove the pieces from the water, then fold each one in half to form a pennant. Let them dry.
Step 2: Paint the Pennants
Once the cardboard pieces are dry, paint 7 red, 7 green, and 2 white. Let the paint dry completely.
Step 3: Paint the Wreath Pennants
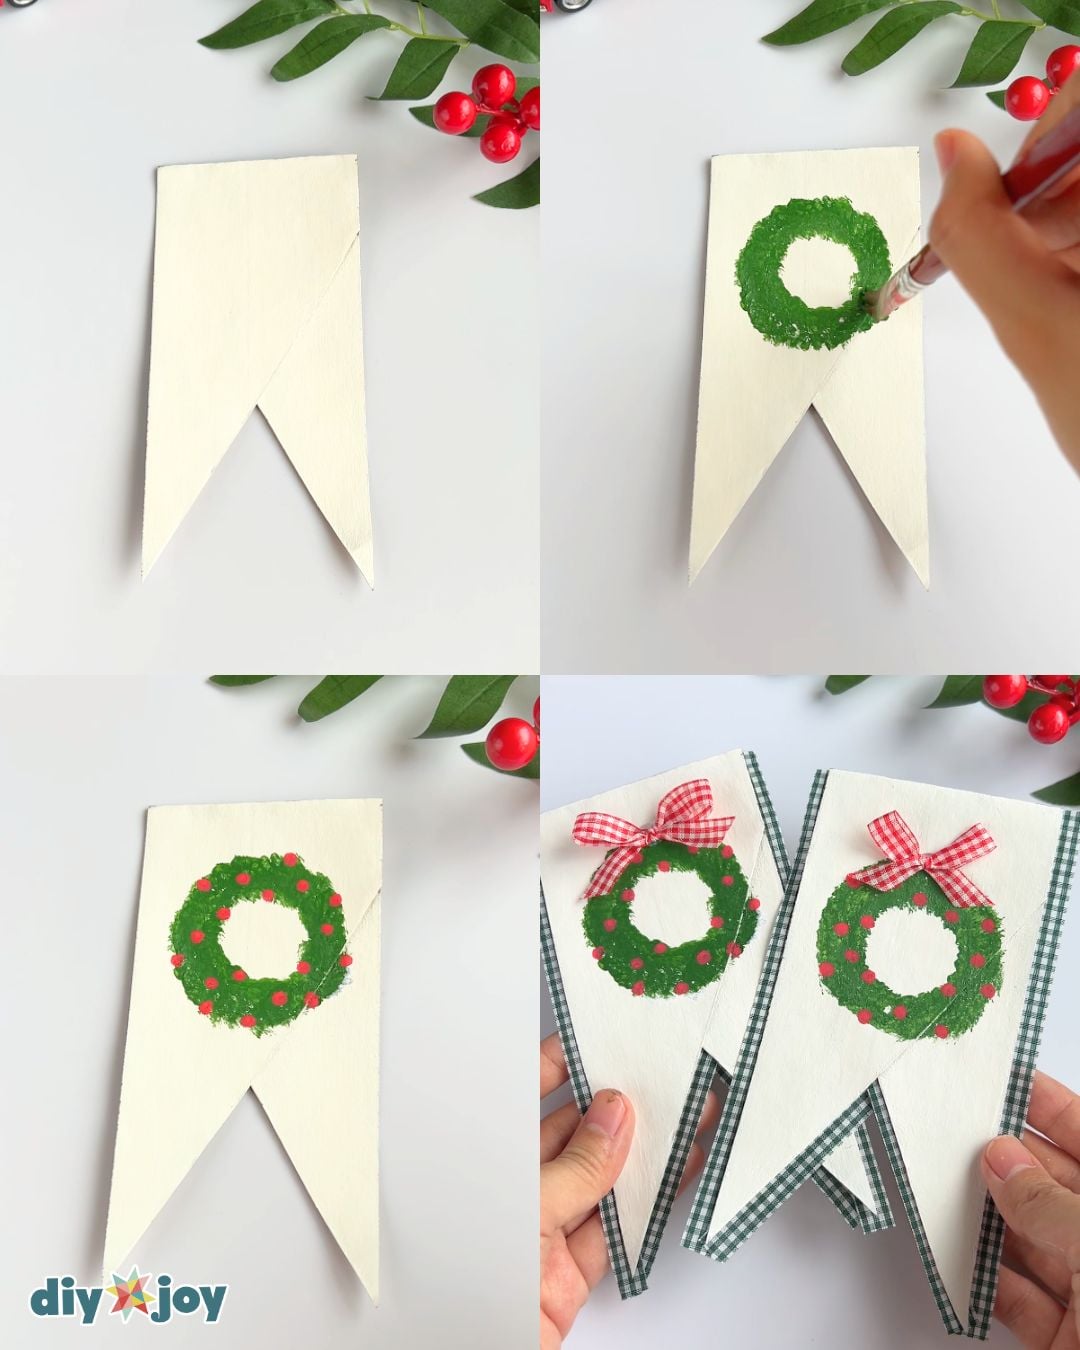
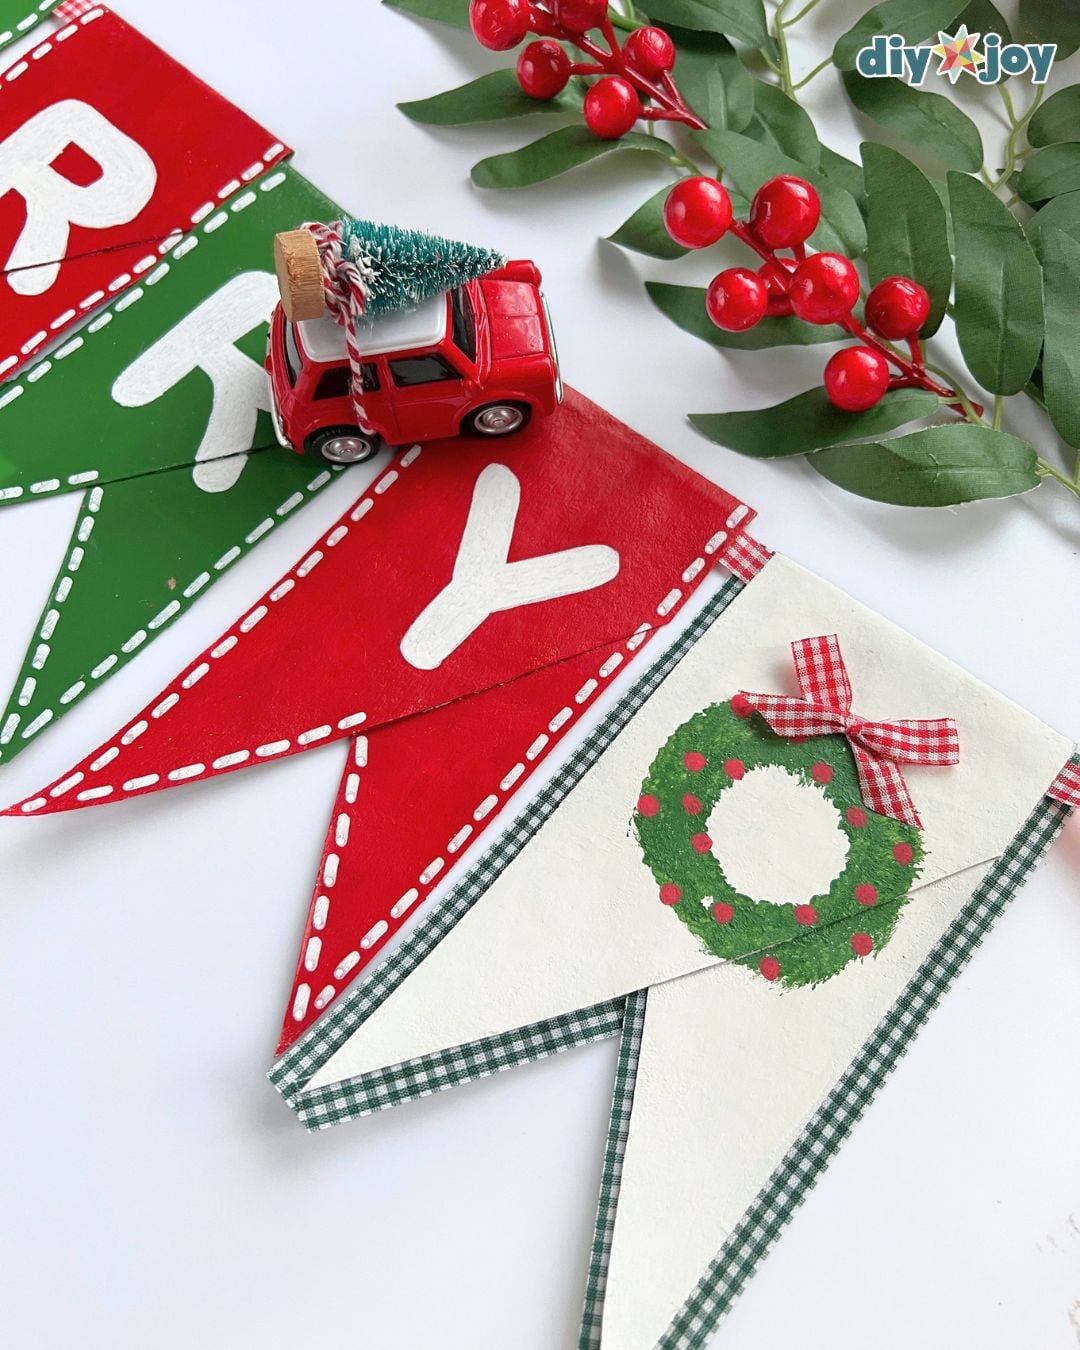
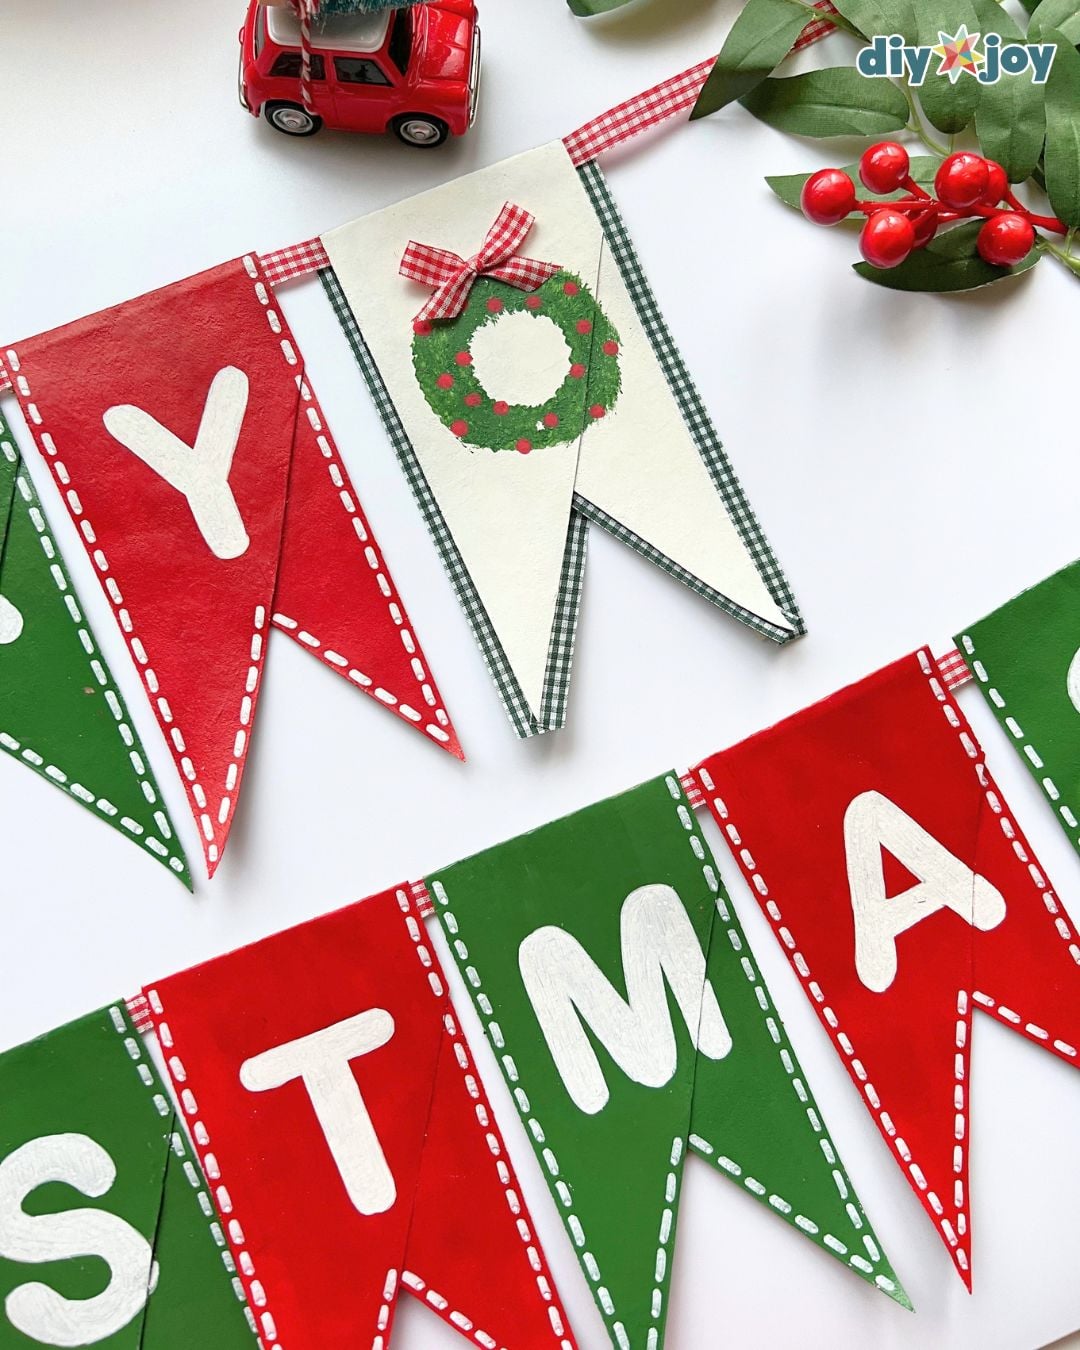
Take a white pennant and draw a ring in the center. Use it as a guide to paint a green wreath. Once the paint is completely dry, draw small red balls around the wreath. Glue a small bow at the top of the wreath, then glue ribbon around the edges of the pennant to complete the design. Repeat with the second white pennant.
Step 4: Letter “Merry Christmas”
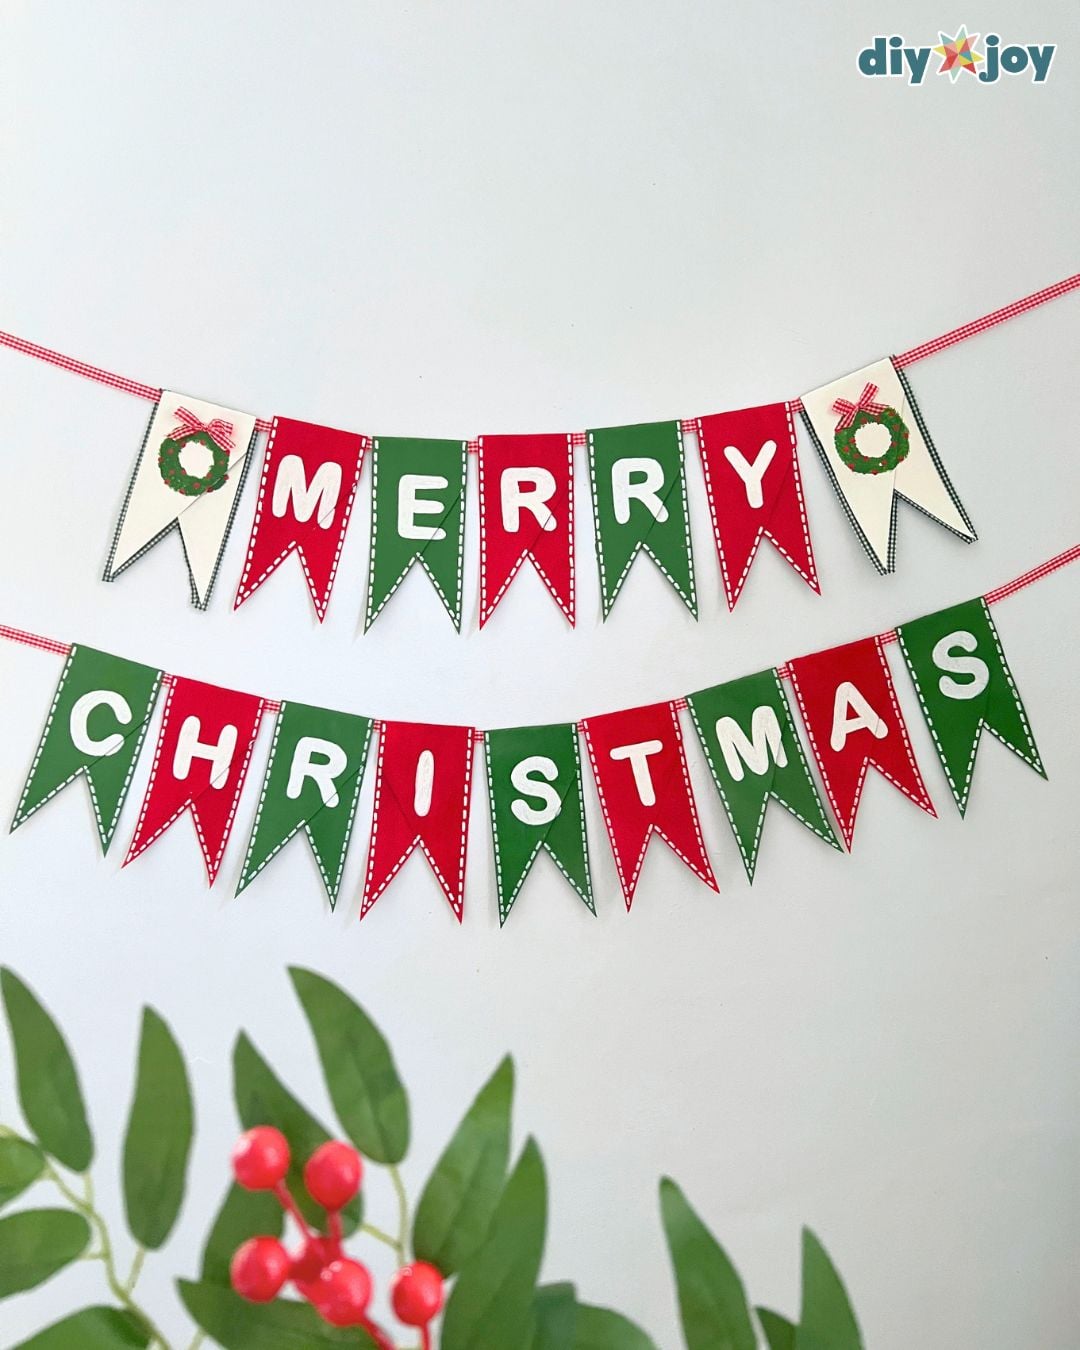
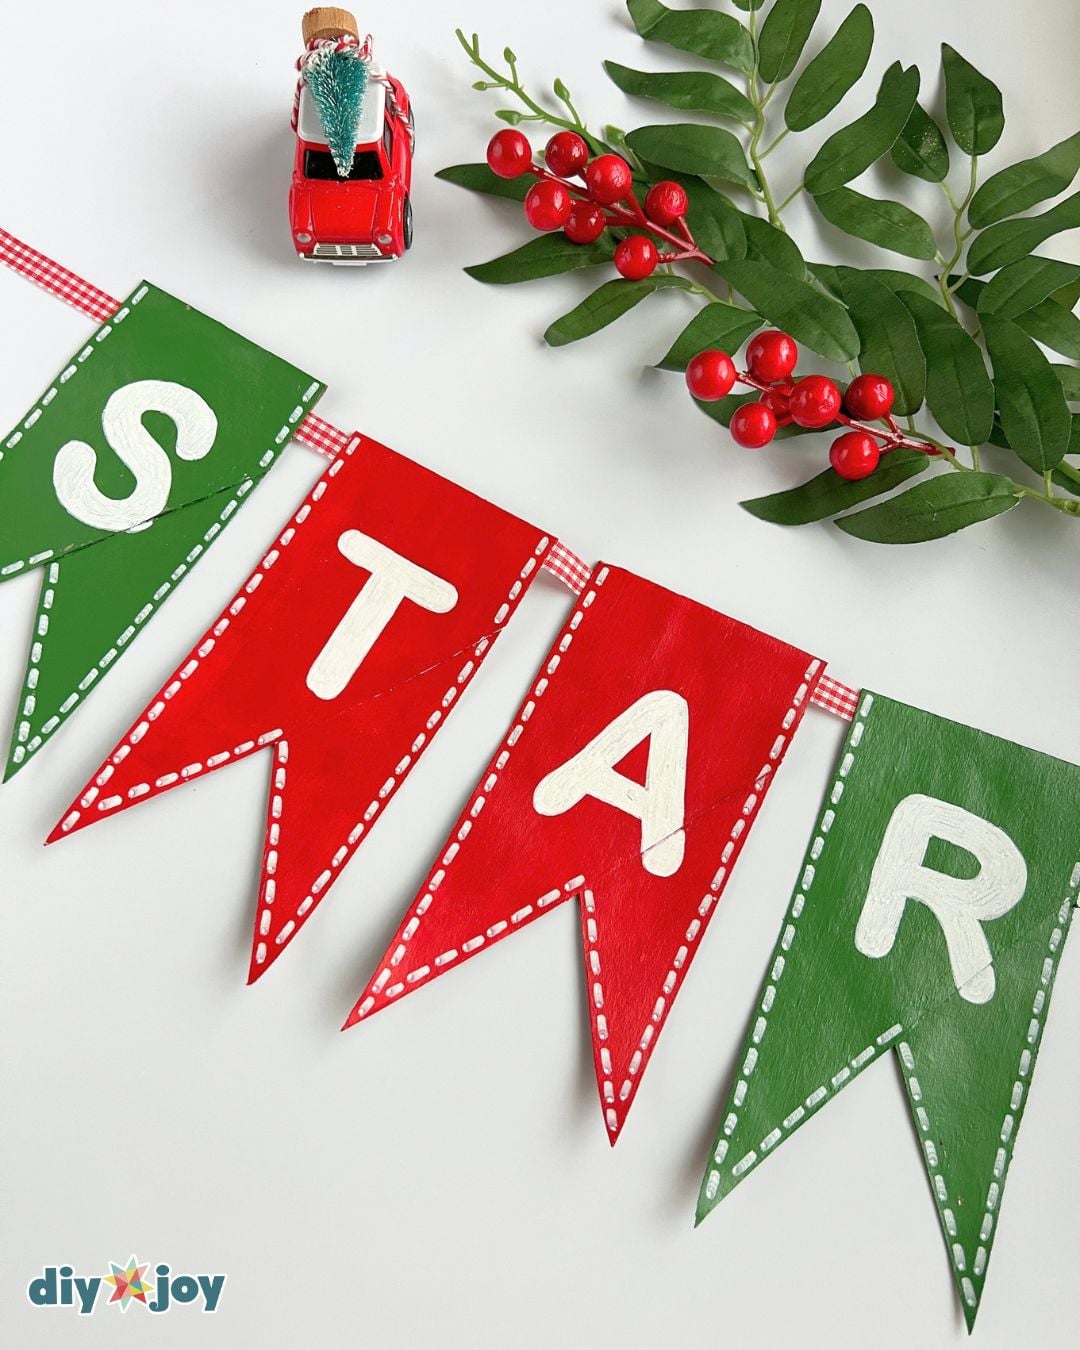
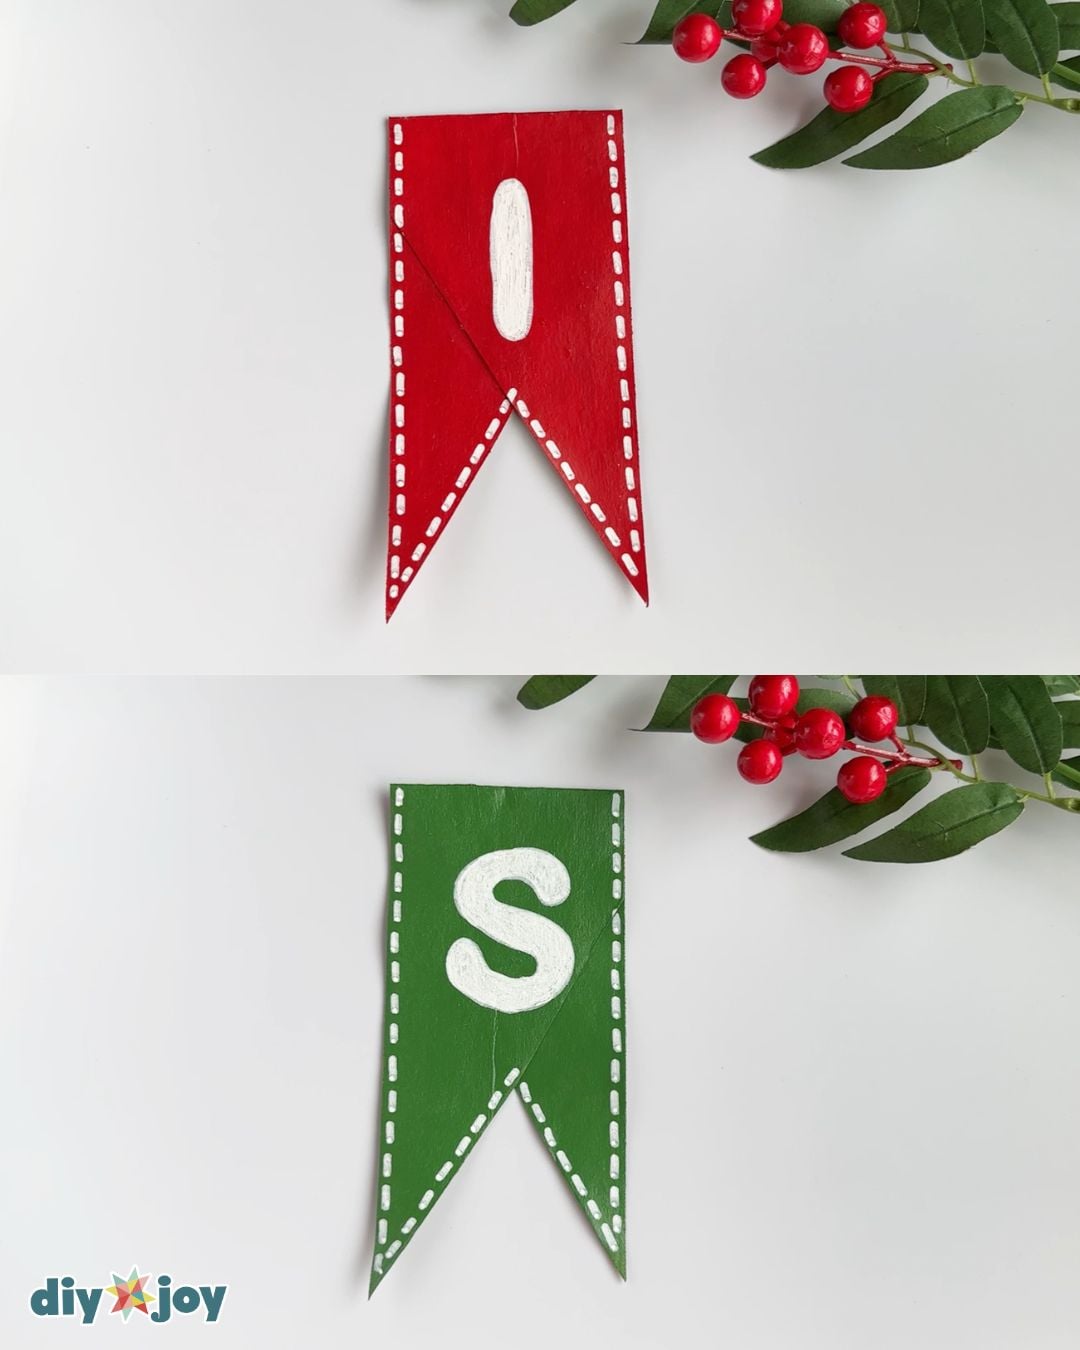
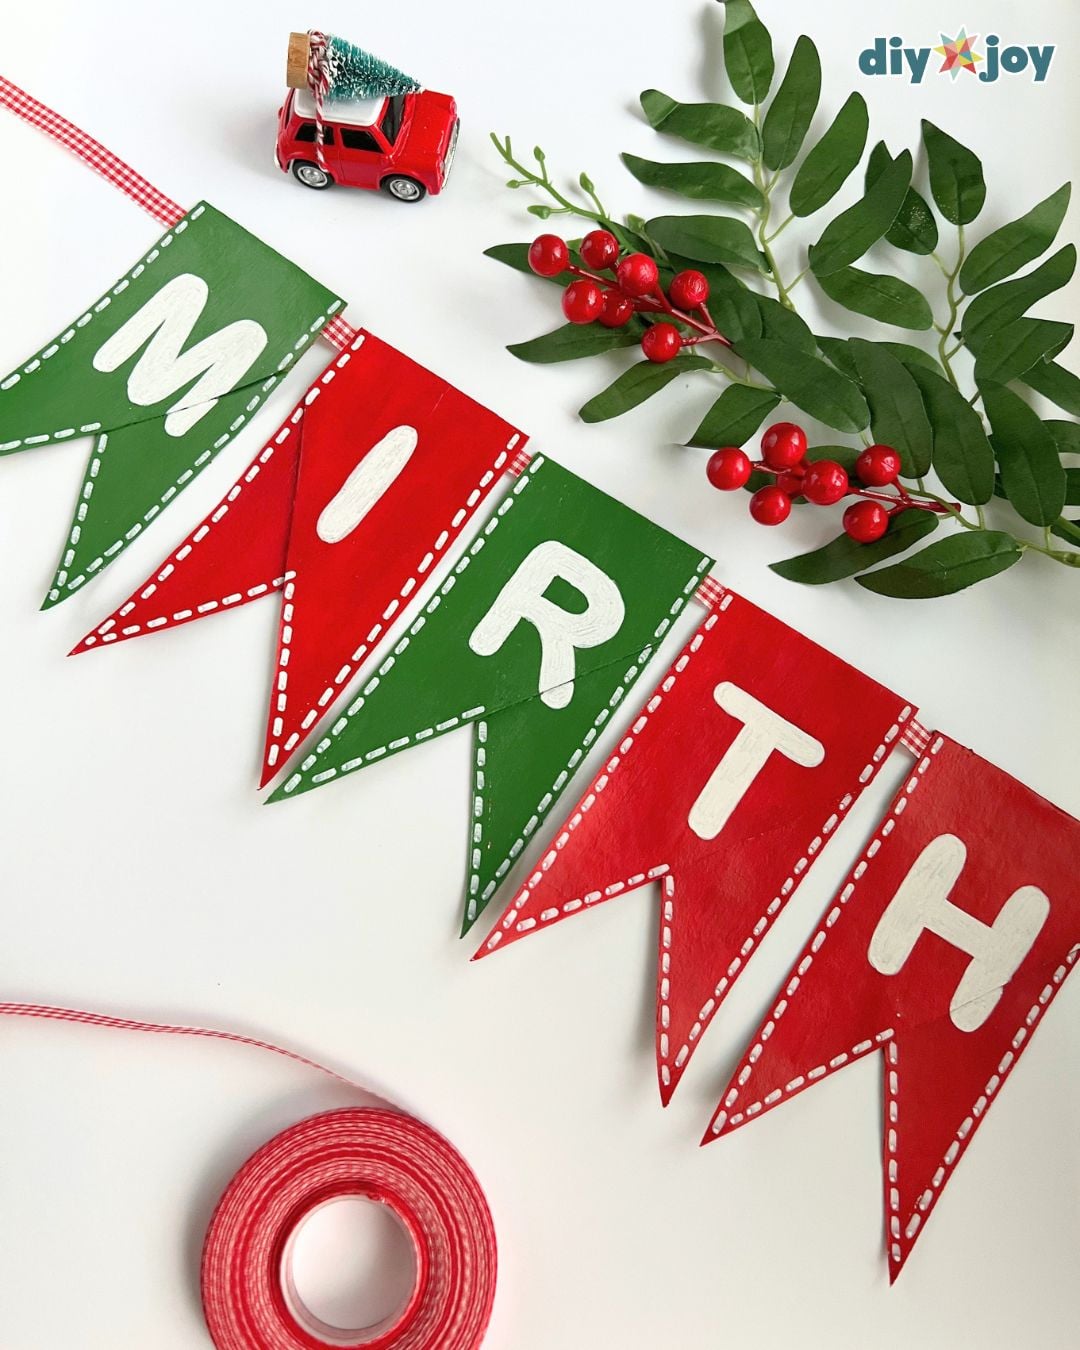
Paint the letters for “Merry Christmas” on the red and green pennants, alternating the pennant colors after each letter. Then draw a dashed border around each pennant.
Step 5: Hang the Banner
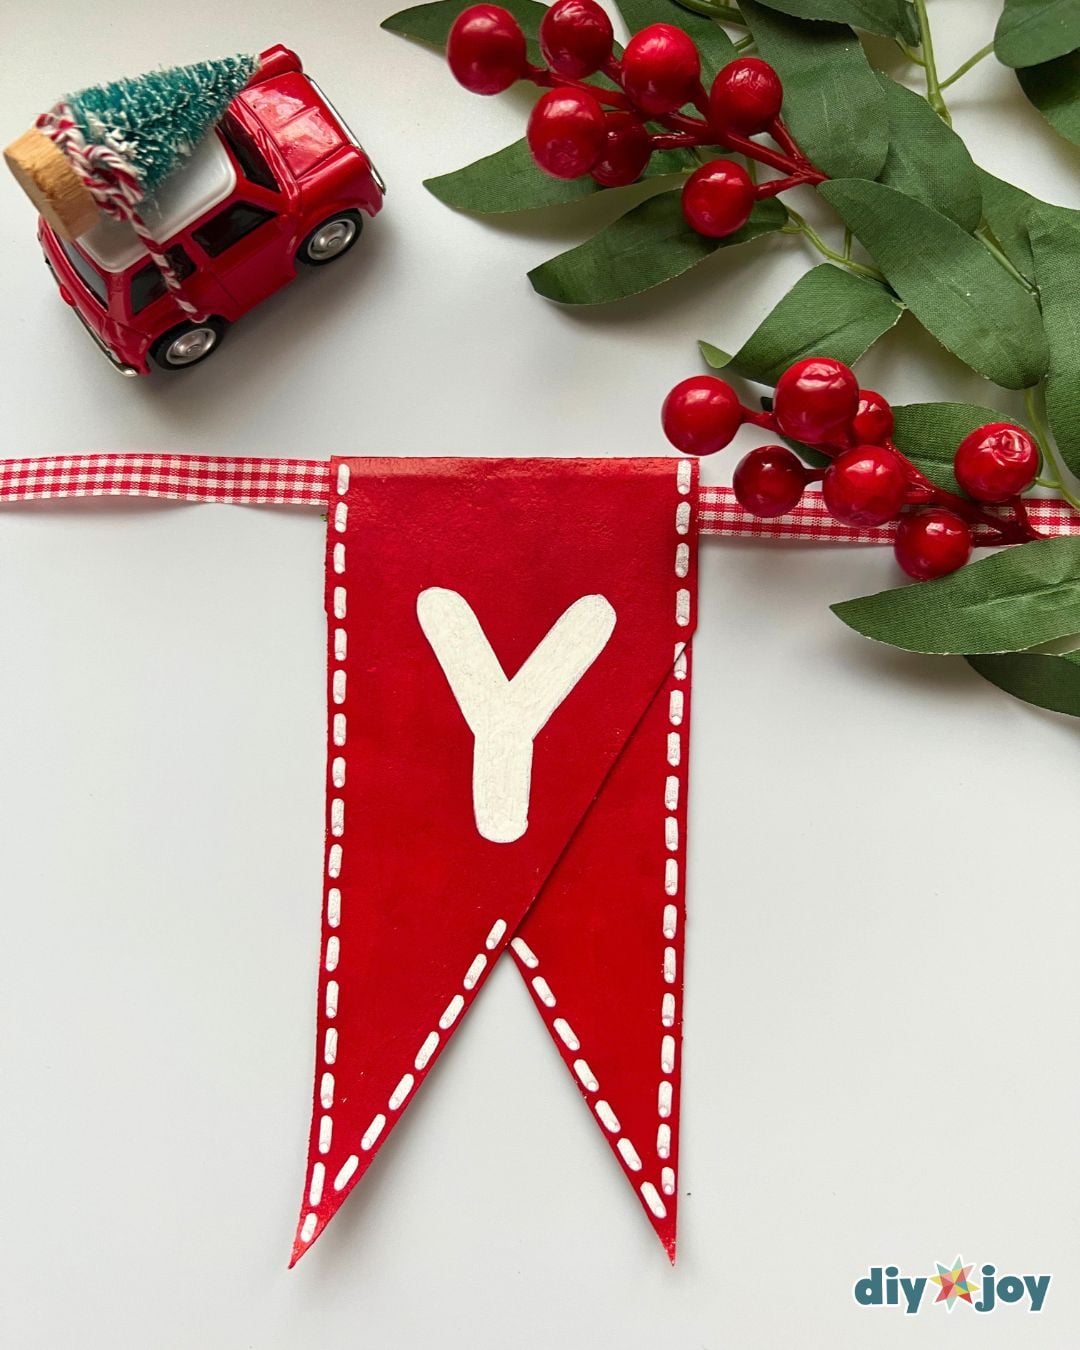
Hang the pennants on the ribbon, then use tape to keep them from opening.

Pro Tip
To keep the cardboard from curling, cover it with a plastic sheet and place a heavy book on top before it dries completely.
More Christmas Banner Ideas and Ways to Use Them
This Christmas banner is totally customizable. You can make it any color and design it however you like with glitter, stickers, lace, ribbons or sequins. Your options are endless! Hang it on your wall, mantel, window or staircase. It also makes a great storefront display, classroom decoration or office decoration. If you’re looking for a fun and easy classroom craft for Christmas, I highly recommend this DIY banner.
You can also make this banner for any occasion, including birthdays, Halloween, spring, the Fourth of July, Valentine’s Day or New Year’s. Be as creative as you like with this easy cardboard craft!
Want another cardboard tube project? The Halloween toilet paper roll banner uses the same pennant idea for spooky season. For more paper Christmas decor, try this easy DIY Christmas paper wreath or a set of paper bag star ornaments.
Toilet Paper Roll Christmas Banner FAQs
You’ll need 16 cardboard pieces: 14 for the “Merry Christmas” letters and 2 for the wreath designs. If each tube separates into two usable pieces, you’ll need 8 rolls.
Soaking loosens the glue so you can separate the cardboard layers without tearing them. It also makes the pieces easier to fold.
No. The shapes and number of layers may vary by brand. Try soaking one tube first to see how it separates.
Yes. Fold each piece into a pennant while it’s damp, then let it dry completely before painting.
Once they’re completely dry, place them between sheets of clean paper and press them under a heavy book to help flatten them. Do this before adding bows or other decorations.
Lay the pennants flat in a dry box or folder. Avoid placing heavy items on top so the decorations keep their shape.
Save this Craft on Pinterest
Roll over the image to get the button.