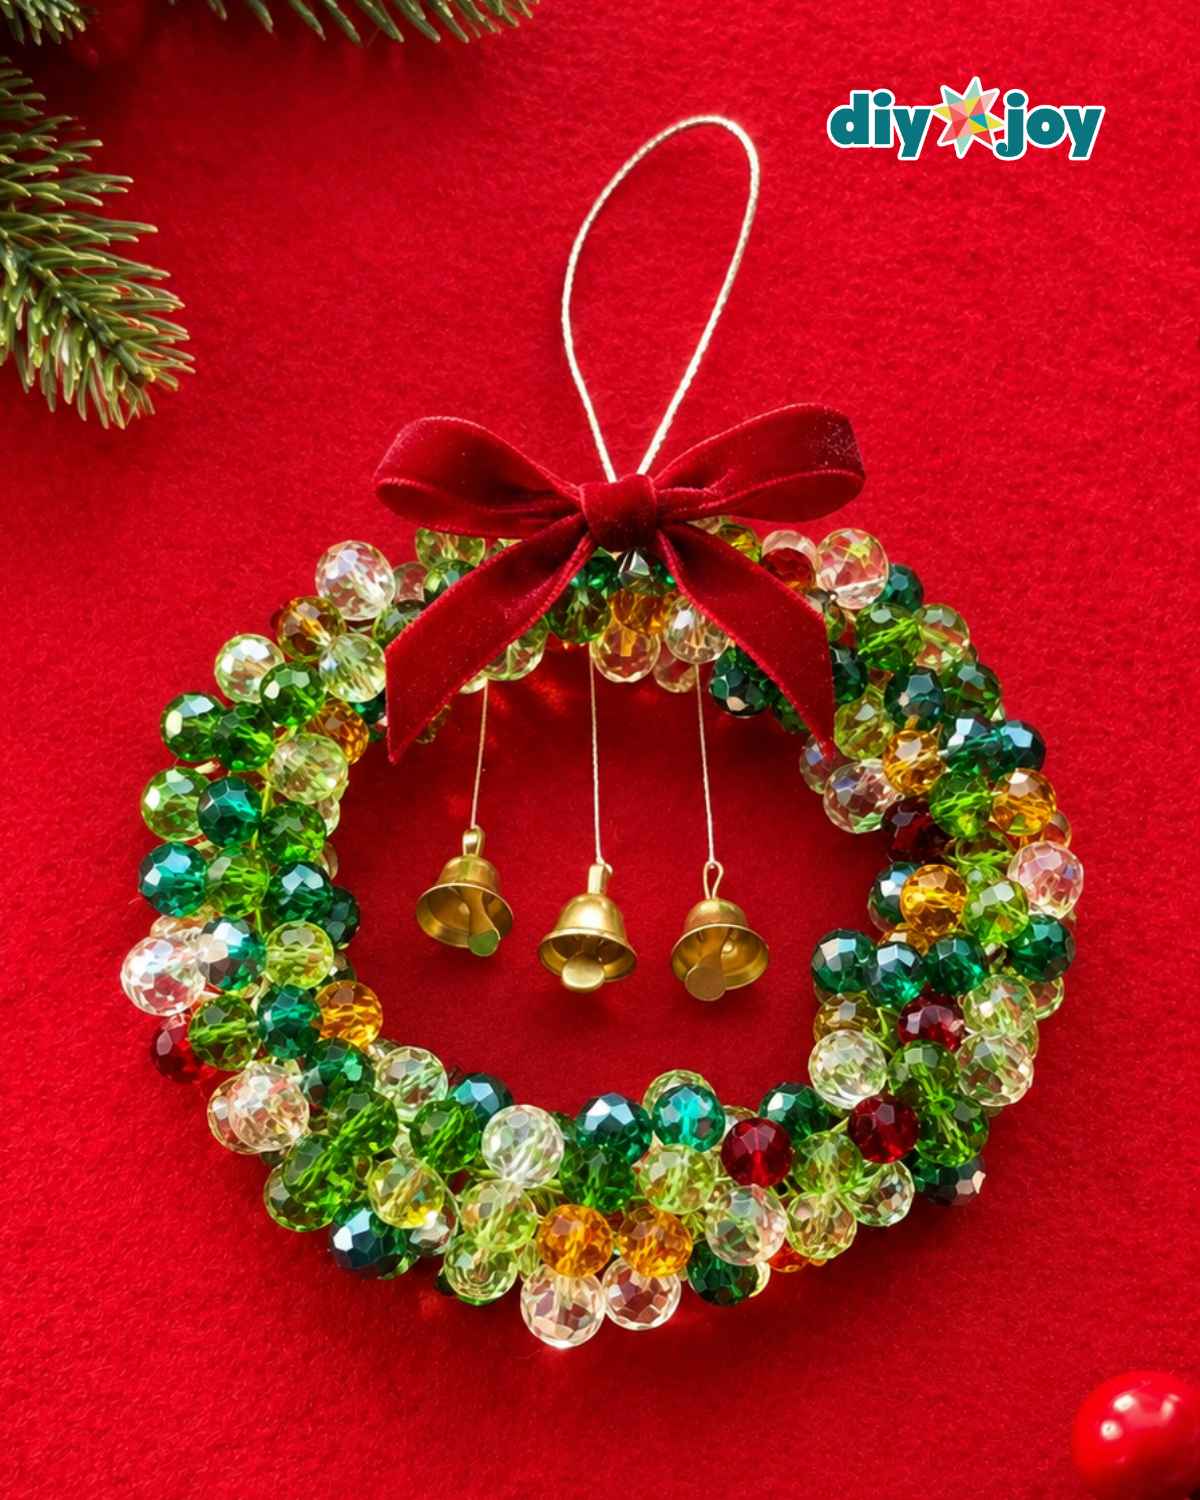
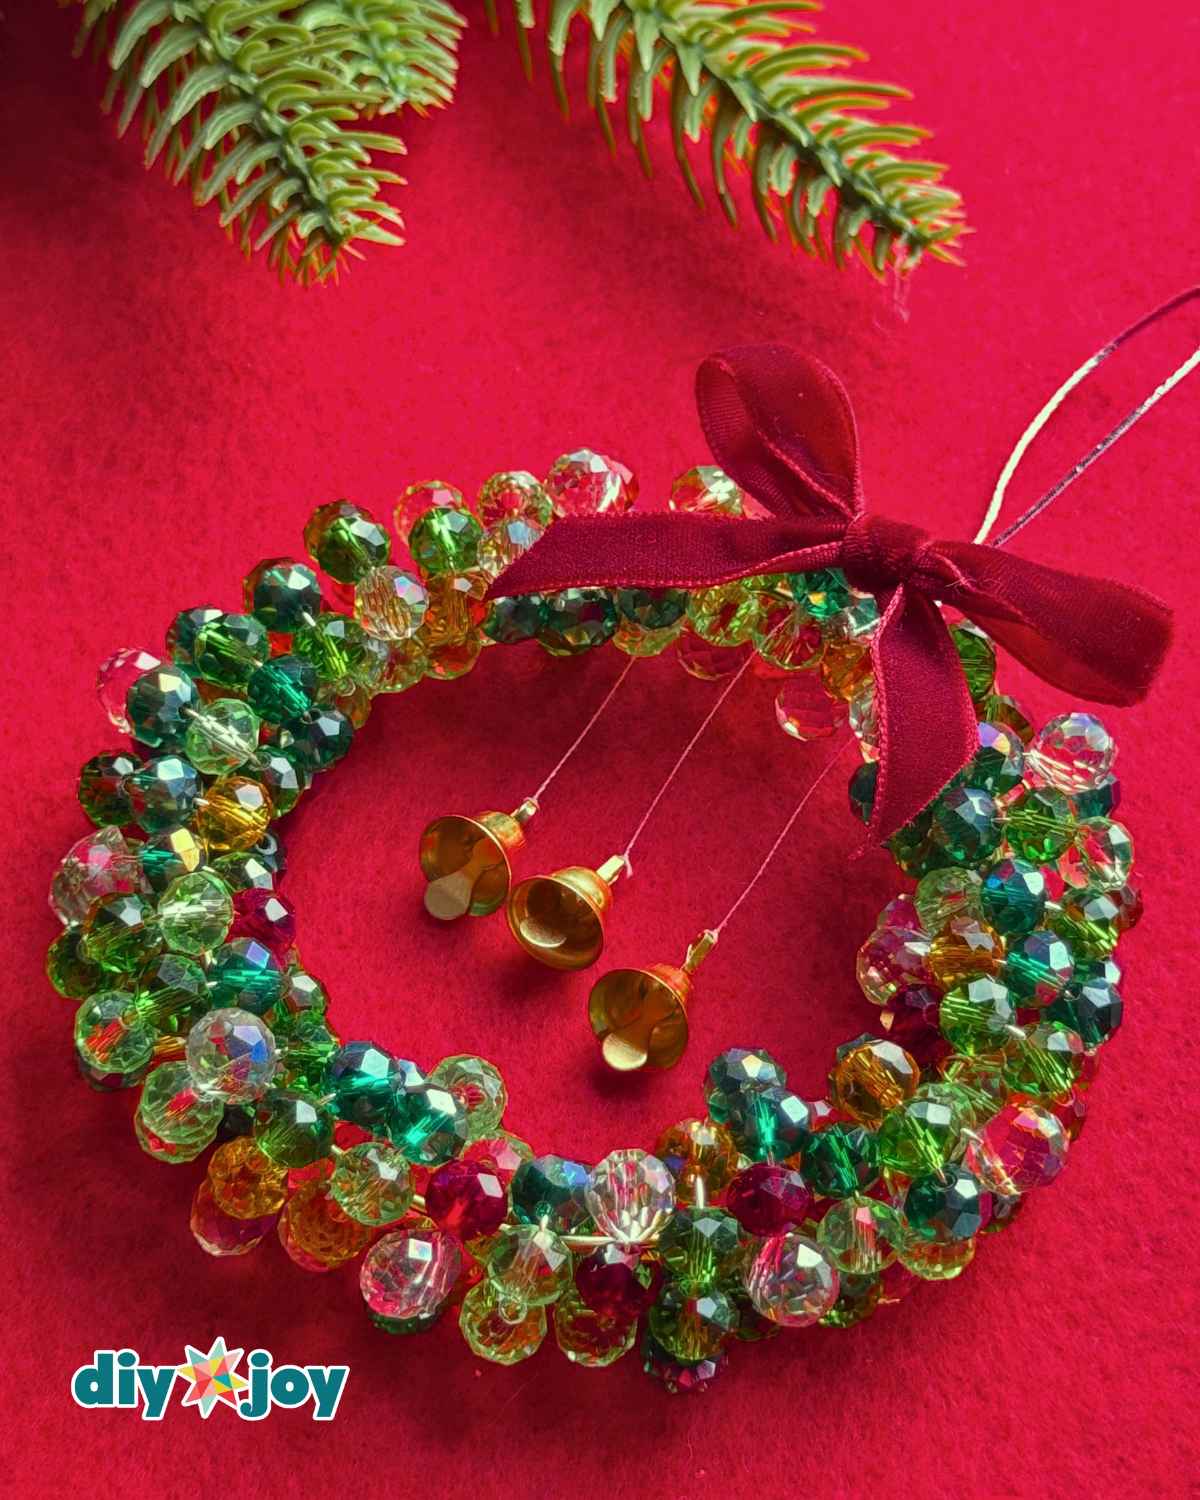
Okay, so this beaded Christmas wreath is one of my favorite DIY Christmas ornaments with beads, and I kind of can’t stop looking at it. It’s a mini wreath, but instead of pine and berries, it’s made entirely of faceted crystal beads, sparkly, colorful, and just the right amount of extra for the holidays.
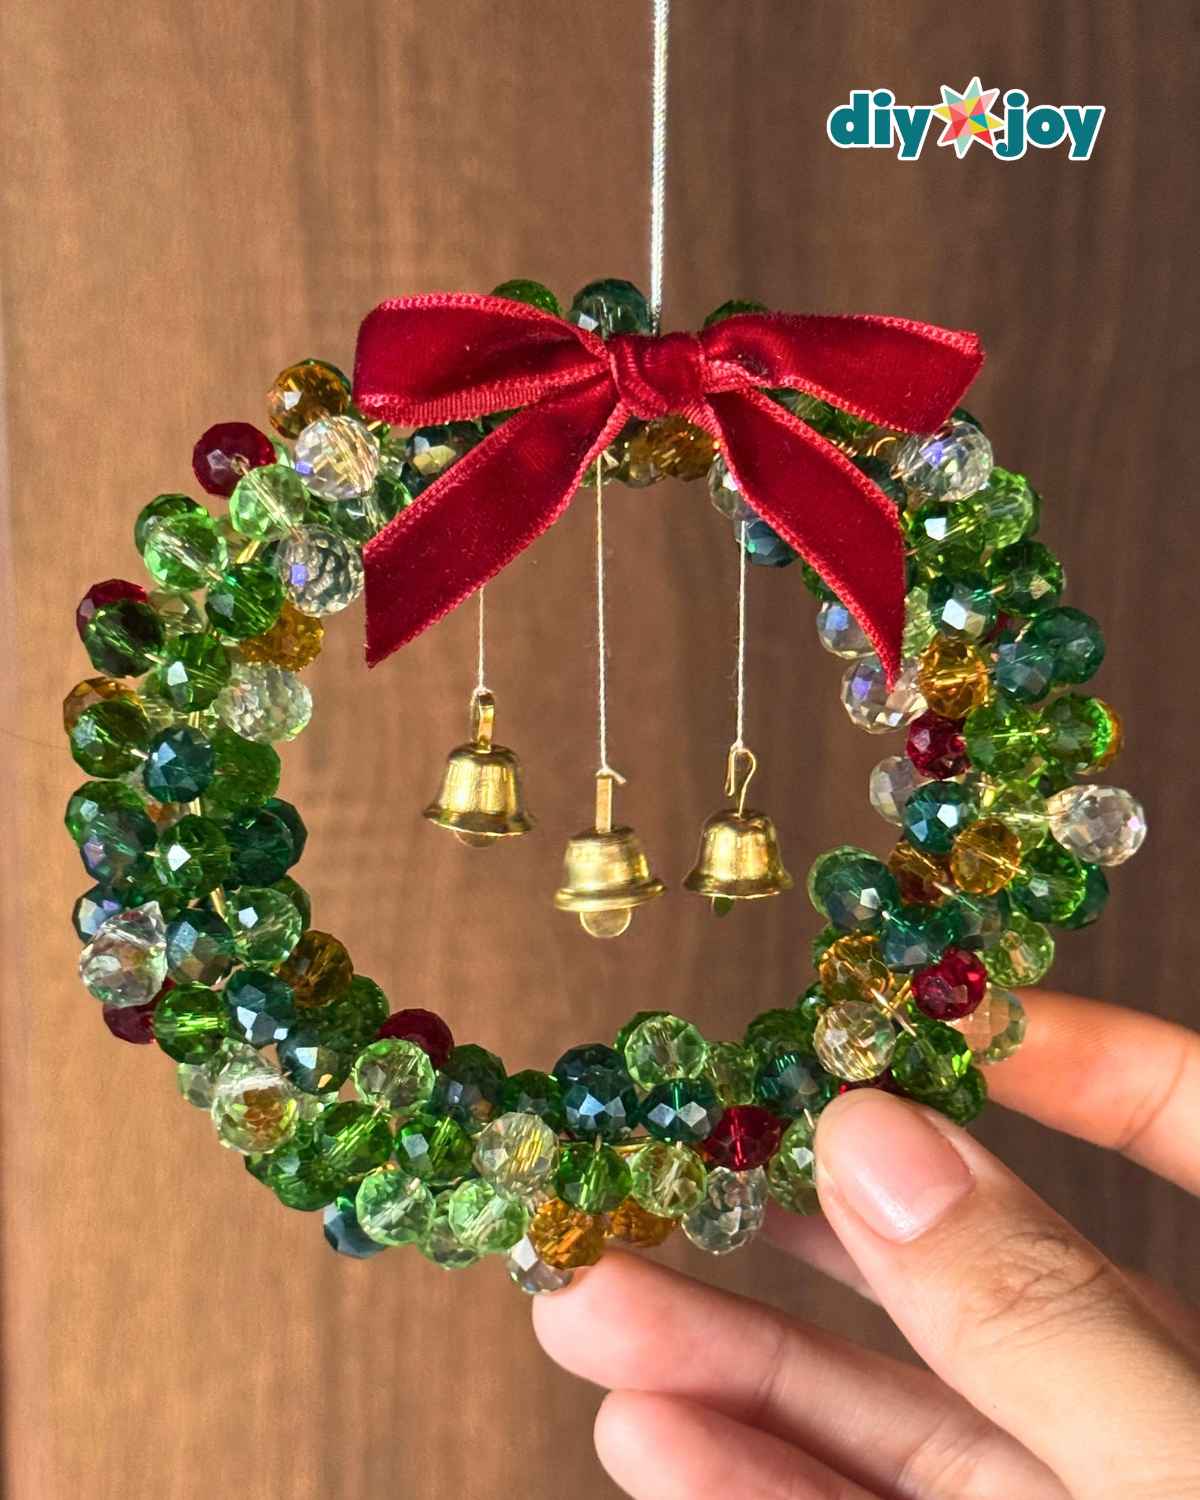
Funny enough, this project started as a “let me use up my leftover beads” situation. I had a bunch sitting around from past projects, the kind you keep telling yourself you’ll use “eventually.” I grabbed a few more beads and some little embellishments to round things out, figuring I’d just see what happened. What happened was this wreath ornament, and honestly, it turned out so much better than I expected.
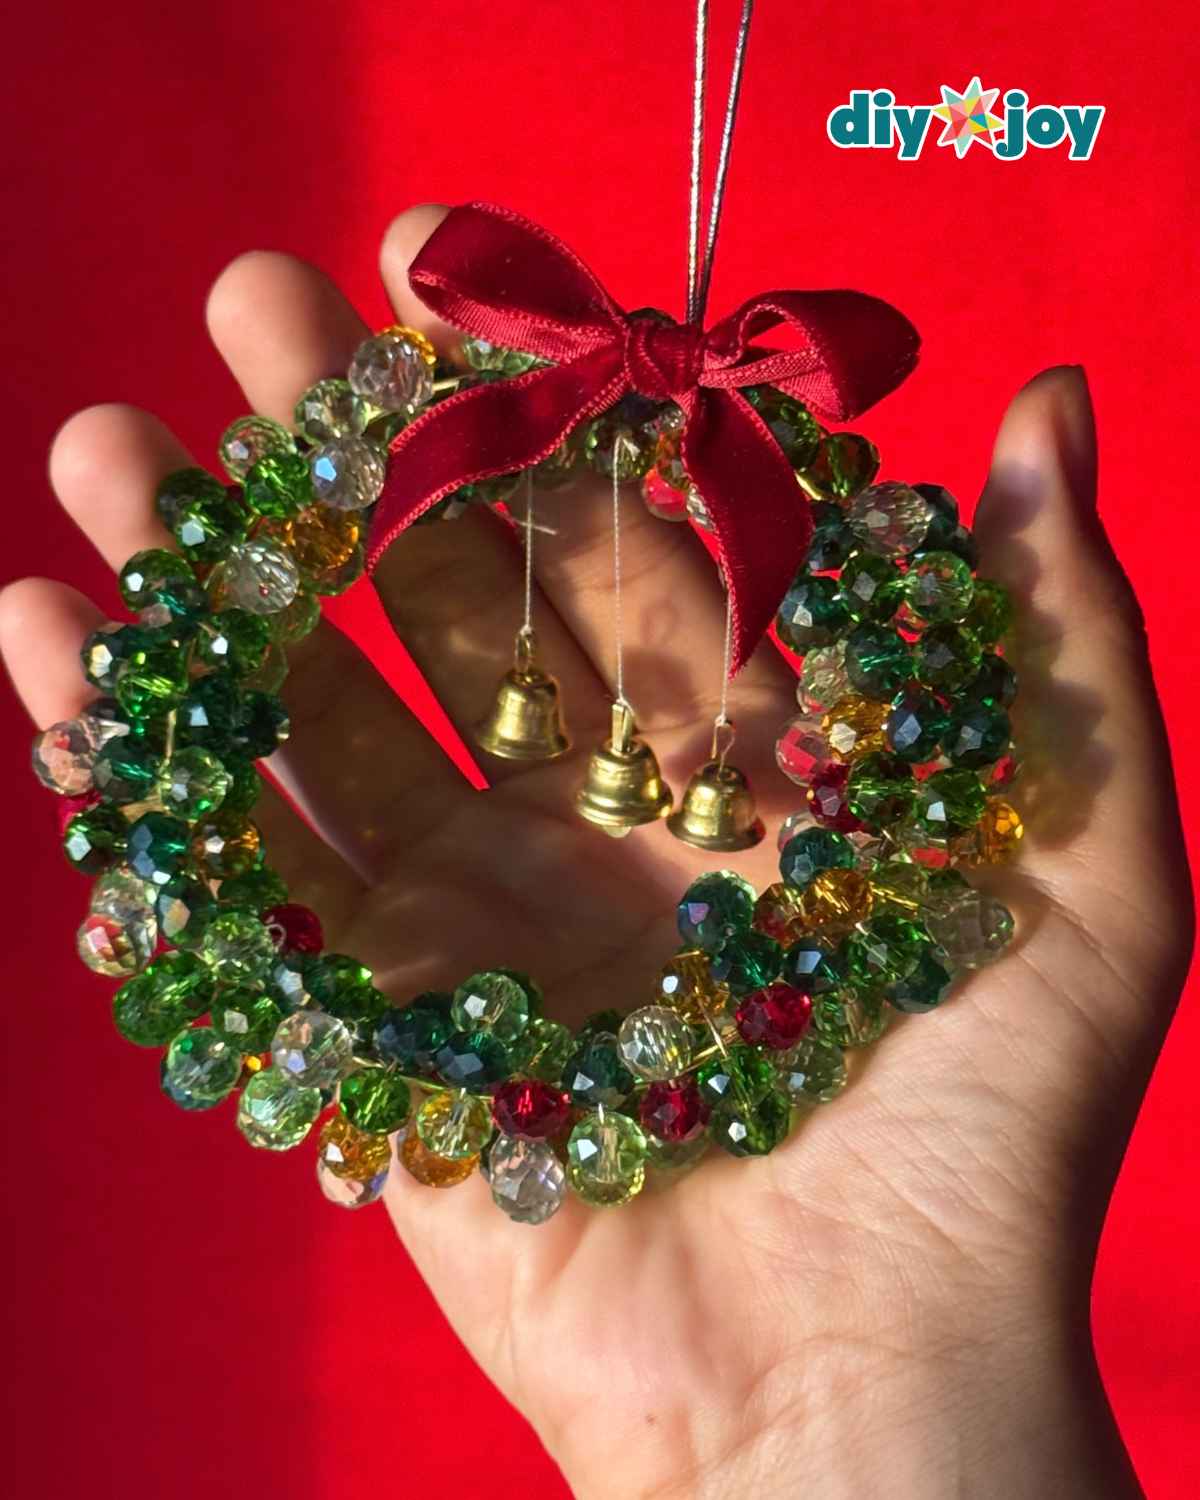
It’s got that classic wreath shape, a little red bow, tiny gold bells for good measure, and enough sparkle to make your tree jealous of your ornament collection. It’s simple to make, doesn’t require any fancy tools, and it’s a great way to give those leftover beads a second life instead of letting them rattle around in a drawer until next December.
If you’ve got beads lying around (or an excuse to buy new ones, no judgment), this one’s worth trying. Scroll down for the full step-by-step.
RELATED: More DIY Christmas ornaments
Craft Supplies Needed:
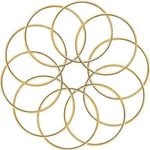
- Metal rings, 4-inch diameter
- Faceted crystal beads
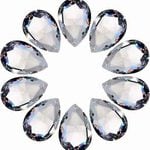
- Teardrop beads
- Jewelry wire, 0.3mm or 0.6mm
- Scissors or cutter
- Ribbon
- Mini bells
- Thread
- Hot glue gun and glue sticks
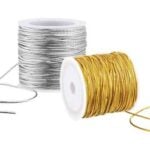
- Metallic elastic cord or ribbon, for hanging
Shop the Supplies
Here are the main supplies we used for this beaded Christmas wreath, so you can grab the same ones and get straight to crafting.
Metal Rings
Teardrop Crystal Beads
Metallic Elastic Cord
*Some of the supply links above are affiliate links. If you buy through them I earn a small commission at no extra cost to you.
DIY Christmas Wreath Using Beads
Learn how to make a handmade Christmas wreath using faceted crystal beads!
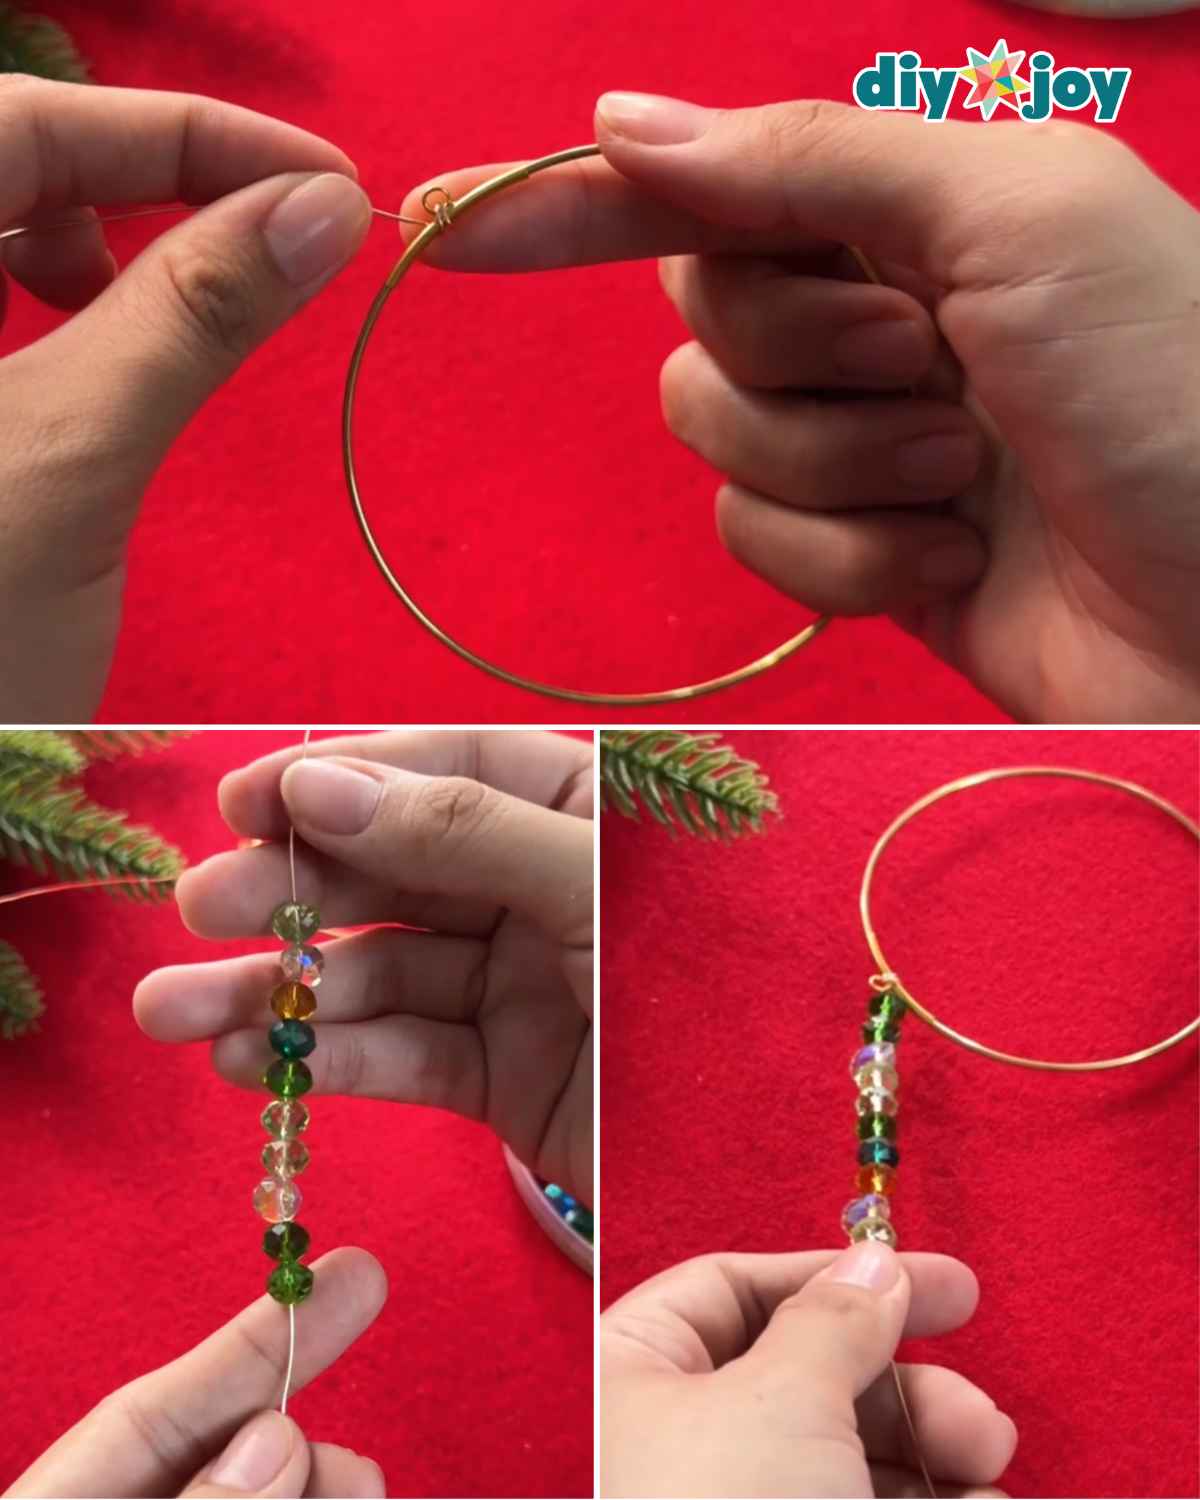
Step 1: String the Beads on Jewelry Wire
Cut a long piece of jewelry wire. It’s better to cut it longer than you need, since you’d rather have too much than too little. Extra length means you can trim the excess later, and it’s hard to join two wire ends together if you run short.
For the wire gauge, you can use either 0.3mm or 0.6mm. The 0.3mm is easier to bend and wrap but snaps more easily. The 0.6mm is just as easy to wrap, but since it’s thicker, it can be harder to lock in place.
For the metal rings, you can use any size you want, but for this project I used 4-inch diameter metal rings. Wrap one end of the wire onto the ring; if it has a hanging hole like the one I’m using, lock the wire into that hole.
On the other end of the wire, start inserting the beads in whichever order and colors you like. Push the beads down until they reach the base of the wire.
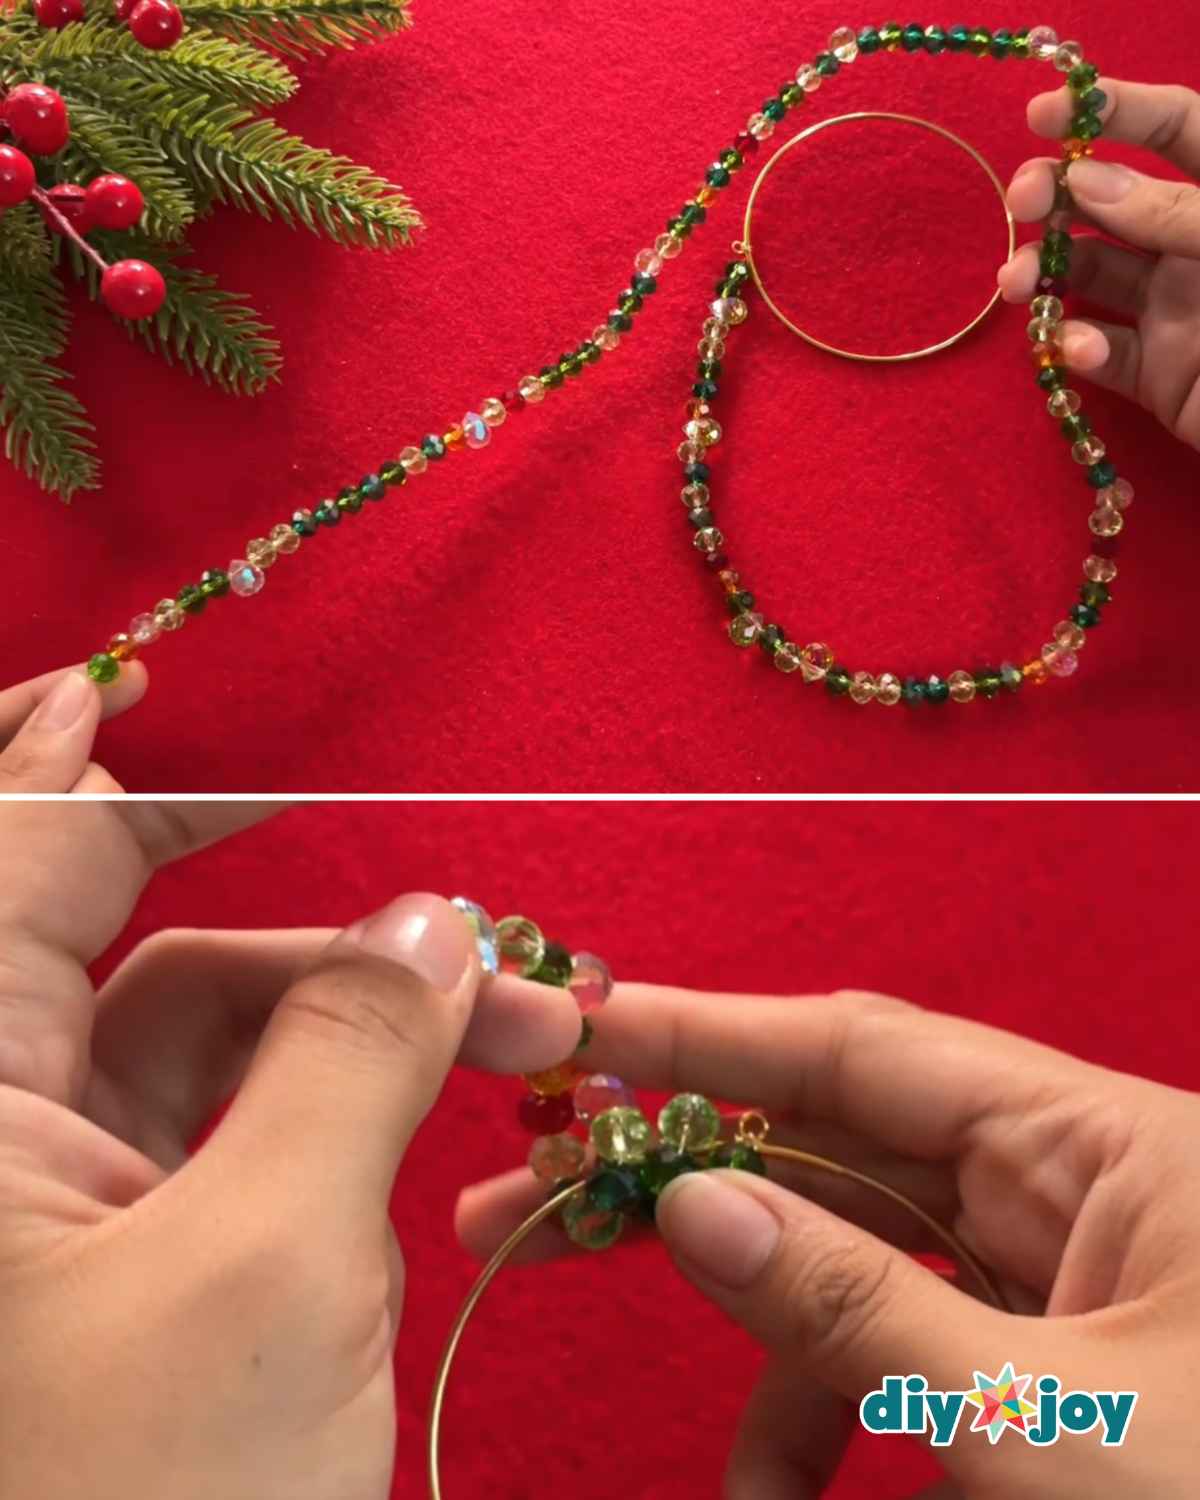
Step 2: Wrap the Beaded Wire Around the Ring
Once you have a long enough wire filled with beads to work with, start carefully wrapping it around the metal ring. This is the tricky part, as the beads tend to shift around and may not go in the direction you want. Also, make sure you’re always pushing the beads firmly together.
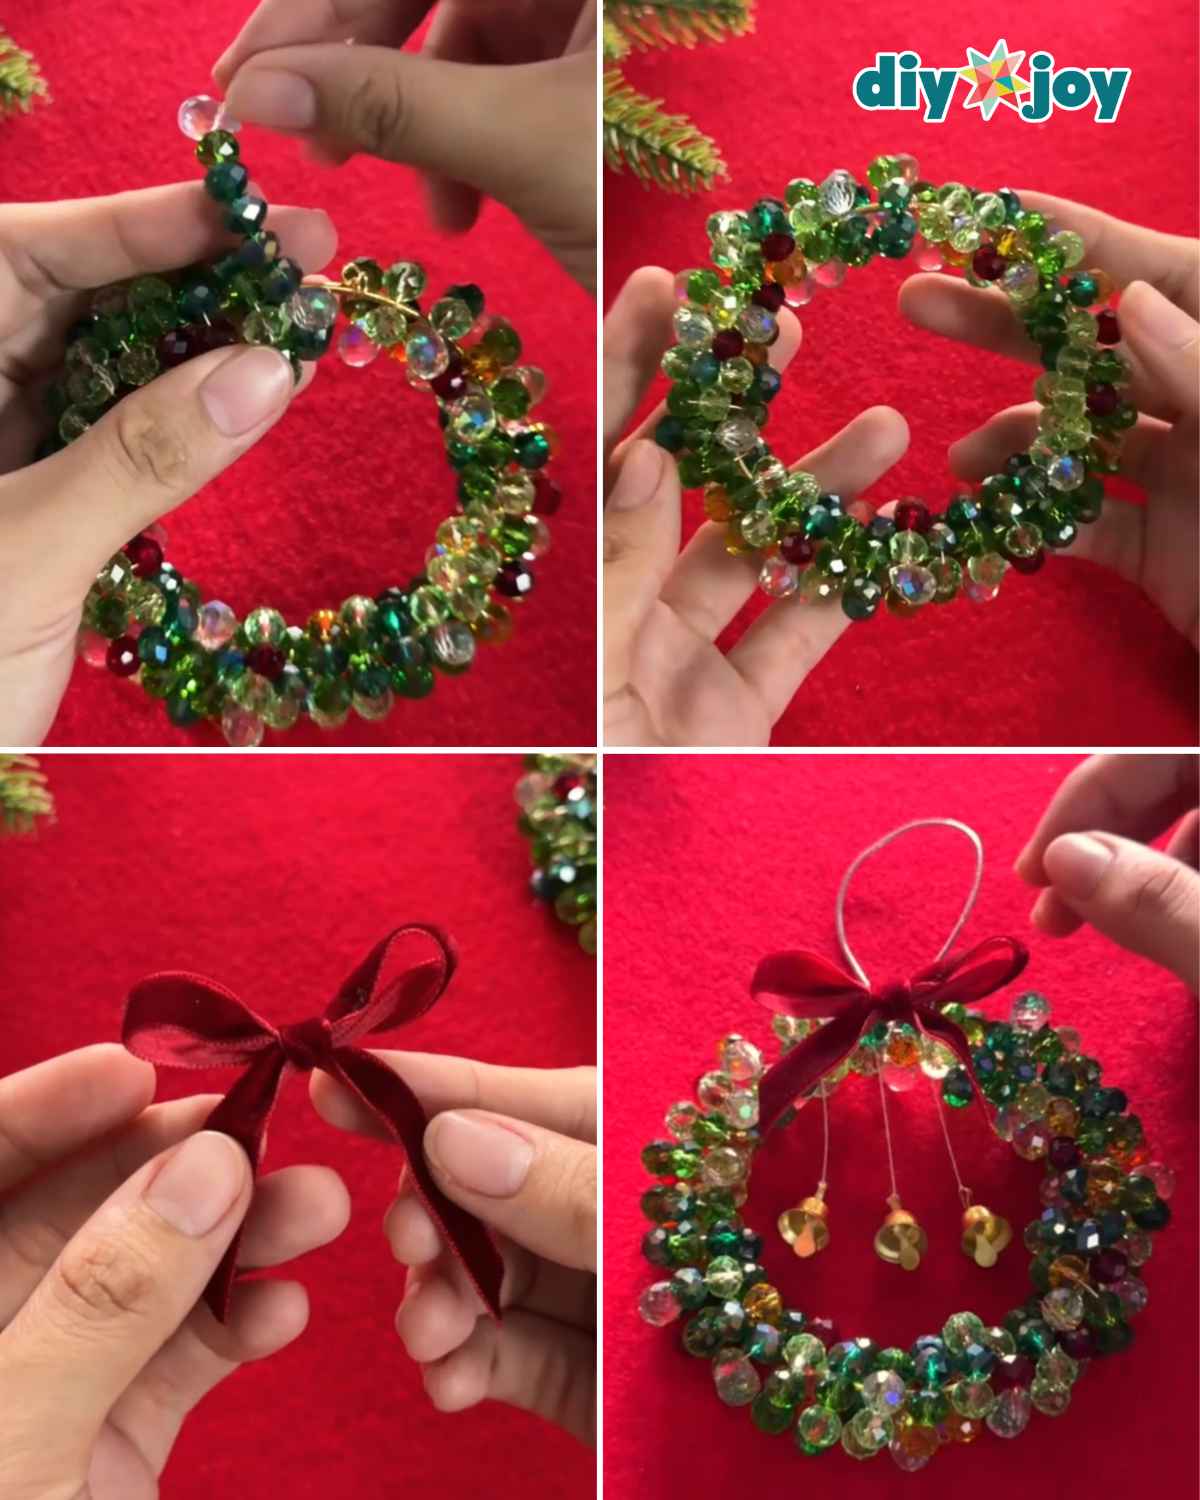
Step 3: Add the Bells, Bow and Hanger
When you reach the end (the base, or wherever you started), lock the wire in place and adjust the wrapped beads as needed. Once that’s done, make a small bow from a piece of ribbon, then tie 3 mini bells with a thread. Tie the bells onto the top of the wreath ornament, then add a metallic elastic cord or ribbon for hanging, and hot glue the bow over the top.

Pro Tip
Cut the jewelry wire longer than you think you need, and keep the beads pushed firmly together while you wrap. Extra wire can be trimmed after both ends are locked in place.
FAQs
I used a 4-inch metal ring for this ornament. You can use a different size, but the amount of wire and number of beads will change with the ring.
Use 0.3mm or 0.6mm jewelry wire. The 0.3mm wire bends and wraps more easily but can snap sooner. The 0.6mm wire is sturdier and takes a little more work to lock in place.
Yes. This project started with leftover beads, and you can mix faceted beads in any color order you like. Keep the bead sizes close enough that the wrapped wreath stays even.
Push the beads firmly together as you work and wrap the filled wire slowly around the metal ring. Adjust each section before moving to the next one.
Tie metallic elastic cord or narrow ribbon into a loop at the top of the ring. Add the three bells first, then hot glue the velvet bow over the knots for a clean finish.
No. Teardrop beads add extra shape and sparkle, but faceted round beads work too. Use the bead colors and shapes you already have, as long as they fit your jewelry wire.
Save this Craft on Pinterest
Roll over the image to get the button.