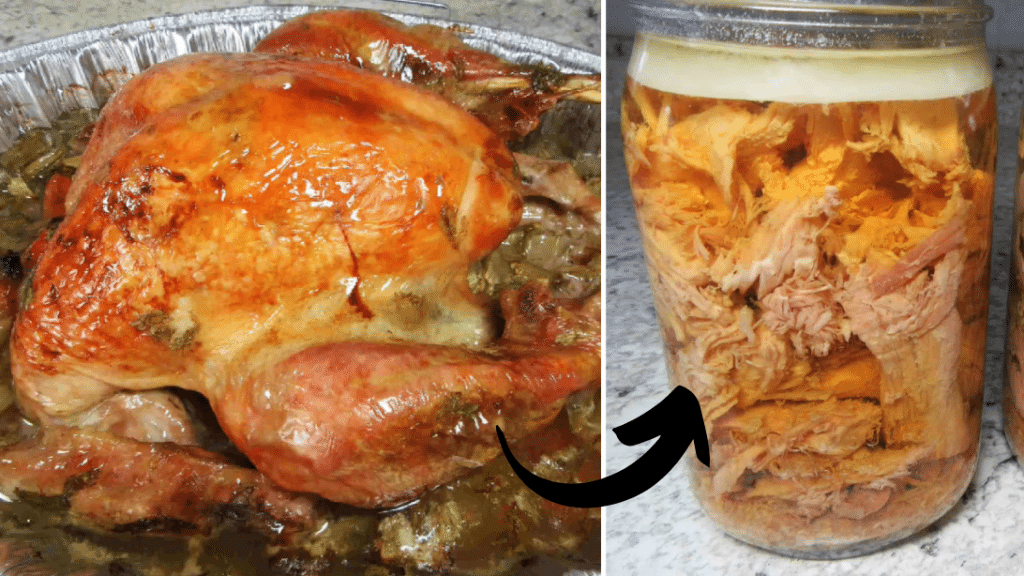
Thanksgiving is fast approaching and one thing that never goes missing on the table is a delicious turkey, but no matter how good you cooked your turkey there are still going to be instances where there will be leftovers, and that’s alright because you can still save and enjoy them even when Thanksgiving is over.
RELATED: How To Keep Chicken Fresh For 1 Year
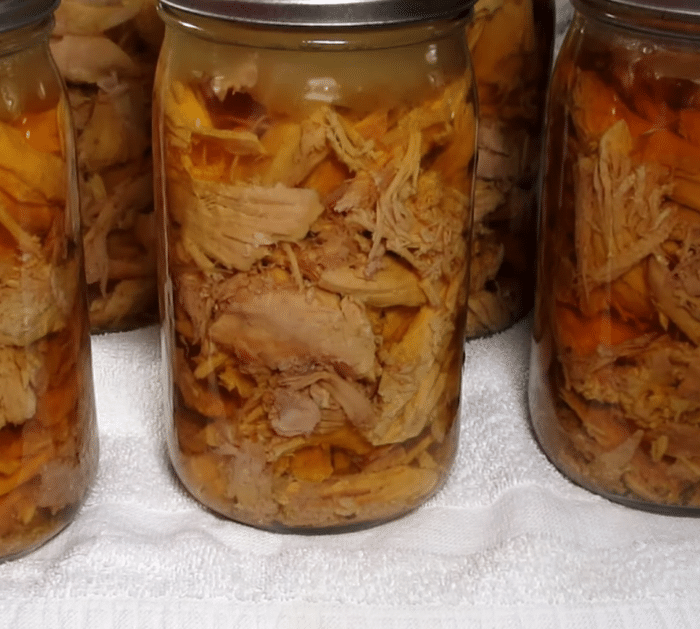
You can now enjoy a delicious, rich, and flavorful turkey broth whenever you like for months by saving leftover turkey bones and meat, and canning them with the help of this video tutorial by Tess Cooks 4u on YouTube. This step-by-step guide will walk you through the proper process of canning turkey and broth safely.
Canned Turkey & Broth:
- Distilled water
- Kosher salt
- Whole peppercorns
- Apple cider vinegar
- Carrots
- Celery
- Large onion
- Turkey bones, fats, and trimmings
How to Make Canned Turkey & Broth:
Step 1
Place a large stock pot on a stove over high heat, then fill it with a couple of quarts of distilled water, and add 1 teaspoon of kosher salt, 1 tablespoon of whole peppercorns, 1/3 cup of apple cider vinegar, 4 chopped carrots, 4 stalks of chopped celery, and a large onion cut into quarters.
Step 2
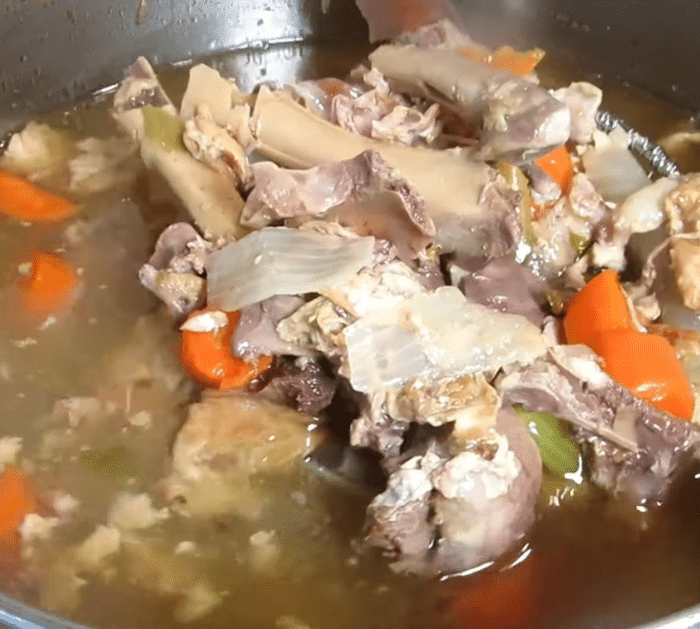
Bring it to a simmer, then add in some aromatics that you want such as chopped parsley and bay leaves, and add in the turkey bones (chopped or not chopped). Give them a good stir, then fill the rest of the pot with distilled water leaving enough headspace, and let the broth cook while covered for about 8 hours making sure to stir every hour and add more water if needed.
Step 3
Next, sanitize the jars and prepare the jars, then clean the lids and rings, and check the jars for any chips or cracks. Fill the jars with the broth only making sure to leave an inch of headspace, then wipe the rims with white vinegar, and place the rings and lid tightly. Fill the pressure canner with enough water at the bottom, then put it in the jars, and place the lid on the pressure canner.
Step 4
Fully vent for 10 minutes, then place it on the weighted gauge, and bring it up to pressure. Set the timer for the appropriate processing time, then adjust the heat to the lowest setting still holding pressure, and turn off the heat at the end of the processing time. Remove the weighted gauge once at “0” this will take about 30 to 45 minutes, let it rest for at least 15 minutes.
Step 5
Now, remove the lid of the pressure canner and let the jars acclimate to room temperature for 10 minutes. Remove the jars and place them on the counter lined with a towel, then let it set for 24 hours, and remove the rings. Check the seals, then wash the jars, and label them before placing them on the shelf.
*All these images are credited to Tess Cooks 4u via YouTube. Give her channel a visit and subscribe for more!
