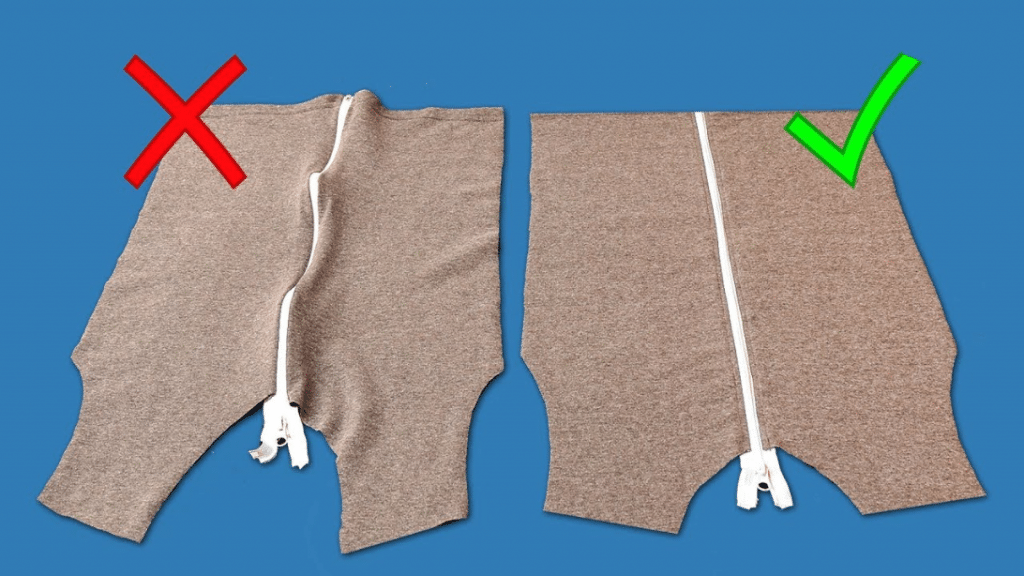
Sewing a zipper can be an easy task if you know the right method or trick to use, if not, you will most probably end up with a zipper that is curved, waved, or just overall unpleasant in appearance. This type of problem is very common and not everyone knows that there’s a hack to prevent this.
RELATED: Sewing Hacks Using a Safety Pin
This video tutorial by Miarti – Sewing Tips on YouTube will show you how a simple strip of fusible interfacing could fix your sewing mishaps. Surely once you’ve tried this trick, you’d never want to sew zippers any other way, and everyone would also think you’re a pro with how perfect and neat your sewing project looks in the end.
Materials for Zipper Sewing Hack:
- Fabric
- Fusible interfacing
- Zipper
- Marking pen, pencil, or chalk
- Ruler
- Scissors
- Fabric pins
- Needle and thread
- Iron, for pressing
- Sewing machine
How to Sew Zippers Like a Pro:
Step 1
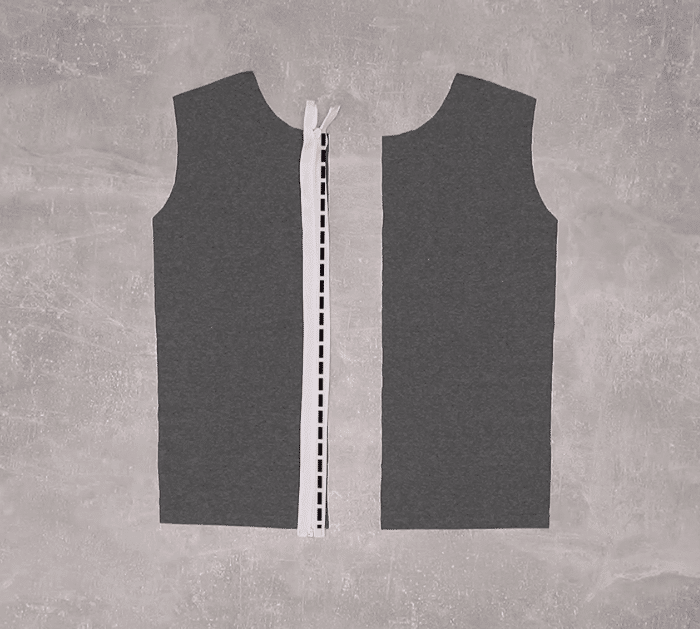
Lay the fabric pieces on your work surface, then cut the fusible interfacing into two strips making sure they are the same size as each side of the zipper, and lay them along the edges of your fabric’s opening or where you’ll put the zipper later.
Step 2
Iron the fusible interfacing to fuse it into place, then place the zipper on top of the fabric with its right side down, and make sure the edges match.
Step 3
Pin them together on each end and the middle, then stitch between the zipper’s edge and chain, and backstitch on start and finish.
Step 4
Turn the zipper over, then mark the other side right where the fabric ends, then position the other half of your fabric, and pin them together where your marks are.
Step 5
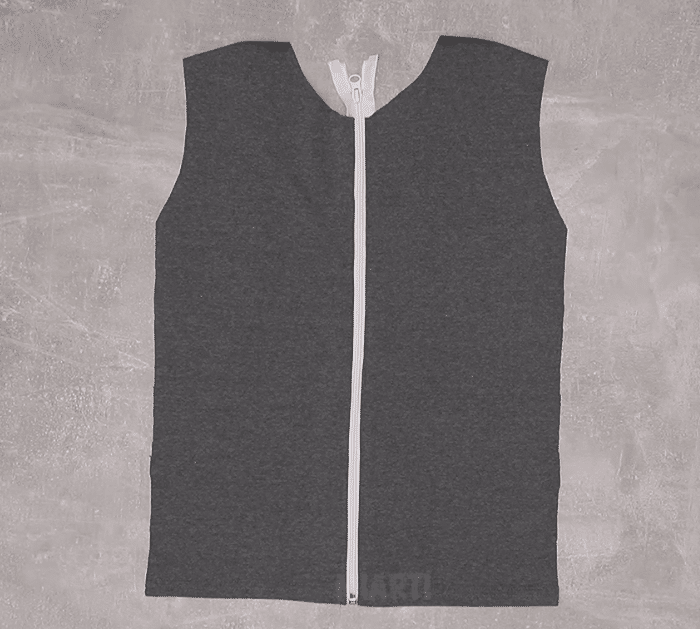
Separate the zippers, then stitch the same way you did the other side, and backstitch on the start and finish. Reattach the zippers together, then topstitch near the edges of the chain, and trim off the excess zipper at the top.
*All these amazing images are thanks to Miarti – Sewing Tips via YouTube. Do visit her channel to see more videos like this!


