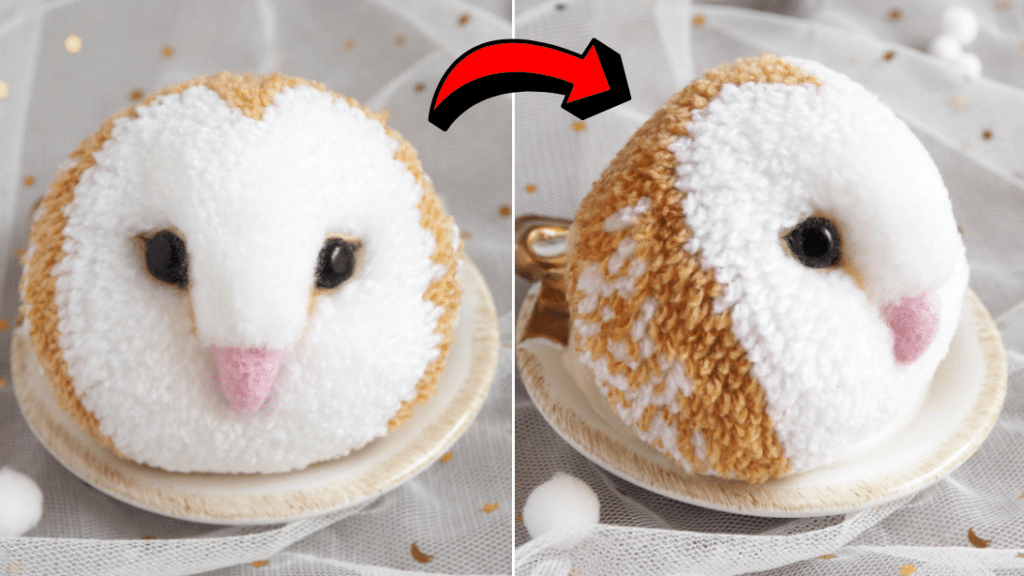
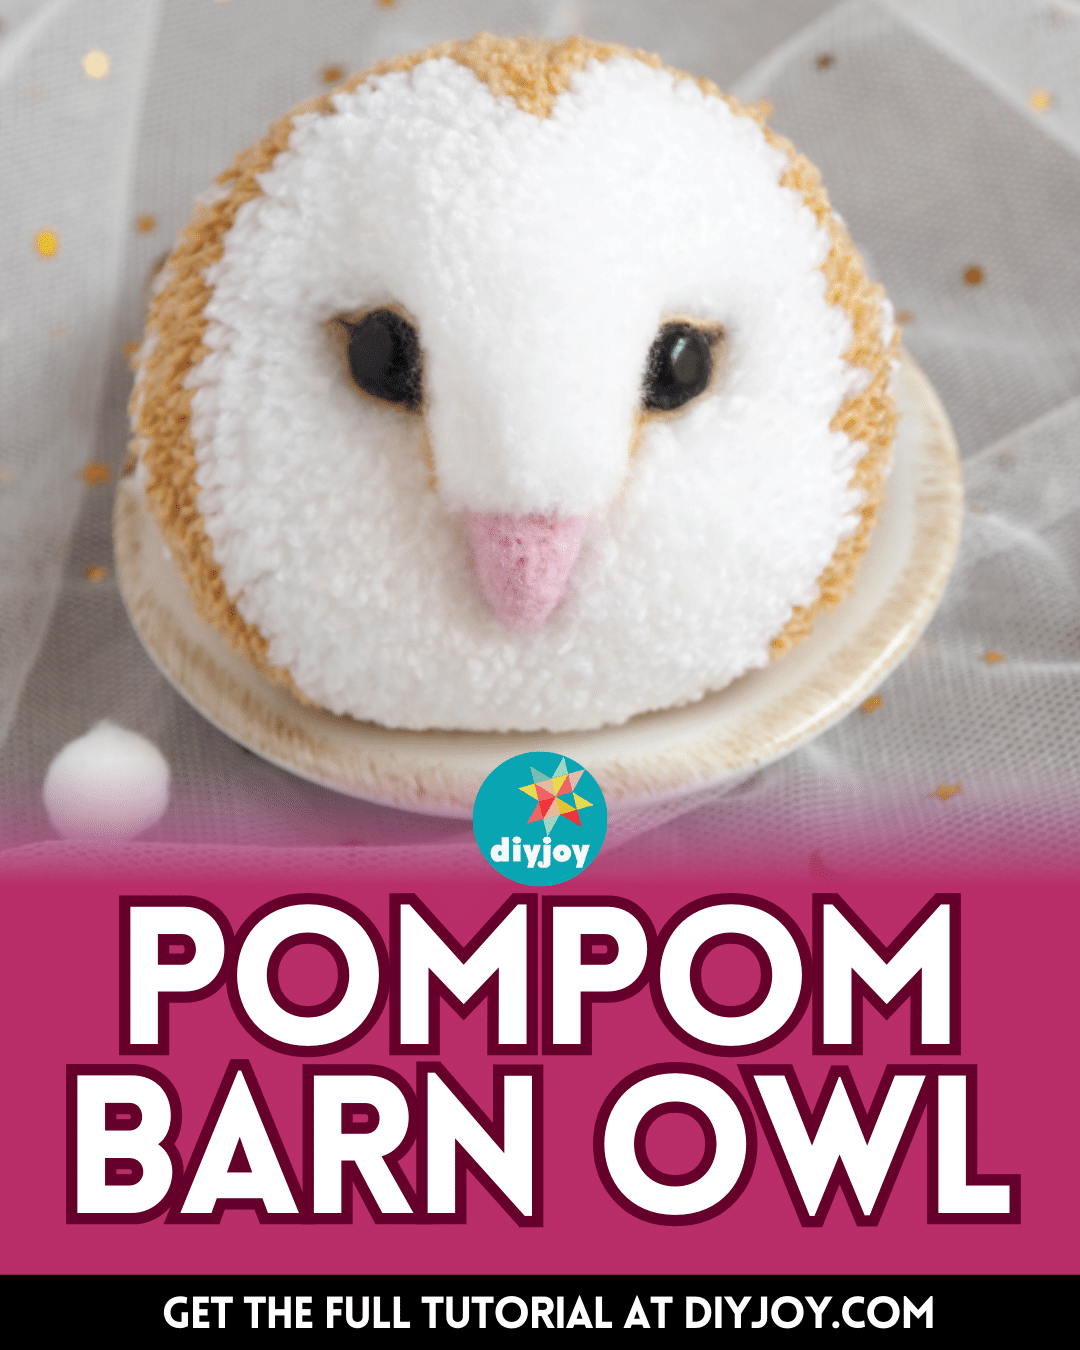
This pompom barn owl by Henry Le on YouTube is so cute that I just have to give it a try. Among all of the pompom DIYs I’ve made before, this is my favorite, and I am also planning to make a couple of these in different colors. They would make great decor, gift bag filler, or a gift itself, and you can even personalize the design or color depending on who you’re giving it to or what occasion you’re making it for.
RELATED: Easy DIY Baby Shark Pompom Tutorial
If you’re a beginner in making pompom DIYs then I’m sure you’ll enjoy this project and you won’t even have a hard time because you’ll be using a clover pompom maker which will make everything easier. This tutorial also comes with a free pattern that you can download, learn how now, and follow the step-by-step instructions written down below.
Materials for DIY Pompom Barn Owl:
- Clover pompom maker, 6.5cm diameter
- Clover cutwork scissors
- Tweezers
- Crochet hook, C-2/2.75mm
- Black marker
- Black plastic eyes, 10mm diameter
- Felting needle
- Pink wool
- Craft glue
- Fabric pins
- Felting mat
- Double-knit yarn, paper white and camel
- Pattern (Click here to download the pattern)
How to Make a Pompom Barn Owl:
Step 1
Use the green clover pompom maker, then open the upper half, and wrap the beige yarn, make sure to refer to the pattern for the exact count. Cut the yarn leaving it with a short end, then use a crochet hook to thread through a loop of yarn, grasp the end of the cut yarn, and proceed to wrap the white yarn.
Step 2
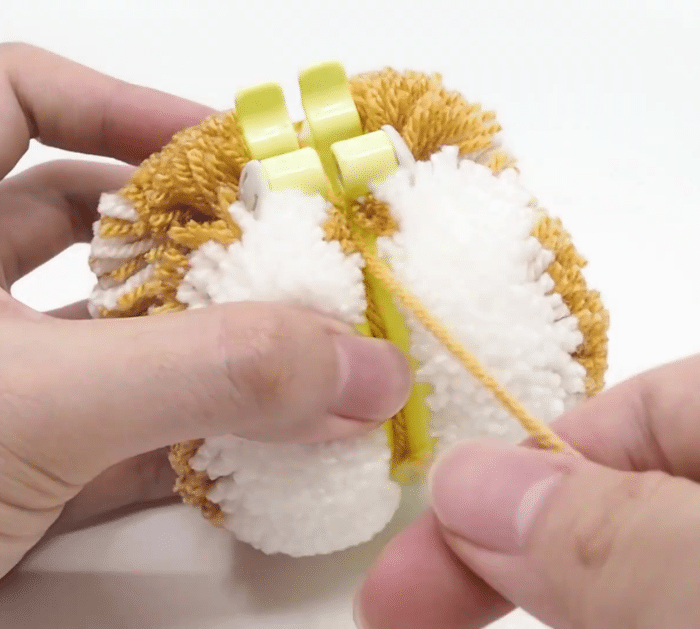
Wrap the beige yarn over the white, then open the lower half of the pompom maker, and wrap the beige yarn followed by a combination of white and beige yarn. Close the pompom maker, then cut through the middle of the looped yarn, and insert a strand of beige yarn between the arms.
Step 3
Pull the strand and tie it tightly, then cut the end leaving a long tail, and tie a couple more tight knots. Remove the pompom maker, then mark where the eyes would be using pins, and poke the area with a felting needle until firm and nicely shaped.
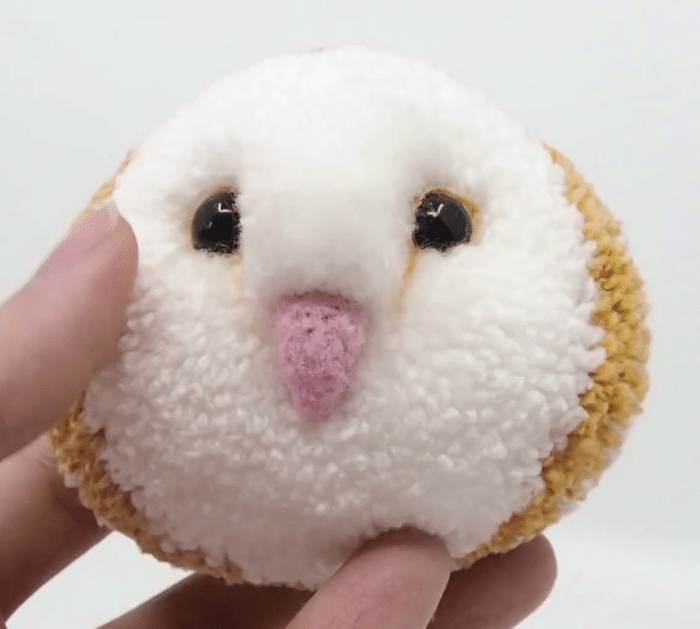
Step 4
Replace the pins with the black plastic eyes and adhere them with craft glue, then trim the shape of the owl, make a beak using pink wool, and glue it to the owl. Add a thin strand of beige yarn for the lining around the eyes as demonstrated in the video, then add the details to the eyes using a black marker, and you’re done!
*All these images are credited to Henry Le via YouTube. Give her channel a visit and subscribe for more!
How to Make a Pompom Barn Owl