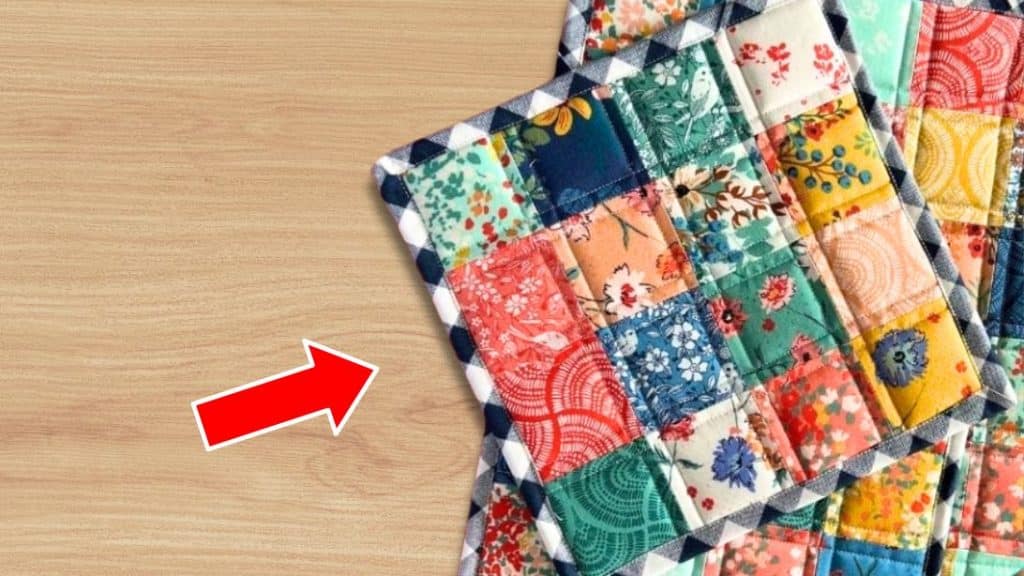
Looking for the perfect gift for your loved ones? Make this potholder and hot pad set! Nicole Gilbert Quilts will teach you how to make this simple sewing project.
If you love to sew and cook, this is definitely the best gift you can give to yourself or to someone who does. It is very easy and quick to make and beginner-friendly. The patchwork tops for the potholder and hot pad are made from mini charm packs, making your work faster and easier.
RELATED: 50 Sewing Projects to Make and Sell
You will be using two mini charm packs for this project, giving you two pot holders and one hot pad. They are not only beautiful but are also functional. Start making these sets for the coming holidays as they are definitely a great gift idea and product idea to make and sell.
Here’s another fun quilting project for you: How to Make an Origami Flower Quilt Block
Easy Potholder and Hot Pad Materials
- 2 mini charm packs
- Insulbrite or wrap-n-zap insulated lining
- cotton batting
- 2 fat quarters
- gingham fabric for binding
How to Make Potholder and Hot Pad
Step 1:
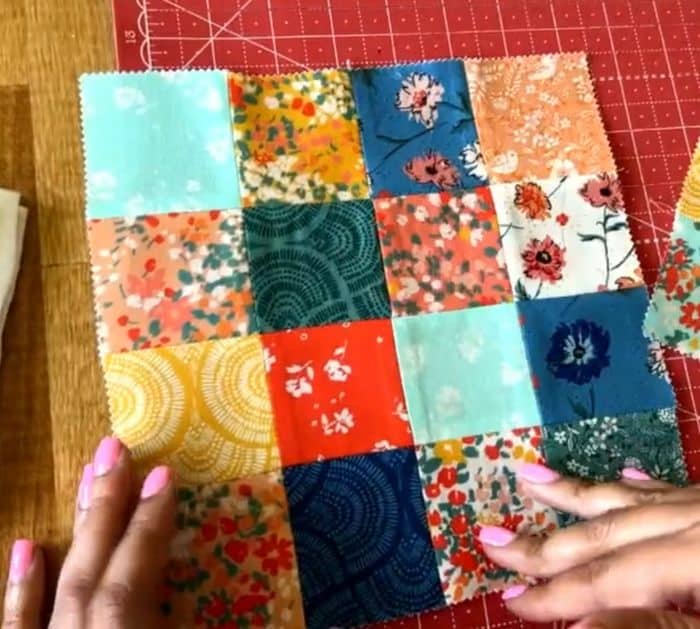
Make the patchwork tops. For the hot pad, you need 40 pieces of mini charm packs to make a patchwork with 5 x 8 squares. For the pot holder, you need 16 pieces of mini charm packs to make a patchwork with 4 x 4 squares. Make 2 patchwork tops for the pot holder.
Sew them in rows first and press the seams open. Once you have the rows, sew them together. Press the seams open.
Step 2:
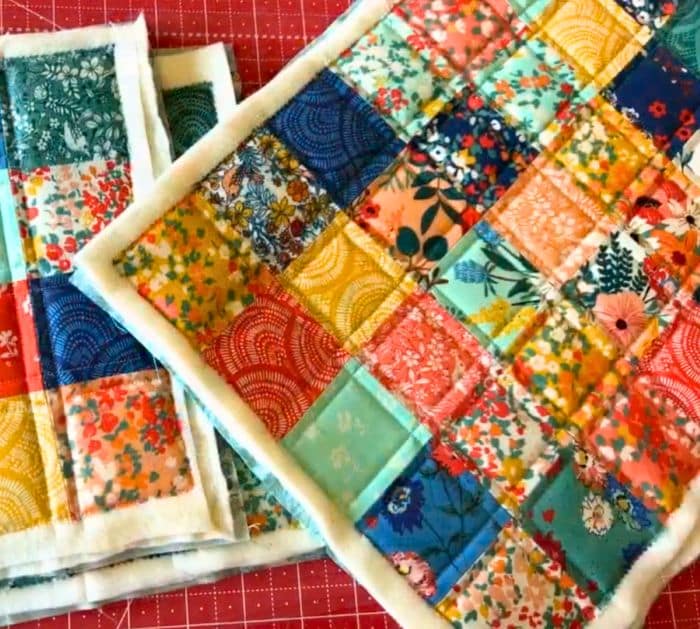
Make the potholder. Cut a square of cotton batting, insulated lining, and backing fabric larger than your top. Place the backing square right side down, followed by the insulated lining, cotton batting, and then top. Baste it however you like. Do the same for the other patchwork top for the potholder.
Repeat the same process for the hot pad.
Step 3:
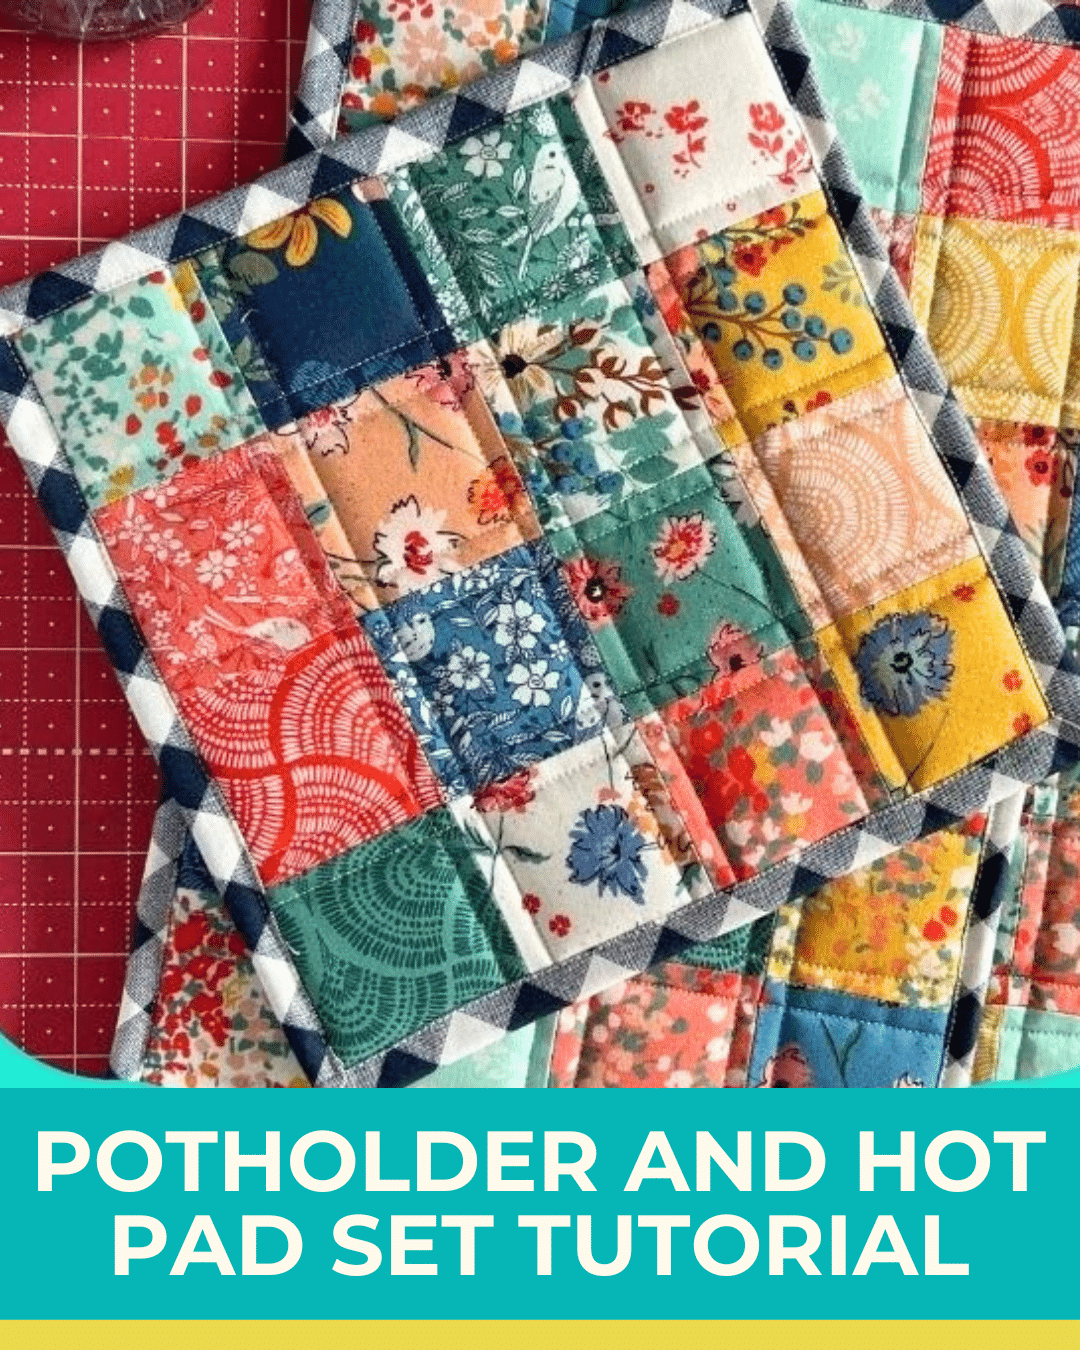
Do checkerboard quilting, by sewing vertical and horizontal lines. See photo below for reference.
Step 4:
Trim the excess on all edges. Make sure not to cut on the seams. Bind them using 2-inch strips. You will need one 2-inch strip x WOF for each potholder, but for the hot pad, you need two.


