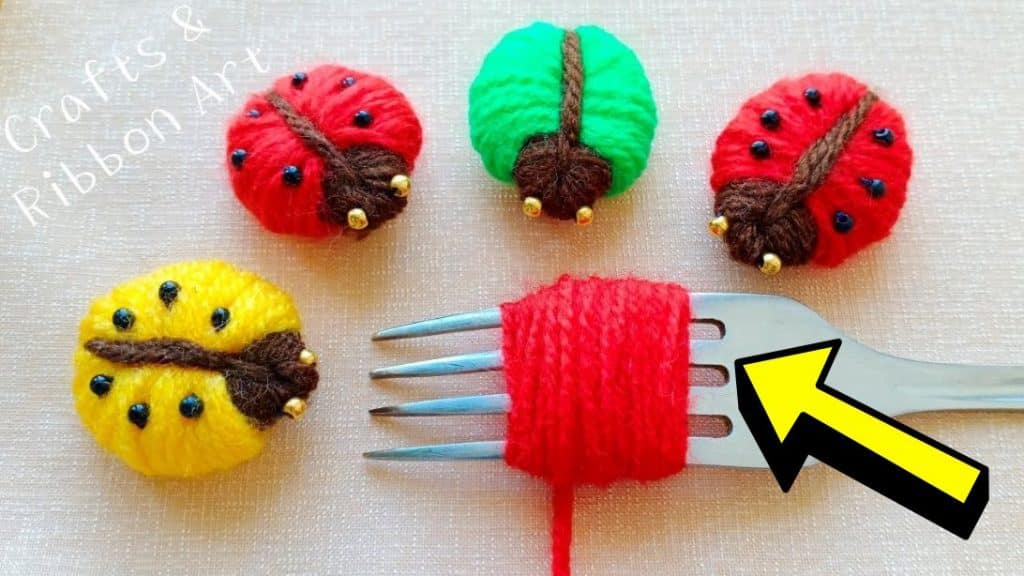
Ladybugs are one of the cutest insects ever and their colors are so fun and bright, this is why I love making decor inspired by them. One of my favorite ladybug DIY projects is this one by Crafts & Ribbon Art on YouTube which is made out of only yarn and with the help of a fork, too!
RELATED: How to Make a DIY Kitten Using Yarn
It’s super simple and easy to make that you can finish one yarn ladybug in as fast as 6 minutes! You don’t need any special tool or be an expert in making this because you can pull this off perfectly even on your first try. Watch the video tutorial now to learn how.
Materials for DIY Yarn Ladybug:
- Red yarn
- Black or dark brown yarn
- Small gold beads
- Small black beads
- Embroidery needle
- Sewing thread
- Scissors
- Fork
How to Make a DIY Yarn Ladybug with a Fork:
Step 1
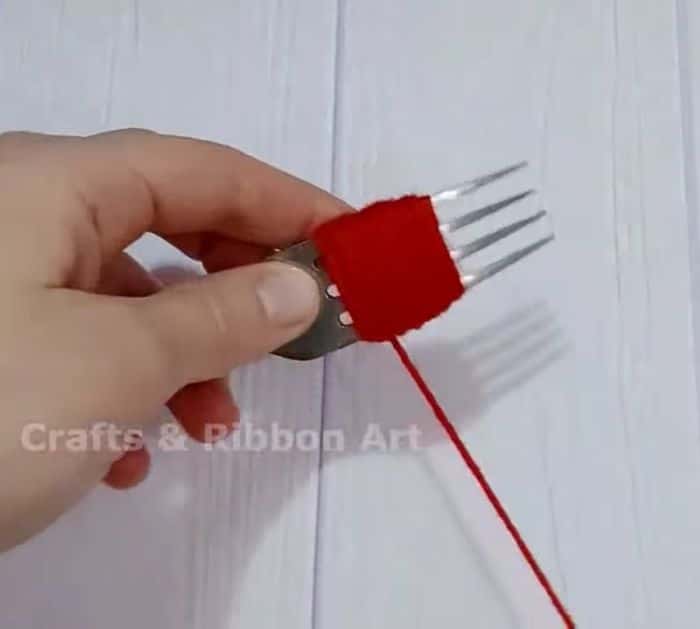
Wrap the red yarn around the fork’s 4 tines about 50 times, then cut a small piece of brown yarn, and put it aside.
Step 2
Wrap the brown yarn around the 2 middle tines about 30 times, then use the cut piece of brown yarn to tie together the red and brown looped yarn in the middle as shown in the video, and knot tightly.
Step 3
Cut off the excess yarn leaving only the yarn wrapped in the middle, then carefully slide the looped yarn off the fork, and then bring the yarn in the middle over to the back and keep tying it tightly.
Step 4
Cut off one of its tail, then insert the other tail through a needle, and sew it to the head of the bug locking it securely as shown in the video.
Step 5
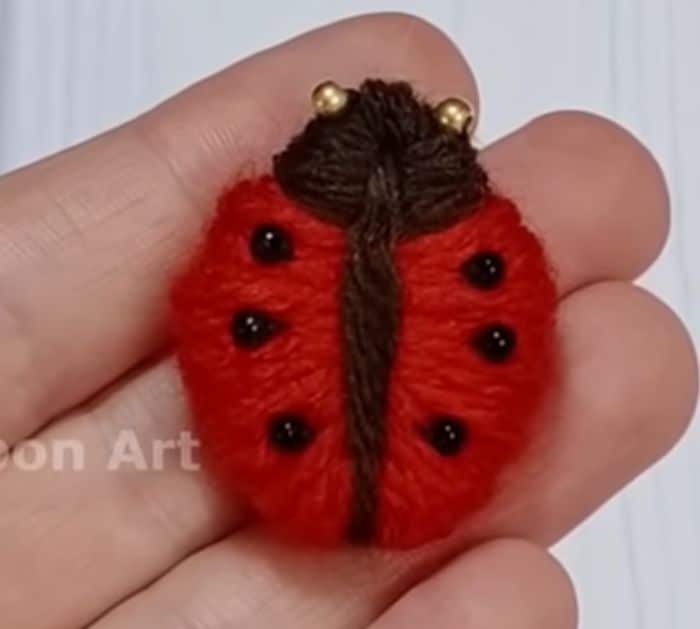
Hide the yarn and push it inside the body of the bug and cut off the excess, then sew the gold beads for the eyes, and sew the black beads to the body for the dots.
*All image credit belongs to Crafts & Ribbon Art via YouTube. Follow and subscribe to her channel for more!
