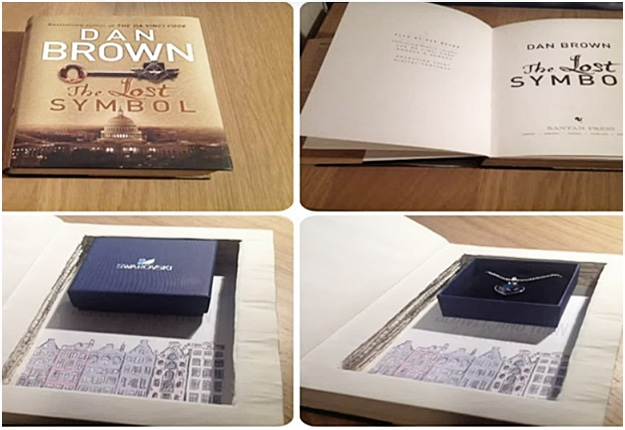
Easy DIY Hollow Book/Safe
What you need:
- Hard Bound Book
- Glue
- Box Cutter and Scissors
- Cling Fil or Plastic Wrap
Here’s How:
Step 1
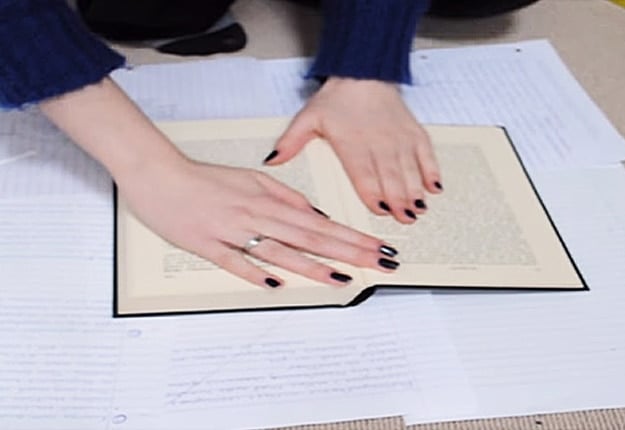
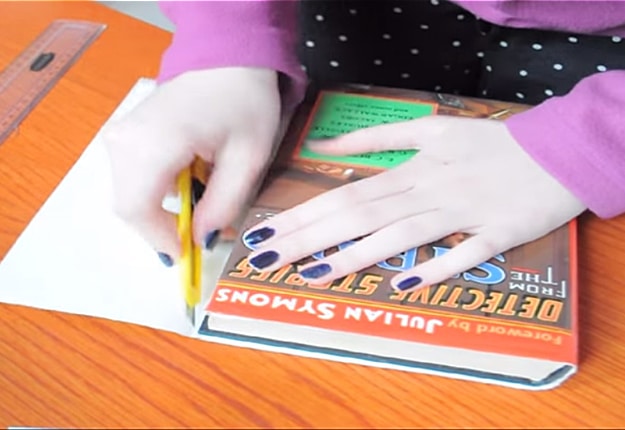
Start with a hard bound book and take of its sleeve. Figure out how many pages you want to leave. This could make it a surprise so when they open it , it would still seem look like a book.Take one extra page too and fold them all back. The extra page is the stick on page at the beginning of your cut outs. ( because after you finish, your first cut out page would really look scruffy)
Step 2
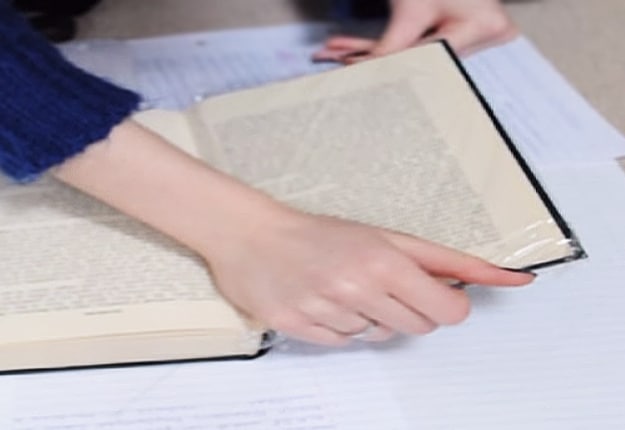
Now take some cling film and cover the pages that you don’t want cut as well as your cover. This will help prevent it from sticking from the pages which will be glued later.
Step 3
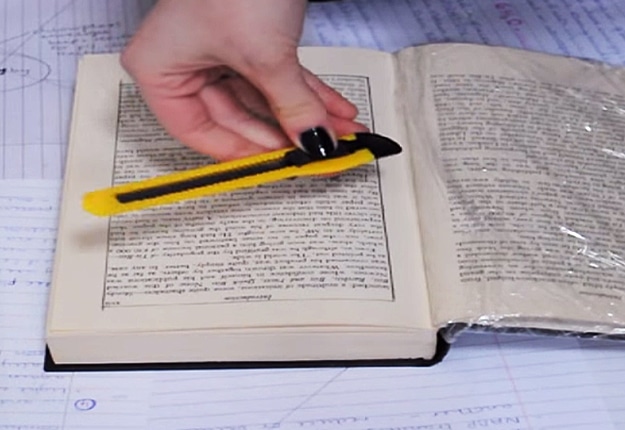
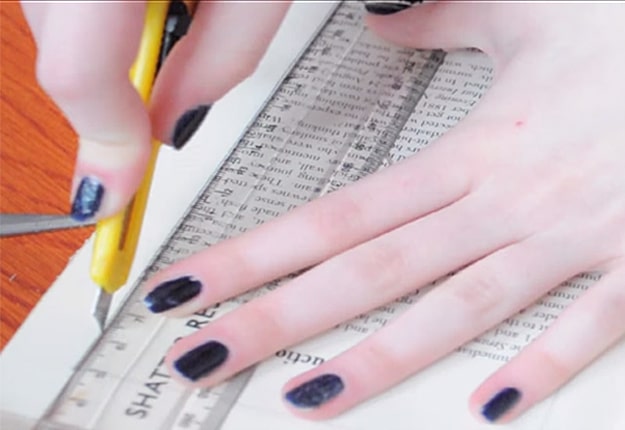
Begin drawing/ marking where you want to cut. Using a box cutter, begin cutting down on your lines using a ruler as a guide for a cleaner cut. Ensure your corners are clean as possible. Use scissors to help.
Step 4
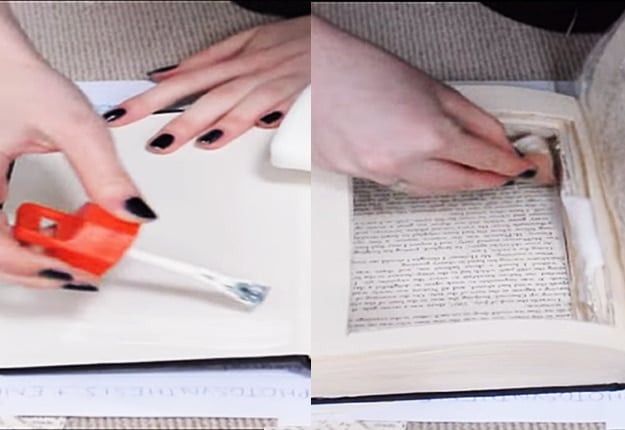
When you’re finished, allot around 10 pages to glue at the back cover of the book. Then seal the inside and outside of the book with glue using a brush or sponge. Let it dry for a day and put weights on top of the book to help them stick together.
Step 5
Once dry, Glue the extra page that we allotted from step 1 over the messy front and cut out a neat rectangle.
Step 6
Put the sleeve back on the book. cut the extras at the back and glue it with the cover.
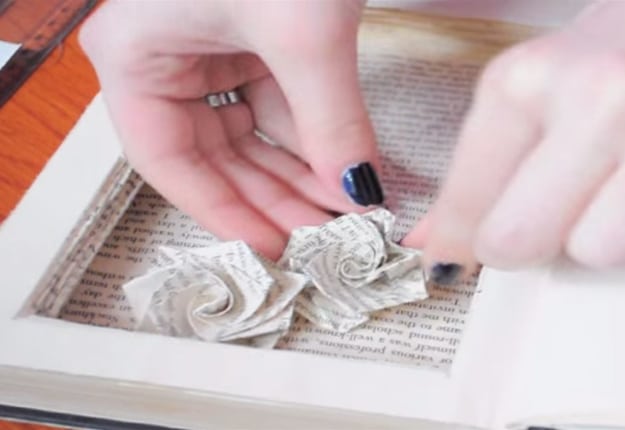
And your DIY hollow book is done! You can put any extras like pictures and art or a small token or gift.
