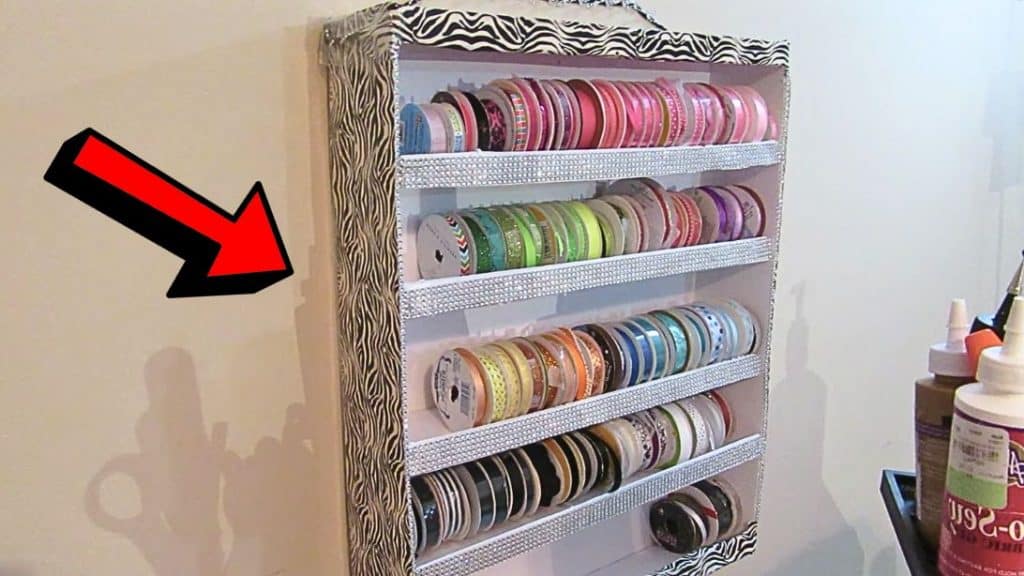
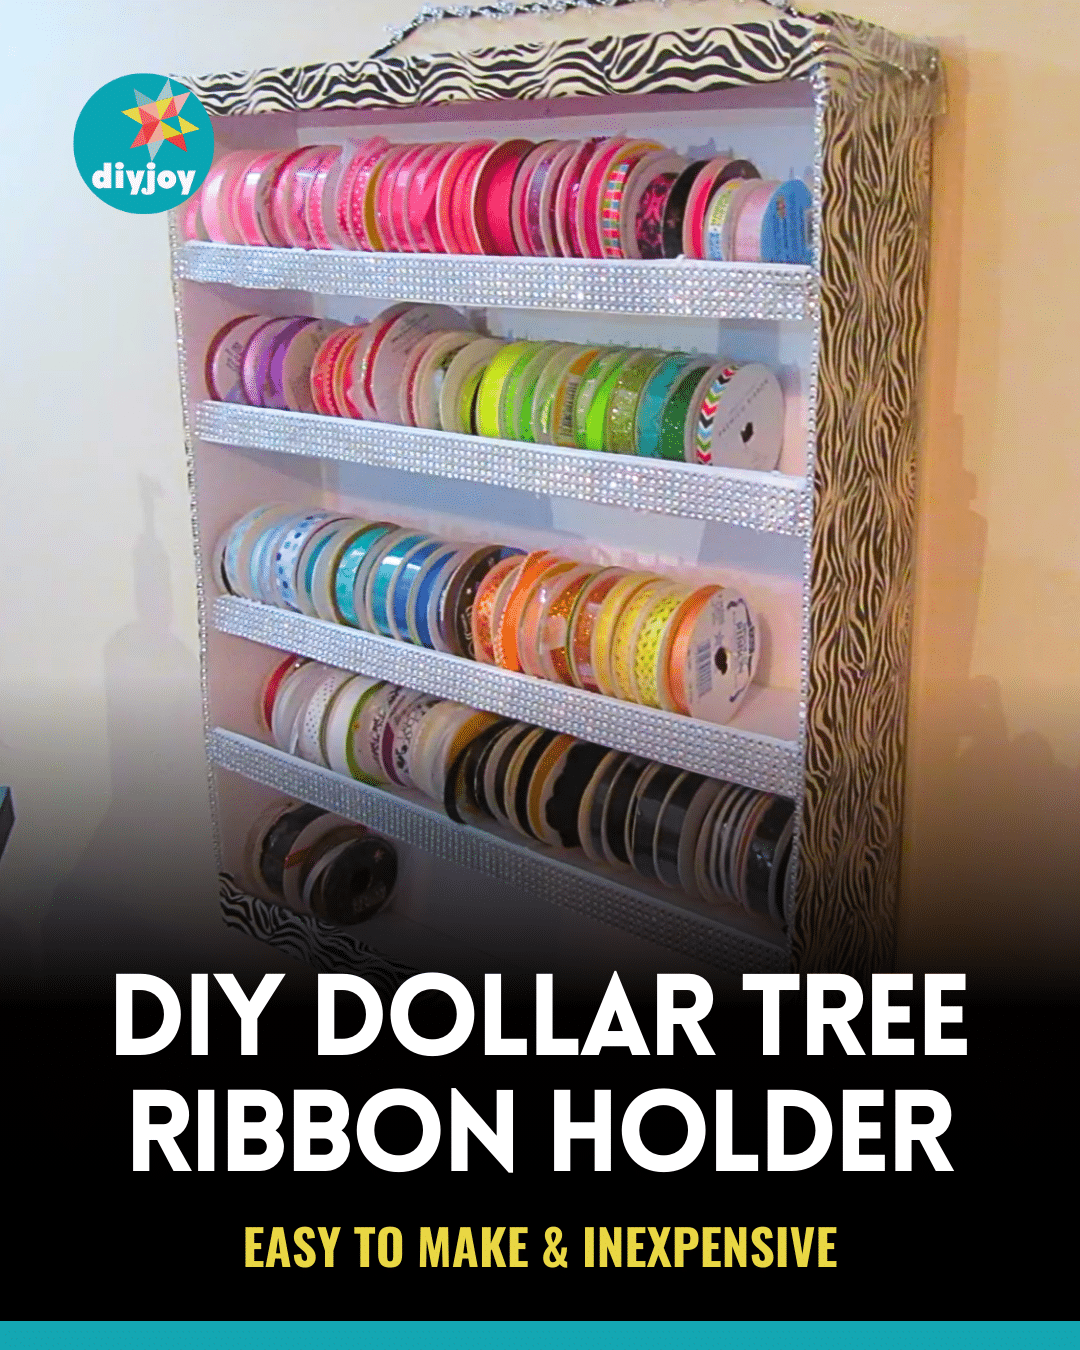
If you are a crafter and you have a stash of assorted ribbon that needs organizing, then you’ll love this DIY project idea by Kurly Girl Kraftz on YouTube. You only need materials that you can easily purchase from the nearest Dollar store and the steps to piecing this shelf are very easy, too.
RELATED: DIY Shelf Organizer Using Cardboard Boxes
You can paint this shelf with any color that you want and design it depending on your preference. If you want to learn how now, then proceed to read the written step-by-step instructions down below, and while you’re at it make sure to watch the video tutorial for more details.
Materials for DIY Ribbon Storage Holder:
- 3 sheets of foam core board
- Metal square
- Utility knife
- Large cutting mat
- Tape measure
- Pencil
- Hot glue gun
- Plan (Download the plan and guide here)
How to Make a DIY Ribbon Storage Holder:
Step 1
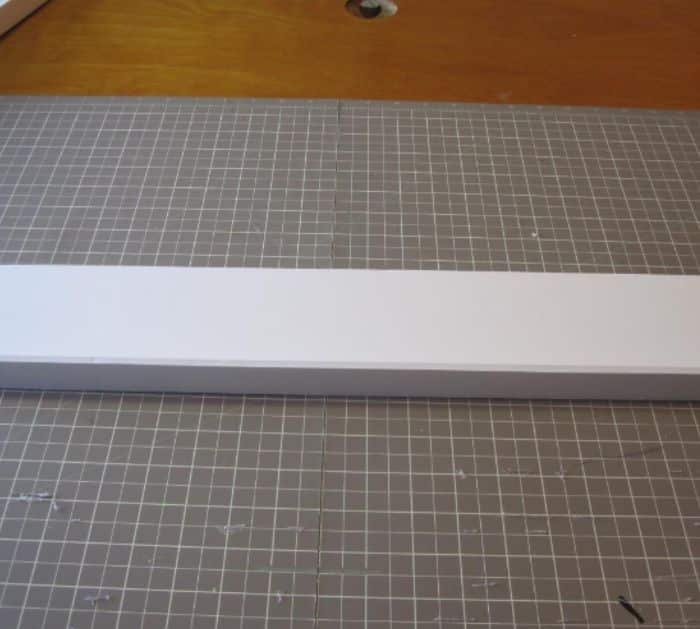
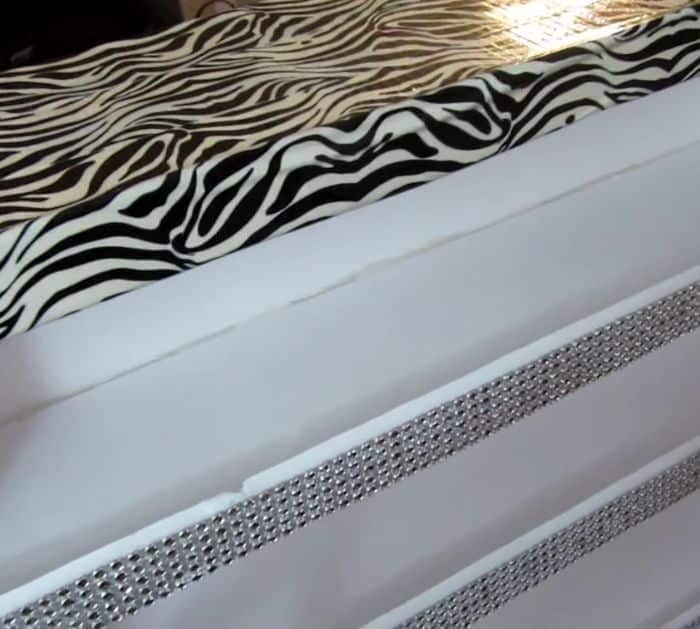
Cut the foam board according to size, then assemble the shelves, and secure them with hot glue as shown in the video. Mark every 5 inches along the 25-inch edge of the back piece for the placement lines for the shelves. Dab some glue along the bottom edge of the back piece, then place the first shelf, and trim the piece facing up making sure the ends are flushed.
[social_warfare]
Step 2
Do the same for each of the drawn lines, then add some glue, and attach the shelf. Once at the top shelf, turn it over so that the trim piece is facing down, and now attach the sides. Apply the hot glue to all of the side edges of the back, shelf ends, and trim ends, then position the side piece on it, and square up the top and bottom edges first followed by the inner shelf ends. Repeat the same steps and piece the other side and you’re done!
*Thanks to Kurly Girl Kraftz via YouTube for all the images used here. If you love this DIY project, then you’ll surely love her other videos too, so give her channel a visit and subscribe!
