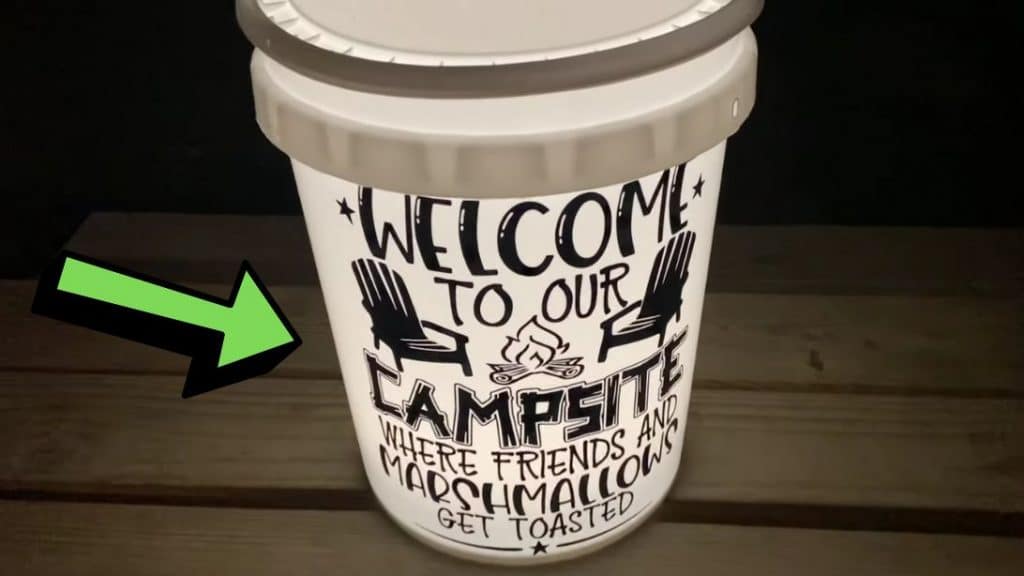
Bring this glowing bucket on your next camping trip for a great source of light. This DIY project is super easy to make and no special tool is needed for this, just a large bucket and led light. Proceed to read down below for the full instructions and watch this video tutorial by Design Bundles on YouTube!
Materials:
- Cricut smart vinyl permanent
- Cricut transfer tape regular
- Scraper tool
- Large bucket
- Scissors
- Led light
- Design (click the link if you want to see and use the same the design shown in the video)
Directions:
Step 1
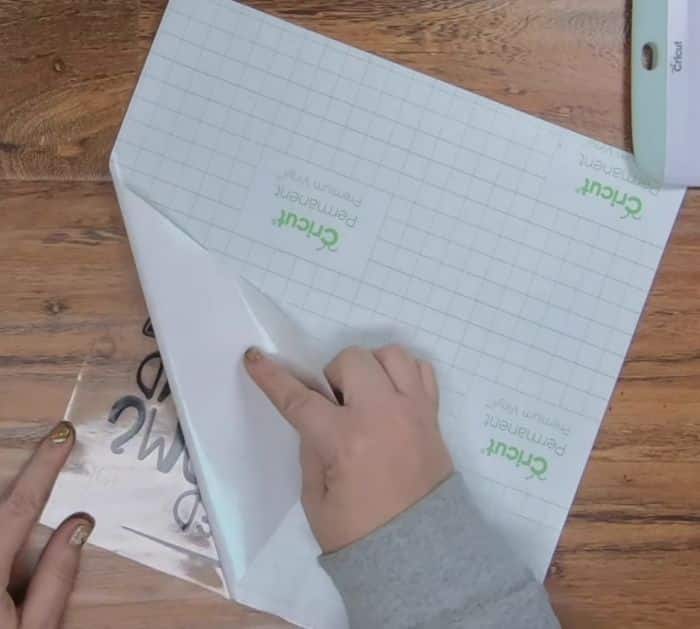
Choose the design that you want for your bucket or create one, print it, then cut out the image (you can visit their website linked here or you can make your own design). Apply the transfer tape on top of the vinyl printed image, then scrape or rub it well with a scraper tool, and peel the tape off the paper backside.
[social_warfare]
Step 2
Hold the ends of the image together so that it’s slightly folded and the center is exposed, then gently lay it down at the body of the large bucket, once the center is attached to the bucket, slowly lay the rest of the image to the bucket. Adjust the image until it’s nice and smooth, and no air bubbles can be seen. Once the sticker image has adhered to the bucket, peel off the tape leaving the print on the bucket. Place the led light inside the bucket, then place the lid, and cover.
*Thanks to Design Bundles via YouTube for all images used here. If you loved this DIY project idea, then you’ll surely love their other videos too, so give their channel a visit and subscribe!
