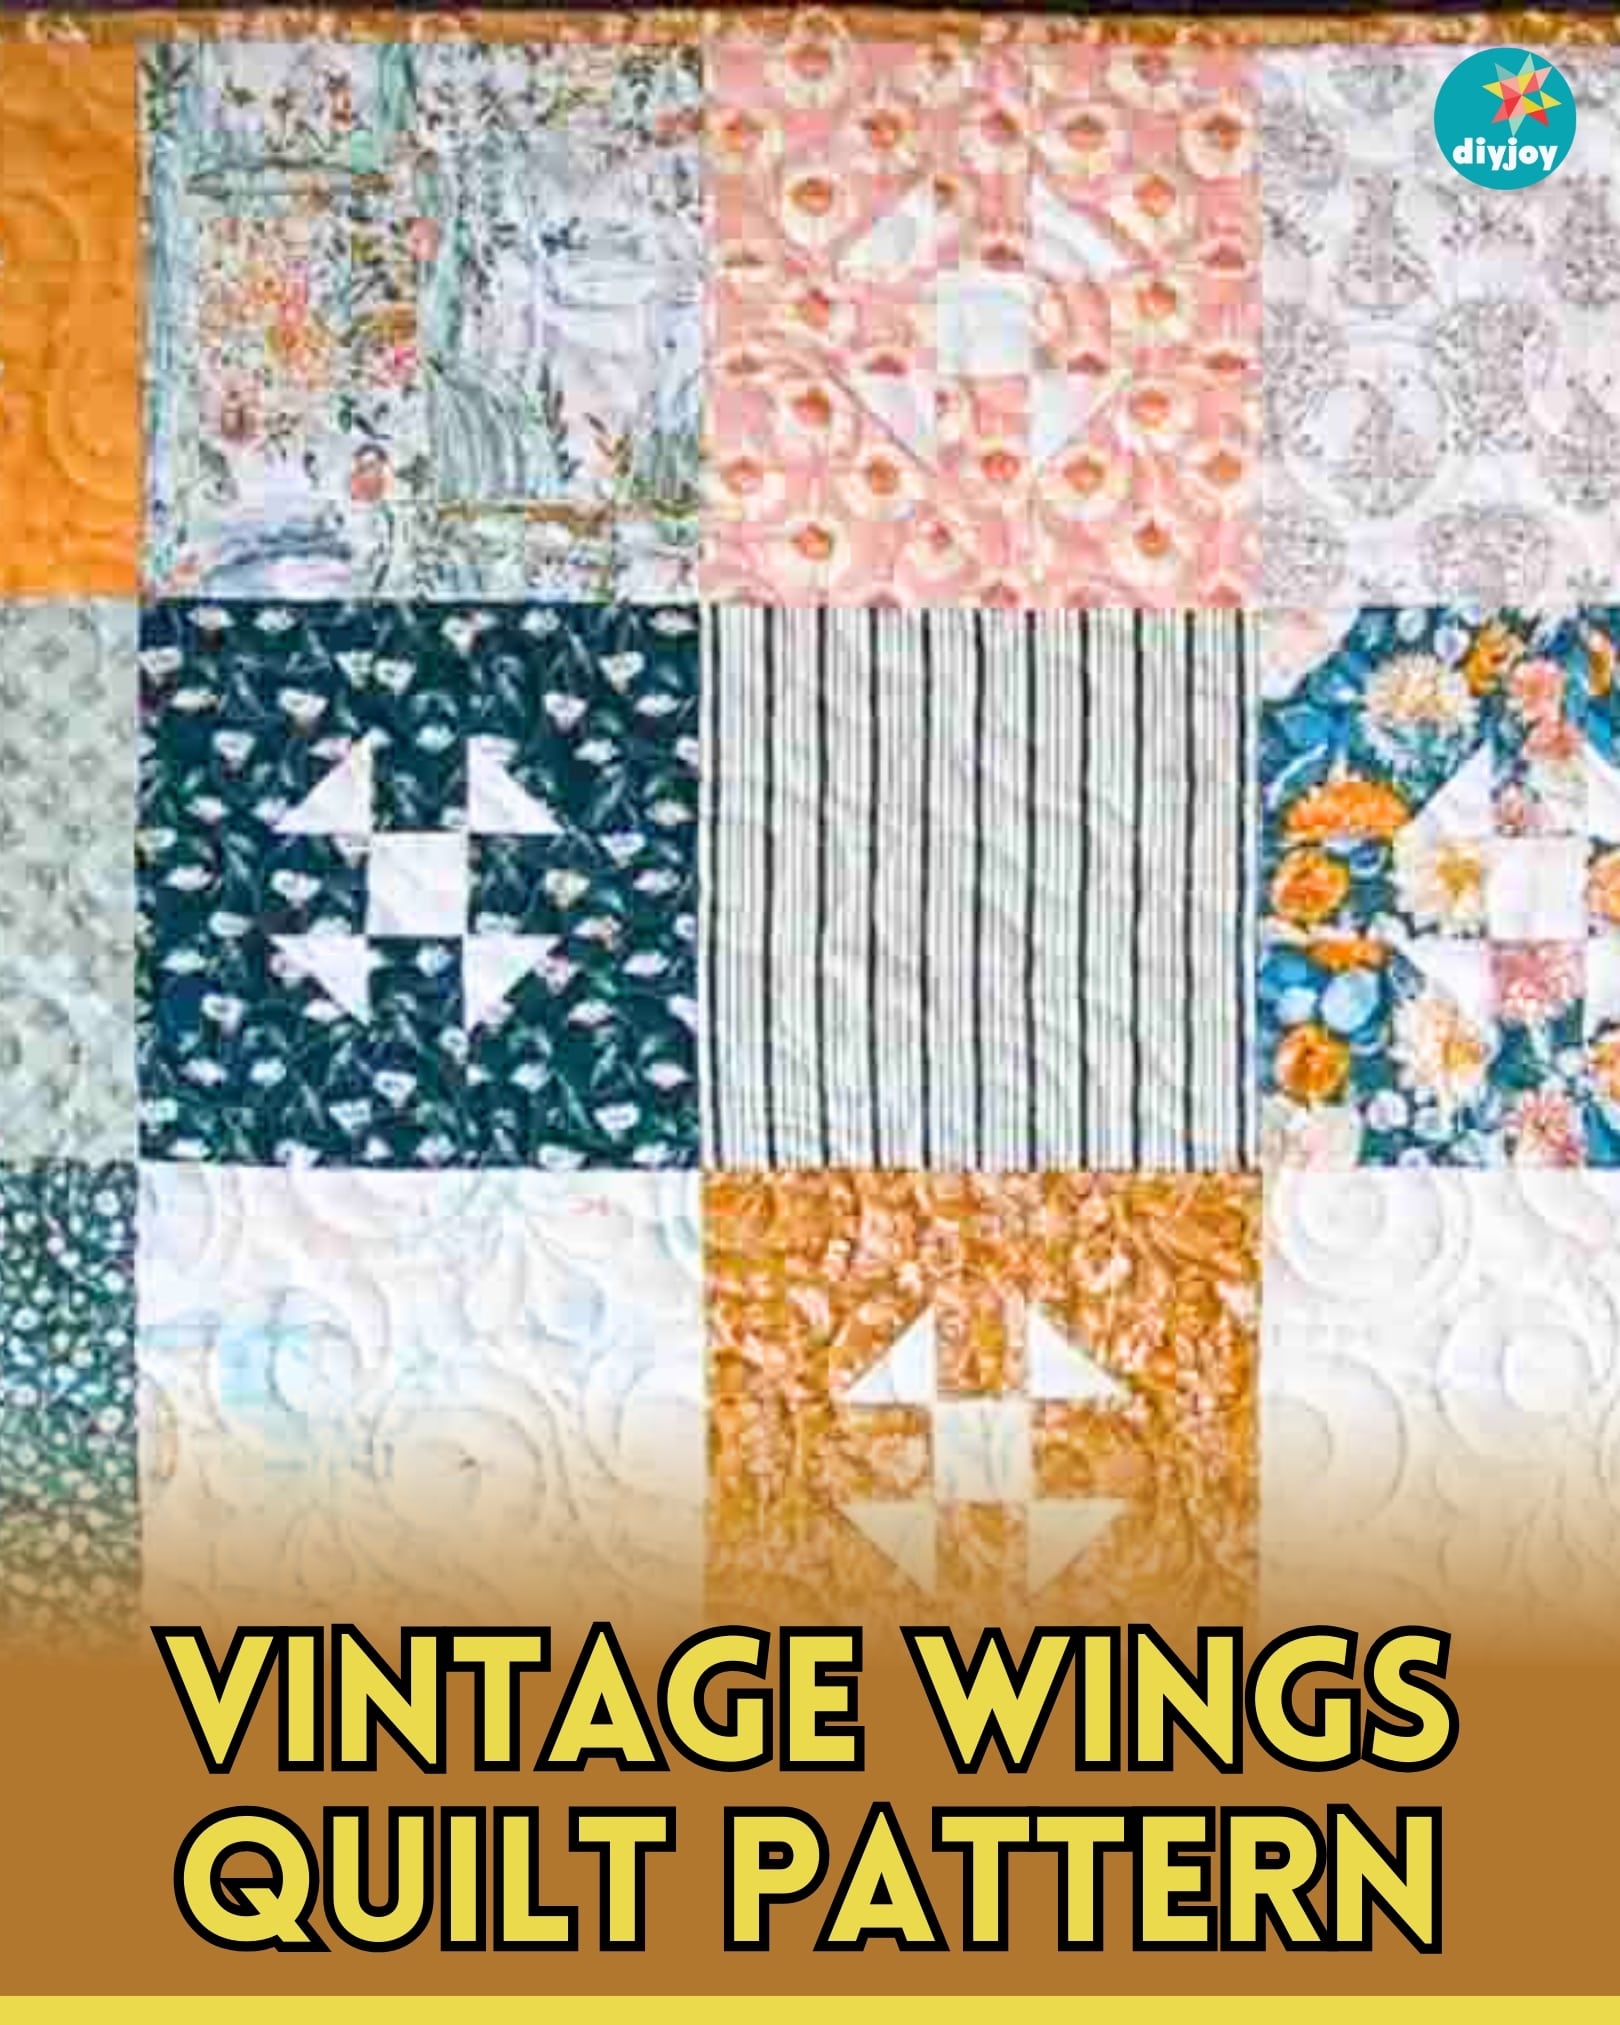
Are you looking for your next quilt project? Try this vintage wings quilt pattern from Moonkin Stitchery on YouTube! It’s a fun and super easy quilt that only needs a layer cake and a background fabric—nothing complex and hard. I’m sure you’ll be able to finish this within a day even if you’re a beginner.
RELATED: Sunshine Shoofly Quilt Pattern With Jenny Doan
In this step by step tutorial, Moonkin Sitchery will teach you how to make this gorgeous quilt pattern easily. I’m sure this will be an instant favorite once you try making it. Watch the video tutorial below to learn how.
Materials:
- layer cake
- 1/2 yard background/accent fabric
- rotary cutter
- cutting mat
- sewing machine
- iron, for pressing
Directions:
Step 1
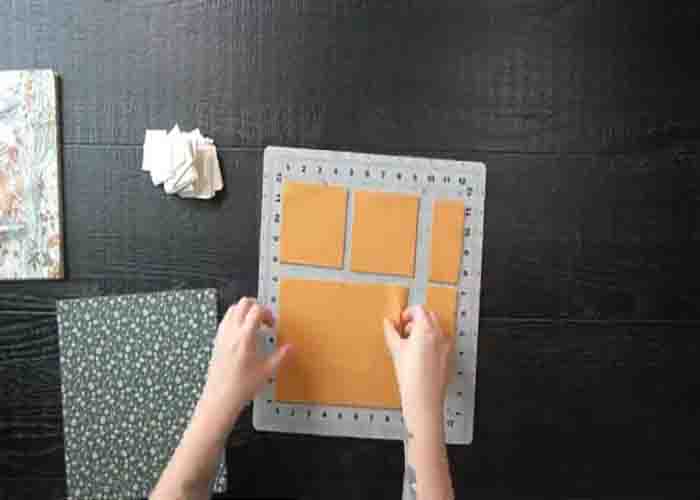
Cut six 2″ x WOF strips with your background yardage and subcut them into 105 – 2″ squares. Next, select twenty-one 10″ squares and cut four 4″ squares and four 2″ x 4″ rectangles. After this, trim the remaining twenty-one 10″ squares to a 9″ square.
Step 2
To make the block, select four 4″ squares, four 2″ x 4″ rectangles in the same print, and five 2″ background squares. Place one background square in the center and with the remaining four background squares, draw a 45-degree line from corner to corner and place them all around the 4 1/2″ squares toward the center. After this, snowball all of the inner corners.
Step 3
Once done, sew directly on the drawn line, then trim a 1/4″ away from the sewn line. Once all of the corners are snowballed, sew the blocks into rows, then sew the rows together to complete the 9″ block. Repeat these steps until you have a total of twenty-one quilt blocks.

Step 4
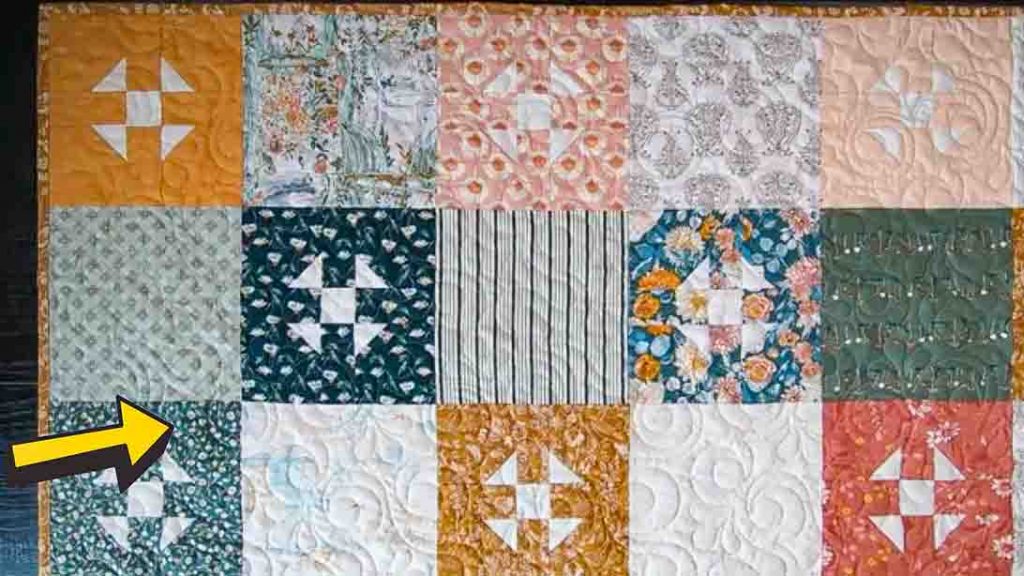
Once you have all your blocks, lay them side by side with the print 9″ squares, alternating between the two in a 6 x 7 block layout. Sew the blocks together to form rows, then sew those rows together to complete the quilt top.
Vintage Wings Quilt Pattern Tutorial