Supplies You Need For This Project
✨ Most people grab these four items
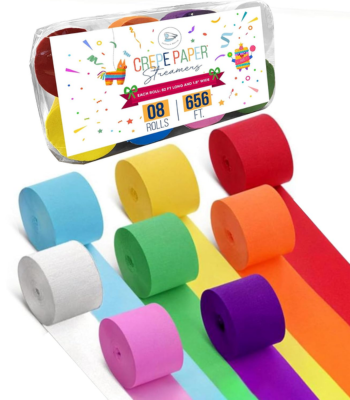
Crepe Paper Rolls
This jute twine is sturdy, easy to work with, and perfect for rustic crafts, gift wrapping, wreaths, ornaments, and other DIY projects.
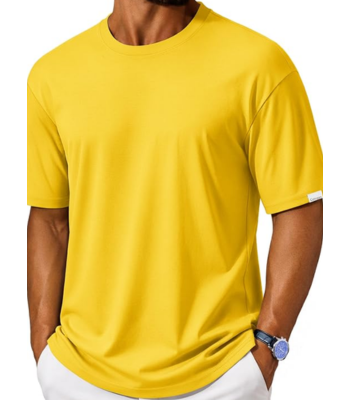
Yellow Shirt
This yellow shirt is a bright, versatile basic that’s great for everyday wear, customizing with vinyl or fabric paint, or using as the base for fun DIY shirt projects.
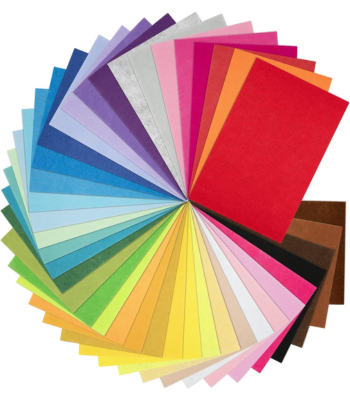
Felt Fabric Set
Felt fabric is soft, easy to cut, and doesn’t fray easily, making it useful for sewing projects, ornaments, appliqués, and kids’ crafts.
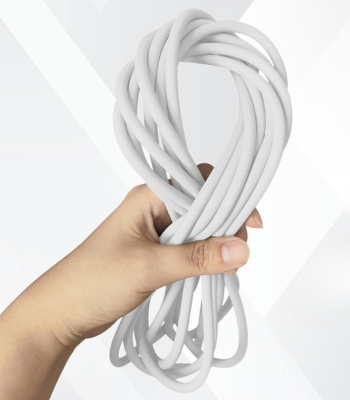
Foam Stick Roll
This flexible foam backer rod is easy to cut and shape, making it handy for filling gaps, adding structure, and creating lightweight forms for different DIY and craft projects.
These products are all listed on our DIY JOY Amazon store, so you can order and know exactly what you will get, and when. We do earn a small commission on these links and very much appreciate your support ❤️
Quick Steps
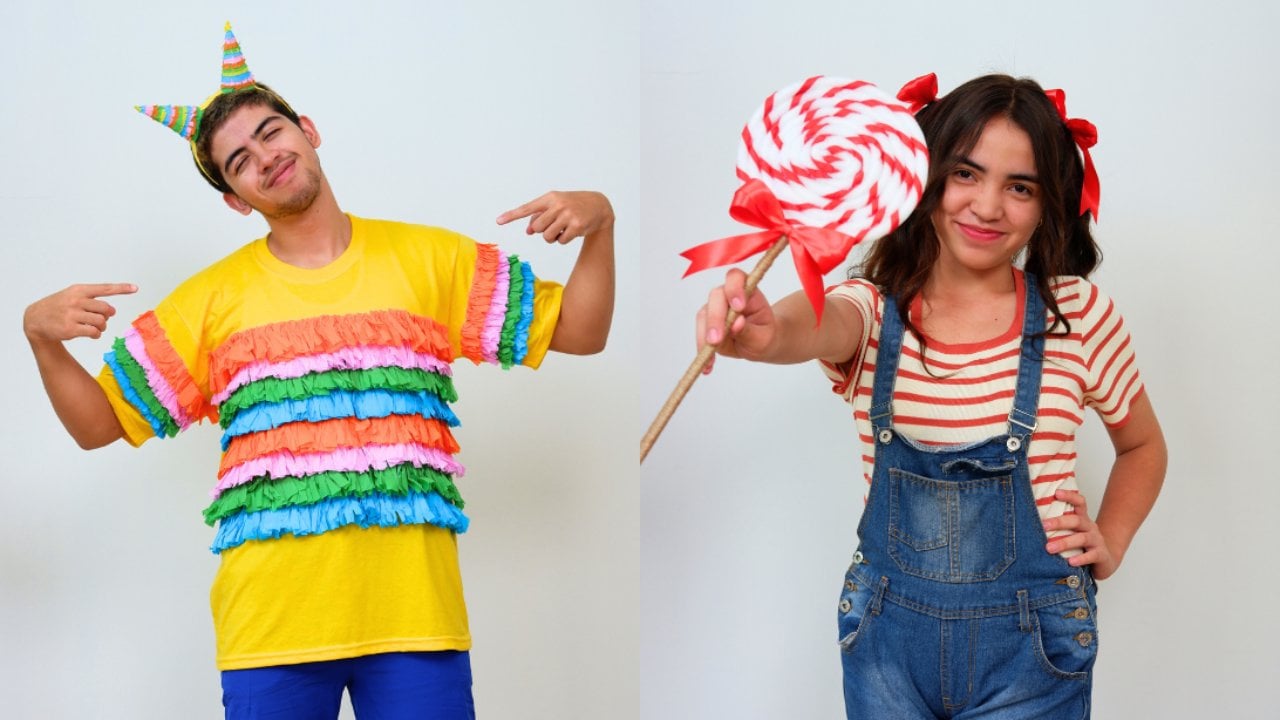
How to Make the Piñata Costume
- Cut crepe paper into 5-inch strips and fringe the bottom edges.
- Mark each layer on the shirt with masking tape and lightly gather the paper.
- Hot glue the fringed strips from bottom to top, alternating colors.
- Add shorter fringe strips to the sleeves, spacing the layers closer together.
- Cut two right-triangle cardboard pieces, fold into cones, and hot glue closed.
- Cover each cone with layered fringe, then hot glue them onto a headband.
How to Make the Candy Prop
- Cut the foam stick to size, then cut thin red felt or tape strips.
- Wrap the red strips diagonally around the foam and glue in place.
- Coil the foam into a lollipop swirl, gluing as you go.
- Attach a stick to the bottom and finish with a ribbon bow