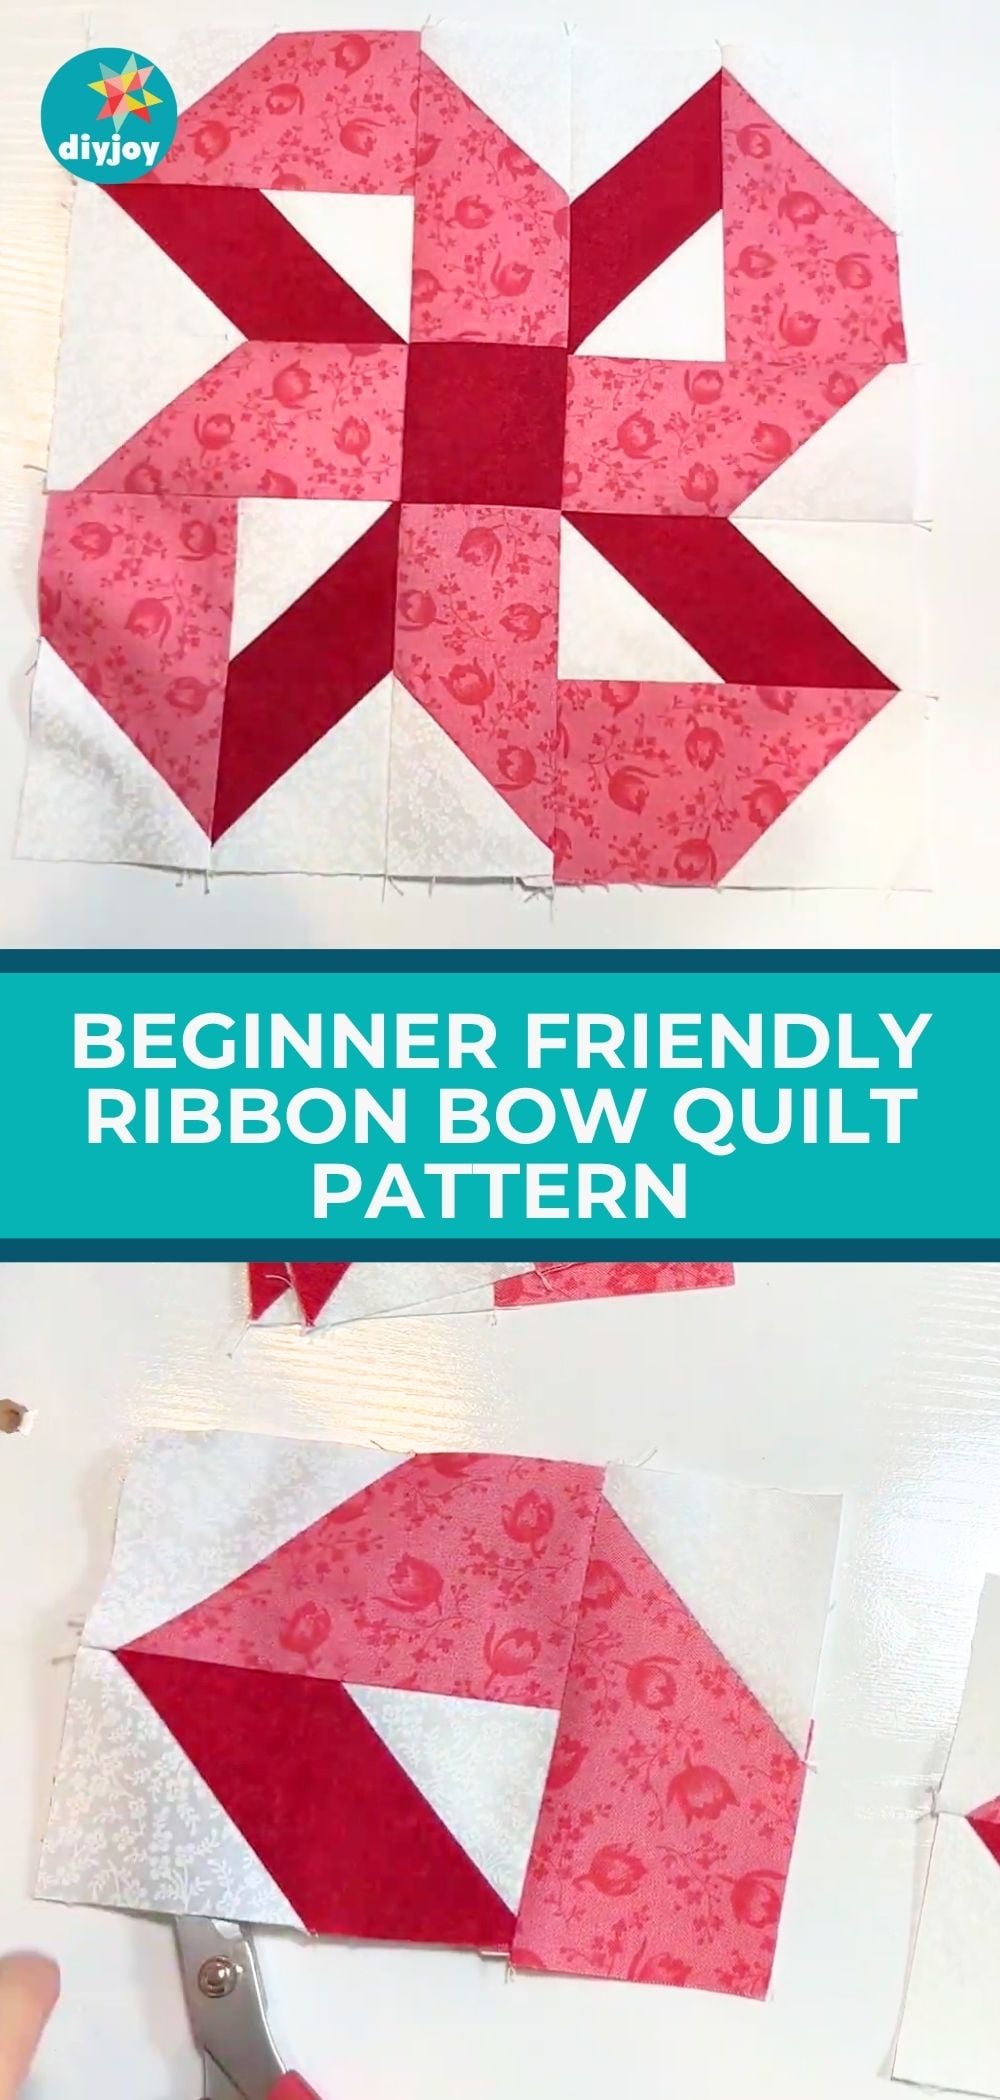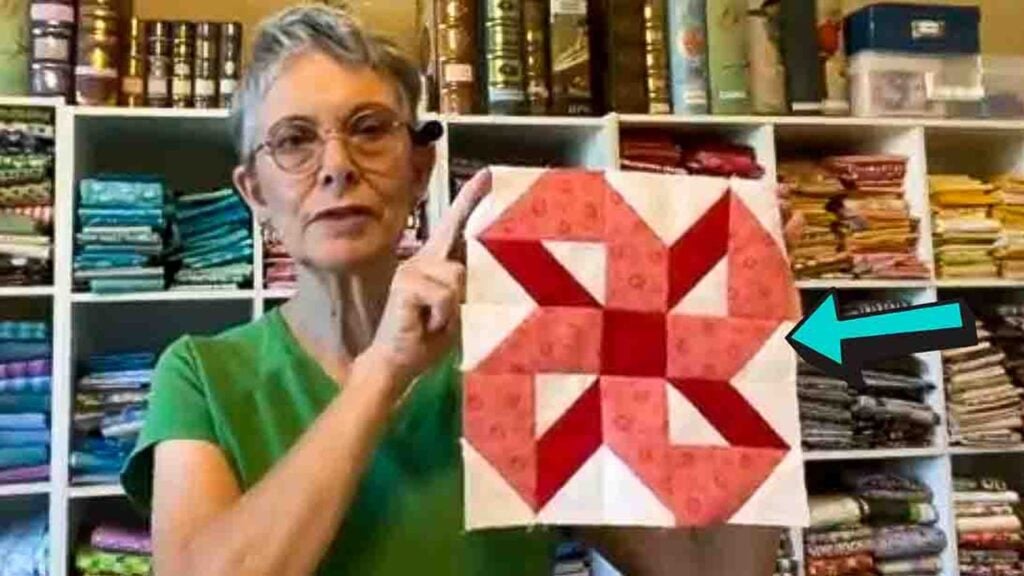
Whether you’re a beginner or a seasoned quilter, you’ll surely love this ribbon bow quilt block from Tulip Square on YouTube. This quilt pattern may look complex at first sight, but it’s actually pretty easy to make and beginner-friendly! I really enjoyed making this pattern a while back, and it became one of my favorite quilts.
RELATED: Easy Bow Tie Quilt Block Tutorial
Try this quilt today! It will be a perfect personalized gift idea for your loved ones. Watch the video tutorial below to learn the step by step instructions on how to make this.
Materials:
- (click here for the free pattern)
Color 1:
- cut four 2 1/2″ x 4 1/2″ rectangles
- cut one 2 1/2″ square
Color 2:
- cut eight 2 1/2″ x 4 1/2″ rectangles
White:
- cut sixteen 2 1/2″ squares
Directions:
Step 1
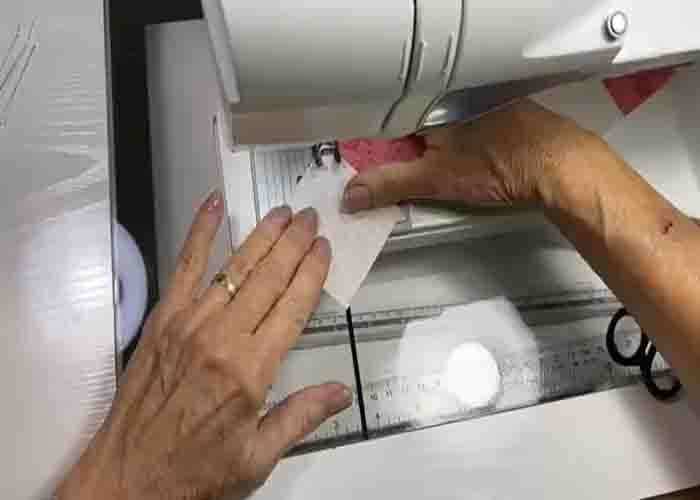
To start, cut the fabric requirements. Now, take one light-colored rectangle and sew a white square to the left edge diagonally. Repeat these steps for all eight light-colored rectangles. Once done, cut off the outside triangle 1/4″ seam away, then press open. Set them aside. Next, take your dark rectangles, and sew a white square on each piece diagonally in the opposite direction from the light rectangles. Repeat these to all four dark rectangles. Once done, trim off the outside triangle and press them open. Now, put the remaining white squares on the other side of each dark rectangle unit and sew them diagonally in the same direction. Once done, cut the excess triangles and press them open.
[social_warfare]
Step 2
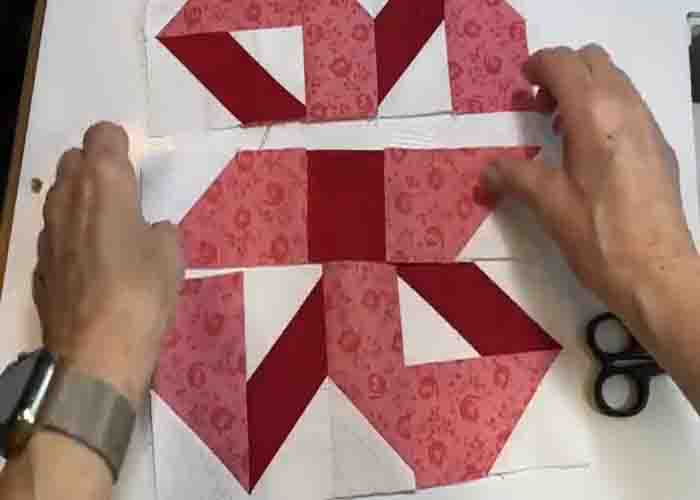
Take a light-colored piece and a dark-colored piece. Sew them together with a 1/4″ seam allowance. Do this with four of the light-colored pieces and all four of the dark-colored ones. After this, lay one of the units you just made, rotate it 90 degrees, then attach one of the light-colored rectangles on the side and sew it. Make another one. Next, take another bi-colored unit and sew it together with one of the units you just made. Do the same thing to the other piece. Now, take the last two light-colored rectangles, put the single-colored square in the middle, and sew these three together. Assemble the unit by sewing all the rows together.
Ribbon Bow Quilt Block Tutorial