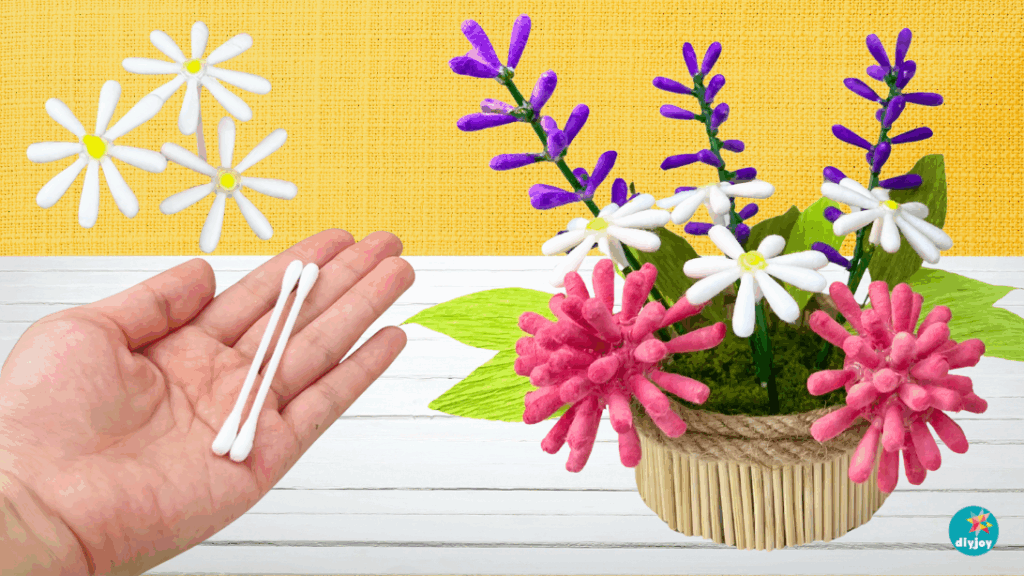
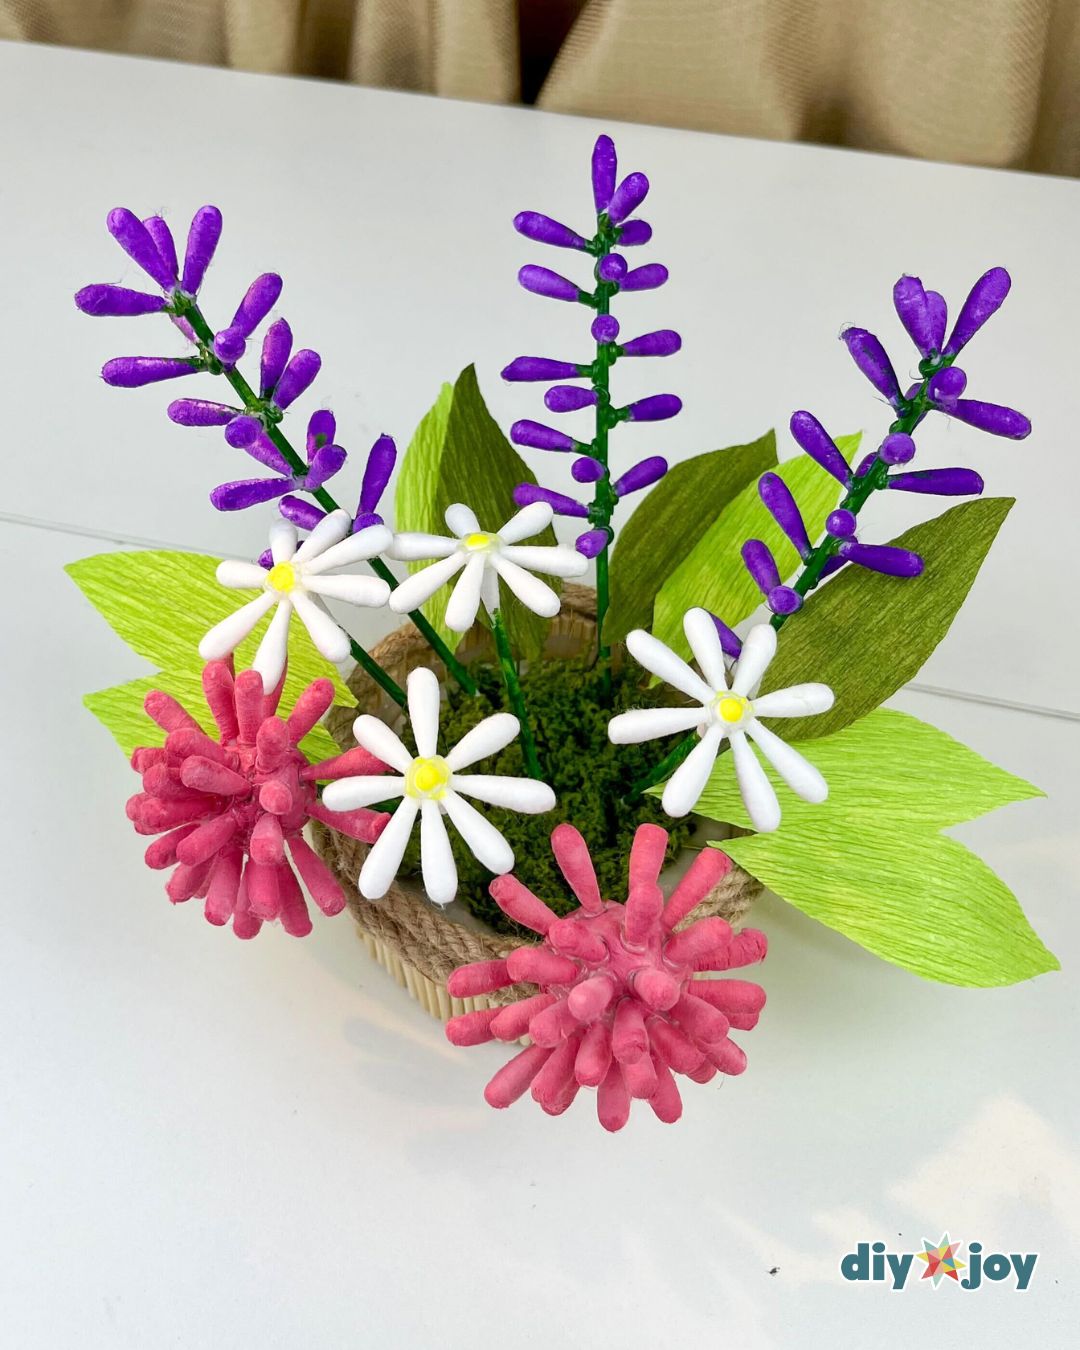
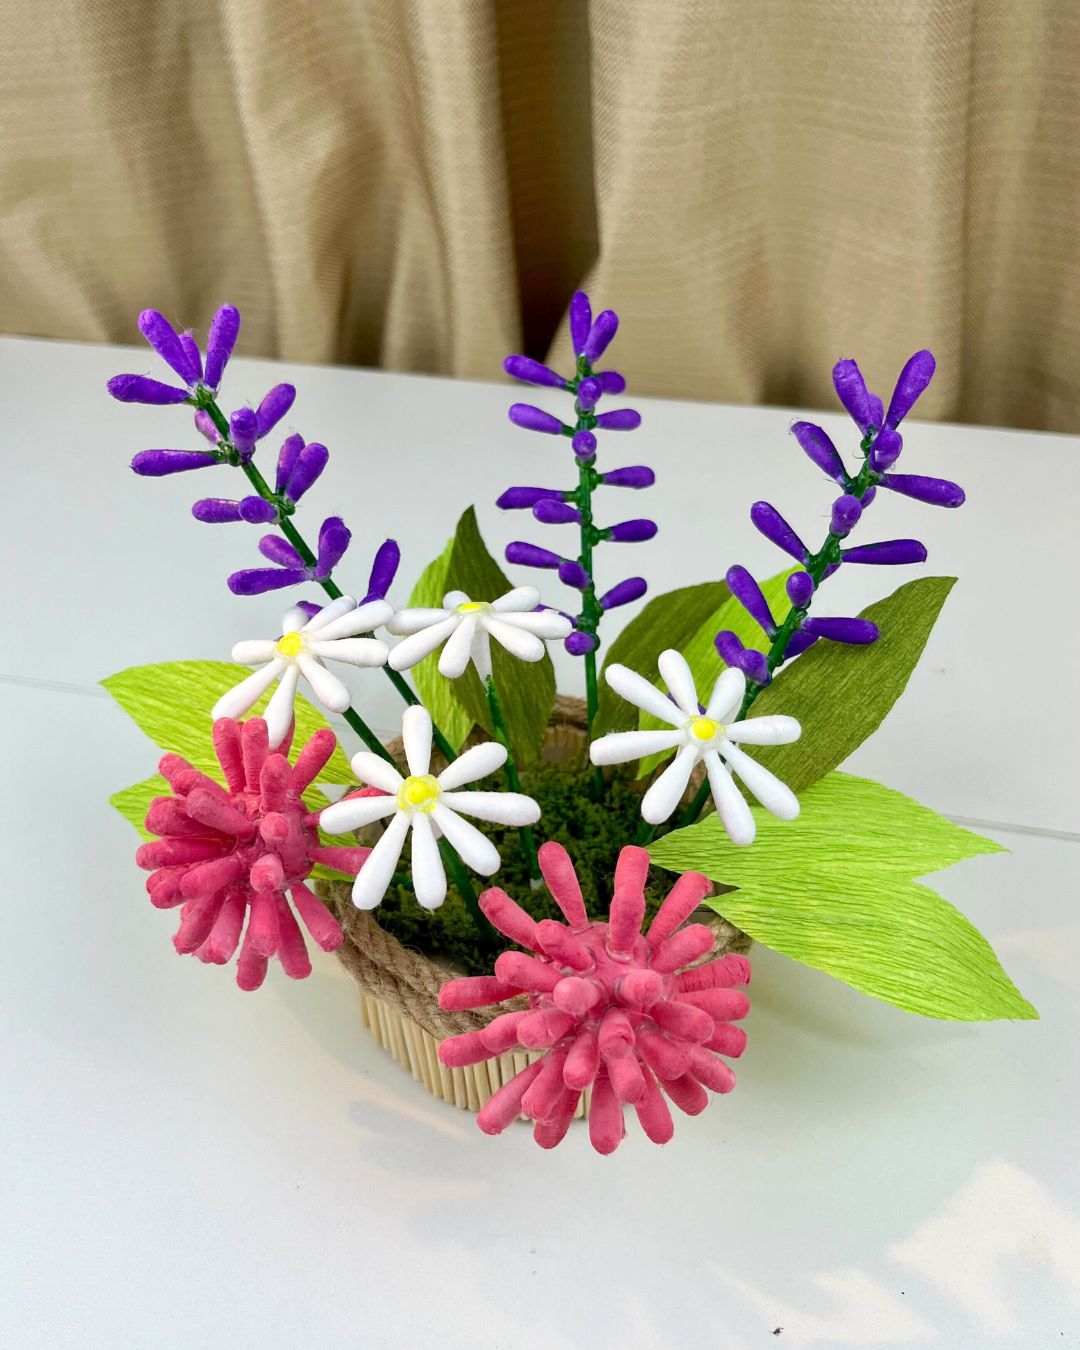
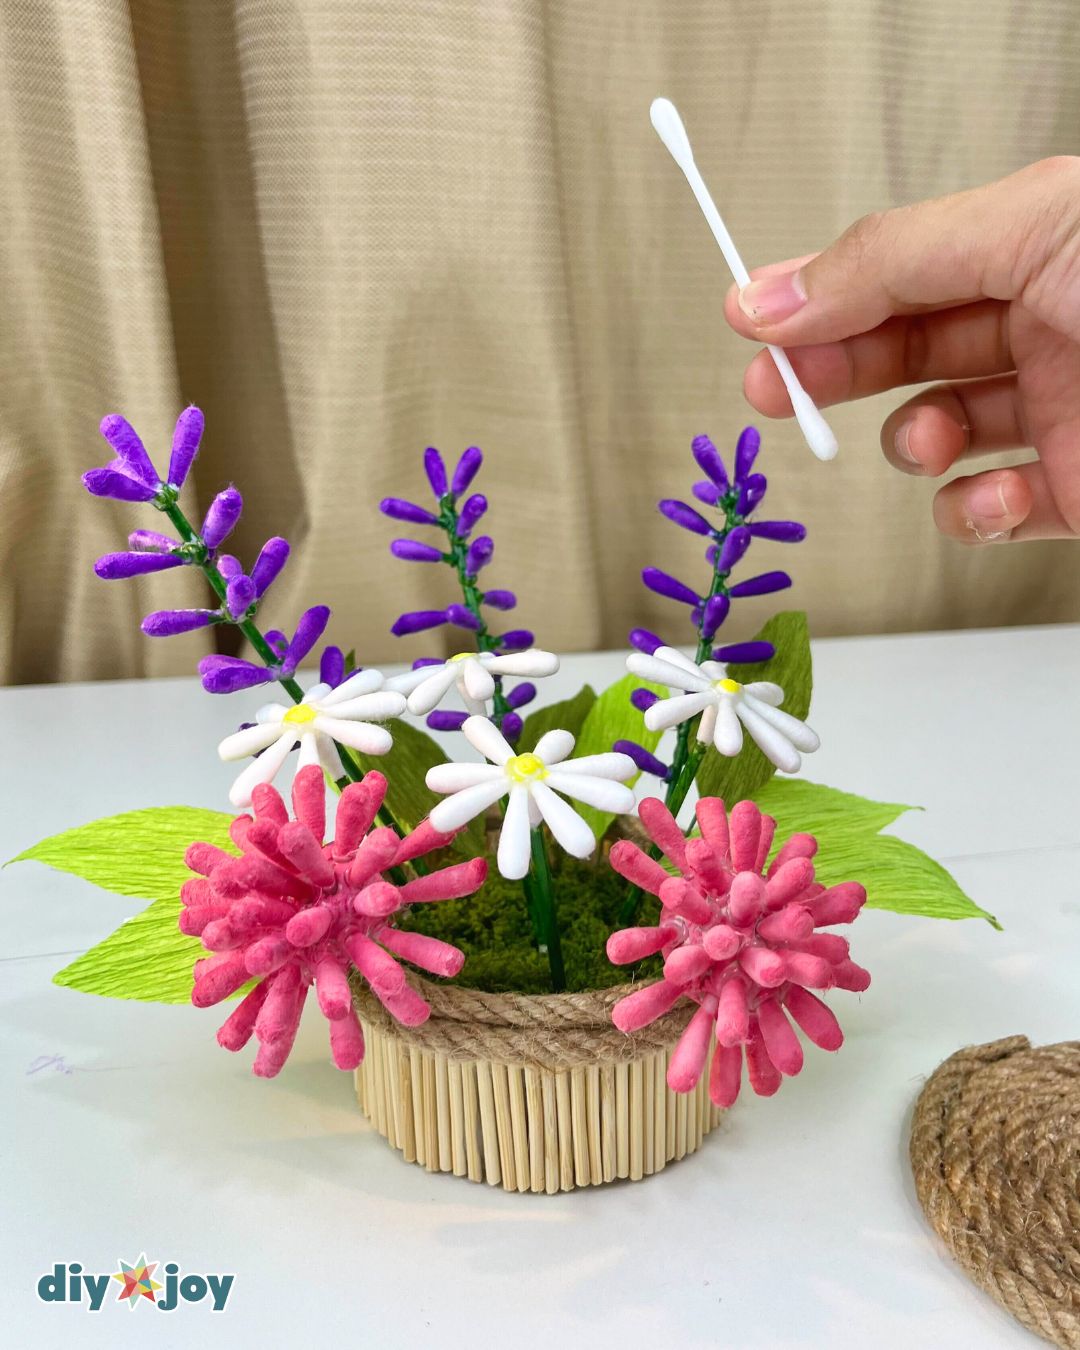
Turn cotton swabs into a gorgeous flower bouquet with this step-by-step tutorial. I’ll show you how to make three types of flowers using Q-tips: pom pom flower, lavender, and daisy. They’re absolutely easy and fun to make. Try this simple flower craft at home!
RELATED: Toilet Paper Flowers Tutorial
I’ve used cotton swabs several times for painting or blending pastel colors, but I’d never tried making crafts with them, until now. So, I decided to see if I could turn this common household item into something beautiful: DIY flowers. To be honest, I kept my expectations low for this one, but as I started assembling the pieces, I kept being pleasantly surprised. Who would’ve thought you could make flowers using Q-tips? I absolutely love how they turned out. My favorite is the daisy!
And if you’re wondering whether I made the vase too, yes, I did! It’s made from an old plastic container, some skewers, and jute rope. Super simple to recreate. You can also use it as a pencil holder, jewelry box, or storage for your small craft materials.
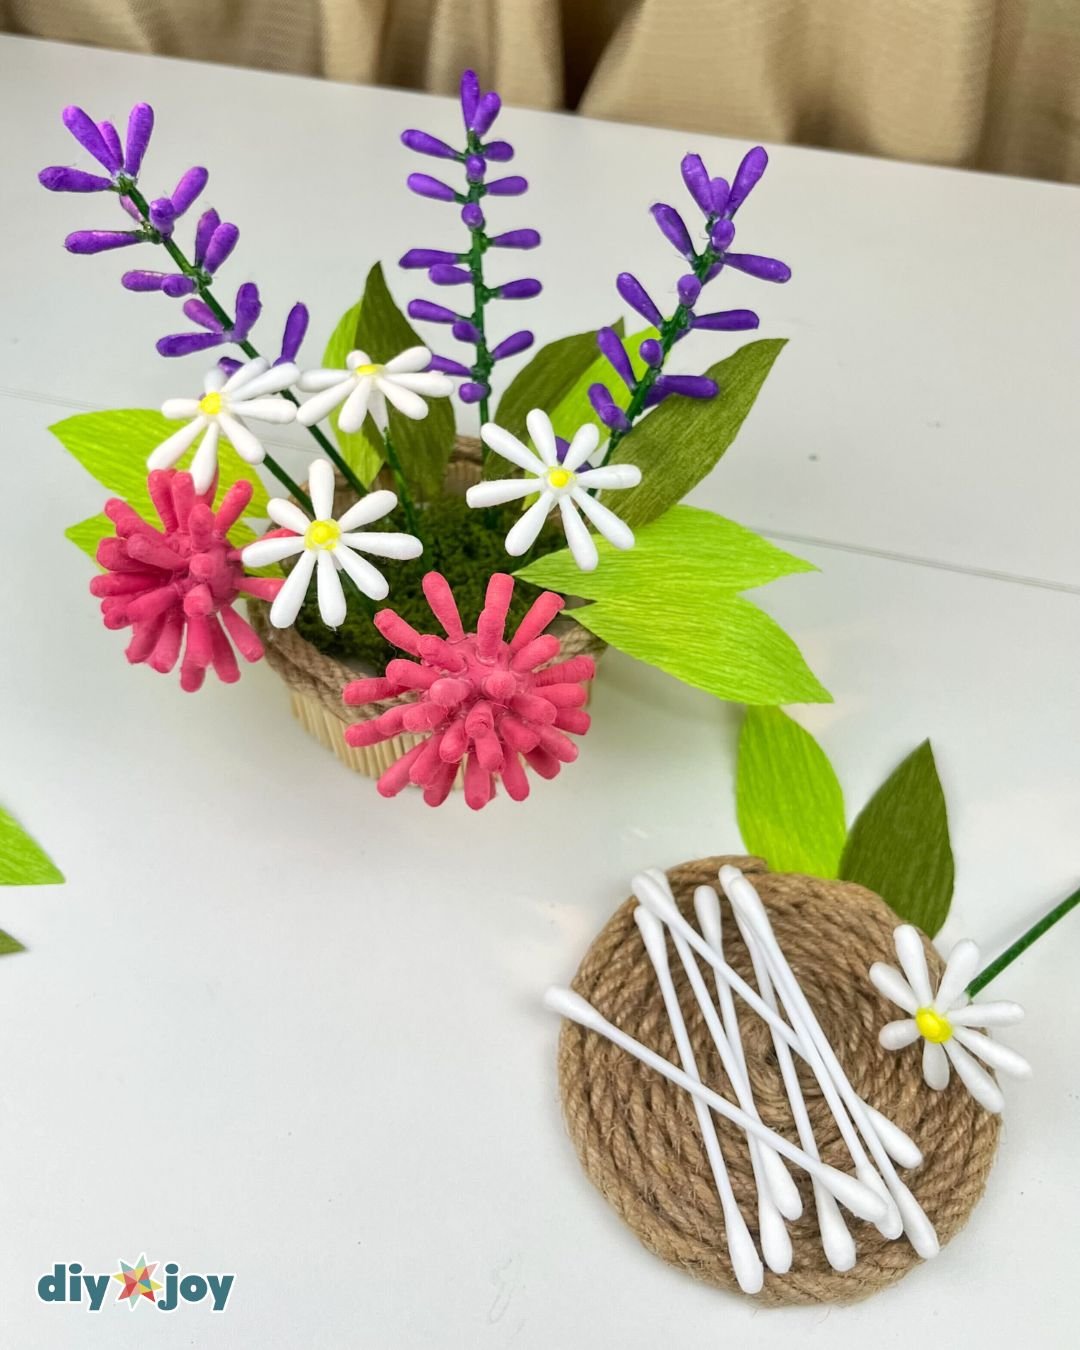
If you’re looking for easy flower crafts, you have to give this project a try. It’s unlike anything I’ve seen before. It just goes to show that all you really need is a bit of creativity to make something beautiful. Use it as a DIY room accent, table centerpiece, or party decoration.
How to Make Flowers With Q-Tips
Learn how to make handmade flowers that is perfect for a desk decor with this step-by-step tutorial.
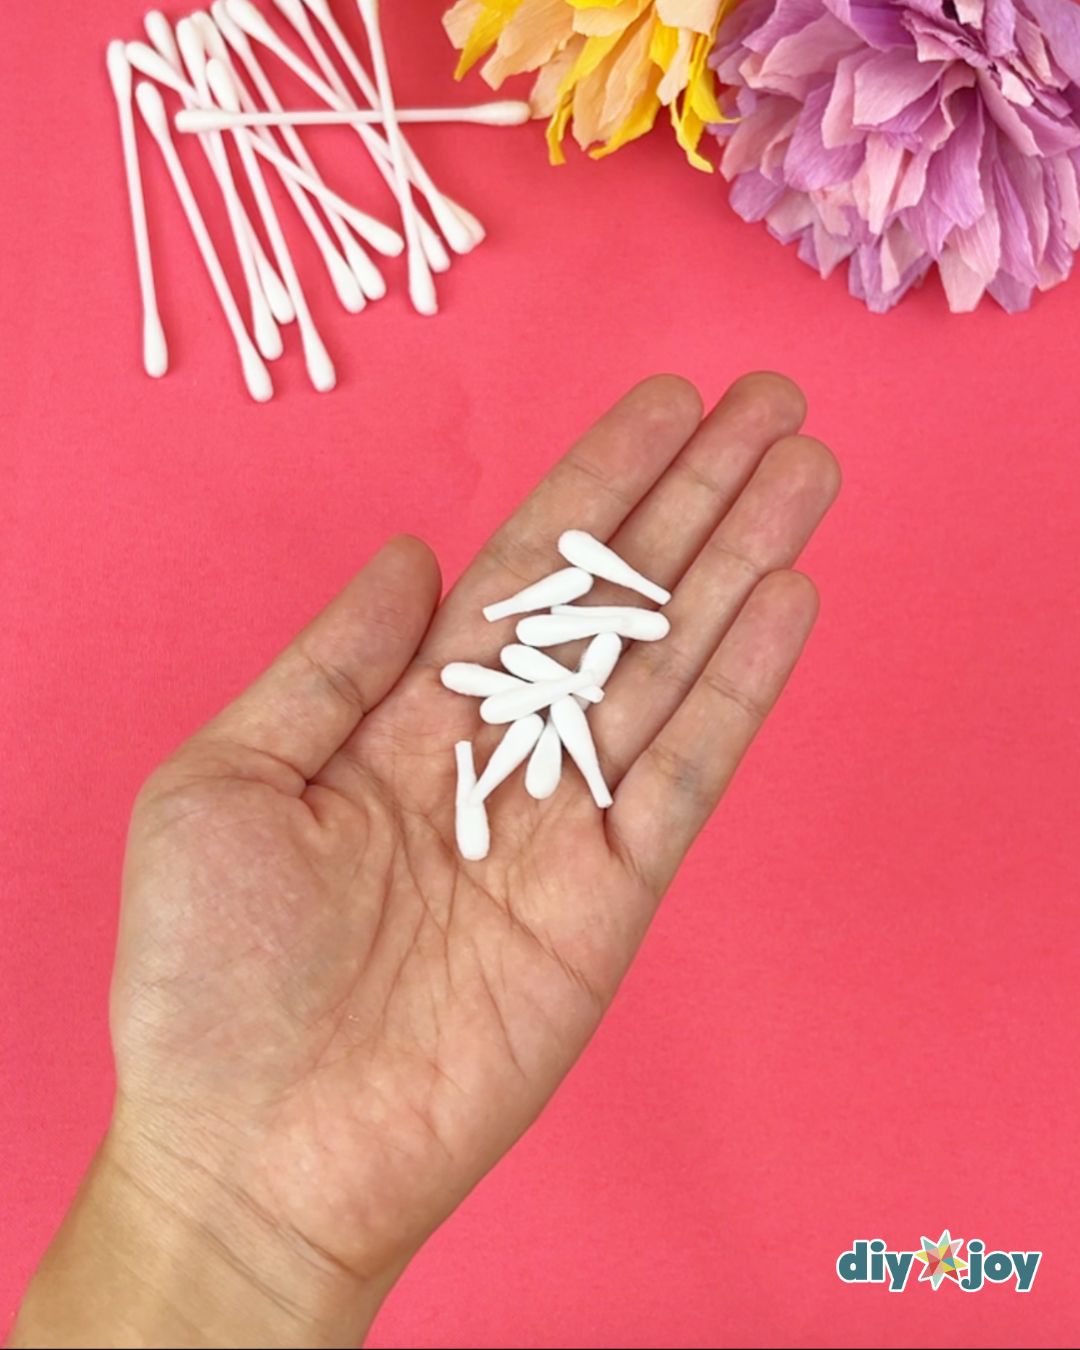
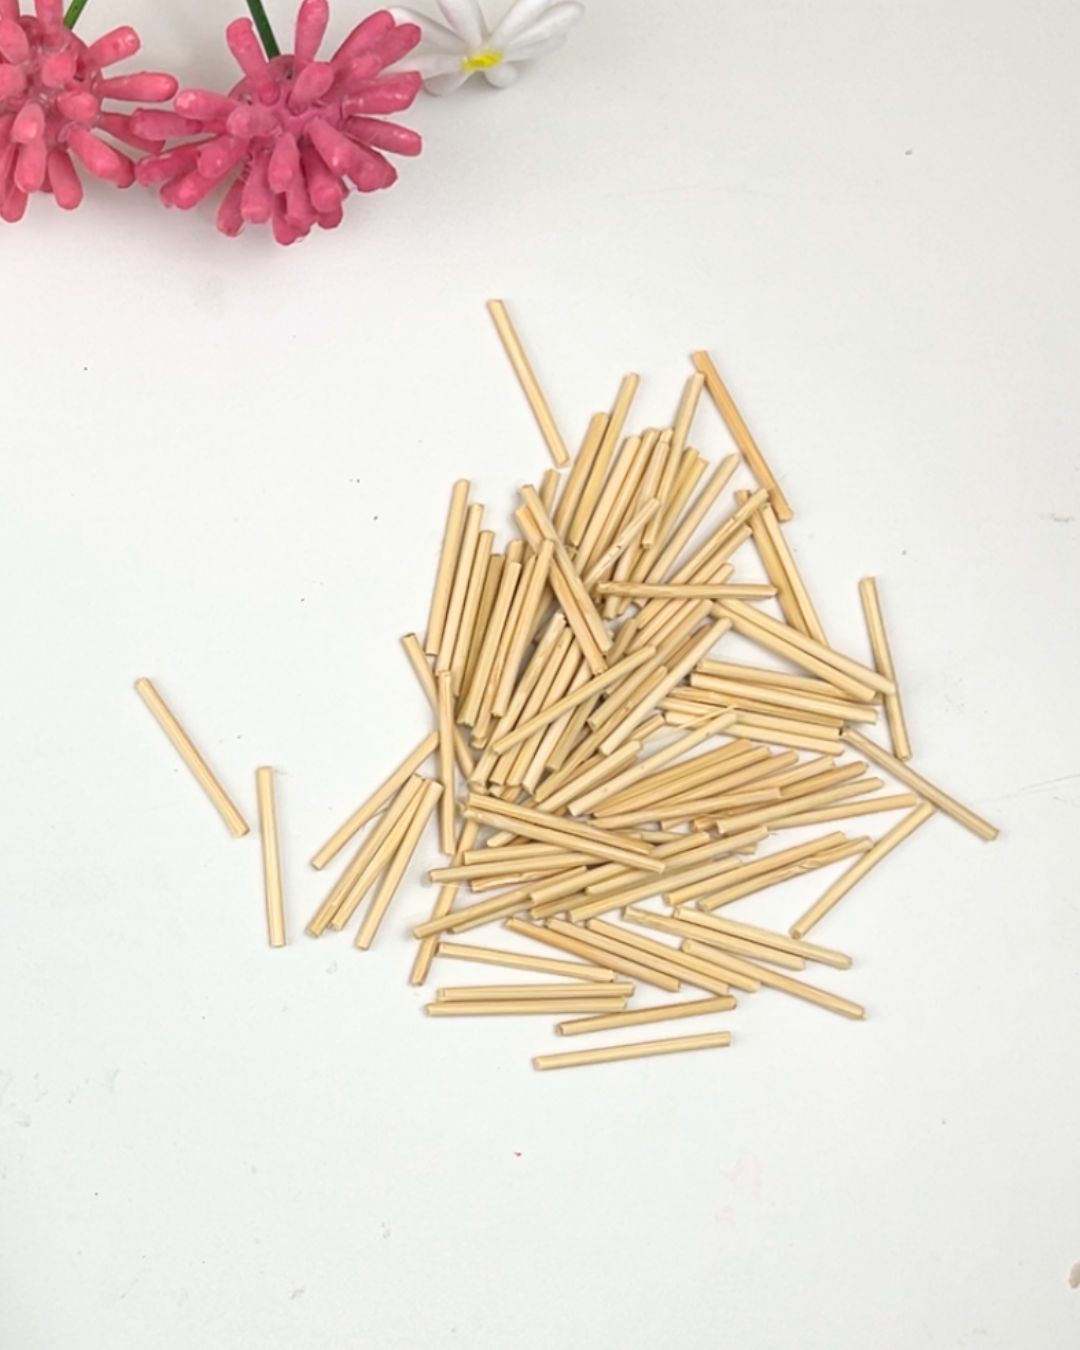
Cutting the cotton swabs
Cut the ends off the cotton swabs.

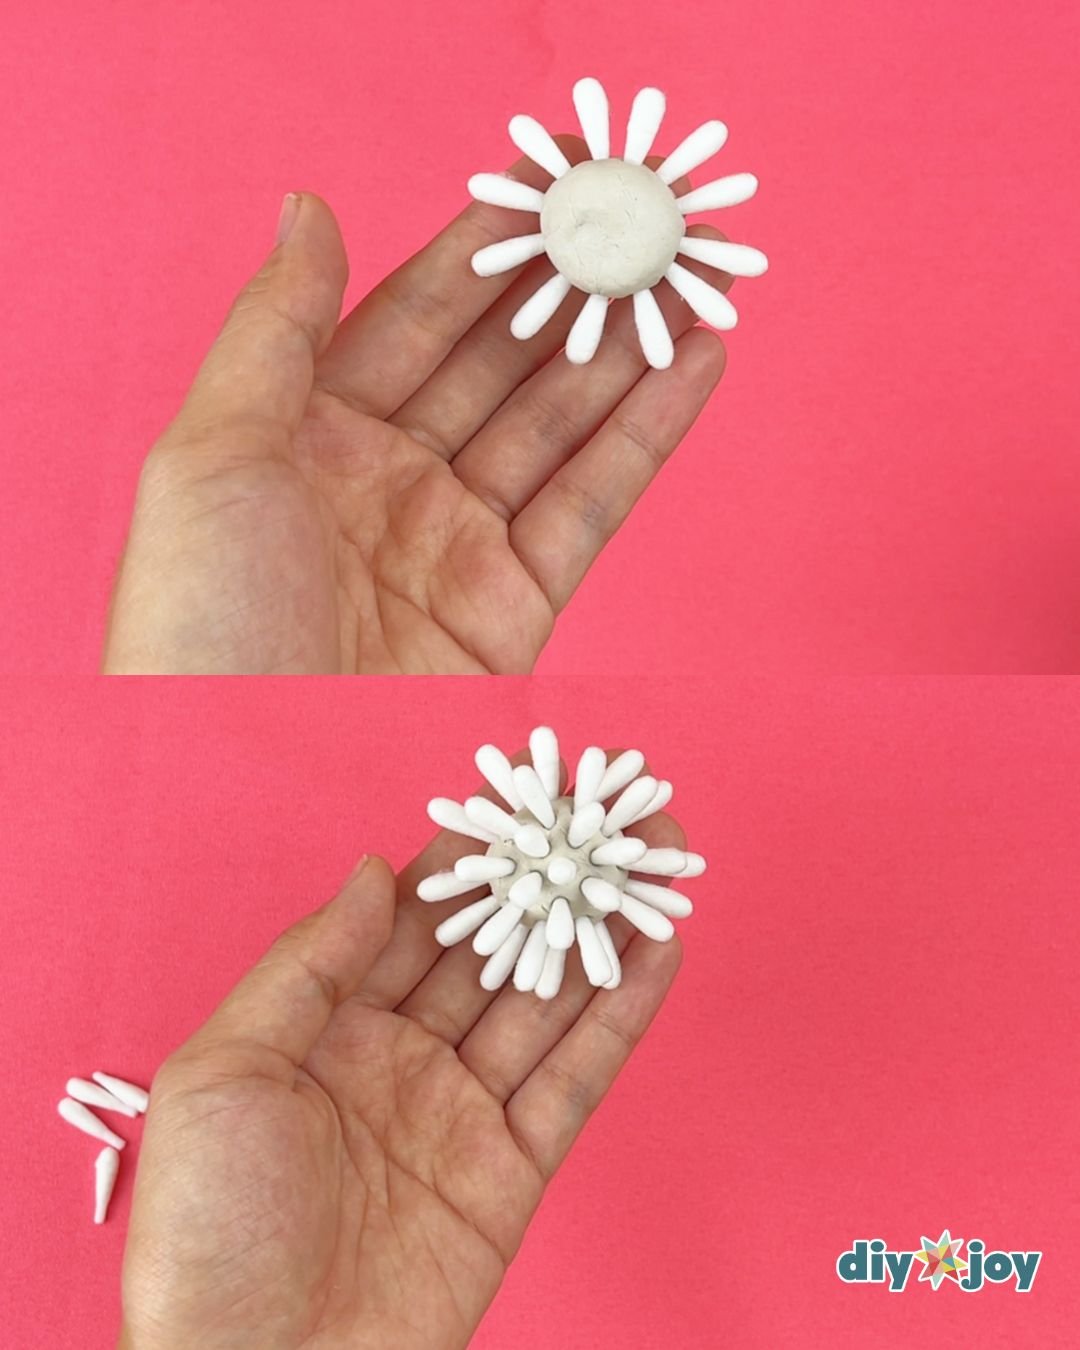
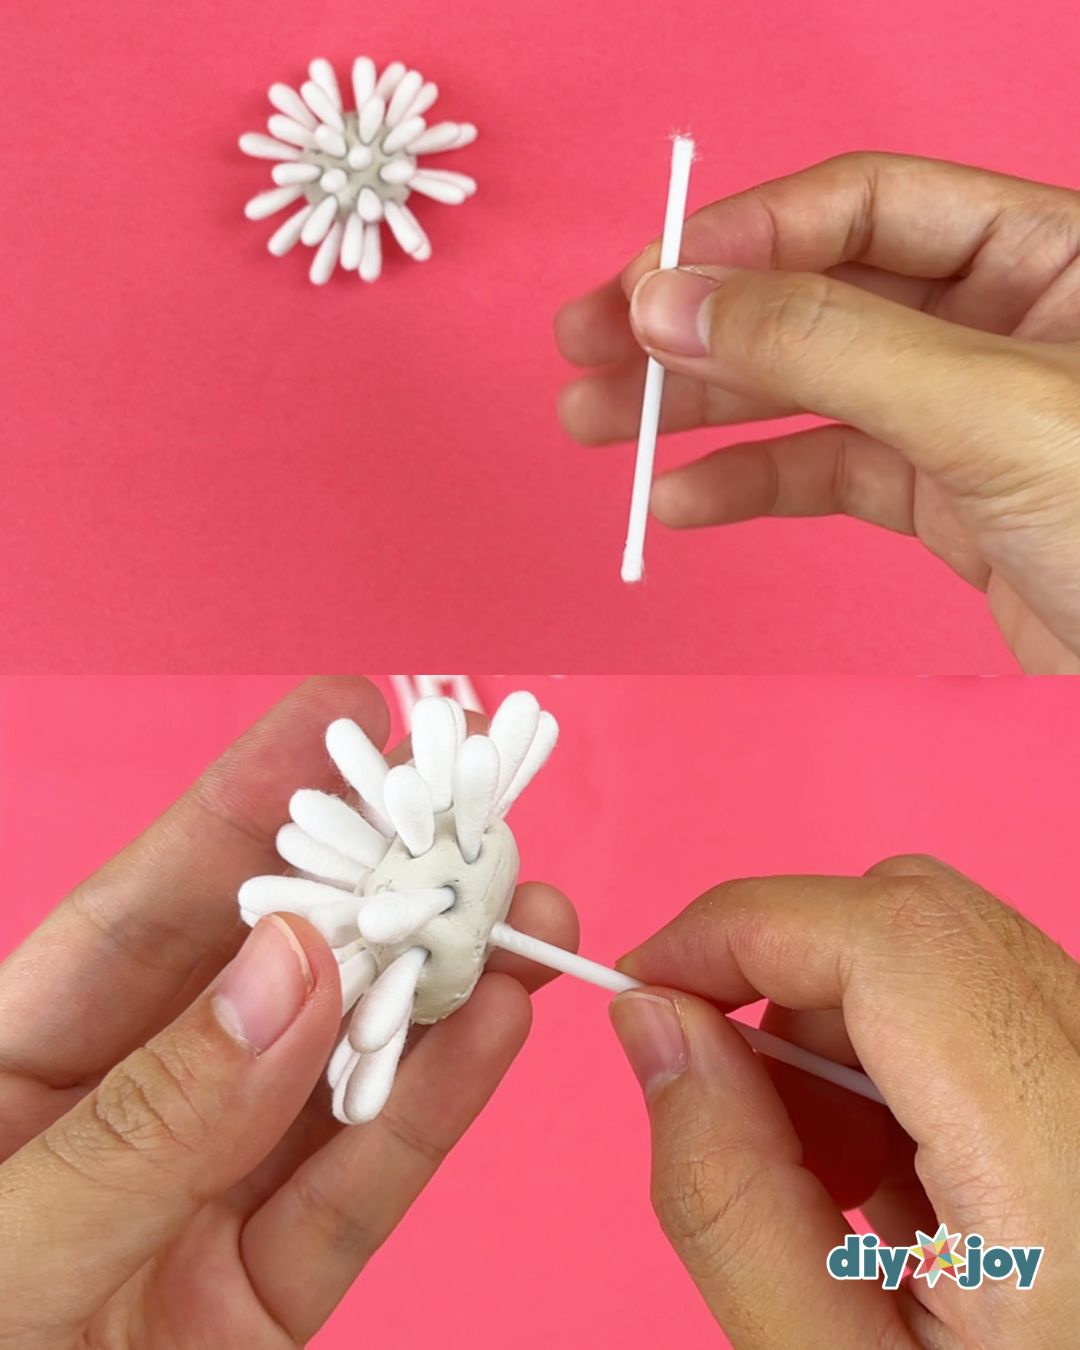
Making the pom pom flower
Roll a small piece of air dry clay into a ball. Stick the cotton swab ends around it, then fill in the top.
Adding the stem
Take a cotton swab and remove the cotton from both ends. Insert it into the bottom of the flower to create a hole, then remove it and allow the air dry clay fully dry. The cotton swab pieces should stay in place, but you can use hot glue to secure them one by one if needed.
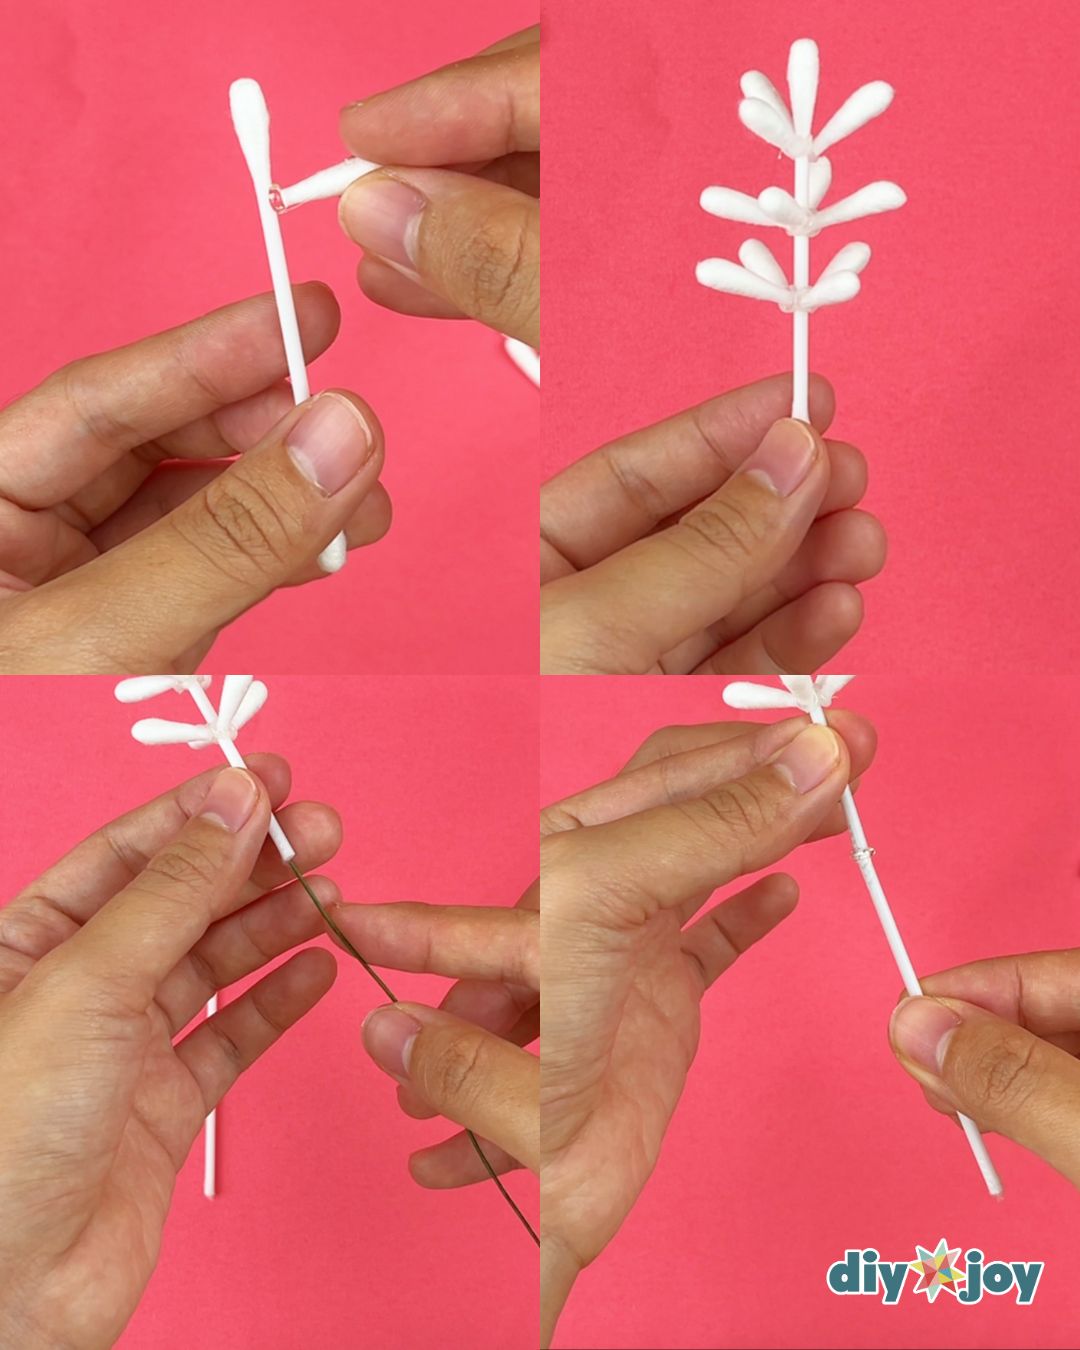
Making the lavender
Take one cotton swab and glue the cotton tips as shown in the photo below. Once you’ve added pieces past the middle, remove the cotton from the end and insert a floral wire. Then, take another cotton swab with both ends removed, and attach it to the first stem. Glue them together.
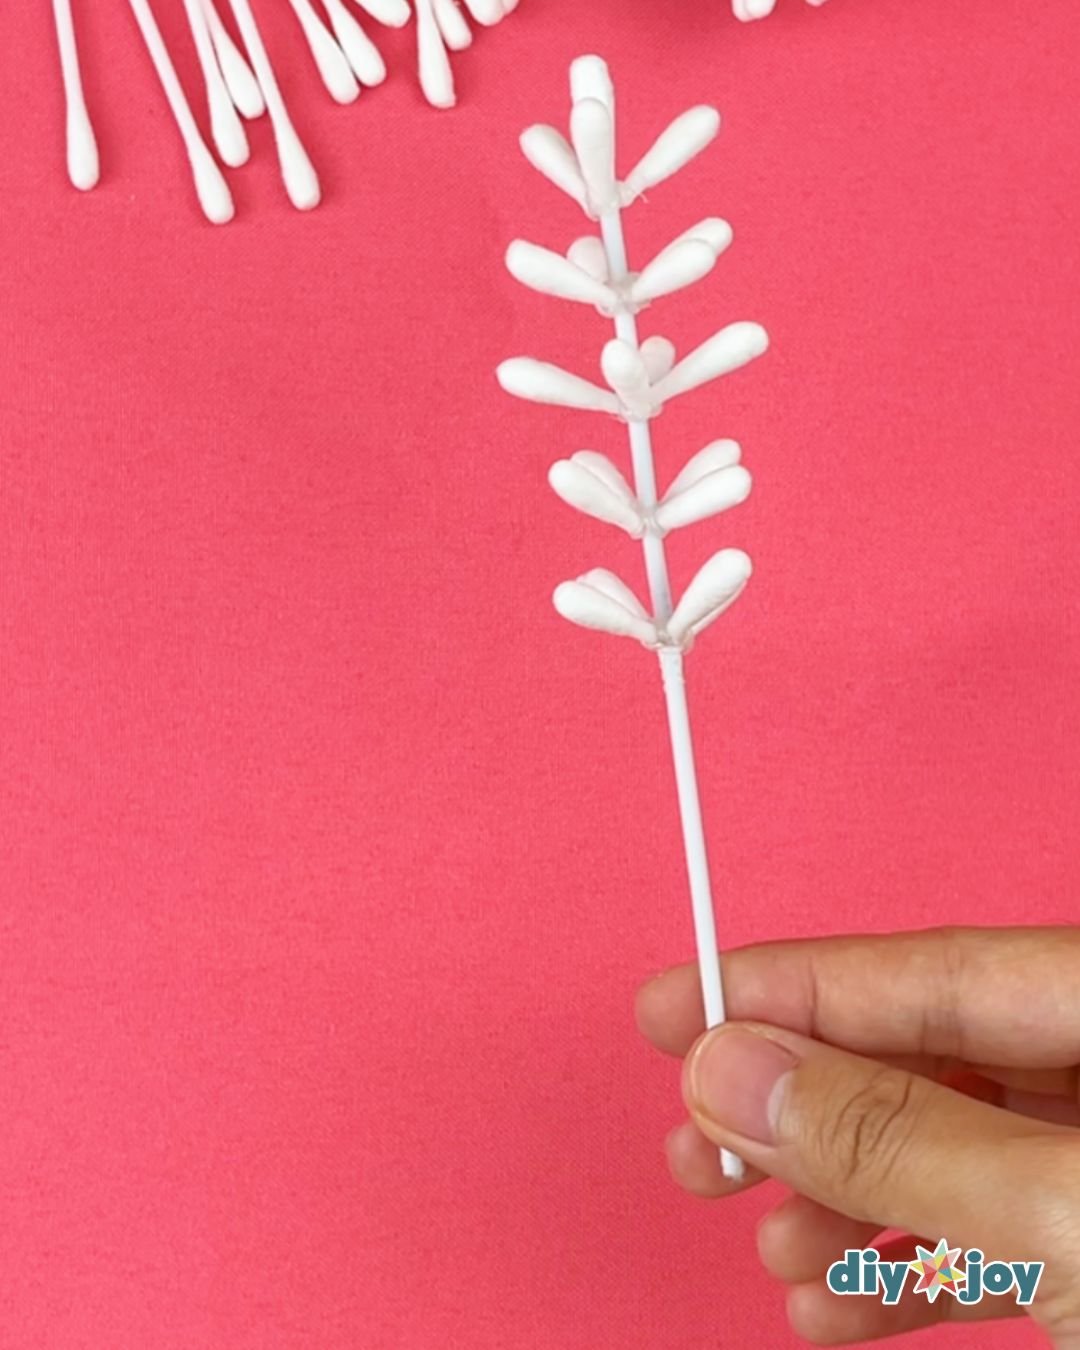
Finishing the lavender
Continue adding cotton tips until you have something like this.
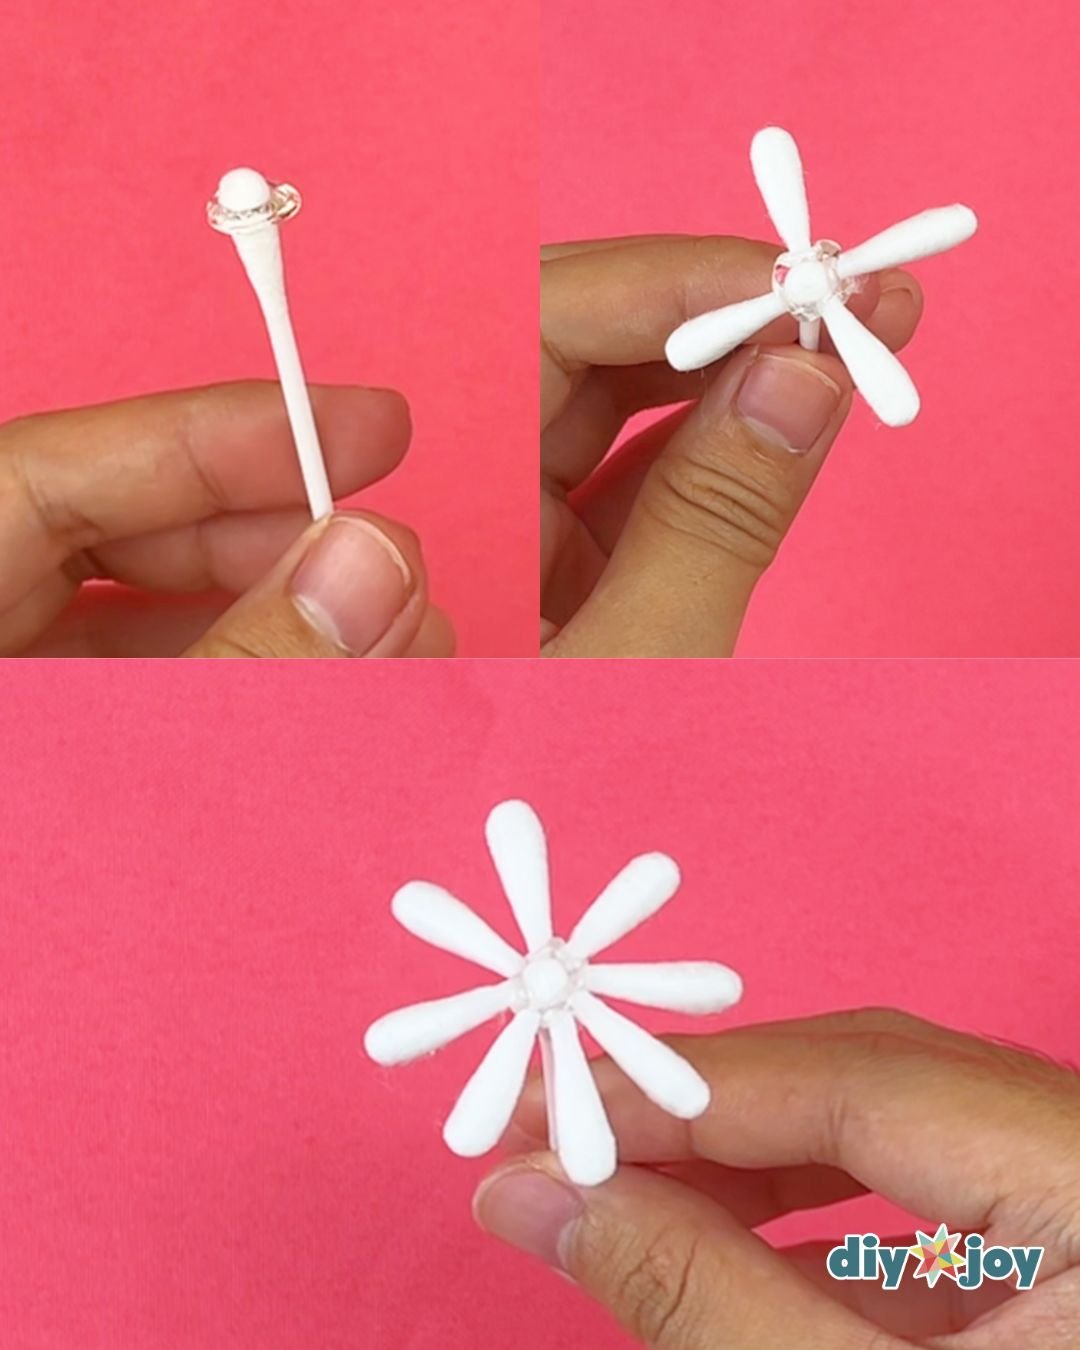
Making the daisy
You’ll need to work quickly when making the daisy. Prepare 8 cotton swab ends and place them near you. Take a Q-tip, apply hot glue around one end, and immediately start attaching the pieces, starting with the middle ones, then fill in the gaps with the rest.
Painting the flowers
Paint the flowers.
Making the vase
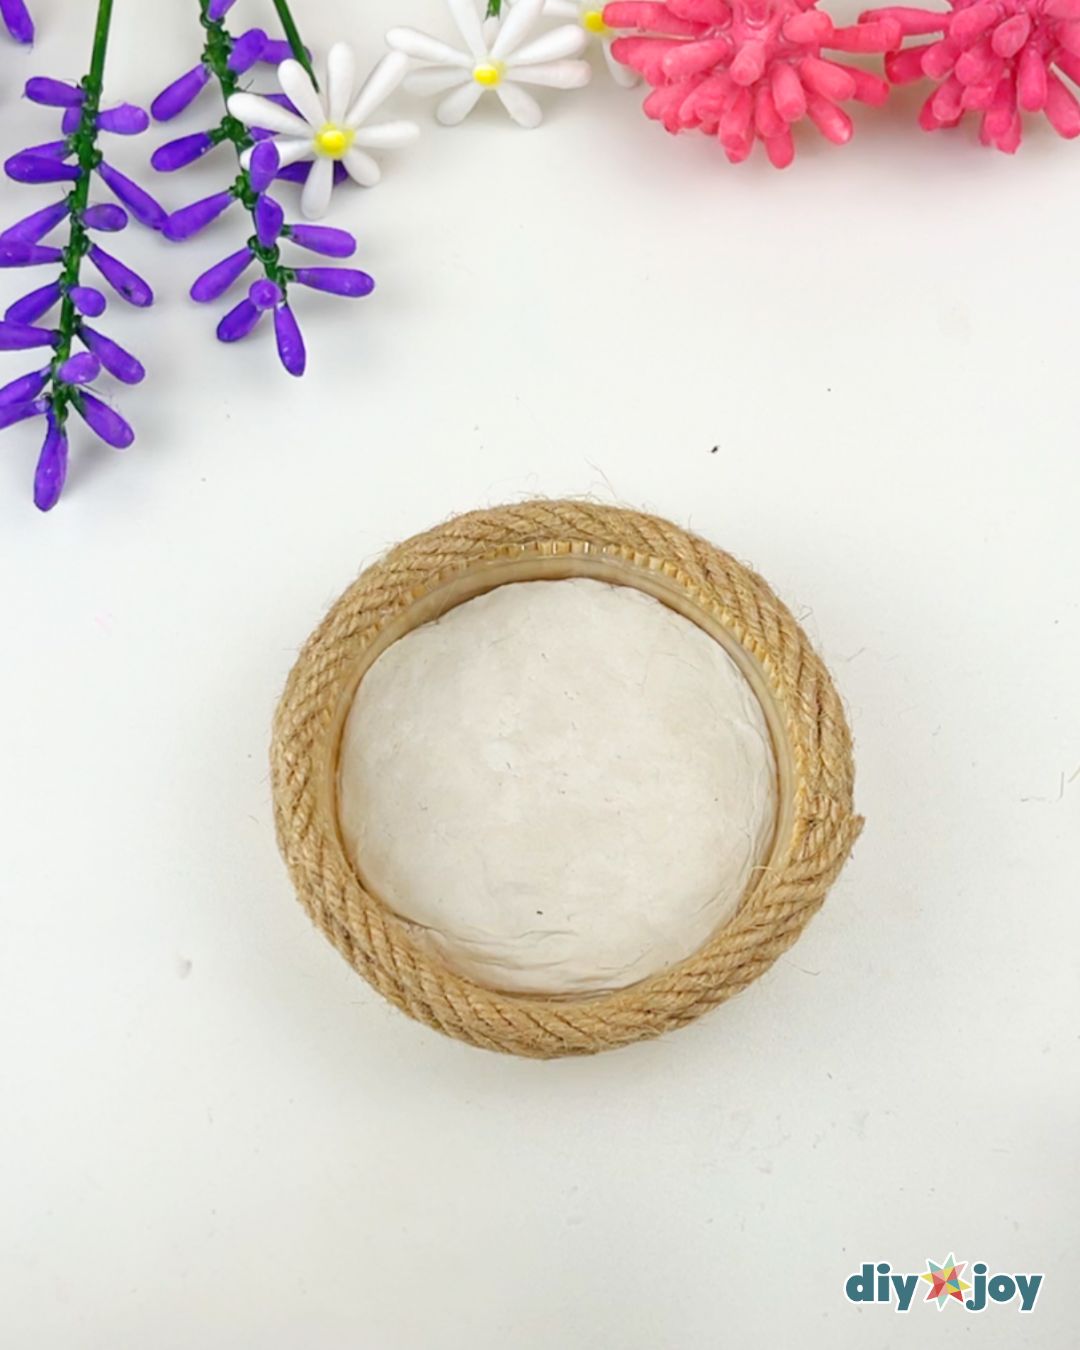
Cut the skewer to the same height as your container.
Gluing the wood pieces
Glue the wooden pieces around the container using hot glue.
Adding jute rope
Glue a piece of jute rope around the top edge of the vase, then add a second layer on top.
Adding clay
Fill the container with clay.
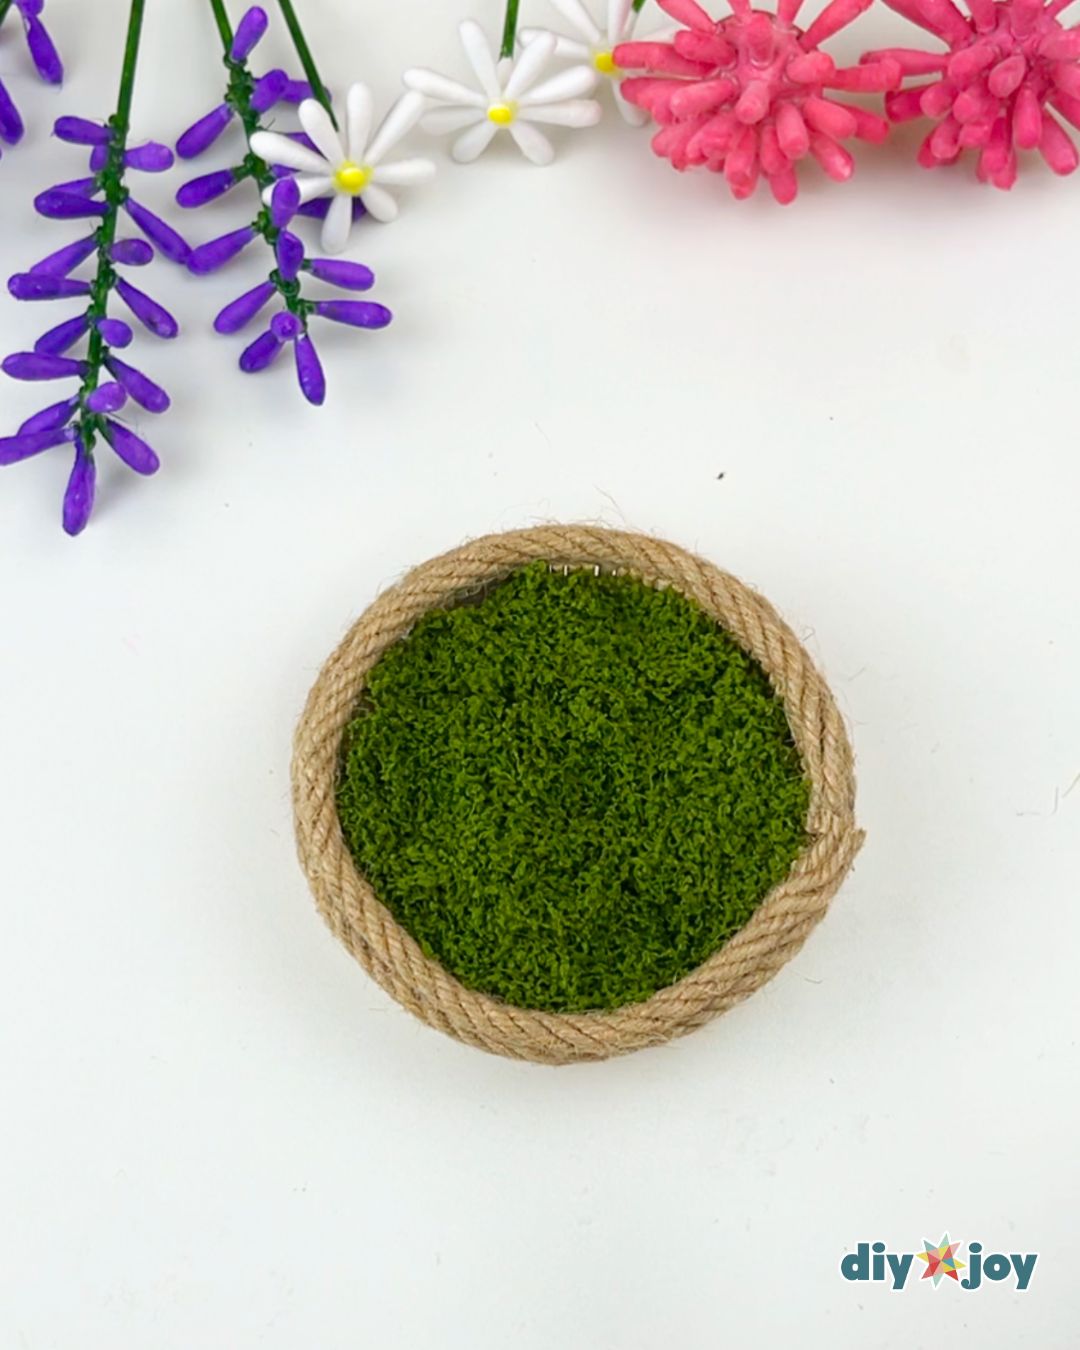
Covering the clay
Cover the clay with fake moss, or paint it green if you prefer.
Arranging the flowers
Add the flowers to the vase.


Tools
- scissors
- glue gun
Materials
- cotton swabs
- paint
- paint brush
- skewer
- jute rope
- floral wire
- plastic container or cardboard box
- clay
- glue stick
![]()
Crafting Tip
Don’t be afraid to explore and be creative!
Creative Ideas and Variations
Make a ton of flowers and paint them in different colors.
Don’t have much time? You can just make the daisy flower bouquet. The easiest flower to make out of the three is the daisy. You can skip the other flowers and fill the vase with daisy instead.
More Easy Flower Crafts
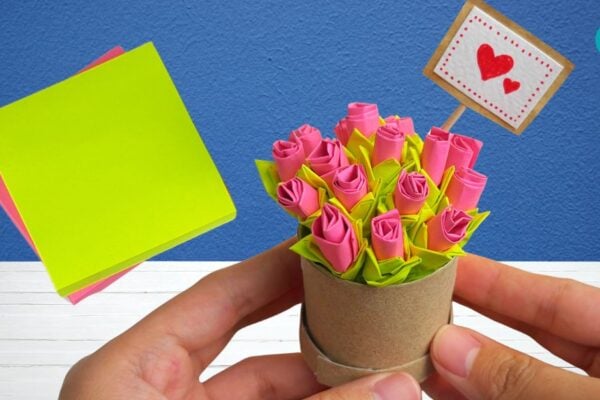
Paper Flowers

Planters & Floral
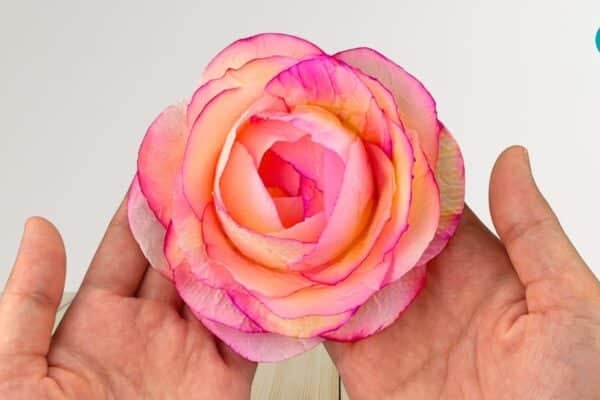
Paper Flowers
How to Make Flowers With Q-tips | Video Tutorial