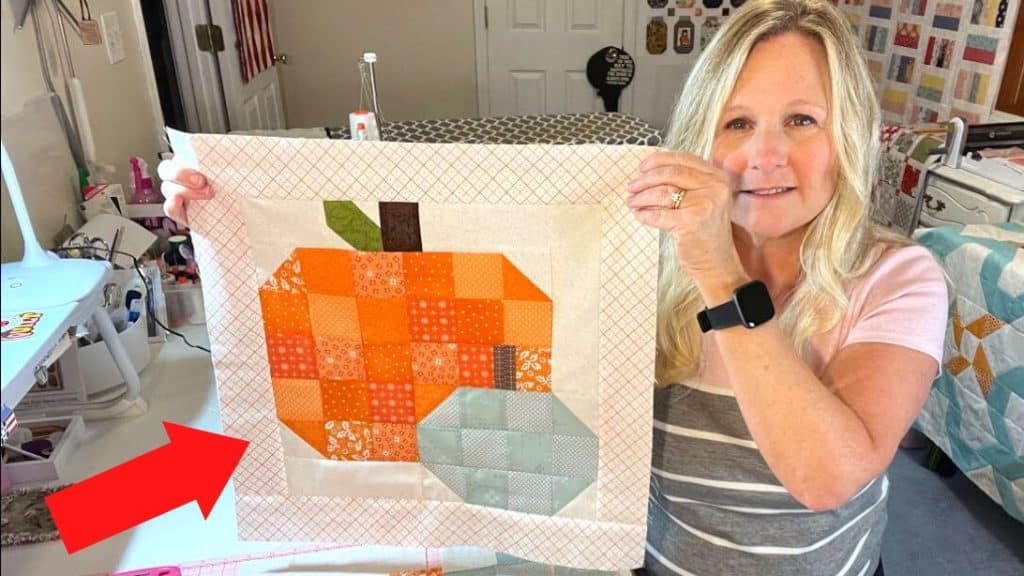
Fall means it’s time for pumpkins! Here’s a pumpkin quilt block from fabric scraps you can make this season. I am in love with how beautiful the light blue fabric looks with the bright orange fabric. Learn how to create this pattern with this tutorial by The Quilting Compound on Youtube.
Materials:
- 23 pieces of 2.5″ orange squares
- 2 pieces of 2″ x 2.5″ orange rectangles
- 2 pieces of 1″ x 2.5″ brown rectangles
- 1 piece of 2″ x 2.5″ brown rectangle
- 12 pieces of 2.5″ blue squares
- 6 pieces of 2.5″ white squares for the background
- 1 piece of 2.5″ green square
- 2 pieces of 1.5″ white squares
- 2.5″ white fabric strips
[social_warfare buttons=”Facebook,Pinterest,twitter,WhatsApp”]
Instructions:
Step 1:
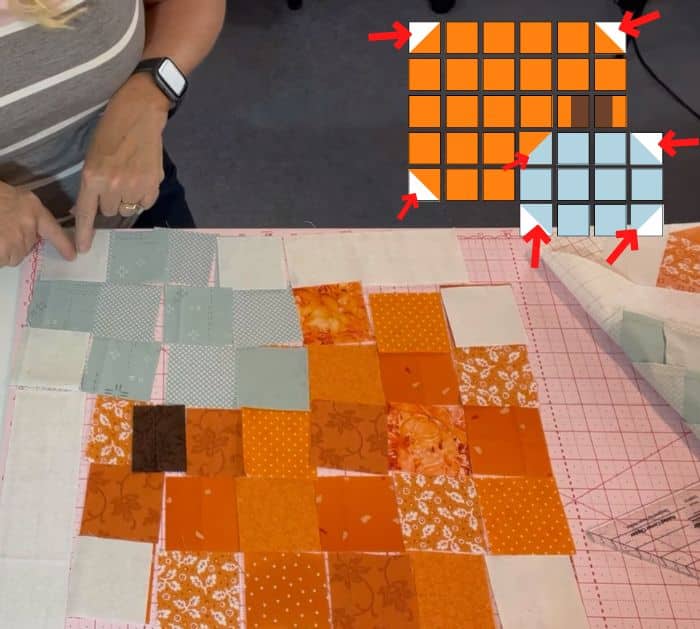
Lay the squares on this pattern. You can see the white squares on top of the corners of the pumpkins and the blue square on top of an orange square for the top corner of the blue pumpkin. Fold the top squares in half diagonally to make a crease and sew them on the diagonal line. Once done, trim off the triangle tip and press the seams. It should be a 2.5″ square.

Step 2:
Get one piece each of the 2″ x 2.5″ orange rectangle and 1″ x 2.5″ brown rectangle. Sew them together to make a 2.5″ square block. Do the same for the remaining pieces. Press the seams toward the orange of the pumpkin.
Step 3:
Sew them on rows except for the first row with the stem of the pumpkin. Once done, press the seam allowance in alternating directions for every row.
Step 4:
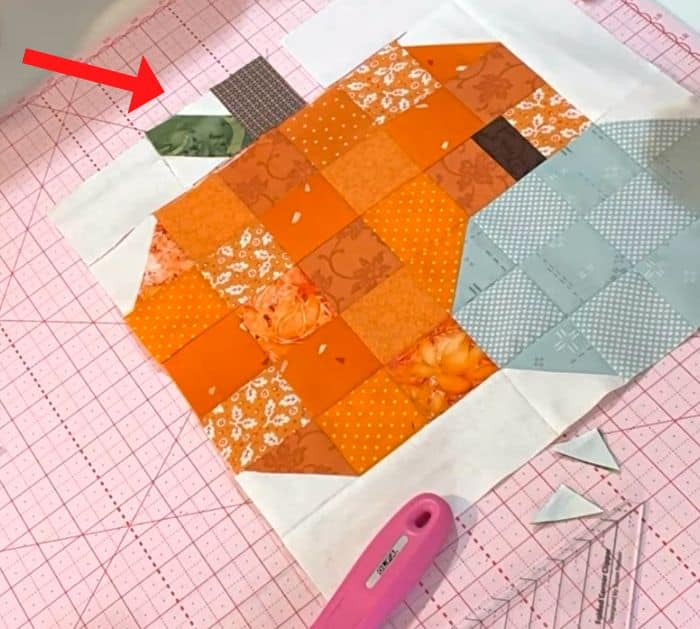
Fold the 1.5″ white squares in half diagonally, then place them on two opposite corners on top and bottom of the green square. Sew them on the line and trim off the excess. Press the seams down. Next, sew the brown 2.5″ square on the side. Align them to the center of the orange pumpkin, then sew white fabric strips on the sides to make the first row. Press the seam allowance in opposite directions as the second row.

Step 5:
Sew the rows together and fill the spaces with the white strips to make the block.


