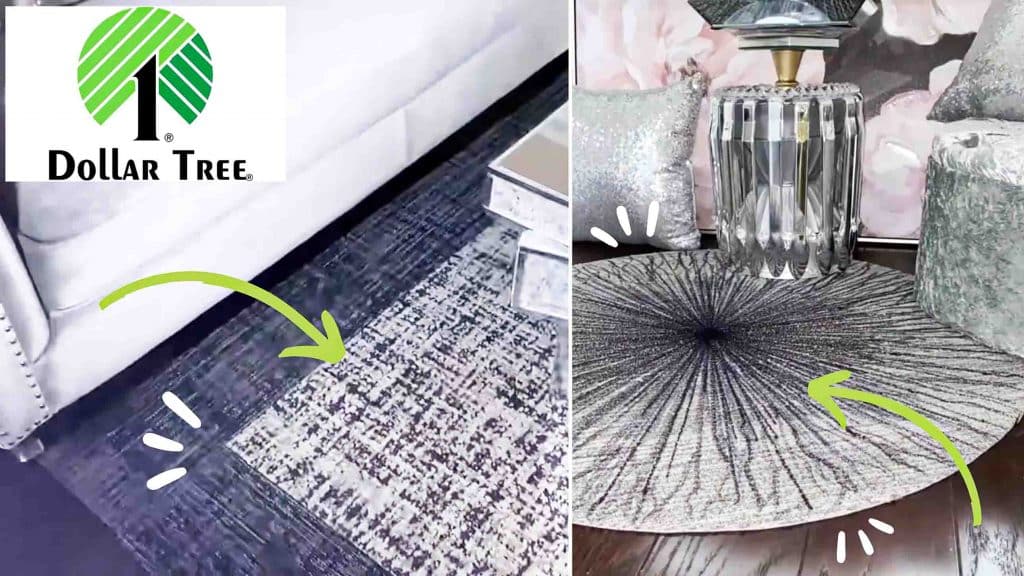
Rugs can be pretty expensive, especially those fancy-looking ones. So why bother buying if you have the DIY option? This no-sew DIY rugs tutorial from yoduvh Essentials on Youtube only uses materials from the dollar tree. They are so good-looking that one can mistake them for those rugs from high-end carpet stores. Not only do they look pretty, but they will also save you a lot of bucks. Check out the tutorial below to learn how.
Materials:
- utility mats (from dollar tree)
- strong adhesive glue
- duct tape
- scissors
- markers
- mod podge acrylic spray
- box cutter
Directions:
Step 1
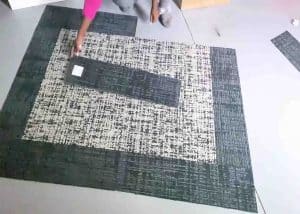
Put the mats (with lighter colors) together in the center and then the dark-colored ones around them. After this, flip the mats over one-by-one then glue them together with a strong adhesive and duct tape. Put the adhesive glue first, then cover it with duct tape. Let it dry overnight. After it dries out, you will notice that some of the edges are uneven because the individual mats were not uniformed in size. So to even out the edges, mark the excess parts then cut them out using a pair of scissors. You will also notice that some white marks are showing because of the adhesive. Cover those marks with a regular marker then use mod podge spray over it to make sure it doesn’t stain.
[social_warfare]
Step 2
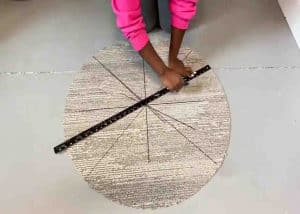
For the second design, put four utility mats together with duct tape. Next, trace a circle into the mat and then cut out the shape using a sharp box cutter. Turn over the mat before removing the round shape, then draw a midpoint. After this, draw lots of lines by using the midpoint as a guide, making sure all the lines will pass through the middle. The drawing will end up looking like a dandelion flower, so make sure to fix the drawn lines. You can add more colors if you want. Spray mod podge acrylic spray to seal the pattern. Let it dry overnight.
