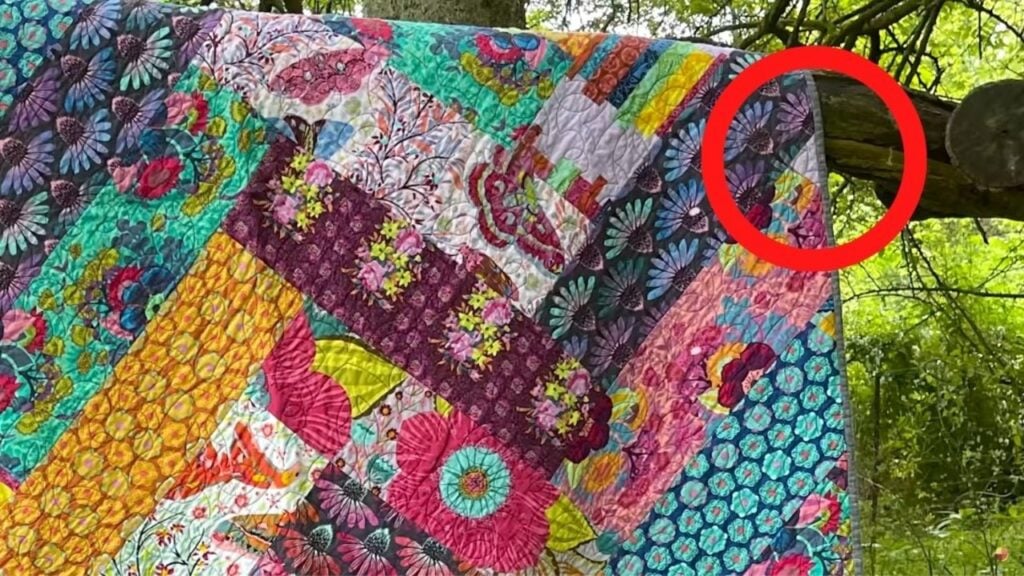
Do you think there’s too much fabric waste when making a herring bone pattern quilt? If yes, this magic no-scraps herringbone tutorial by Tiny Orchard Quilts is the answer to your problem! Stretch your sewing skills with this game-changer quilt technique. You might get puzzled at first but don’t worry – Megan will help you step by step. It really is magic! What a clever solution to an issue of years of making herringbone patterns. Next time you make one be sure to apply what you’ve learned from this. Watch the video below for the full instructions.
Materials:
- 32 pieces of 6 x 21 rectangular cloth
[social_warfare buttons=”Pinterest,Facebook,Twitter,WhatsApp”]
Instructions:
Step 1:
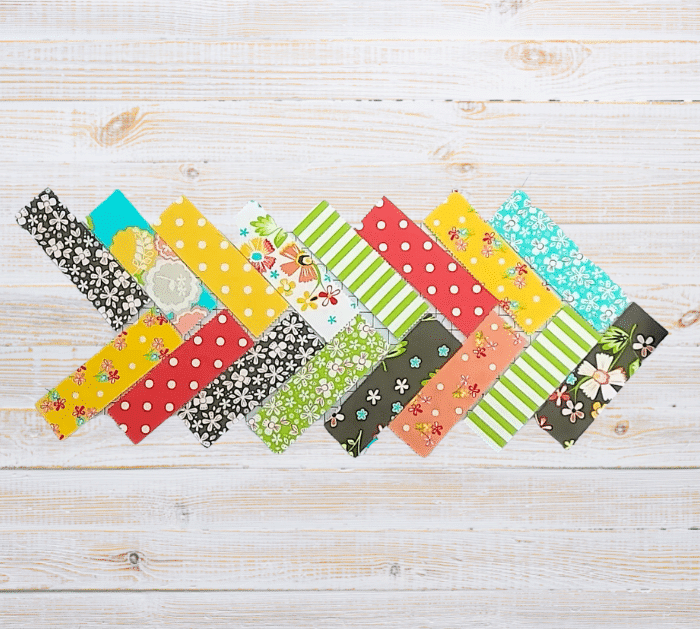
Start with dividing rectangles into four sets of eight strips. Set 2 sets of two piles.
Layout a herringbone arrangement with the first set. Arrange one pile for the left and the other pile to the right. Once you have the arrangement, make sure that the center seam makes a nice zigzag. The exterior points of the rectangles should line up.
Step 2:
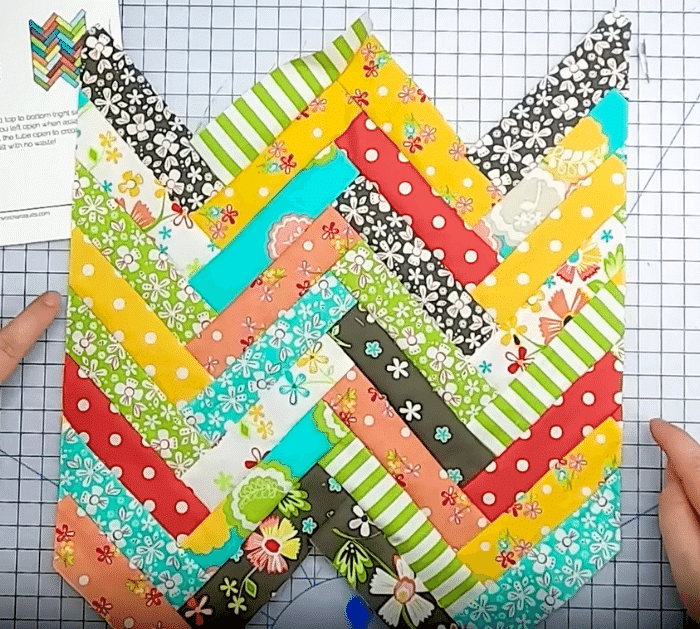
After you have your arrangement nice and done, start sewing it together. Look at the first 2 pieces to the left, the v side. Sew the right side together for about 5 inches. Now attach the upper rectangle to the end of the 90-degree angle but only sew a portion of it, so the edges are not sewn. Continue with all the rectangles. Once you are done, the center zigzag will be fully seamed. Now do it for the other set. Make sure that the arrangement is identical for both.
Step 3:
Now you have two herringbone columns. Nudge them down together. The edge of one side will perfectly fit with the other. Now sew the seams and turn them into one piece. Start with the v side and only sew a portion of it again. Continue with the remaining edges. Now you are done with the center seam.
Step 3:
Fold the partial seam edges towards the center and sew it again like the center seam. Cut one side to open it up. The sides will already be straight after cutting them. Repeat the process for the top and bottom. Now you have a square herringbone!
Magic No Scraps Herringbone Quilt Pattern


