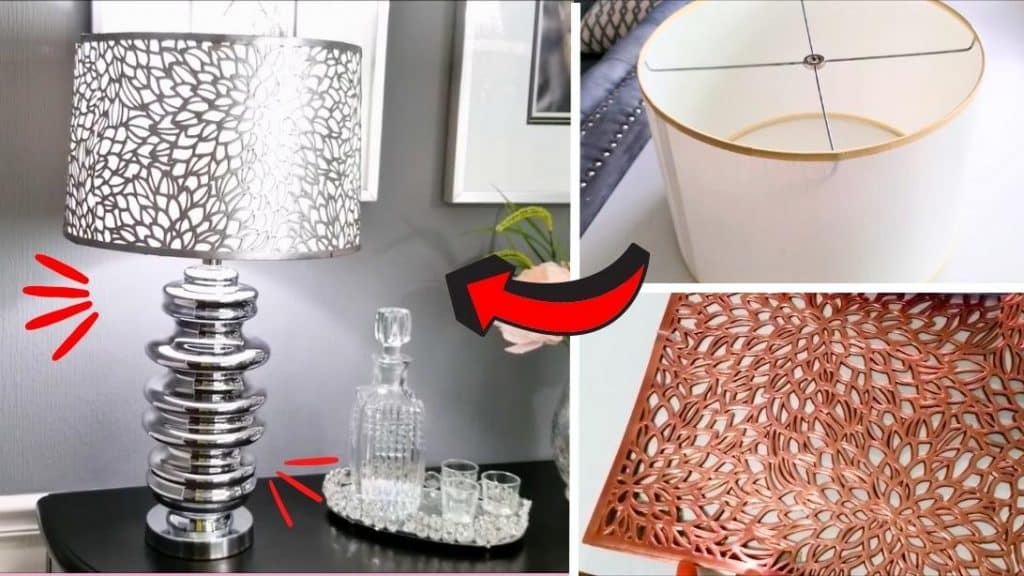
Tired of your boring and plain lampshade? Upgrade them using placemats with the help of this tutorial by Orchid Place. It’s an easy and quick project you can do at home. It will surely make it look 10 times better than before. Read on or watch the video below for full instructions.
Materials:
- pressed vinyl placemats
- lampshade
- metallic silver spray paint (or any color you prefer)
- scissors
- E6000 or any industrial glue
- brush
- bulldog clips
- blade
[social_warfare buttons=”facebook,pinterest,twitter,whatsapp”]
Instructions:
Step 1:
Spray paint the placemats with metallic silver spray paint or any color you prefer. Once done, let them dry completely.
Step 2:
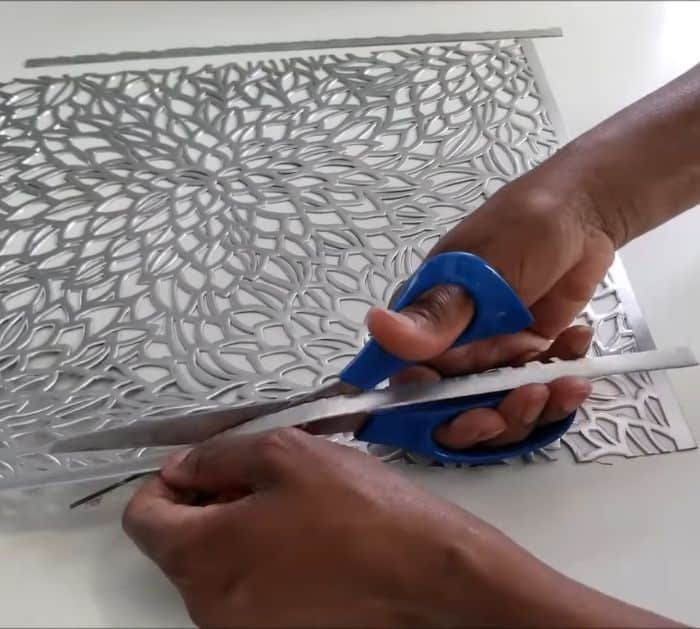
Remove the borders on all sides of the placemats using sharp scissors.
Step 3:
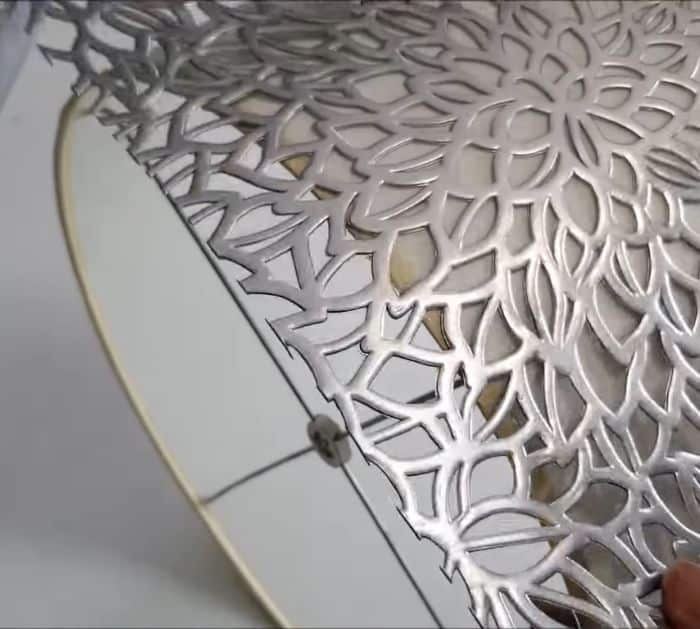
Dab glue on the top edge of the lampshade using a paintbrush. You don’t want to put it in the shade area because it’s going to show once you light it up. After that, add glue to the bottom edge. Make sure to smoothen the placemat. Be careful when adding the glue on the sides. You want it to be as thin as possible.
Step 4:
Cut the excess placemats. Repeat on the other side of the lampshade. Try to align them as much as possible. If your lampshade doesn’t have the same diameter on the top and bottom, you’ll end up with an open section. Fill that space with your extra placemats.
Step 5:
Use the strips you cut earlier as the border of the lampshade. Glue it on the top and bottom edges. Use bulldog clips to secure them while they dry. If there are any excess placemats after you add the border, just use a blade to trim them off.
If you like this simple project, make sure to visit Orchid Place on Youtube and subscribe to her channel. She has a lot of DIY tutorials that you’ll surely love.

