Tiles could get broken and may become awkwardly misplaced over time. Retouching it could be stressful and may also cost you a lot as it might need replacement. But what if I tell you that there’s such a method that could remove the tile without breaking it so that you can use the same tile again? Here’s The Maker from YouTube and he will teach you such a simple but effective tile removing hack that even experts don’t know about.
Materials:
- Angled tile cleaning grout remover
- Welding torch
- small putty scraper
- Trowel
- Tile spacer
- Rubber hammer
- Tile grout
- Cement
Directions:
Step 1
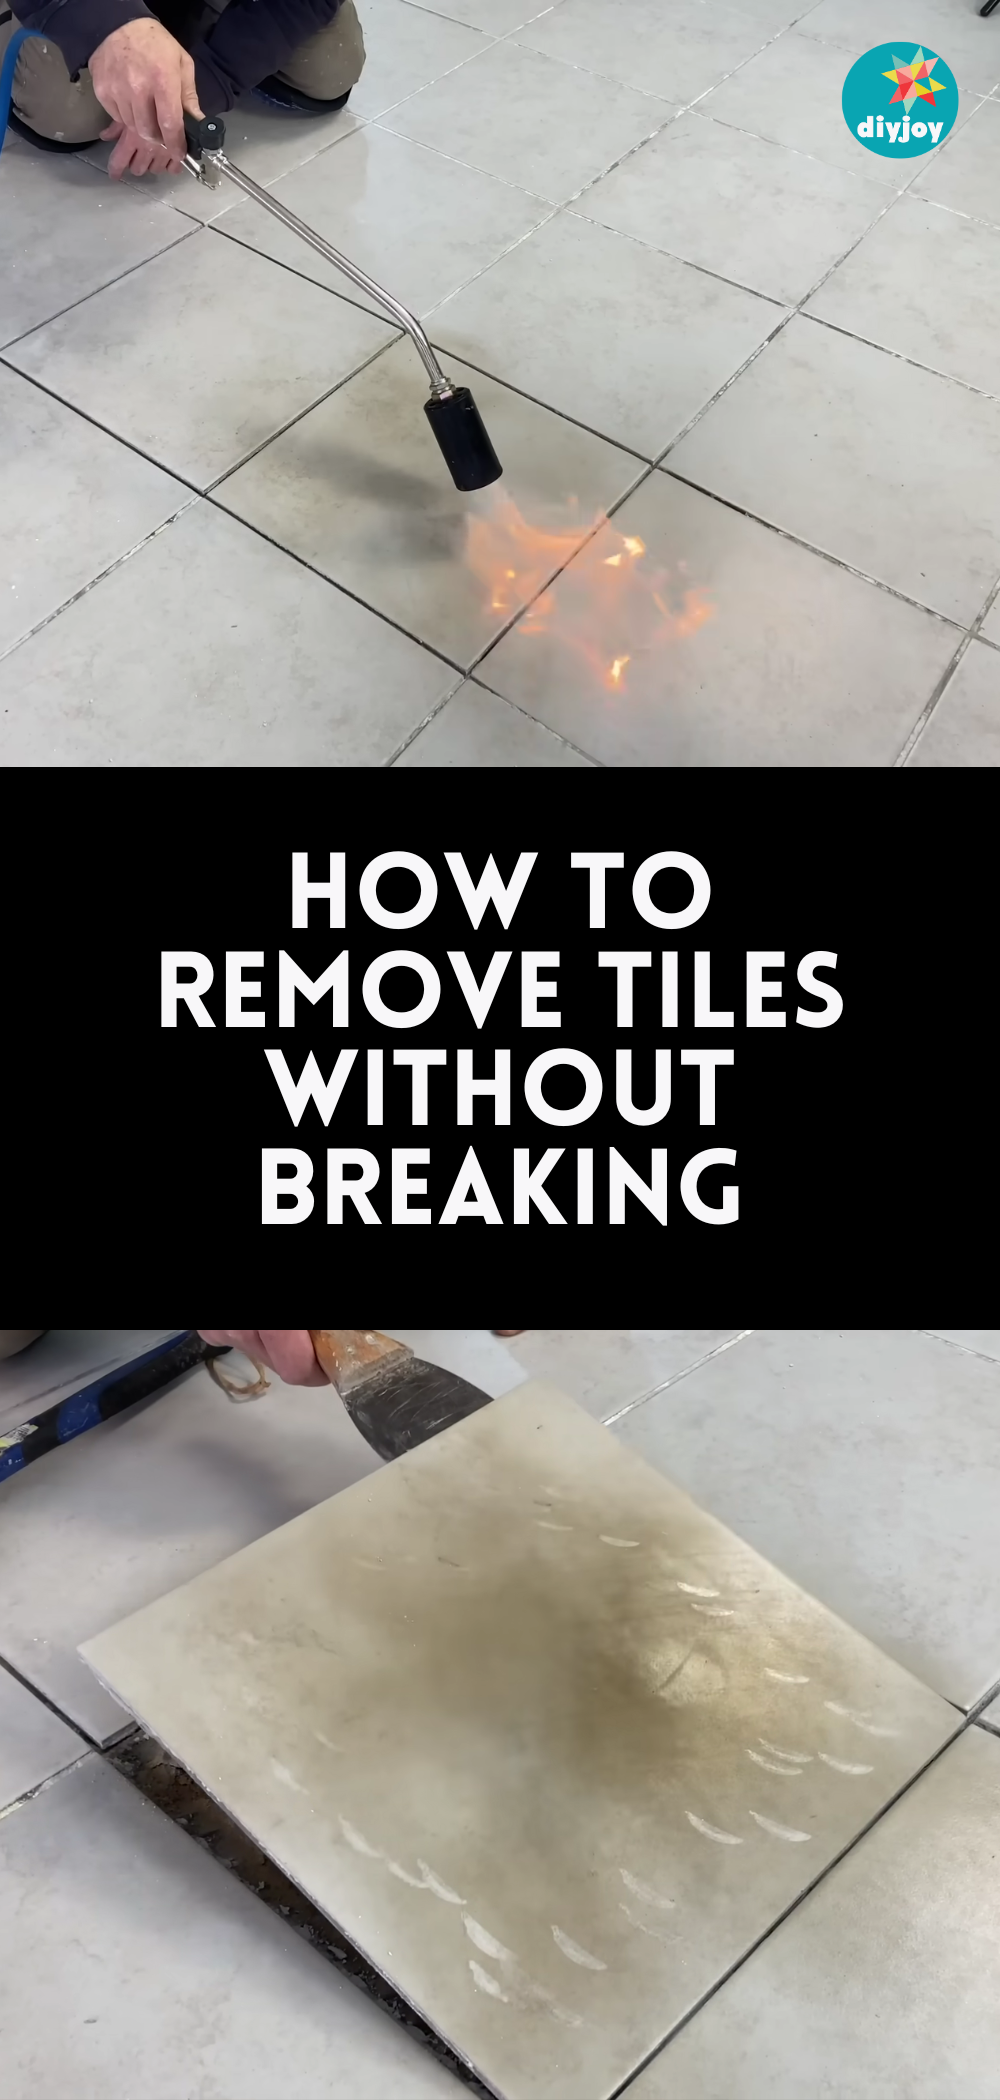
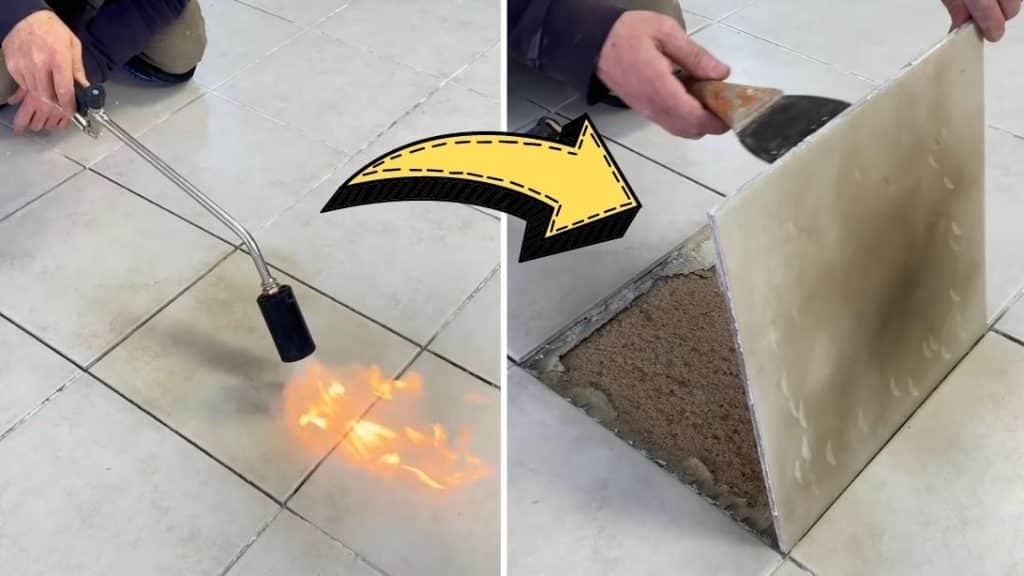
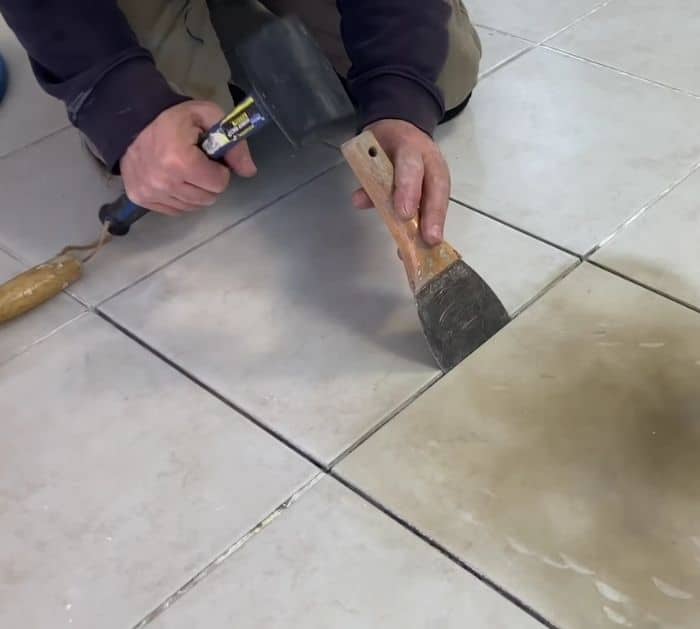
Start by scraping and removing the old hardened grout around the piece of tile you want to remove. Using an angled tile cleaning grout remover tool might make this a lot easier. Using a vacuum, remove all of the leftover debris and broken grouts around the area, then leave it clean. Grab your welding torch and start to blow flames around the whole piece of tile, then lightly hammer it down. Insert the putty scraper on the sides of the tile, then lightly hammer the handle of the putty scraper to push it underneath the tile, this will prop the tile up and make it easier to release itself from the floor.
[social_warfare]
Step 2
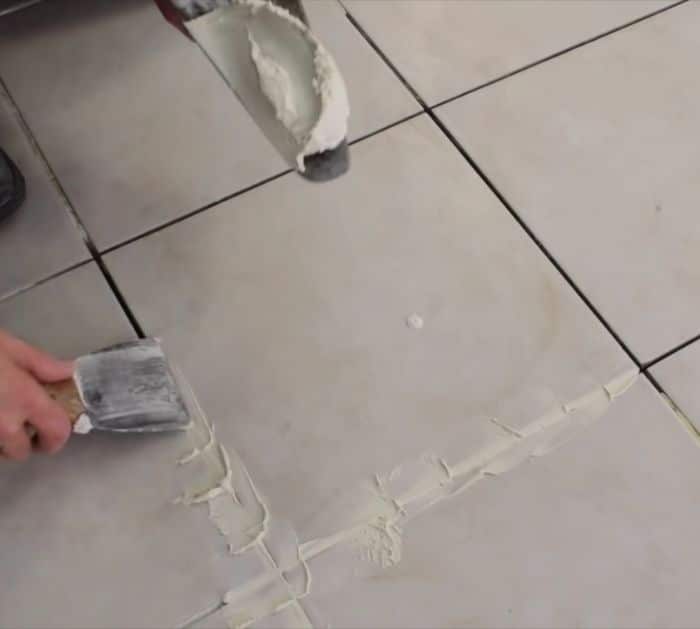
After propping the tile up from all sides, gently remove it from the floor, then wipe away the dark burn marks from the tile easily by using a damp cloth or sponge, and then set it aside. Repeat the same process for all the tiles that needed retouching. Remove the leftover hardened grout from the floor or area where the tile was previously attached. Apply cement to the area, then spread it evenly before scraping and creating streaks on it for a stronger grip. Put the tile or tiles back in, then hammer it lightly to lock it in place. Apply some tile spacer on each corner, then spread the tile grout on every gap, and wipe away the excess.
*All these images are credited to The Maker via YouTube. Give his channel a visit and subscribe for more!

