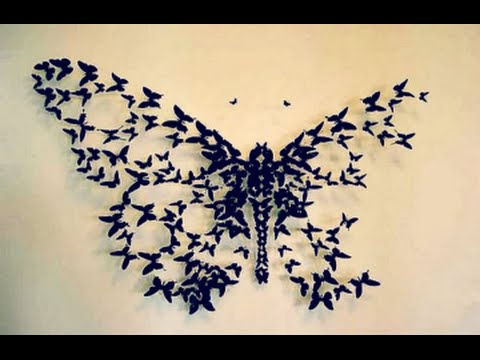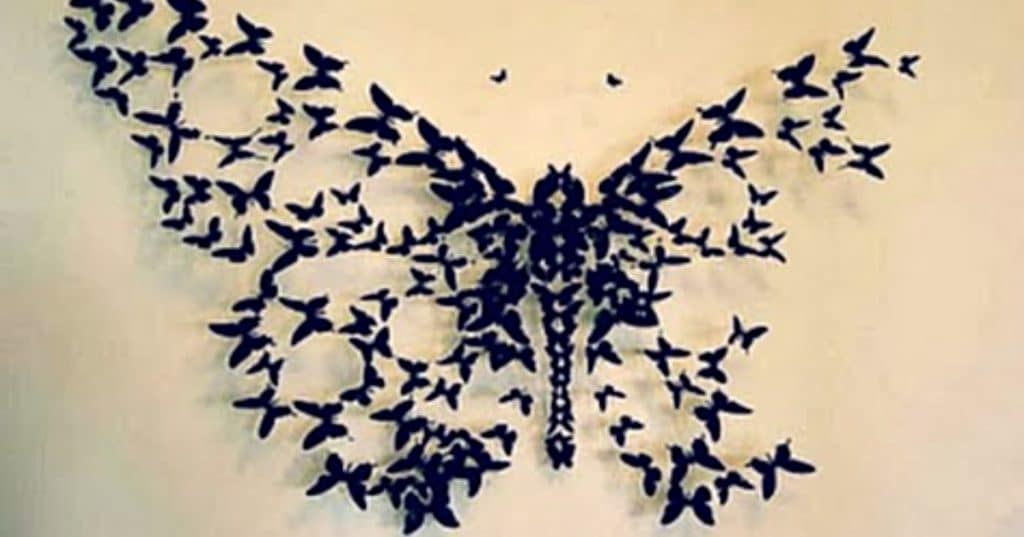
This butterfly paper wall art project is a real gem and so easy to make. Basically you just cut out the butterfly shapes out of paper and you can do that by cutting a small stack at one time making quite a few at once that really makes this project move along very quickly. After you cut out the gorgeous butterflies, you just use a simple glue stick to stick them to the wall. in whatever pattern you choose. The pattern described in this wonderful video by DiYanna on Youtube and she makes a large butterfly out of these beautiful small butterflies and it looks amazing, but you could virtually take this project in any direction you want. You can use different colors of paper and make any type of shape on the wall that you want, a tree or perhaps a giant flower would also look very nice. Remember, when you are doing DIY there is no right or wrong way to do a project, this is your creation and you can customize it in any way you choose, that creative choice is a beautiful thing.
Materials:
- Colored paper
- A glue stick
- A pair of scissors
Directions:
In this very informative video, you will learn how to stack small squares of paper to cut out a group of butterflies for a wall art project.
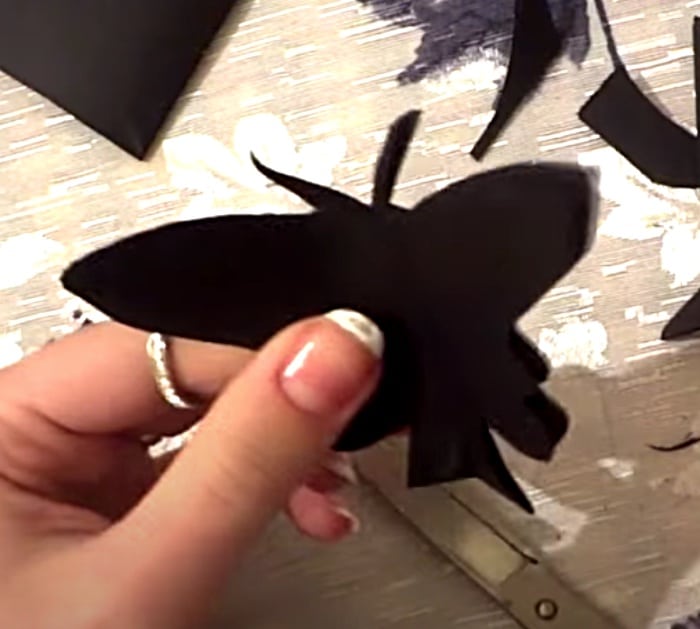
Then using a simple glue stick you will just stick these cute butterflies to the wall in the desired shape you choose.

This is a really cute project that is really a lot of fun.
How To Make Paper Butterfly Wall Art