What I love the most about learning how to sew is the number of projects that you could actually do! Some of them you can make for yourself, give as a gift, or even make a profit by selling. Probably my recent favorite project would be rag quilting, because not only are they pretty easy to make but they also look quite impressive and comfy. I also love the fact that you can mix and match any fabric you want. I learned how to make them through this video tutorial by Erica Arndt on YouTube.
Materials:
- 2/3 yard each of 5 different coordinating fabrics for quilt front
- 1 piece (55″ x 75″) of backing fabric
- 1 piece (55″ x 75″) of fleece
- Cutting mat
- Ruler
- Cotton thread, in coordinating color
- Rotary cutter
- Sharp scissors
- Sewing machine
Directions:
Step 1
Start by cutting your fabrics into 10*10 inches squares, the easiest way to do this is by stacking 3 pieces of your fabric together, then cutting them together at once. Make sure to lay them with the backing at the bottom and its right side facing down, flannel or fleece in the middle, then at the very top should be your main fabric with its right side facing up. After cutting them together, pin them around, then proceed to stack, cut, and pin the rest of the fabric together. Take 1 set of fabric, then sew them together from corners to corners diagonally to create a large “X” in the middle of the fabric.
[social_warfare]
Step 2
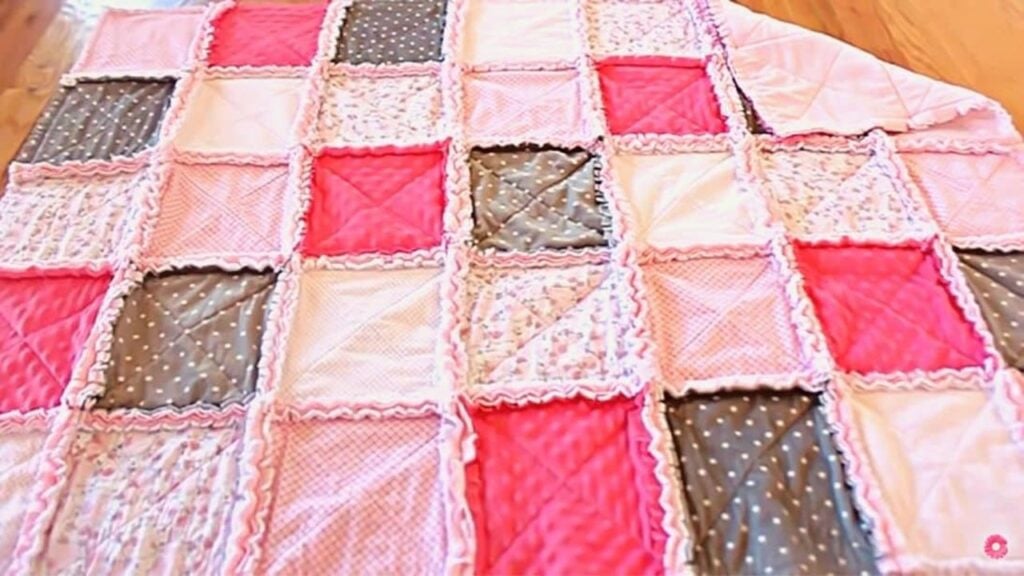
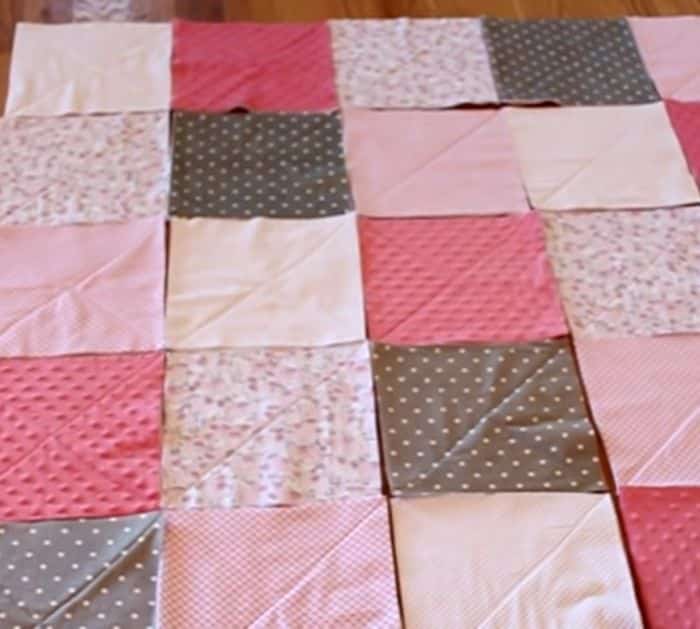
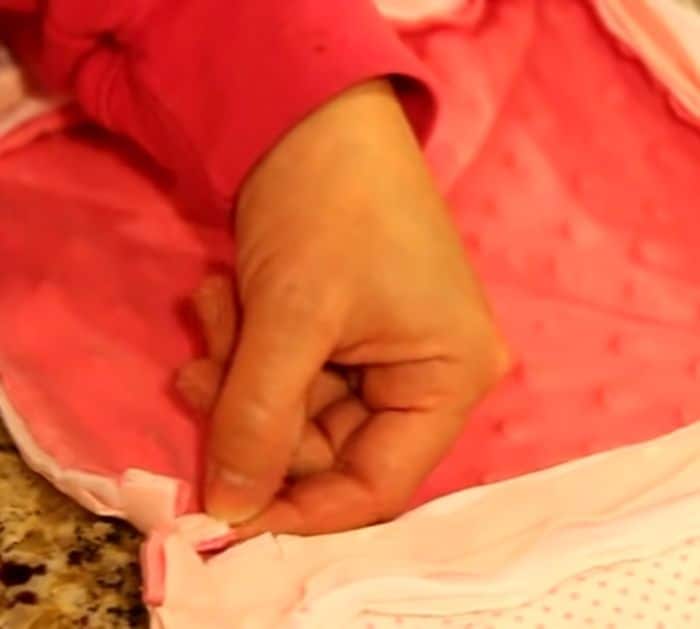
Do this with all of the fabric sets, then lay all of them, and remove all of the previous pins. Arrange the fabric randomly according to their color or however you want, then working on the first row, gather each of their sides together to create a nice seam, and pin them together, do this with the rest of the rows. Sew the joined seams together, then set them aside, and proceed to sew the next rows. Now, join the bottom seams of each row together, pin, and sew them together. Topstitch all around the outer edges of the whole quilt, then notch all of the exposed seams into small short strips.
*All these amazing images are thanks to Erica Arndt via YouTube. Do visit her channel to see more videos like this!
How To Make A Rag Quilt Easily