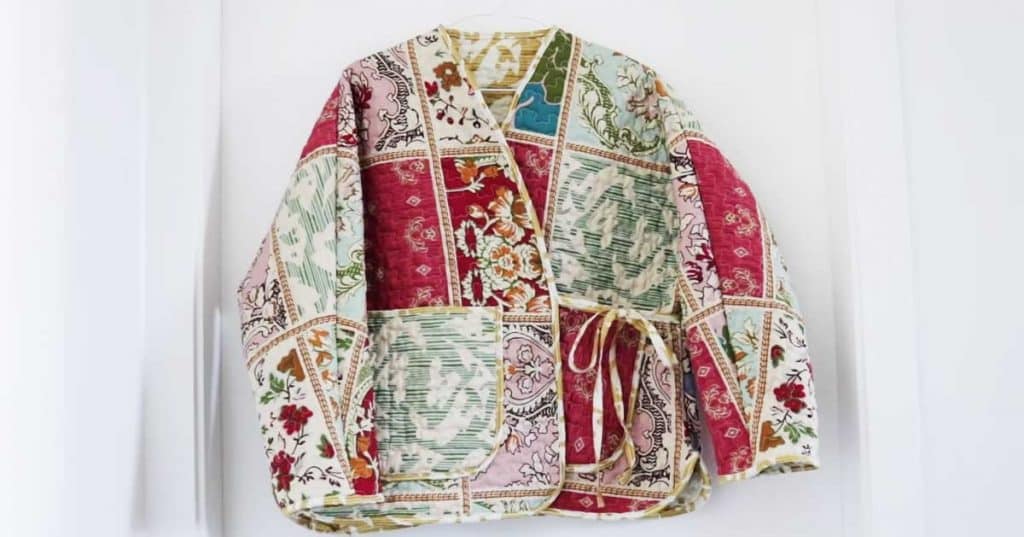
This jacket made from a quilt is my new favorite sewing project, and I just couldn’t wait to share it! Emily Lightly has created a gem with this one. The best part of it is that you can pick up a quilt from the thrift store for very little money and make it into this adorable jacket.
Materials Needed For This DIY:
- Quilt
- Jacket Pattern
- Sewing Machine
- Scissors
- Thread
Directions:
Step One
Start by laying your quilt out on a flat and even surface. Look online or in-store for a jacket pattern you like.
Step Two
Remove all of the binding from the edge of the quilt.
Step Three
Lay your pattern out and pin it on the quilt and begin to cut the fabric out.
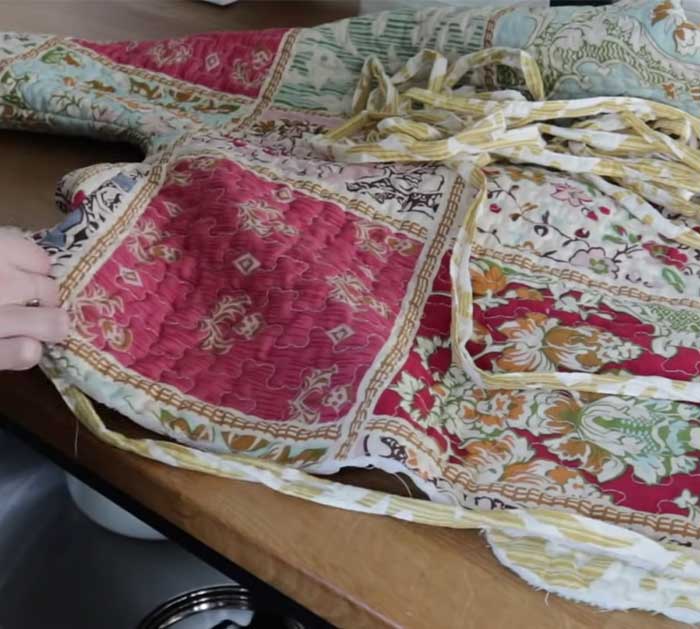
Image by. Emily Lightly via YouTube video.
Step Five
Thread your sewing machine with a color of thread that will match your project. Test your thread on pieces of scrap fabric to make sure it will work for your project.
Step Six
Pin the fabric that makes up the shoulders of the jacket together, then sew. Use a serger to sew the edges of the material. Make sure you are sewing the material inside out.
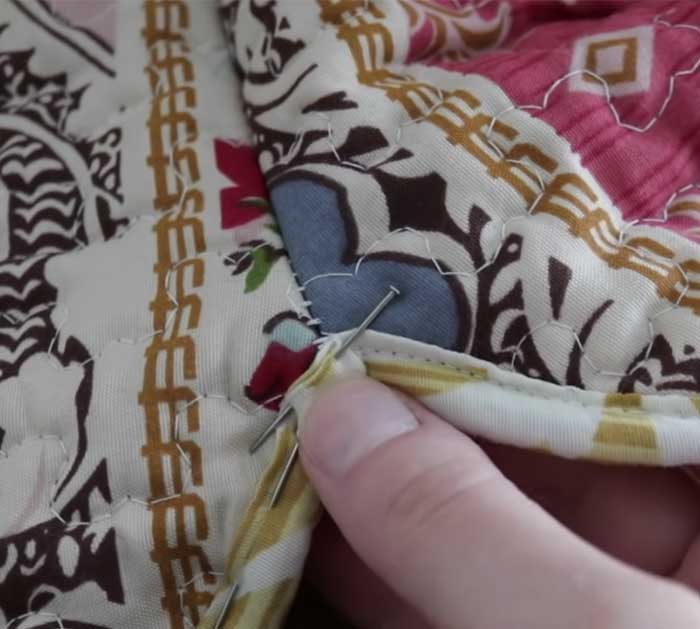
Image by. Emily Lightly via YouTube video.
[social_warfare]
Step Seven
Next, pin and then sew the sleeves of your jacket. Once the sleeves and front panels of the jacket are attached, try on the jacket to see if you are happy with the length.
Step Eight
Add the binding to the cuffs of the sleeves. You will likely have to use lots of pens to keep the binding on as you sew.
Step Nine
Continue adding binding to the rest of the jacket. Use lots of pins and pull the fabric tight as you sew.
Step Ten
Finally, add pockets with the scrap fabric if you want.
How To Make A Jacket Out Of A Quilt