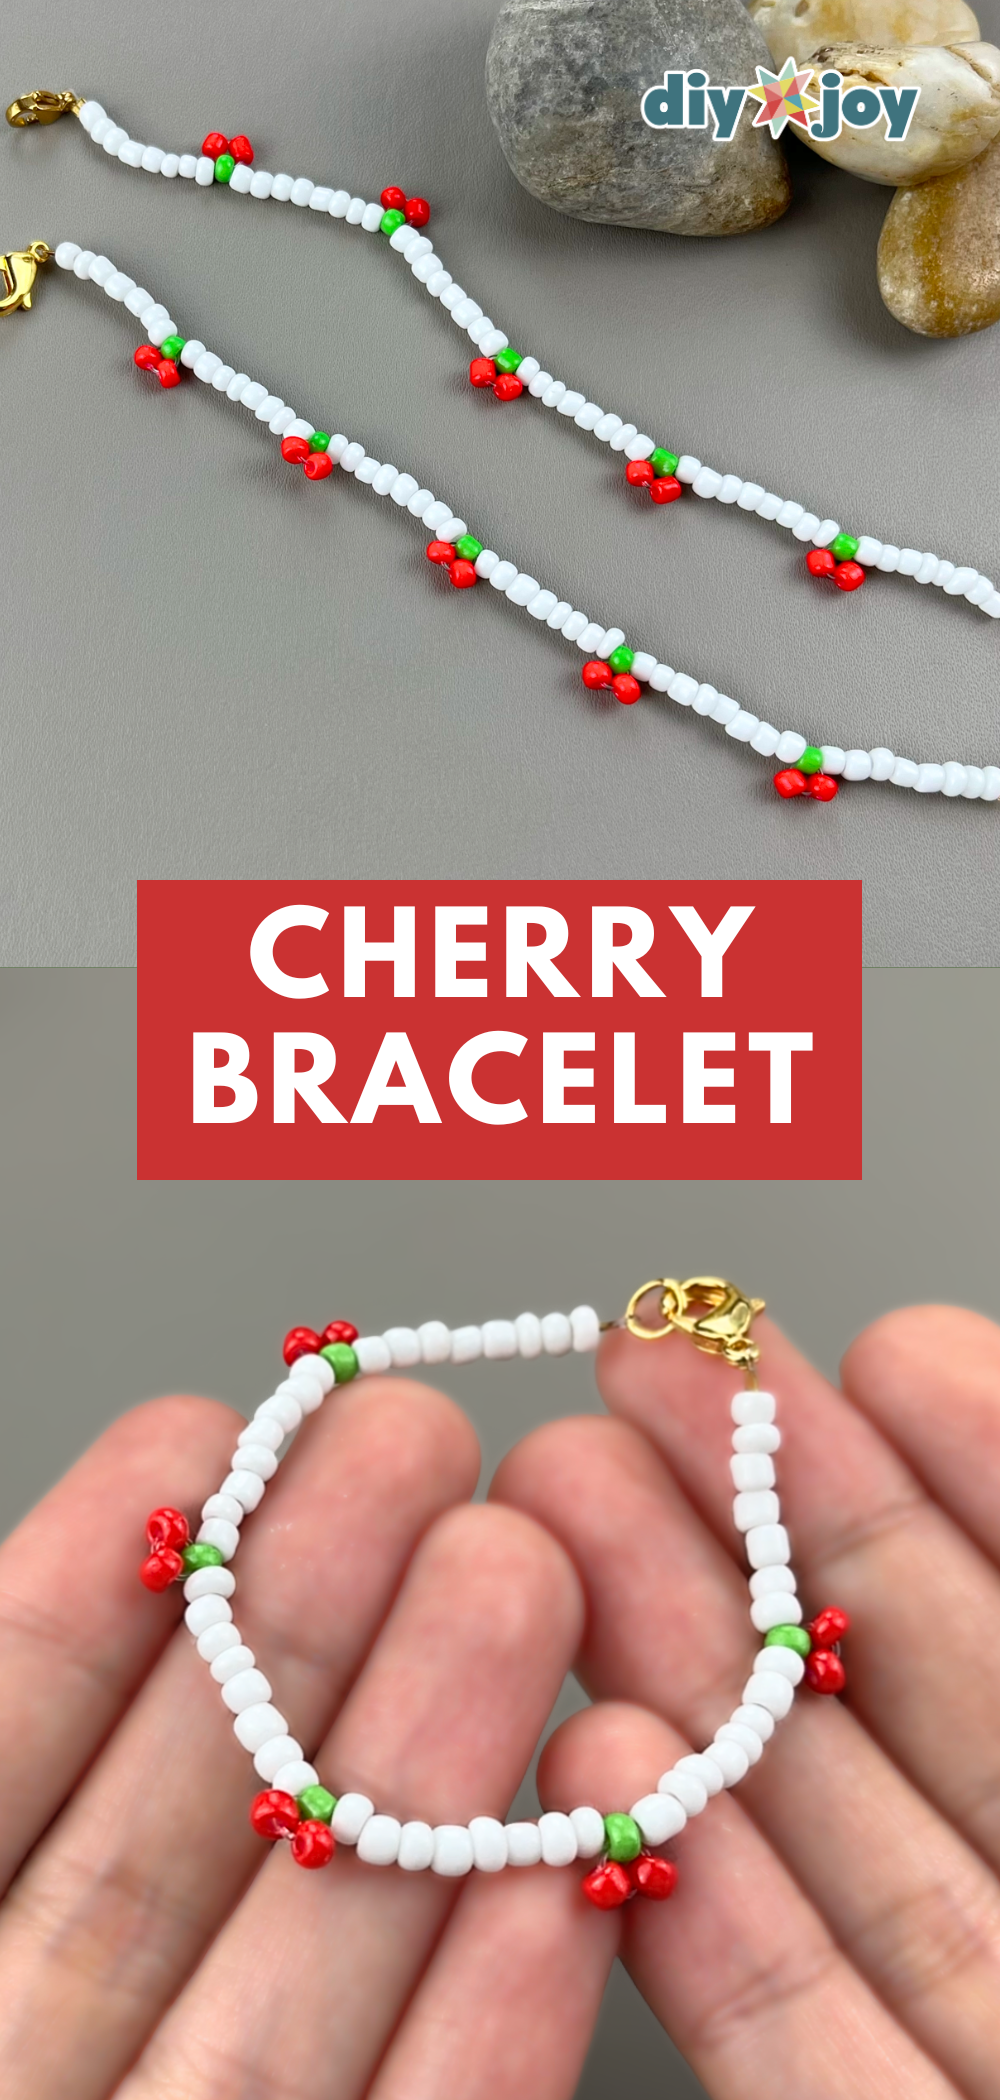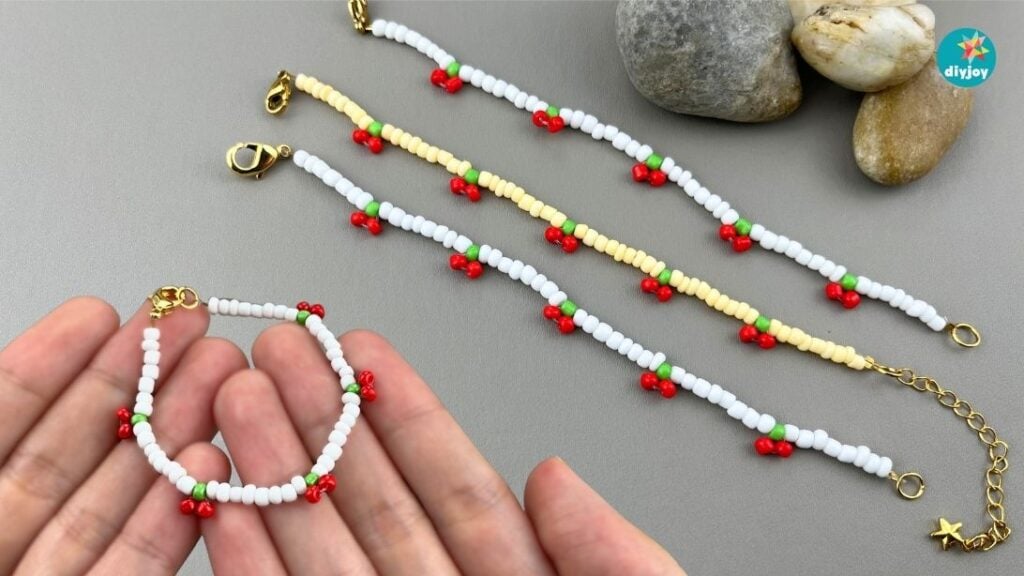
Seed bead bracelets are currently all over my feed right now, and one of my favorites is this cherry bracelet. It’s super cute and minimal. While I’ve seen many other designs like daisies, grapes, and ribbons, I decided to start with this one because it’s so easy and beginner-friendly.
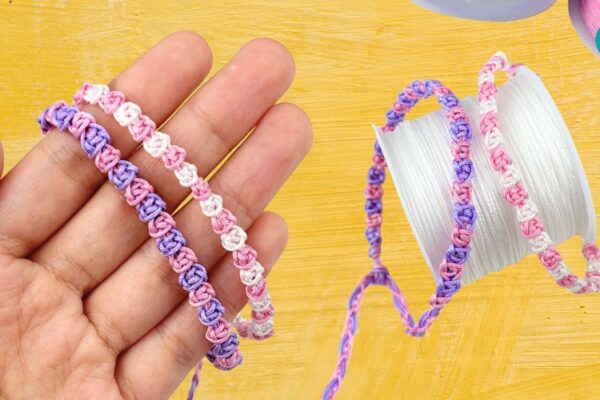
RELATED: Easy Macramé Bracelet | Rose Bracelet
This cherry bracelet is an absolute joy to make! It only takes a few minutes and a hanndful of seed beads. You don’t need any bracelet-making experience at all. The instructions are very easy to follow with no complicated steps. I got so carried away that I made too many bracelets, which shows how much I enjoyed it. It’s a wonderful way to lessen screen time and to be creative with your hands. I’m sure you’ll love it too.
If you are looking for a DIY friendship bracelet or a cute DIY accessory, this bracelet for you. This project makes a great handmade gift for your friends and family, an awesome craft to make and sell, or a nice way to add color to your look. Follow the easy step-by-step bracelet tutorial or watch the video below for the instructions.
DIY Cherry Bracelet Tutorial
Learn how to make a cherry bracelet with this quick and easy tutorial.
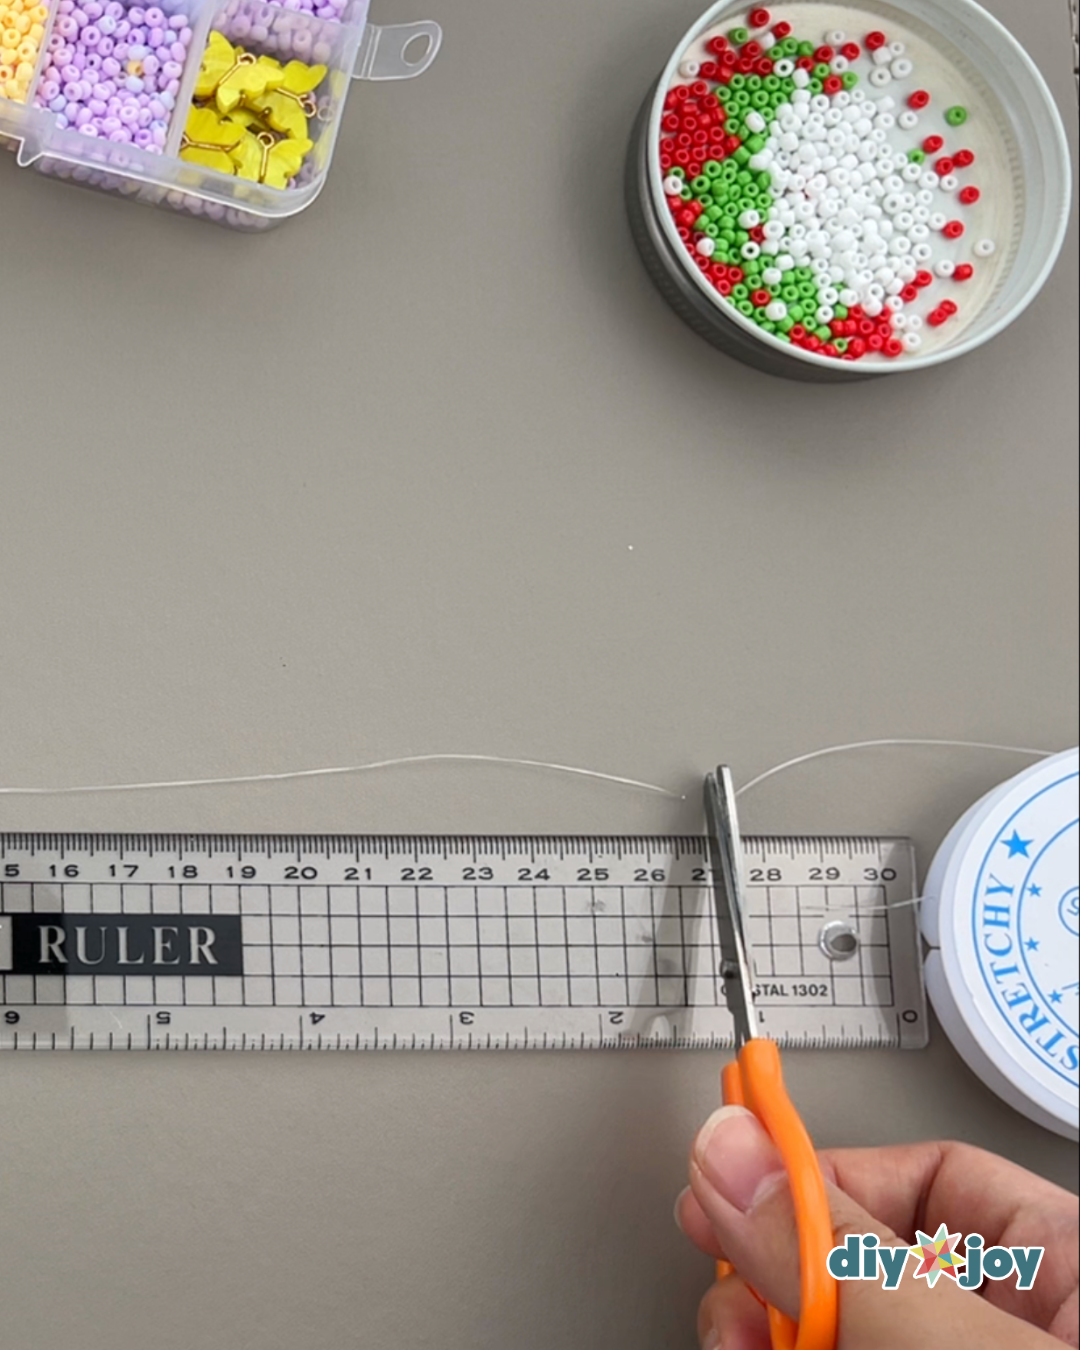
Cutting the nylon
Measure your wrist with the nylon, add a few inches to that measurement for allowance, and cut the nylon to that length.

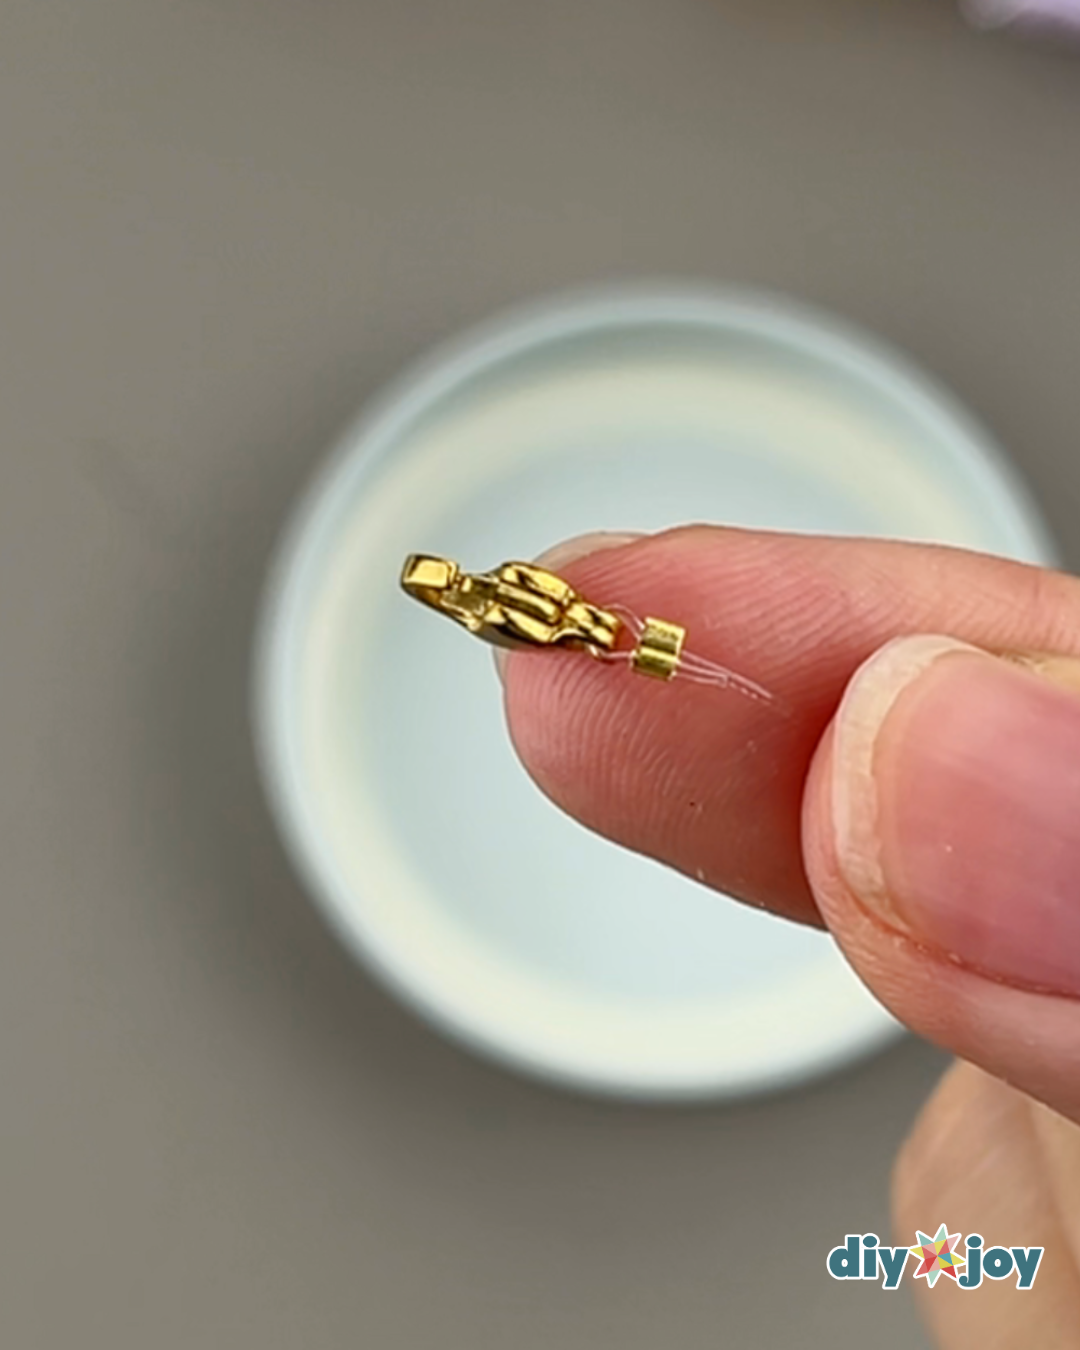
Add lobster clasp
Insert the nylon onto crimp and lobster clasp. Insert the end of the nylon into the crimp again. Squeeze the crimp with a clasp, making sure that the nylons are parallel to each other. Cut off any excess.
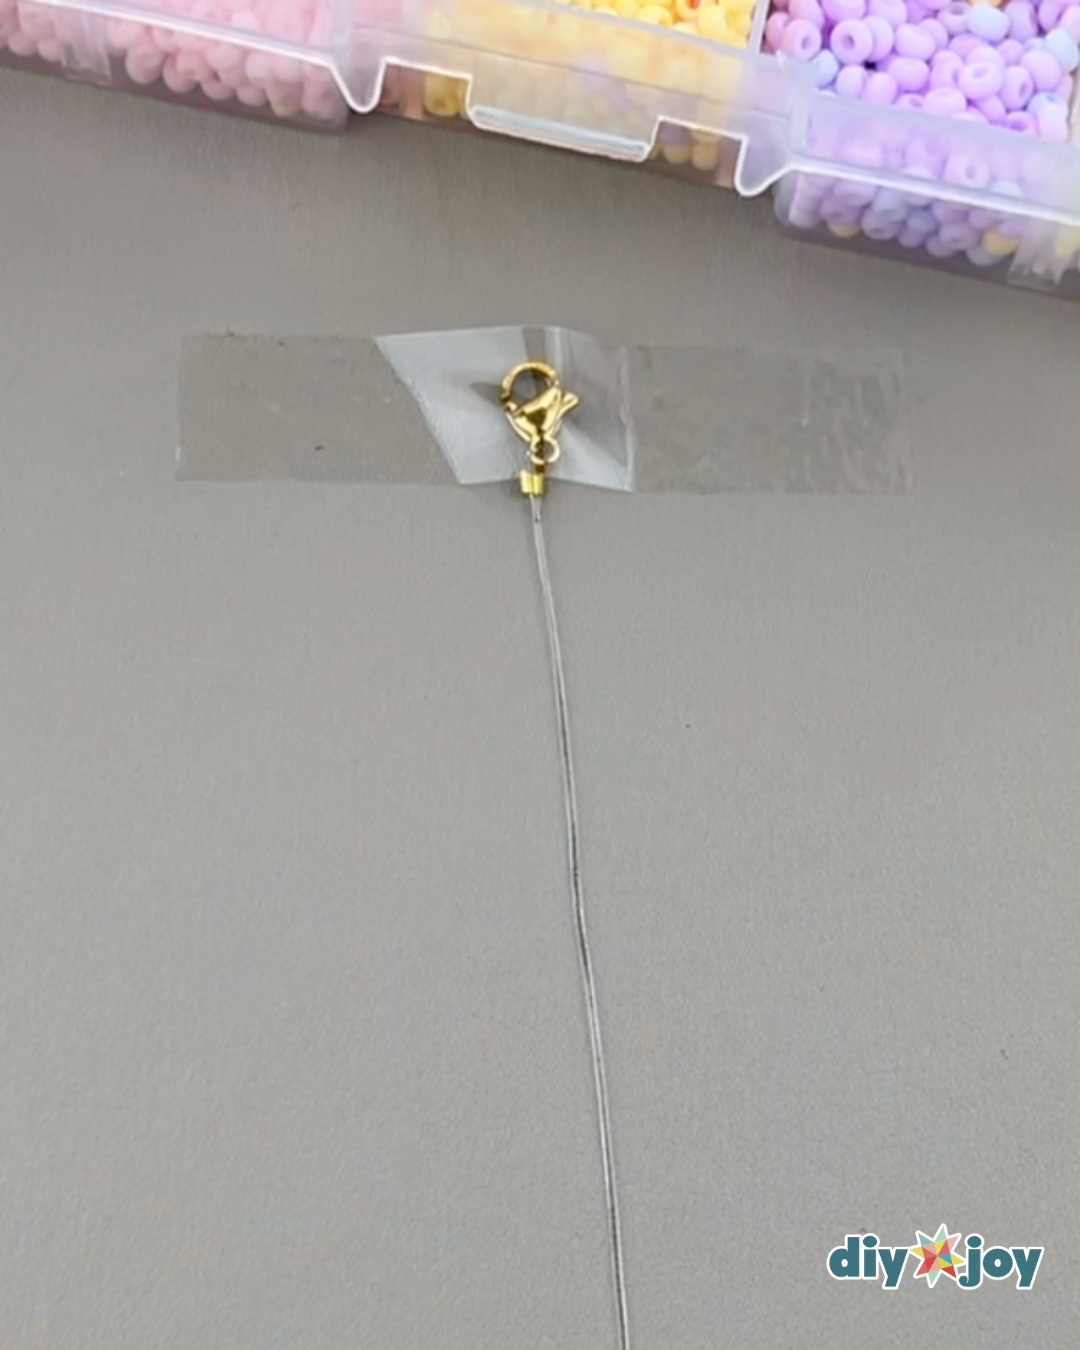
Taping the bracelet
Tape the lobster clasp of the bracelet onto a flat surface.
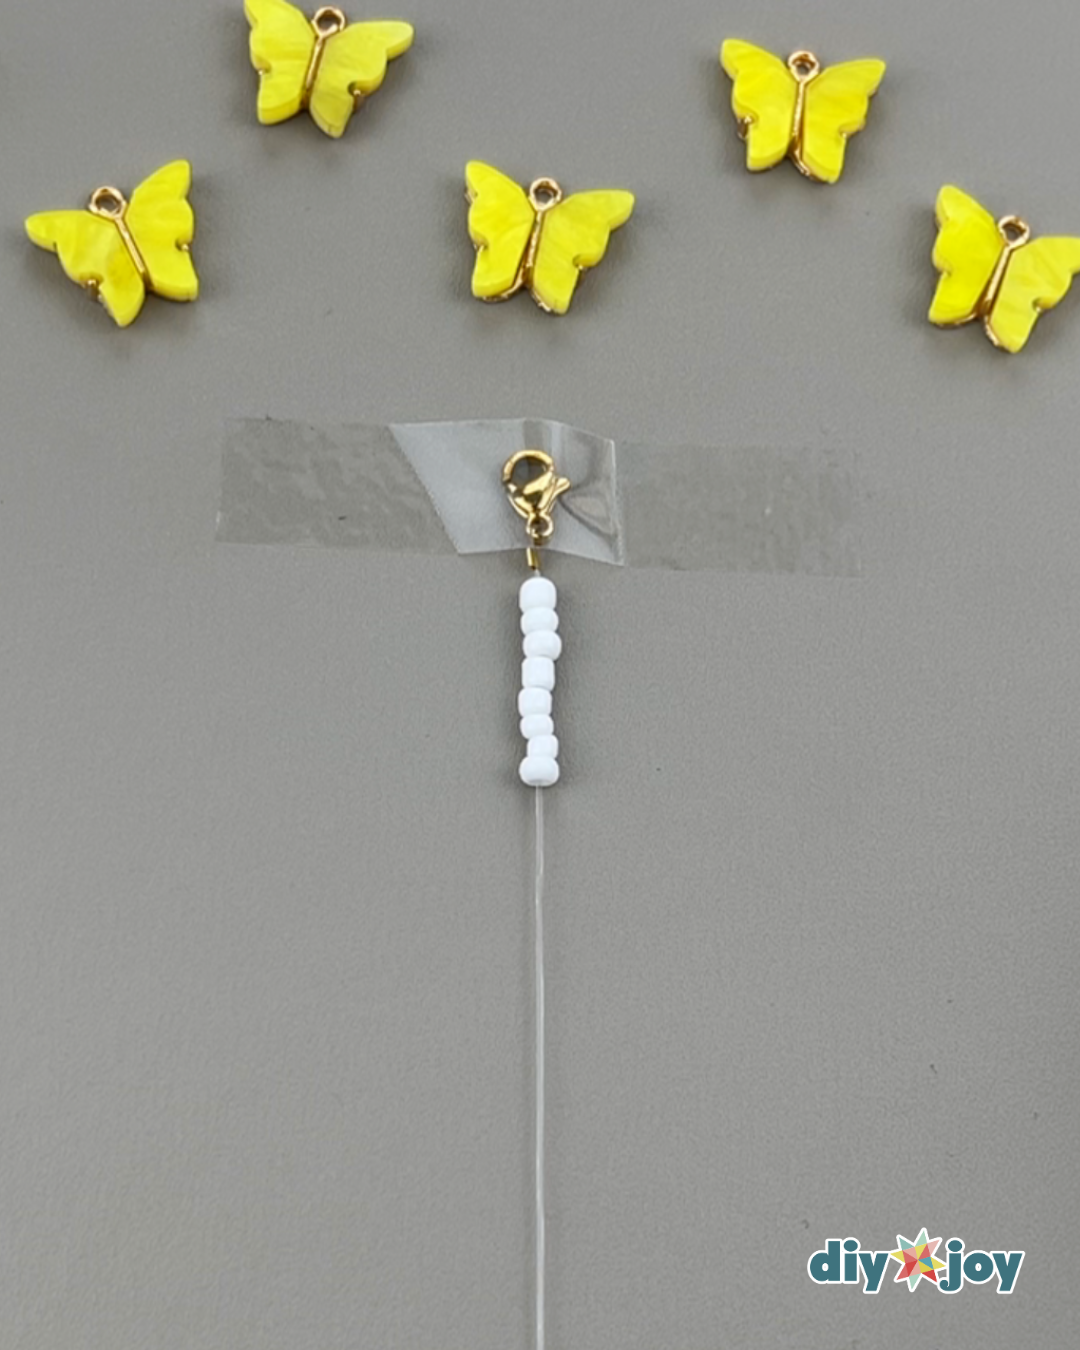
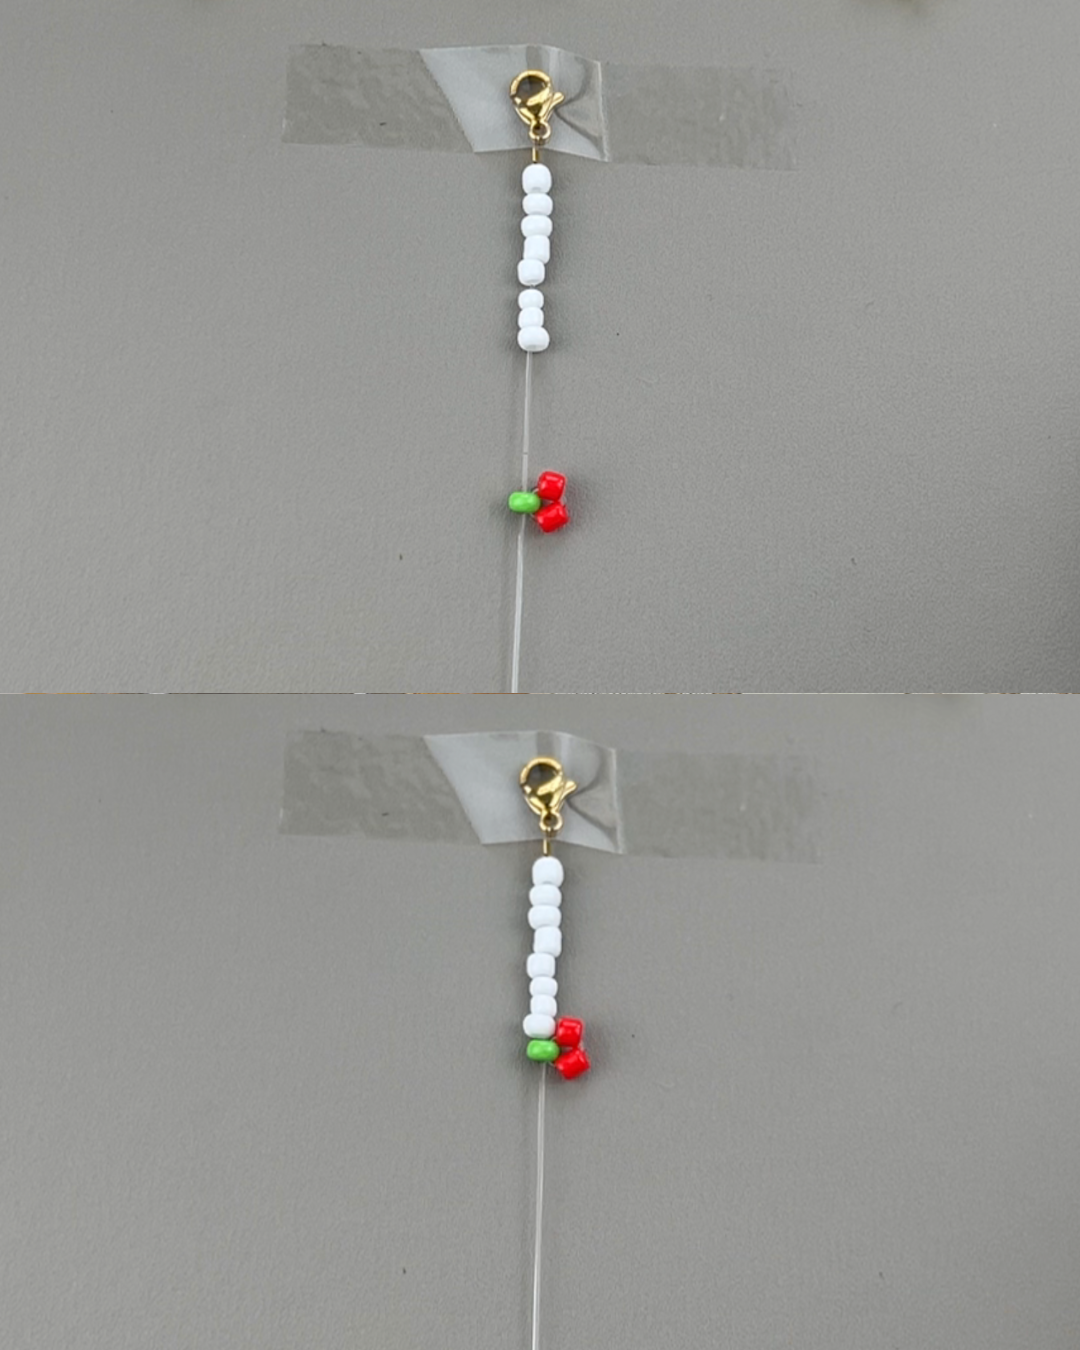
Add white beads
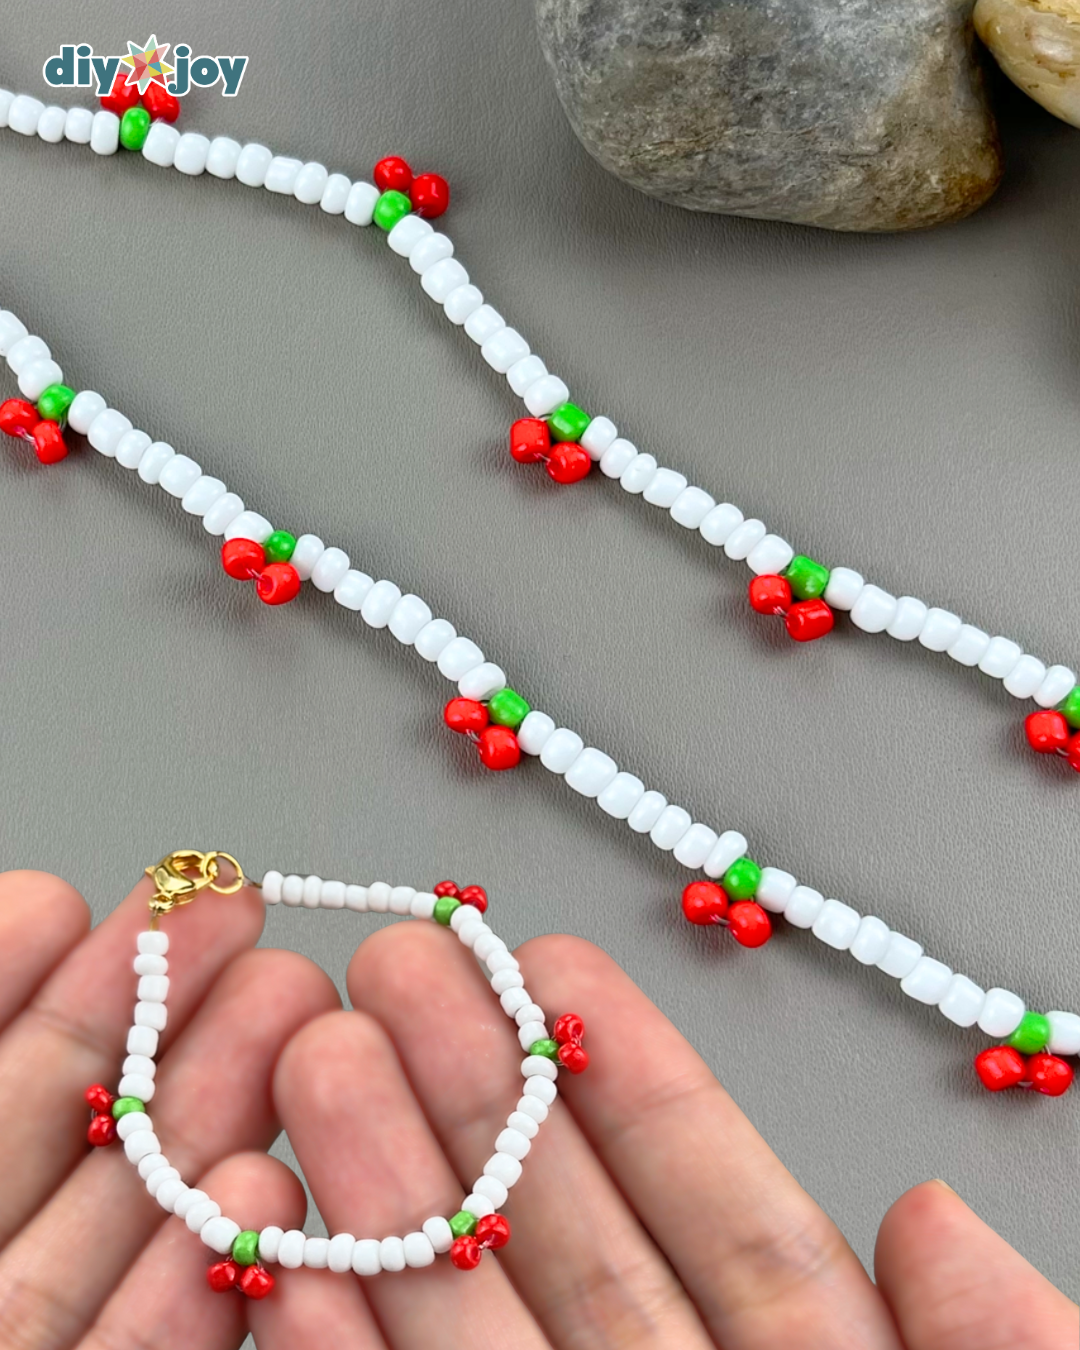
Add 8 white seed beads.
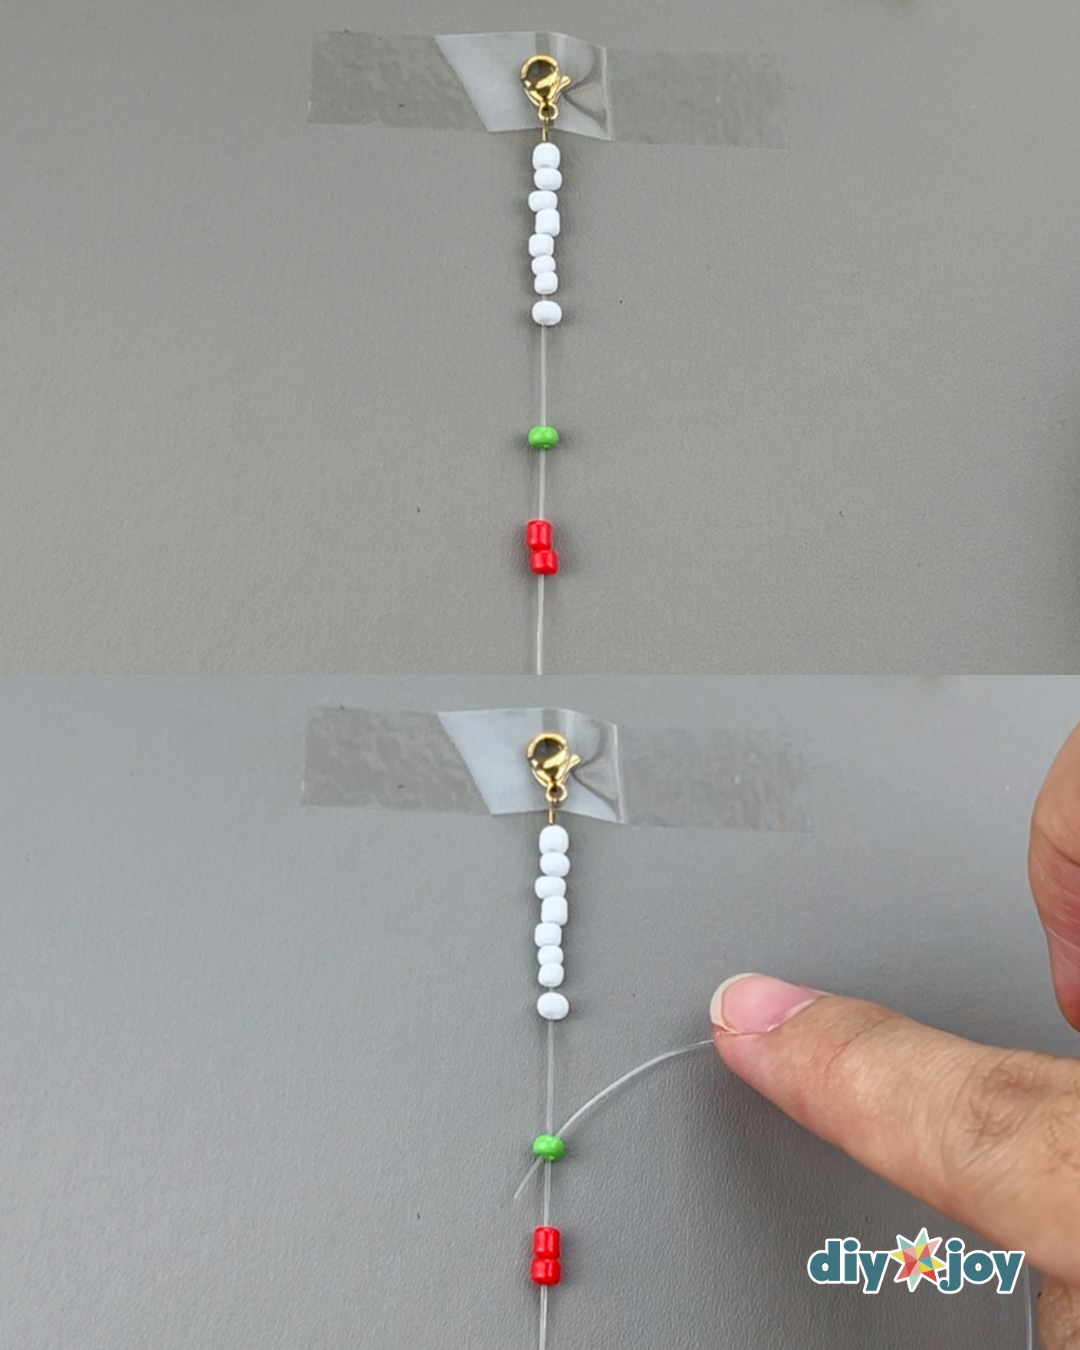
Add green and red beads
Add one green bead and two red beads. Insert the end of the nylon back through the green bead.
Making the cherry
Pull the nylon until the beads form a cherry. Move it upwards, right below the white beads.
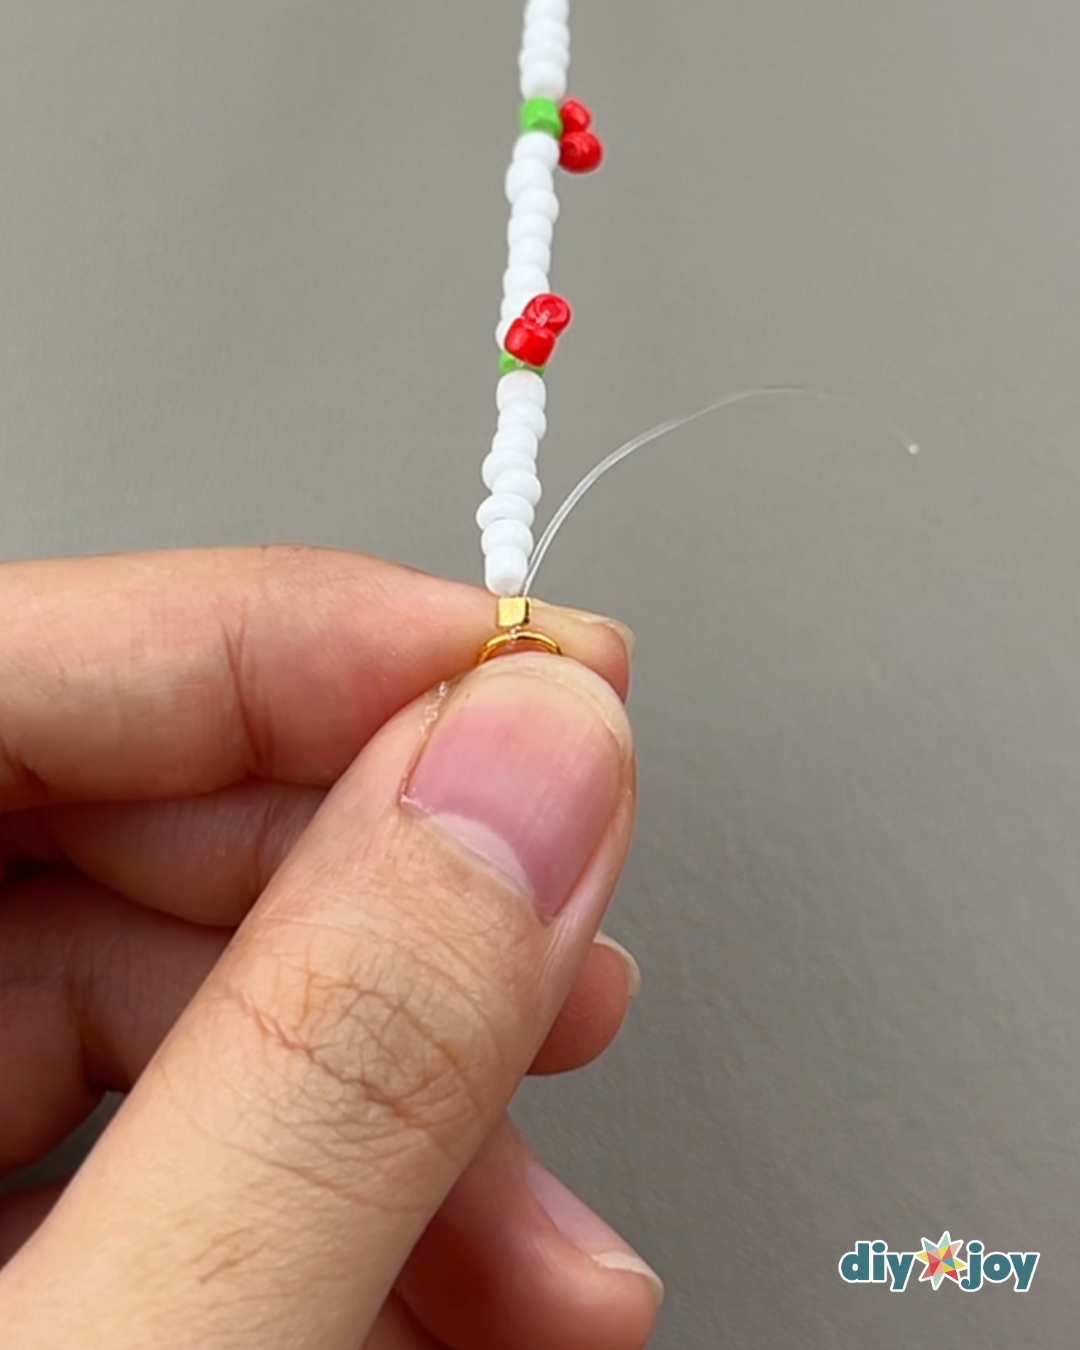
Repeat steps 4 to 6 until it’s long enough to wrap around your wrist.Add the jump ring
Insert the crimp, followed by the jump ring. Hold the jump ring and insert the nylon onto crimp. Squeeze the crimp, making sure the nylons are paralle, then cut off the excess.
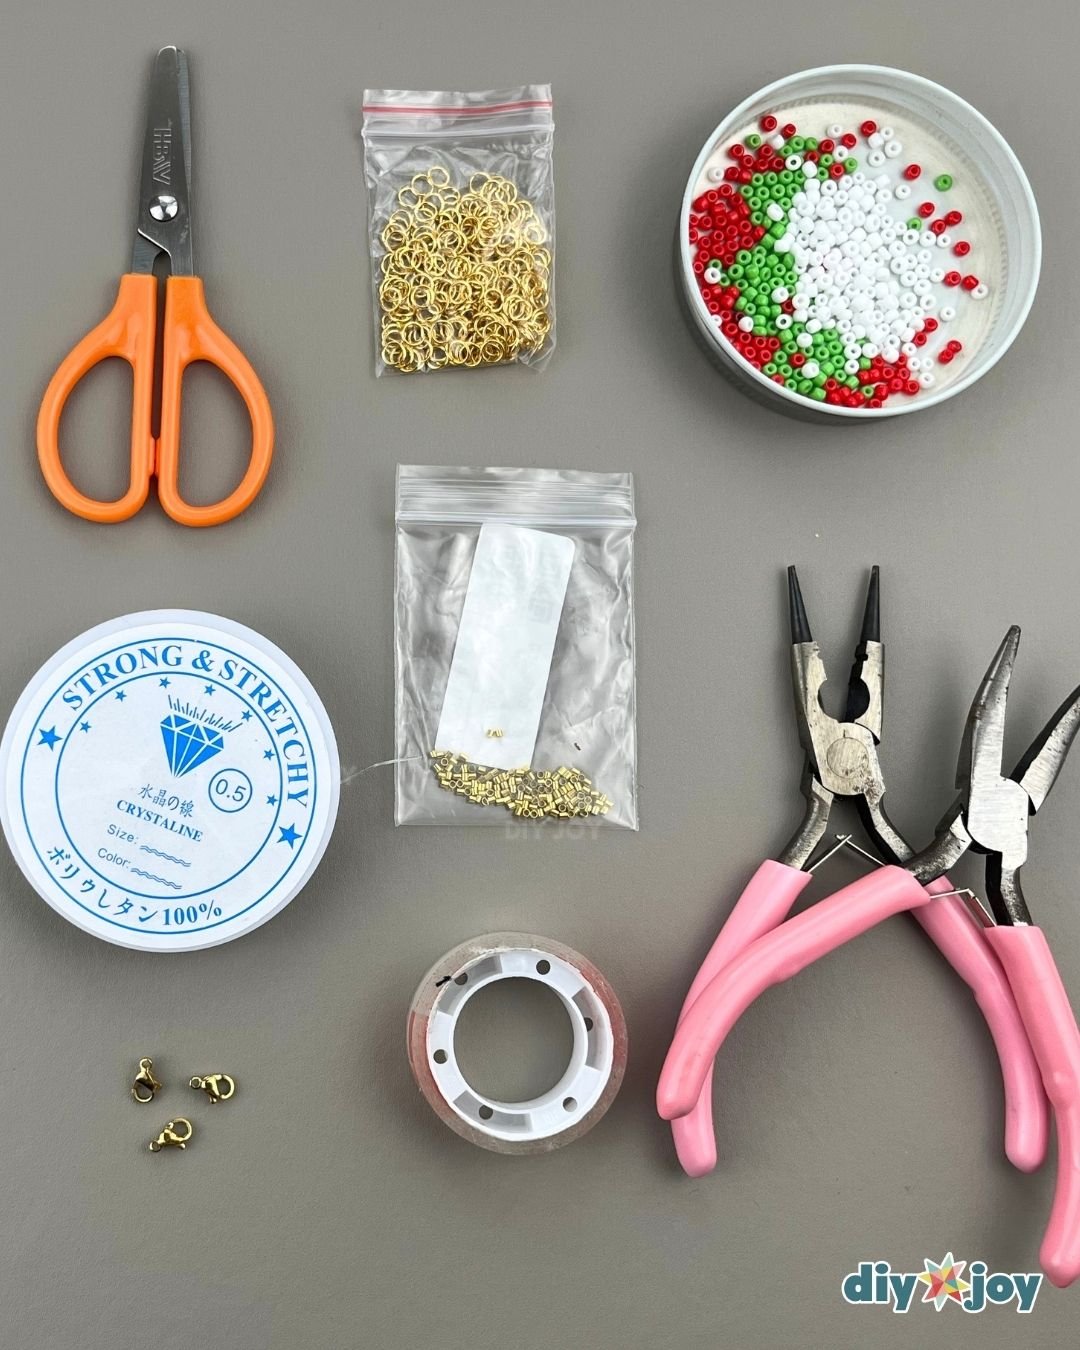
Tools
- pliers
- scissors
- ruler
Materials
- 0.5 mm nylon
- 0.3 mm red, green, white seed beads
- lobster clasp
- crimp
- crimp cover (optional)
- 7 mm jump ring
Creative Ideas and Variations
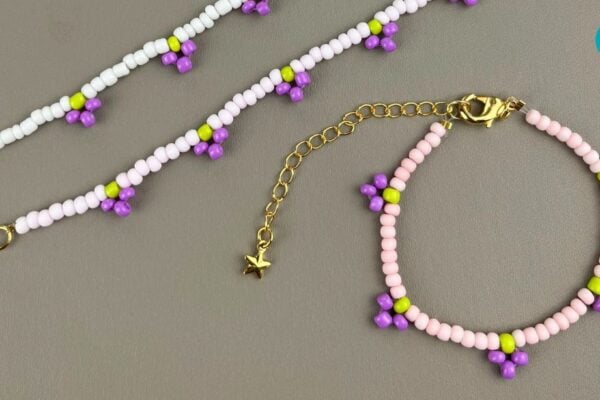
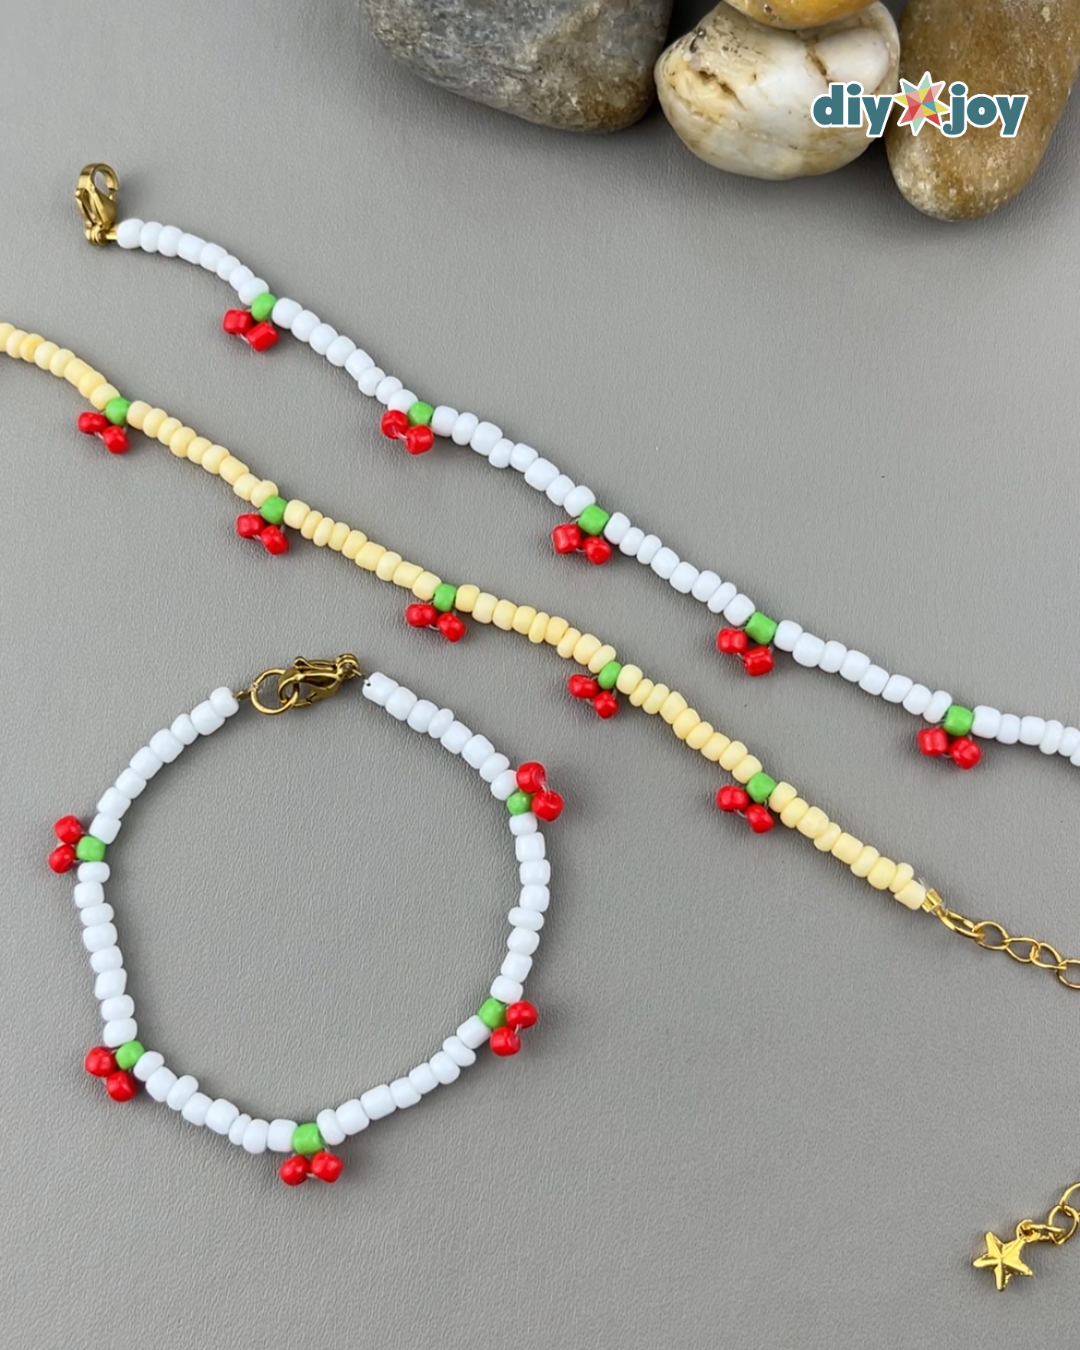
- Change the color of the beads. Instead of using white beads, feel free to use pink, yellow, light violet, or any other color you prefer.
- Add an extension chain. To make your bracelet adjustable, add an axtension chain.
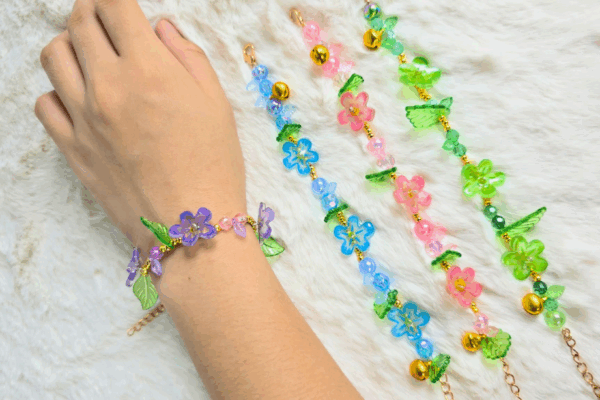
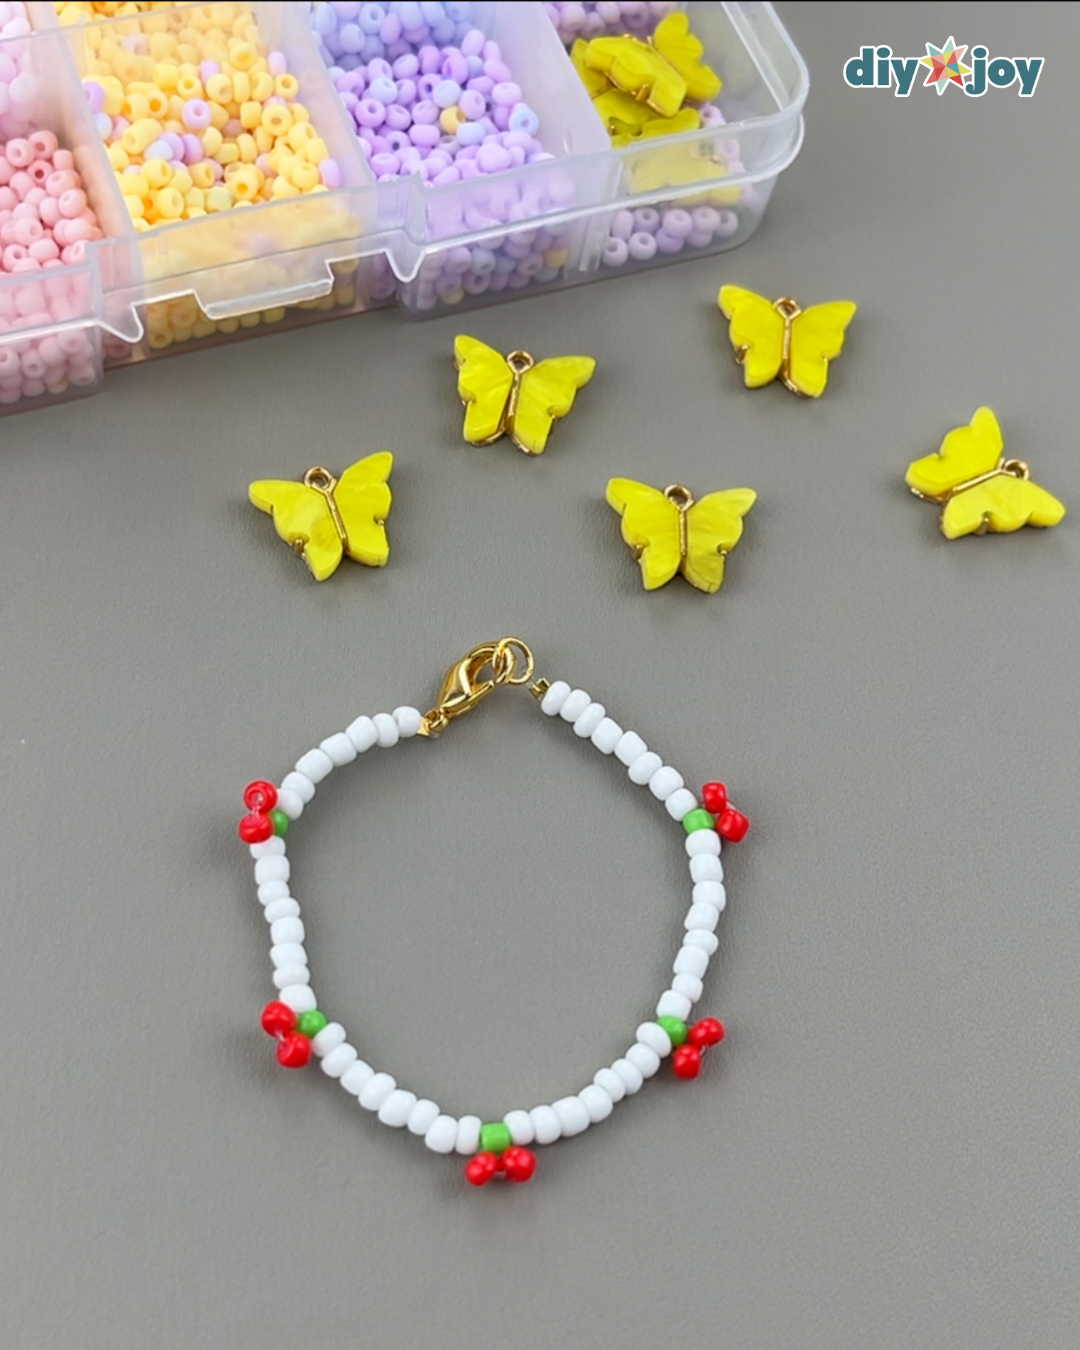
- Use different beads. You can add a variety by using different beads like butterfly beads for an extra design element.
- Experiment with bead numbers. Instead of using 8 beads, try using more or fewer beads.
- No clasp or jump ring? No problem! You can simply tie a knot in the nylon and use nail polish or E6000 to keep the knot from coming undone. Since the nylon is stretchable, you won’t have any problem fitting the bracelet over your hand.

More Bracelet Design Ideas
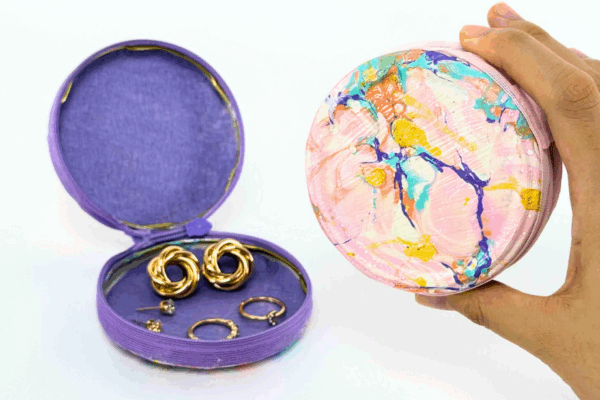
Jewelry Ideas
Jewelry Ideas
Jewelry Ideas