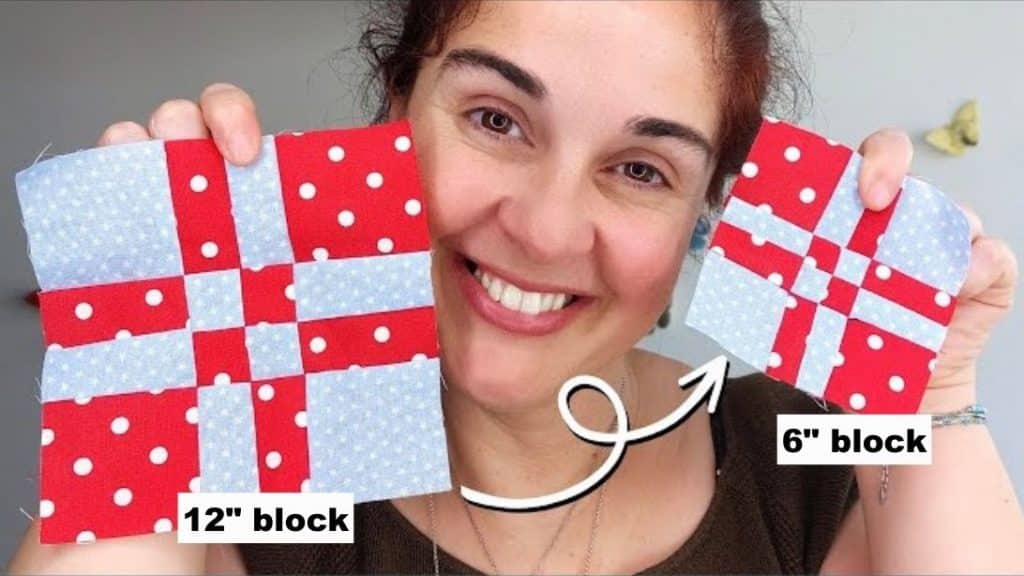
Do you want to make a block bigger or smaller but don’t know how to do it? No problem, Sew Easy by Sandy will teach you the easy way how to change the size of a quilt block. The math calculation can be very overwhelming for some, especially if you are not a fan of numbers, but you can definitely do it step-by-step.
RELATED: 3 Basic Beginner-Friendly Quilt Blocks
Sometimes, we see a block and think it will look so much better when it’s bigger, and that’s when this tutorial comes in handy. It may take some time to master this method, but as you go along and keep on practicing, you will surely become better at it. Take it one step at a time, no need to rush, and you will realize that you can easily do it without a guide. For a detailed explanation, watch the video below.
How to Resize a Quilt Block
1 – Take the seam allowances off your math
If you have a 4″ quilt block that has a 1/2″ seam allowance that you want to turn into 6. Just remove the 1/2″ seam allowance from the first block (only consider the four inches) and make all the calculations. Once you are done, add the 1/2″.
2 – Pick easy quilt blocks
If you are just starting out, stick with the easy ones first. If you have a nine-patch block, think of each square as a unit. You want to pick a size that is a multiple of three, like 9, 12, 15, 18 and so on.
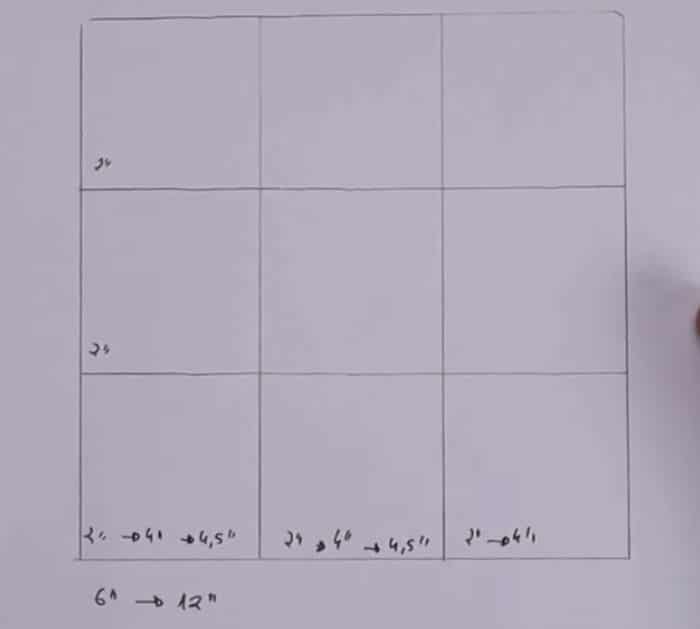
For example, you have a 6″ nine-patch block and you want it to turn into a 12″ block.
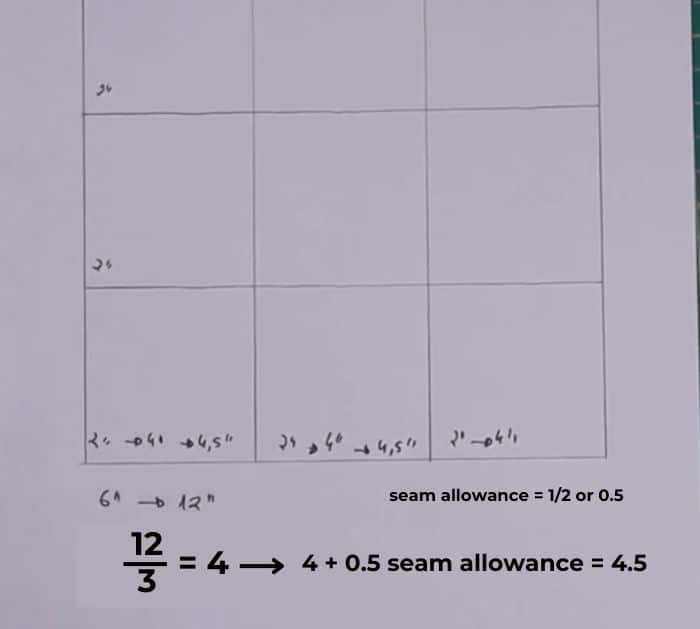
We know that we have 3 units in a row and we want the block to be 12″. All we need to do is to divide 12 by 3 and we have 4. So, each unit should now be 4″.

Since you already know the size of each square, add the seam allowance. Now you have 4 1/2″ units.

3 – Always make a test block
You should always make a test block to make sure your math is correct.


