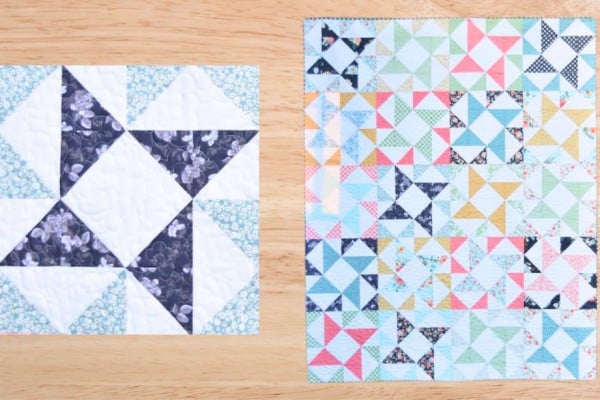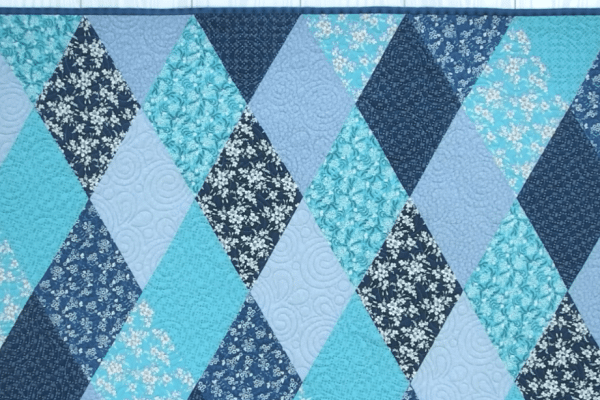
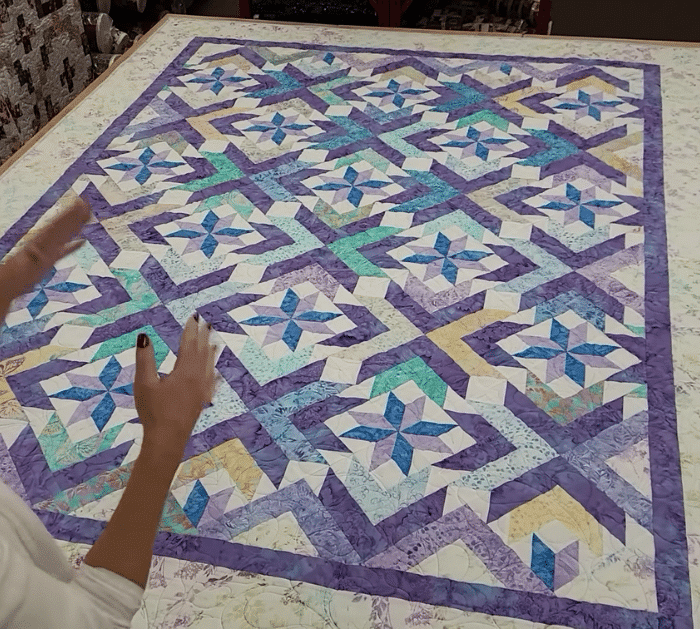
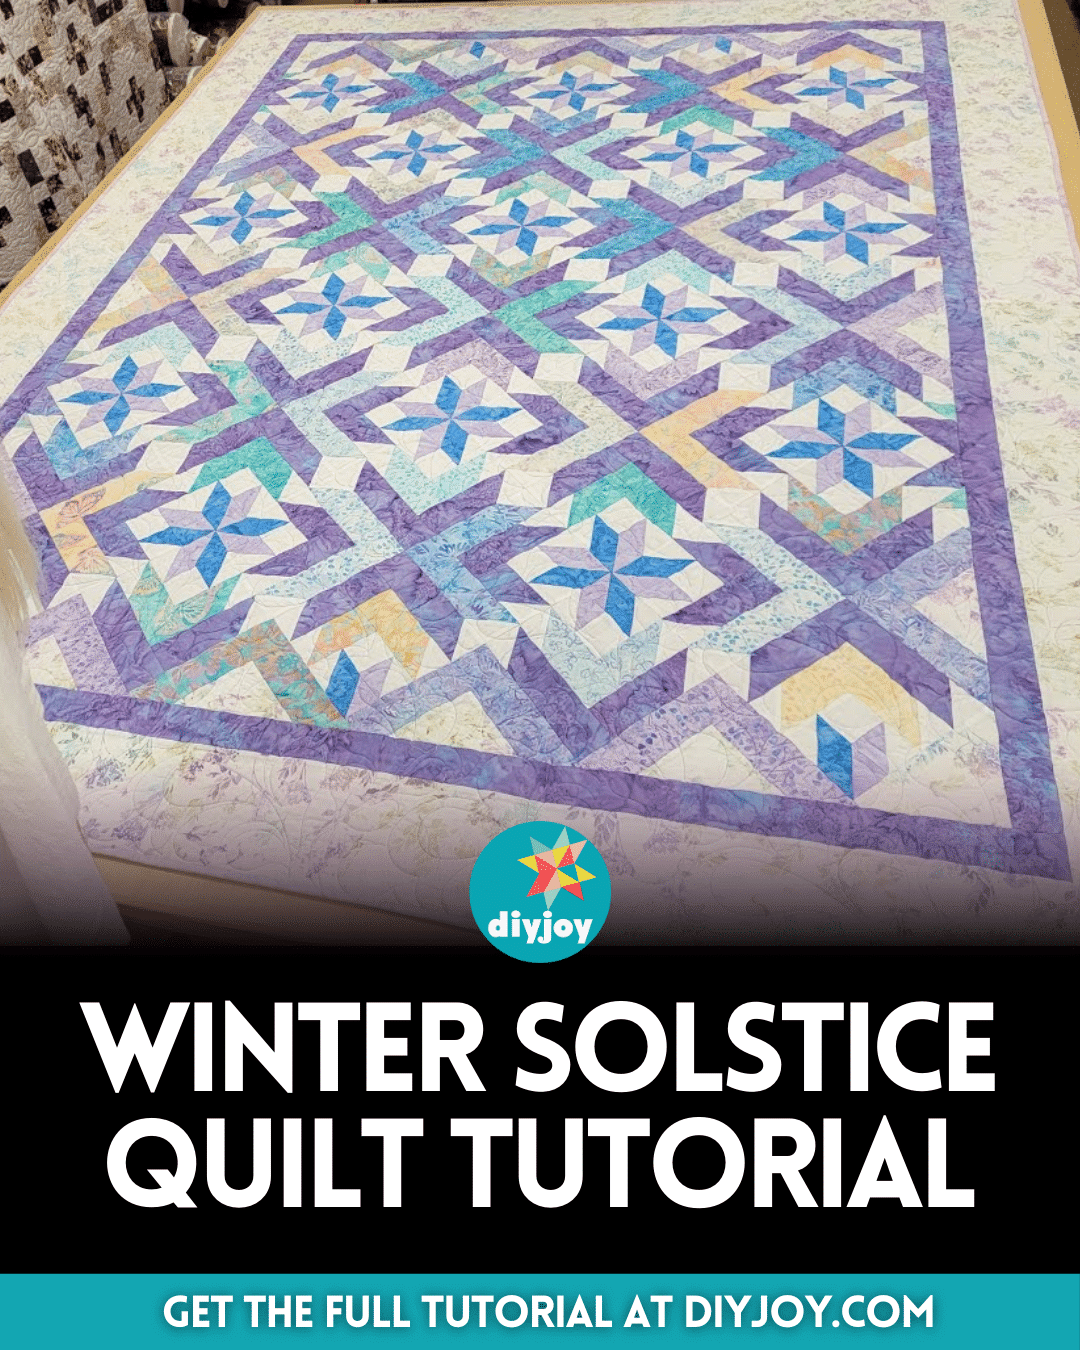
This Winter Solstice quilt project by Jordan Fabrics on YouTube is a wonderful pattern that perfectly captures the spirit of the cold season. It’s made up of a combination of blue and lavender fabrics which looks so cool and easy to the eyes, and it comprises only half-square triangles and squares.
RELATED: Easy Snowflake Quilt Tutorial
This is pretty simple to piece together and easy enough for beginner quilters to try. But, it also is quite challenging so this can be a good practice for your skills, and if you’re an expert quilter, then this project is perfect to pass the time. What’s also great about this quilt is that it’s jelly-roll friendly! Learn how now and give it a try.
Materials for Winter Solstice Quilt:
- Fabric print strips
- Background fabric
- Marking pen, pencil, or chalk
- Ruler
- Scissors or rotary cutter and a cutting mat
- Fabric pins
- Needle and thread
- Iron, for pressing
- Sewing machine
- Pattern (Click here to download the pattern)
How to Make Winter Solstice Quilt:
Step 1
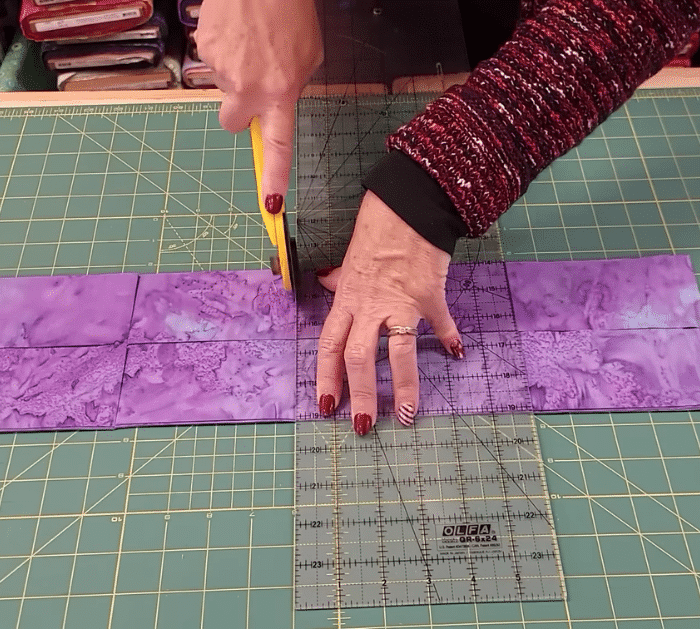
Cut the fabrics to size, then take 1 print strip and 1 background strip, and line them up together with their right sides facing. Stitch all the way down both long sides with ¼ inch seam allowance, then do the same with other combinations as instructed in the pattern, and sub-cut them into triangles.
Step 2
Press the seams of the half-square triangles to the darker fabric, then cut off the excess, and arrange 2 half-square triangles and 1 background square into a block. Stitch them per row and then the rows to each other, then press the seams as you do, and do the rest of the block units.
Step 3
Place color strip 1 on the top and side, then add color strip 2 on the top and side of the previous strips and put a background square on the outer end of each strip. Stitch the corners first diagonally, then trim off the excess, and press it open.
Step 4
Rearrange the pieces, then start stitching them to the center block one at a time, and repeat the steps with the remaining pieces. Assemble the block units together, then finish the remaining pieces to fill in the spaces on the sides, and finish the quilt as demonstrated in the video.
*All these images are credited to Jordan Fabrics via YouTube. Give her channel a visit and subscribe for more!
Easy Winter Solstice Quilt Tutorial