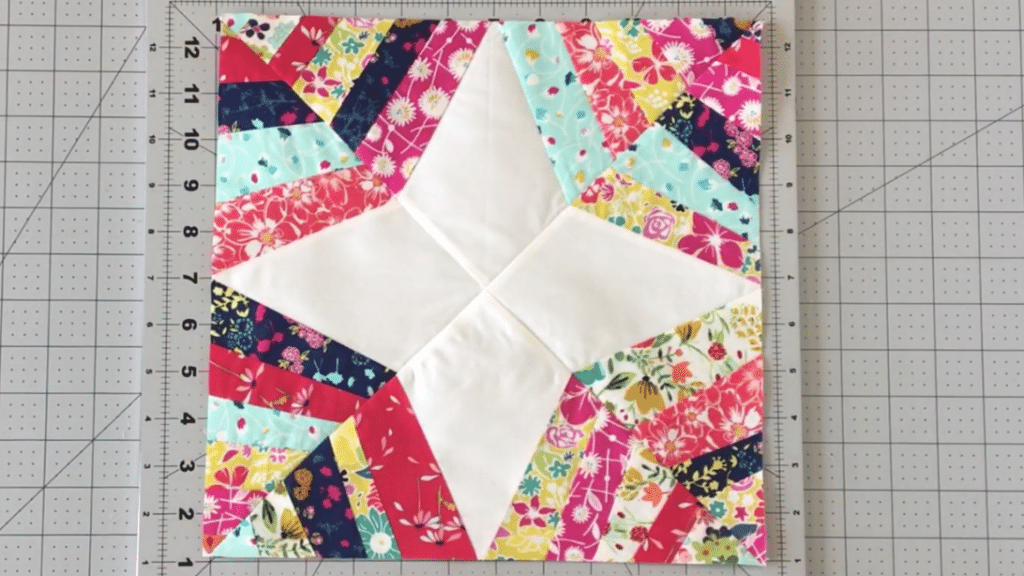
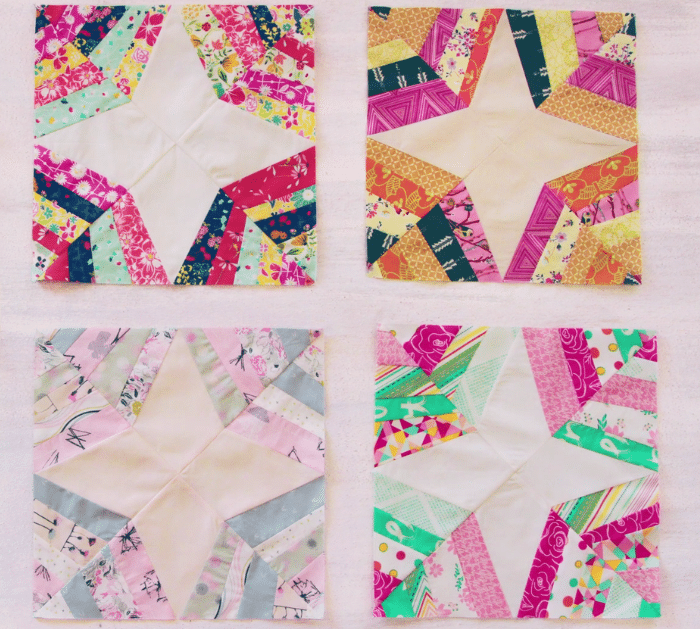
The first time I saw this spiderweb quilt block, I thought it would be difficult to make, but I was so surprised to learn that it was super easy to piece together, and even beginners can do it perfectly on their first try! This is a brilliant quilt block that you can make with various print fabrics and you can combine any color or pattern that you want.
RELATED: How to Make an Entwined Star Quilt Block
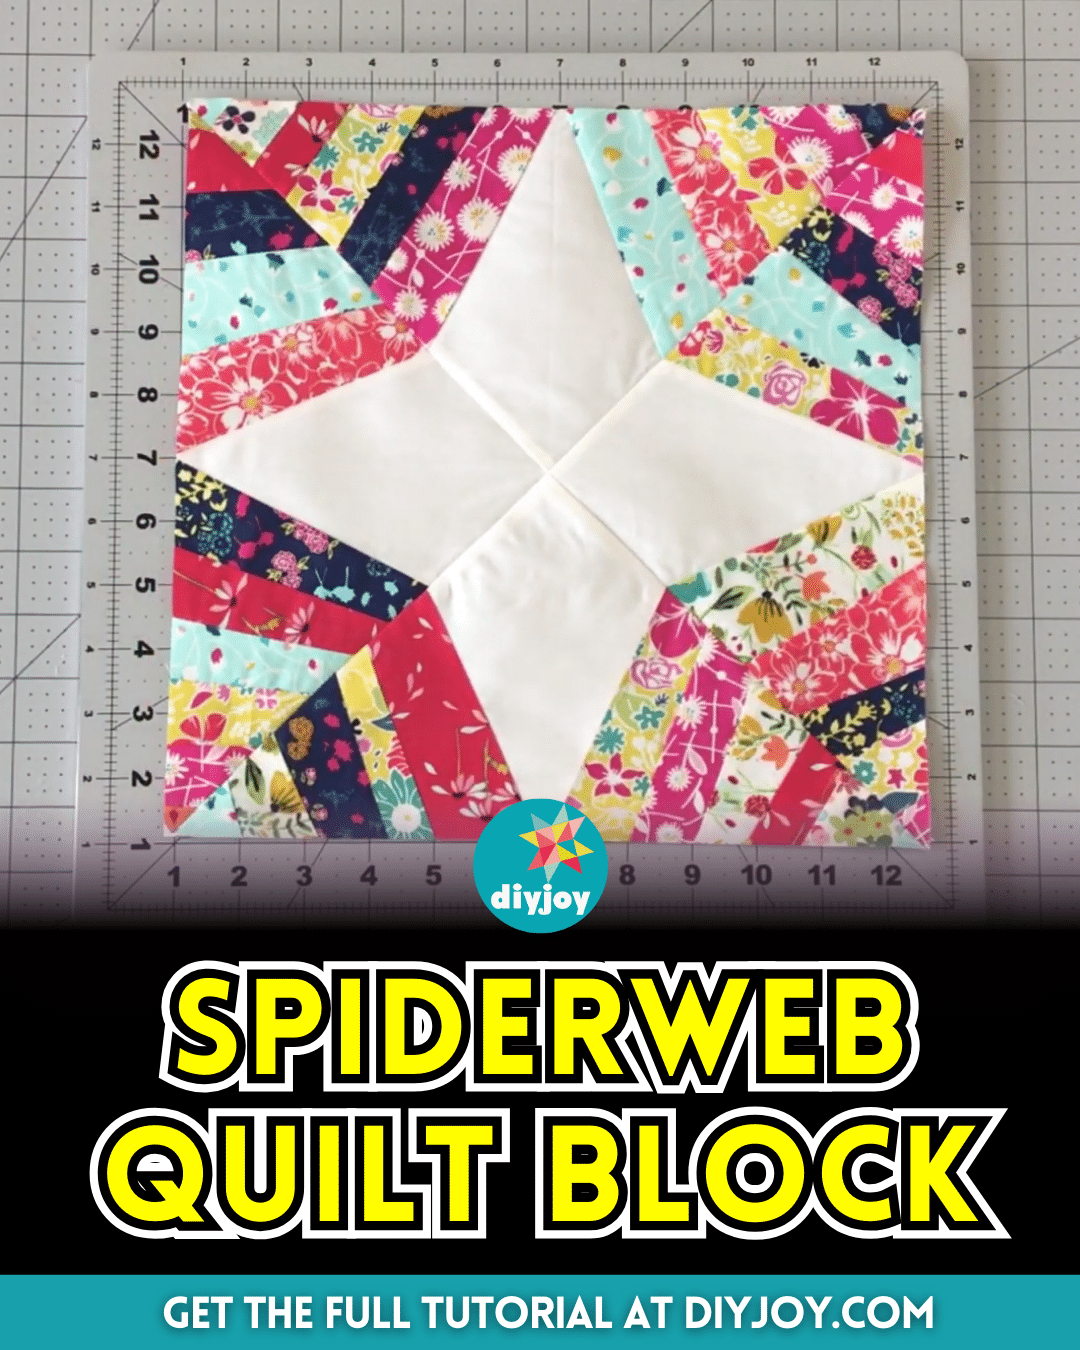
So if you have a couple of leftover fabric strips from previous projects, then this would be a great opportunity for you to use them. Learn the steps now by reading the instructions down below and make sure to watch the video tutorial by Art Gallery Fabrics on YouTube as well for more details. I hope you enjoy this quilt as much as I did!
Materials for Spiderweb Quilt Block:
- Assorted print fabric
- Background fabric
- Marking pen, pencil, or chalk
- Ruler
- Scissors or rotary cutter and a cutting mat
- Fabric pins
- Needle and thread
- Iron, for pressing
- Sewing machine
- Pattern (Click here to download the pattern)
How to Make a Spiderweb Quilt Block:
Step 1
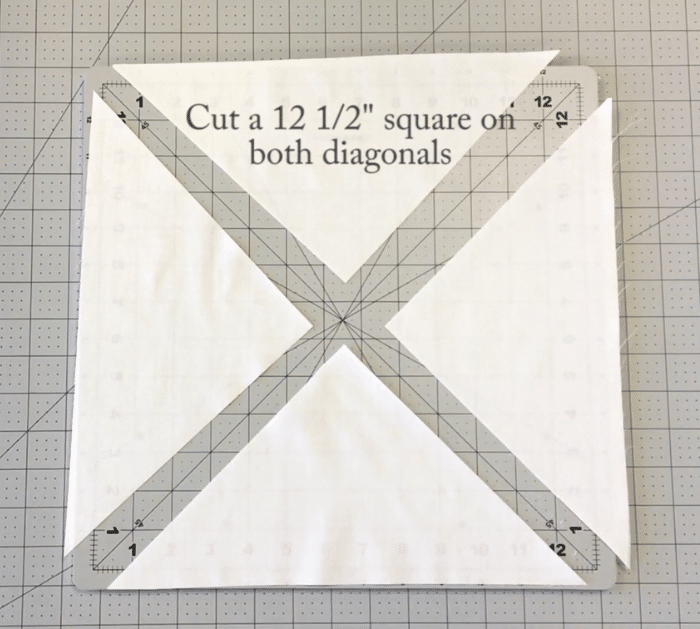
Cut the fabrics to size as instructed in the pattern, then cut the 12-inch squares diagonally in both directions to make 4 triangles.
Step 2
Find the center of your triangle, then mark ¼ inch away on each side, and measure 6 inches from the end of both sides of the triangle marking those as well.
Step 3
Connect the marks with a line, then measure ¼ inch away from the line, and do the same process with the remaining triangles.
Step 4
Work on your first triangle, place a strip of fabric on top with their right sides facing, then line up the edge to the line you drew, and stitch it down with ¼ inch seam allowance.
Step 5
Flip the fabric open and finger press the seams, then place the next strip on top with their right sides facing, and make sure to tuck the triangle away as you stitch the strip.
Step 6
Keep adding more strips until the whole triangle is covered, then press the seams in one direction as you go, and do the same steps to the other side of the triangle.
Step 7
Trim off the excess fabric, then repeat the same process with the rest of the triangles, and stitch them together.
*All image credit belongs to Art Gallery Fabrics via YouTube. Follow and subscribe to her channel for more!
How to Make a Spiderweb Quilt Block


